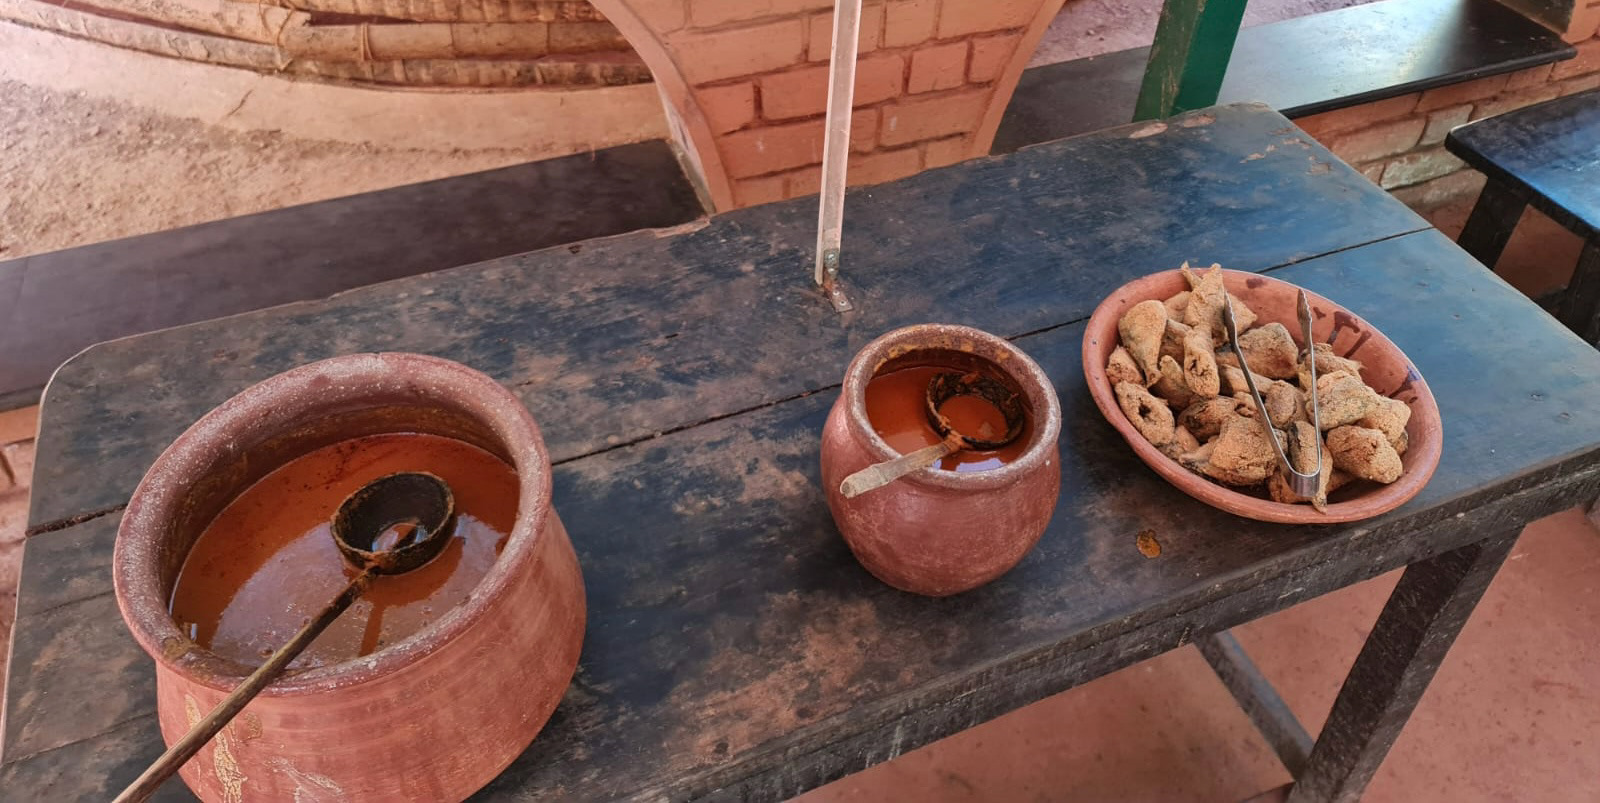
Traditional way of dining in Goa, India.

My recent visit to a Japanese restaurant.

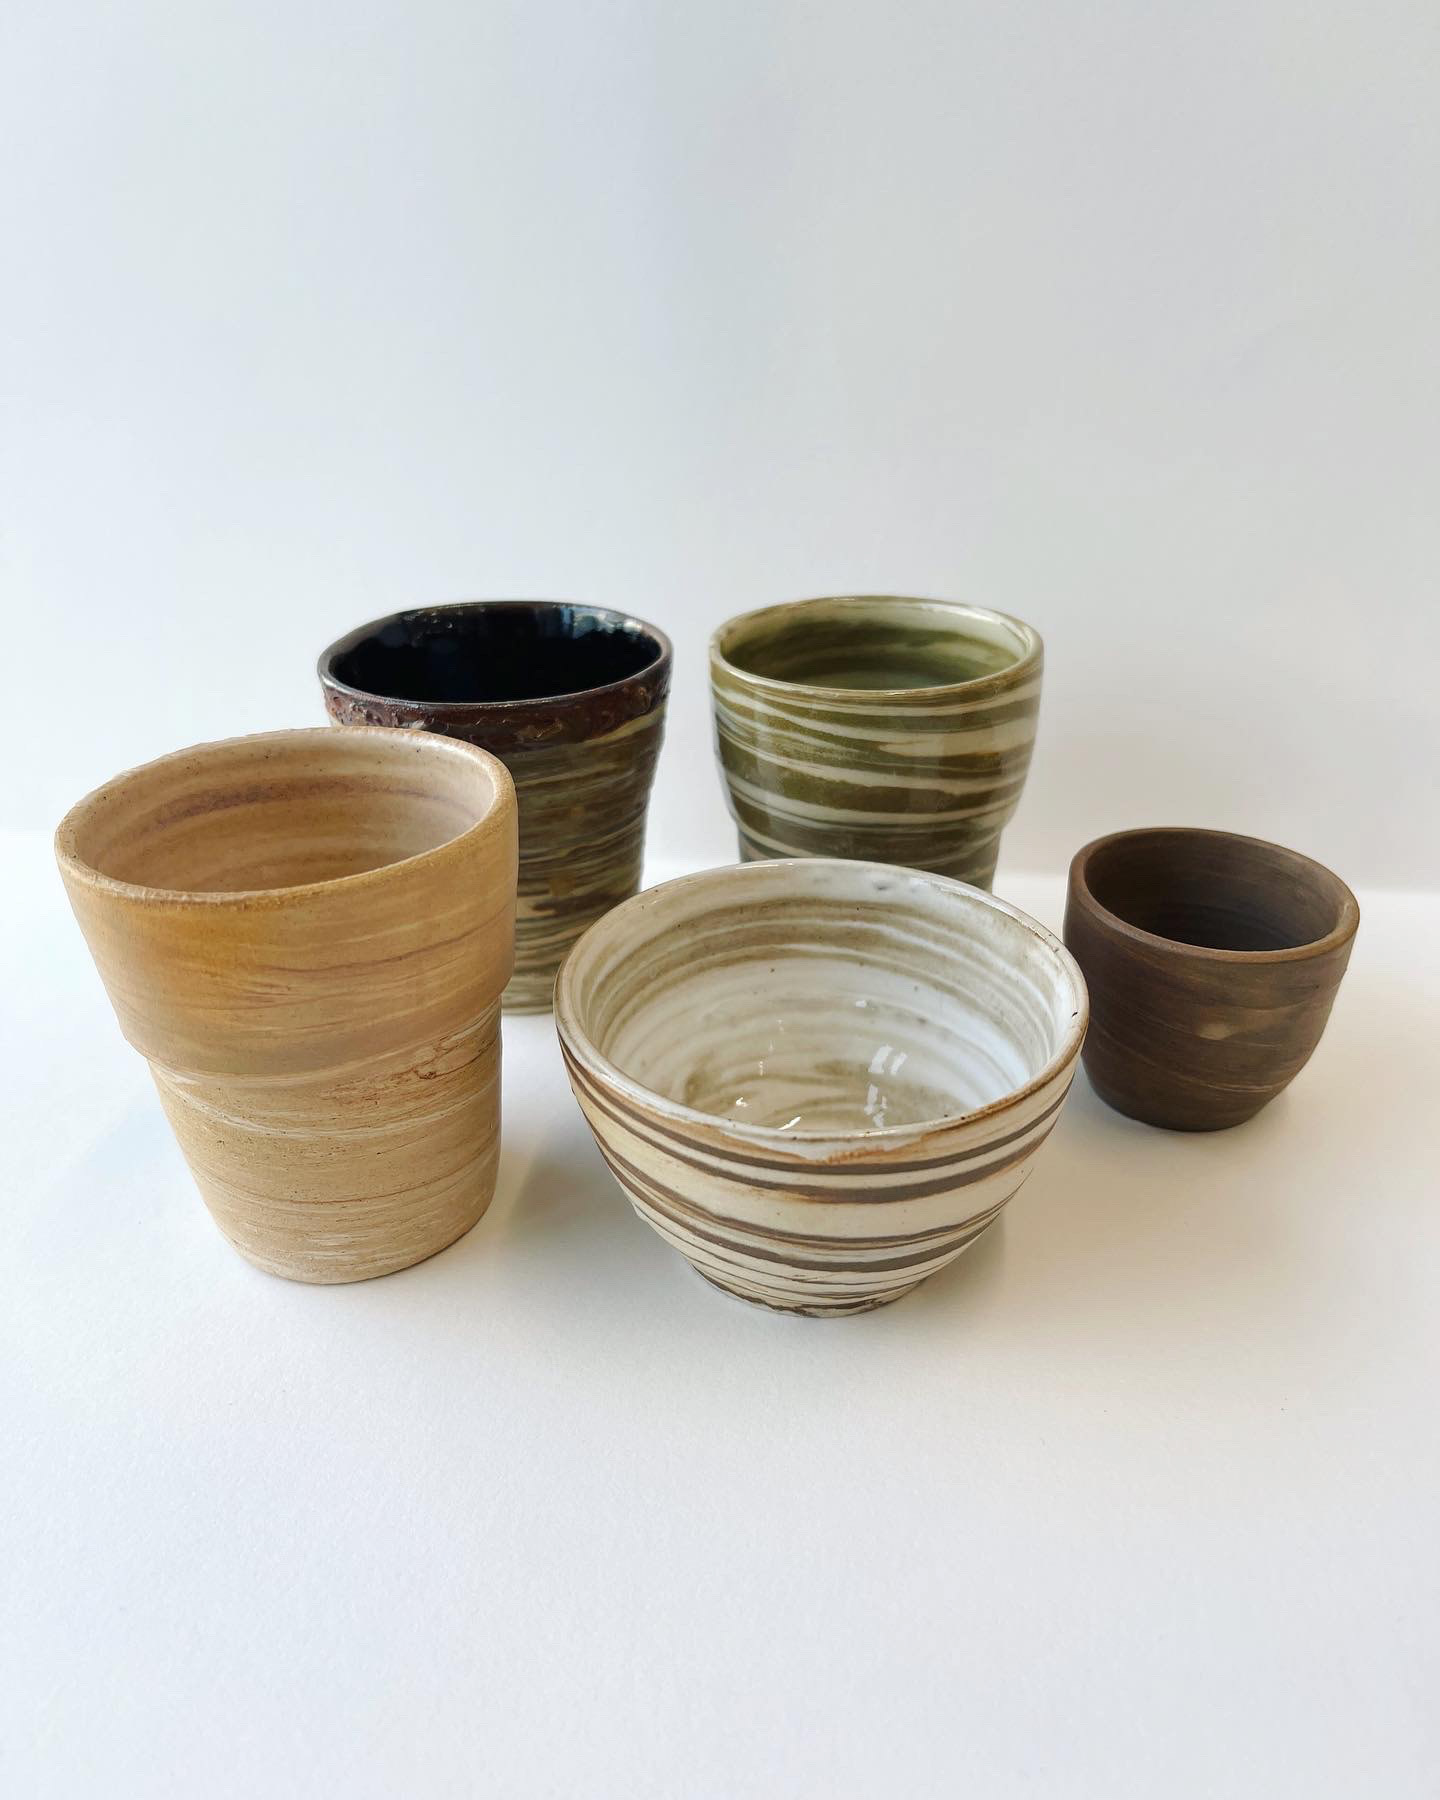
Now practiced way of serving Chai in India.

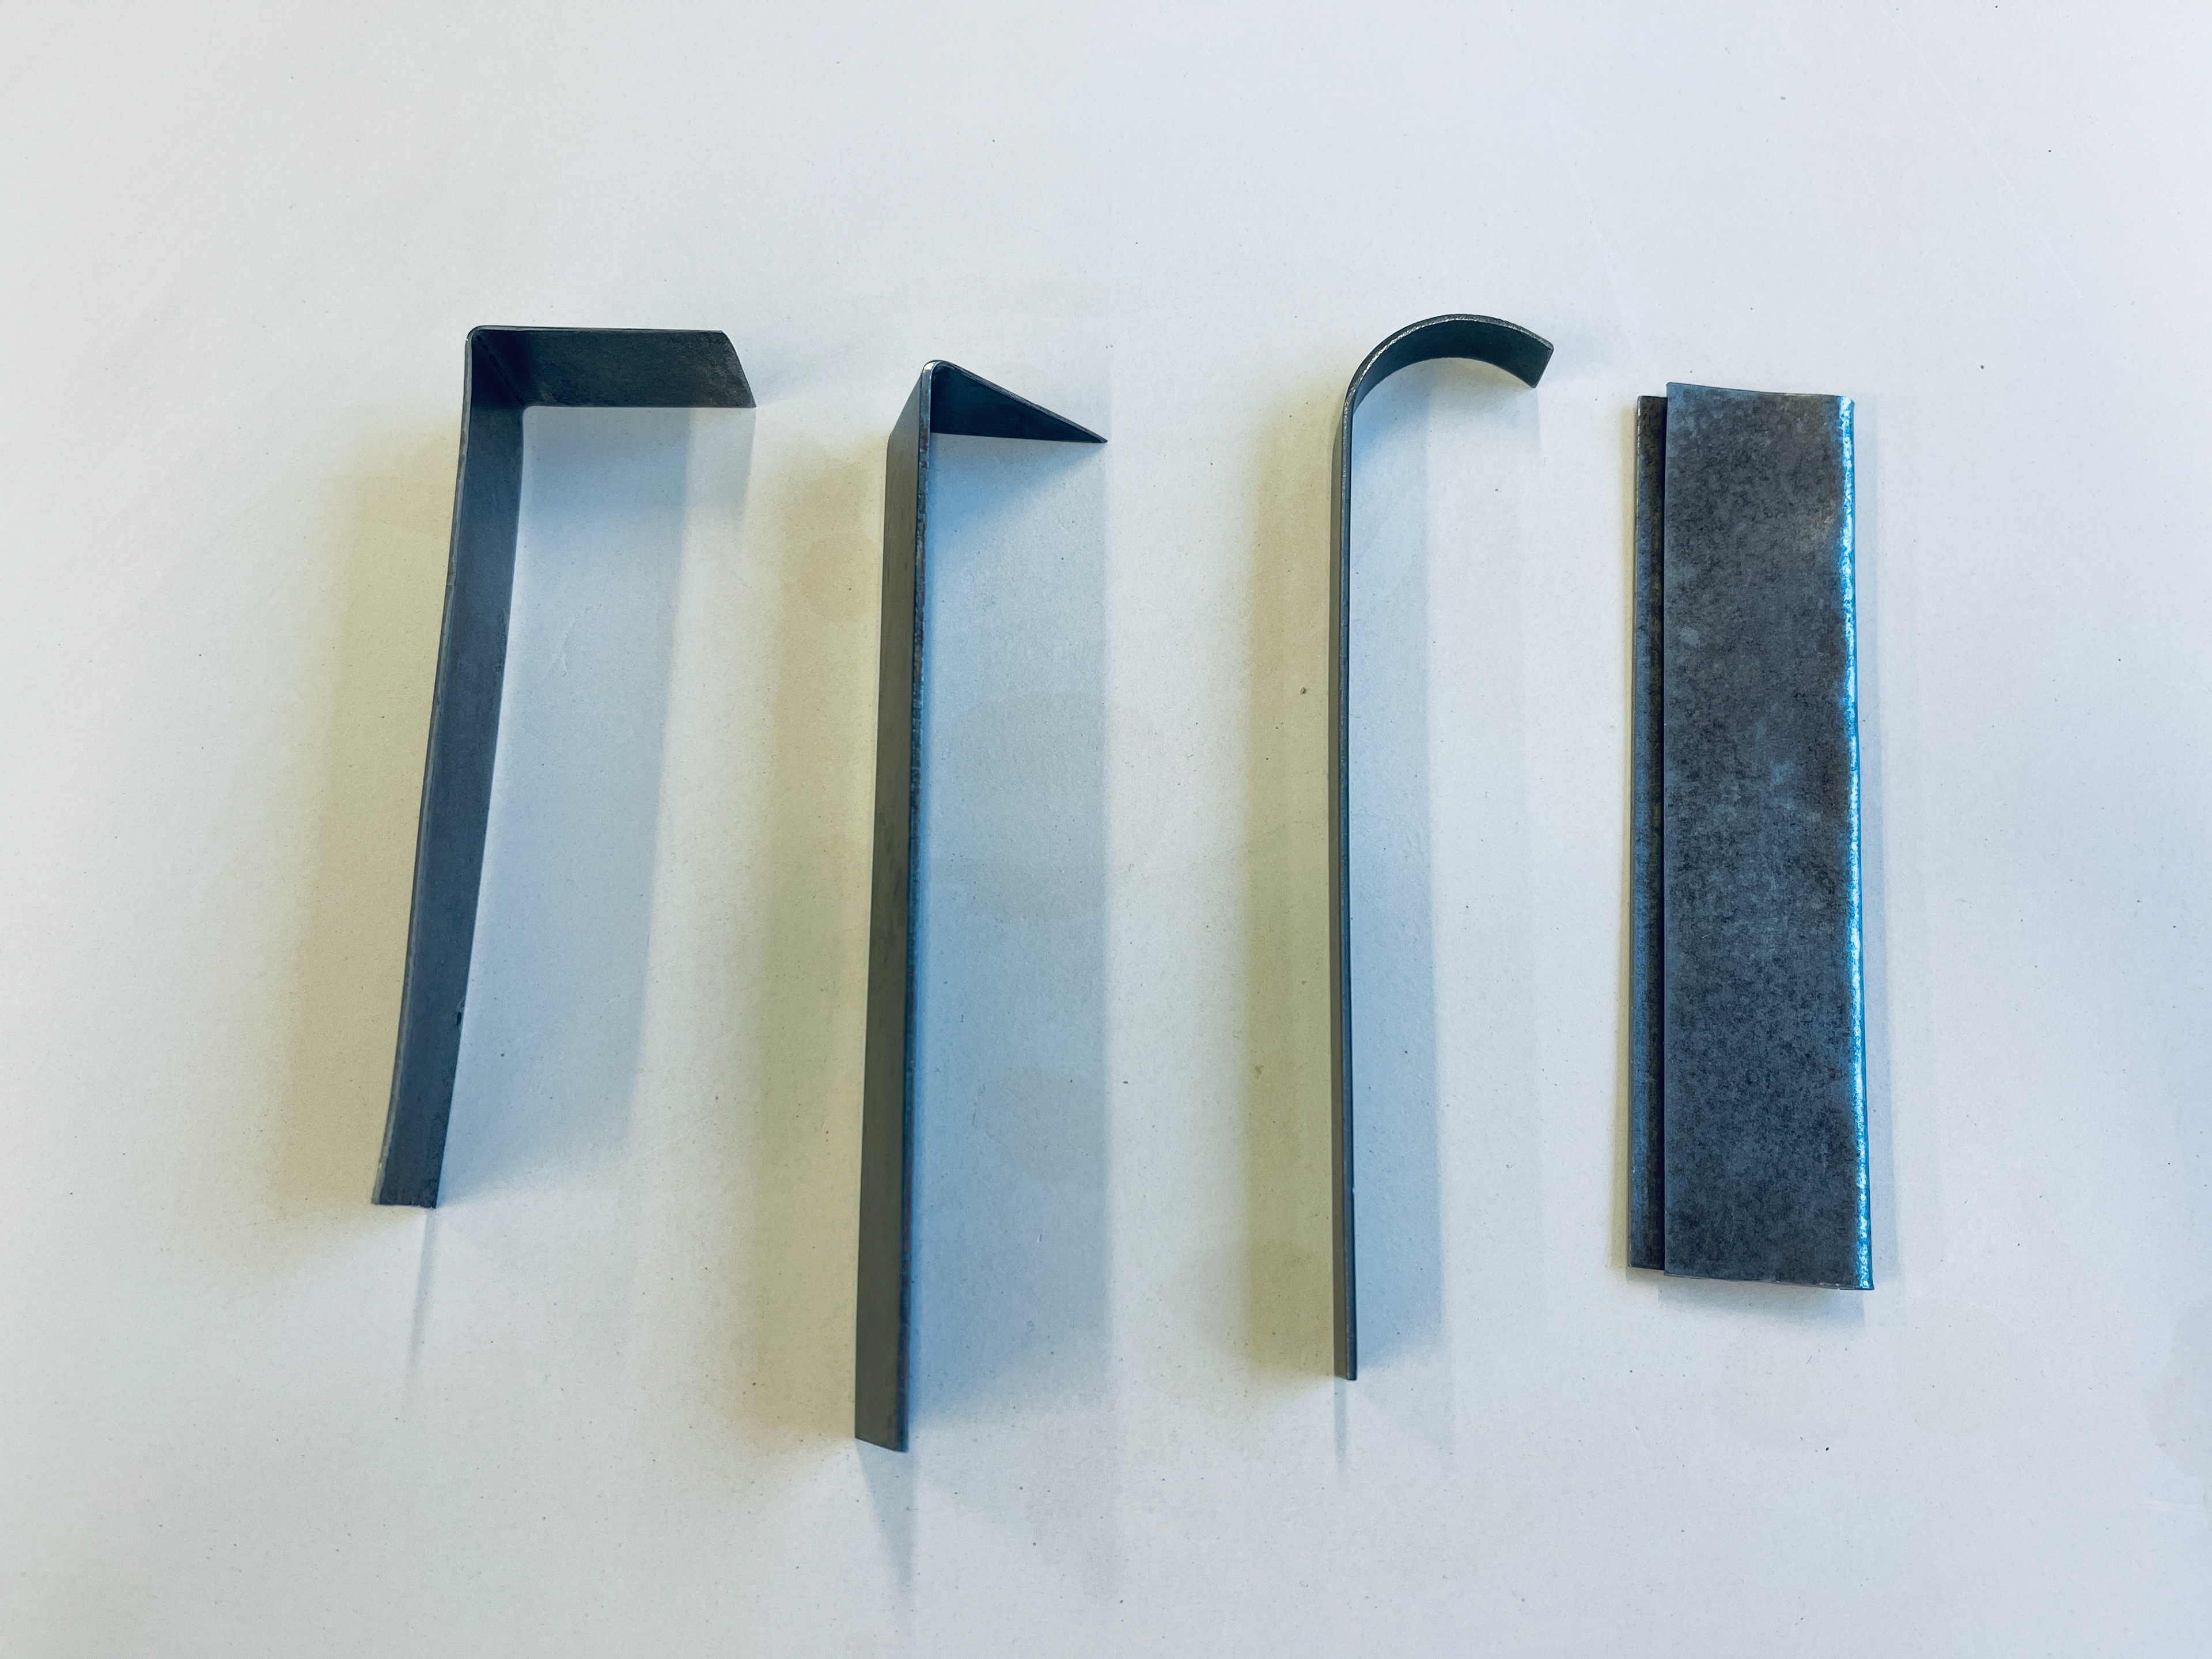
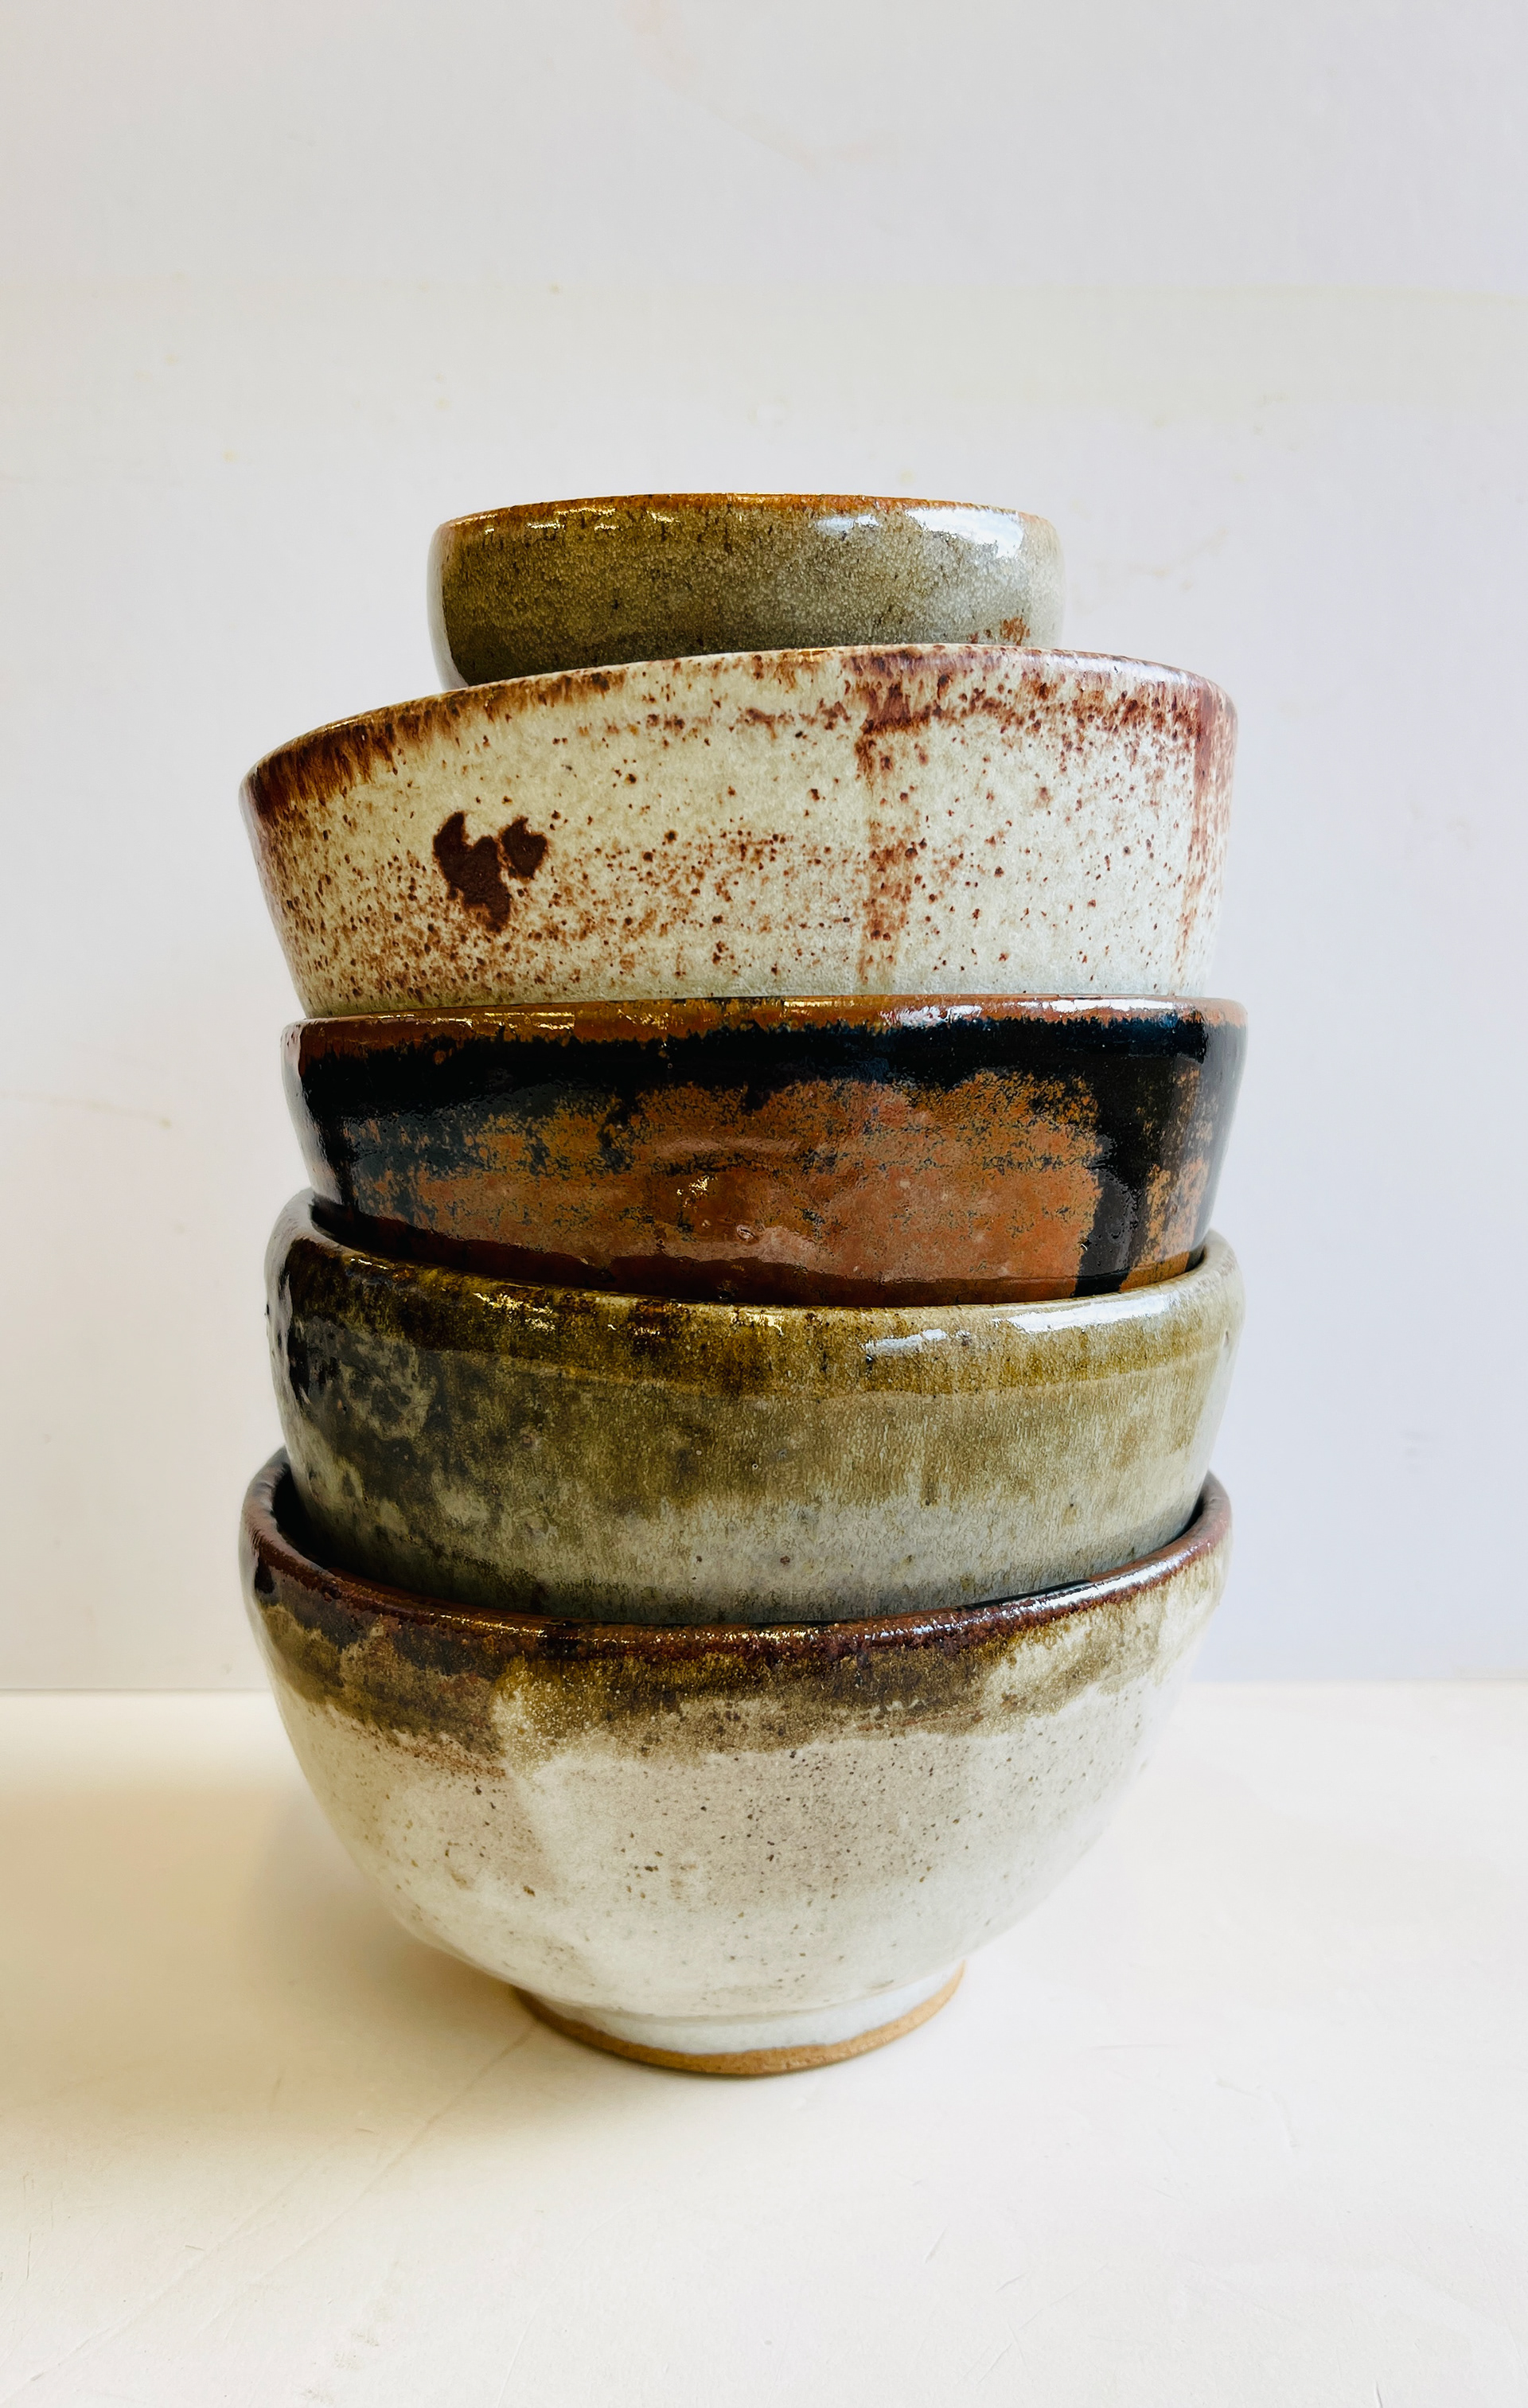
Common use of metal objects, light weight, mass produces, low maintenance and considered to provide health benefits.


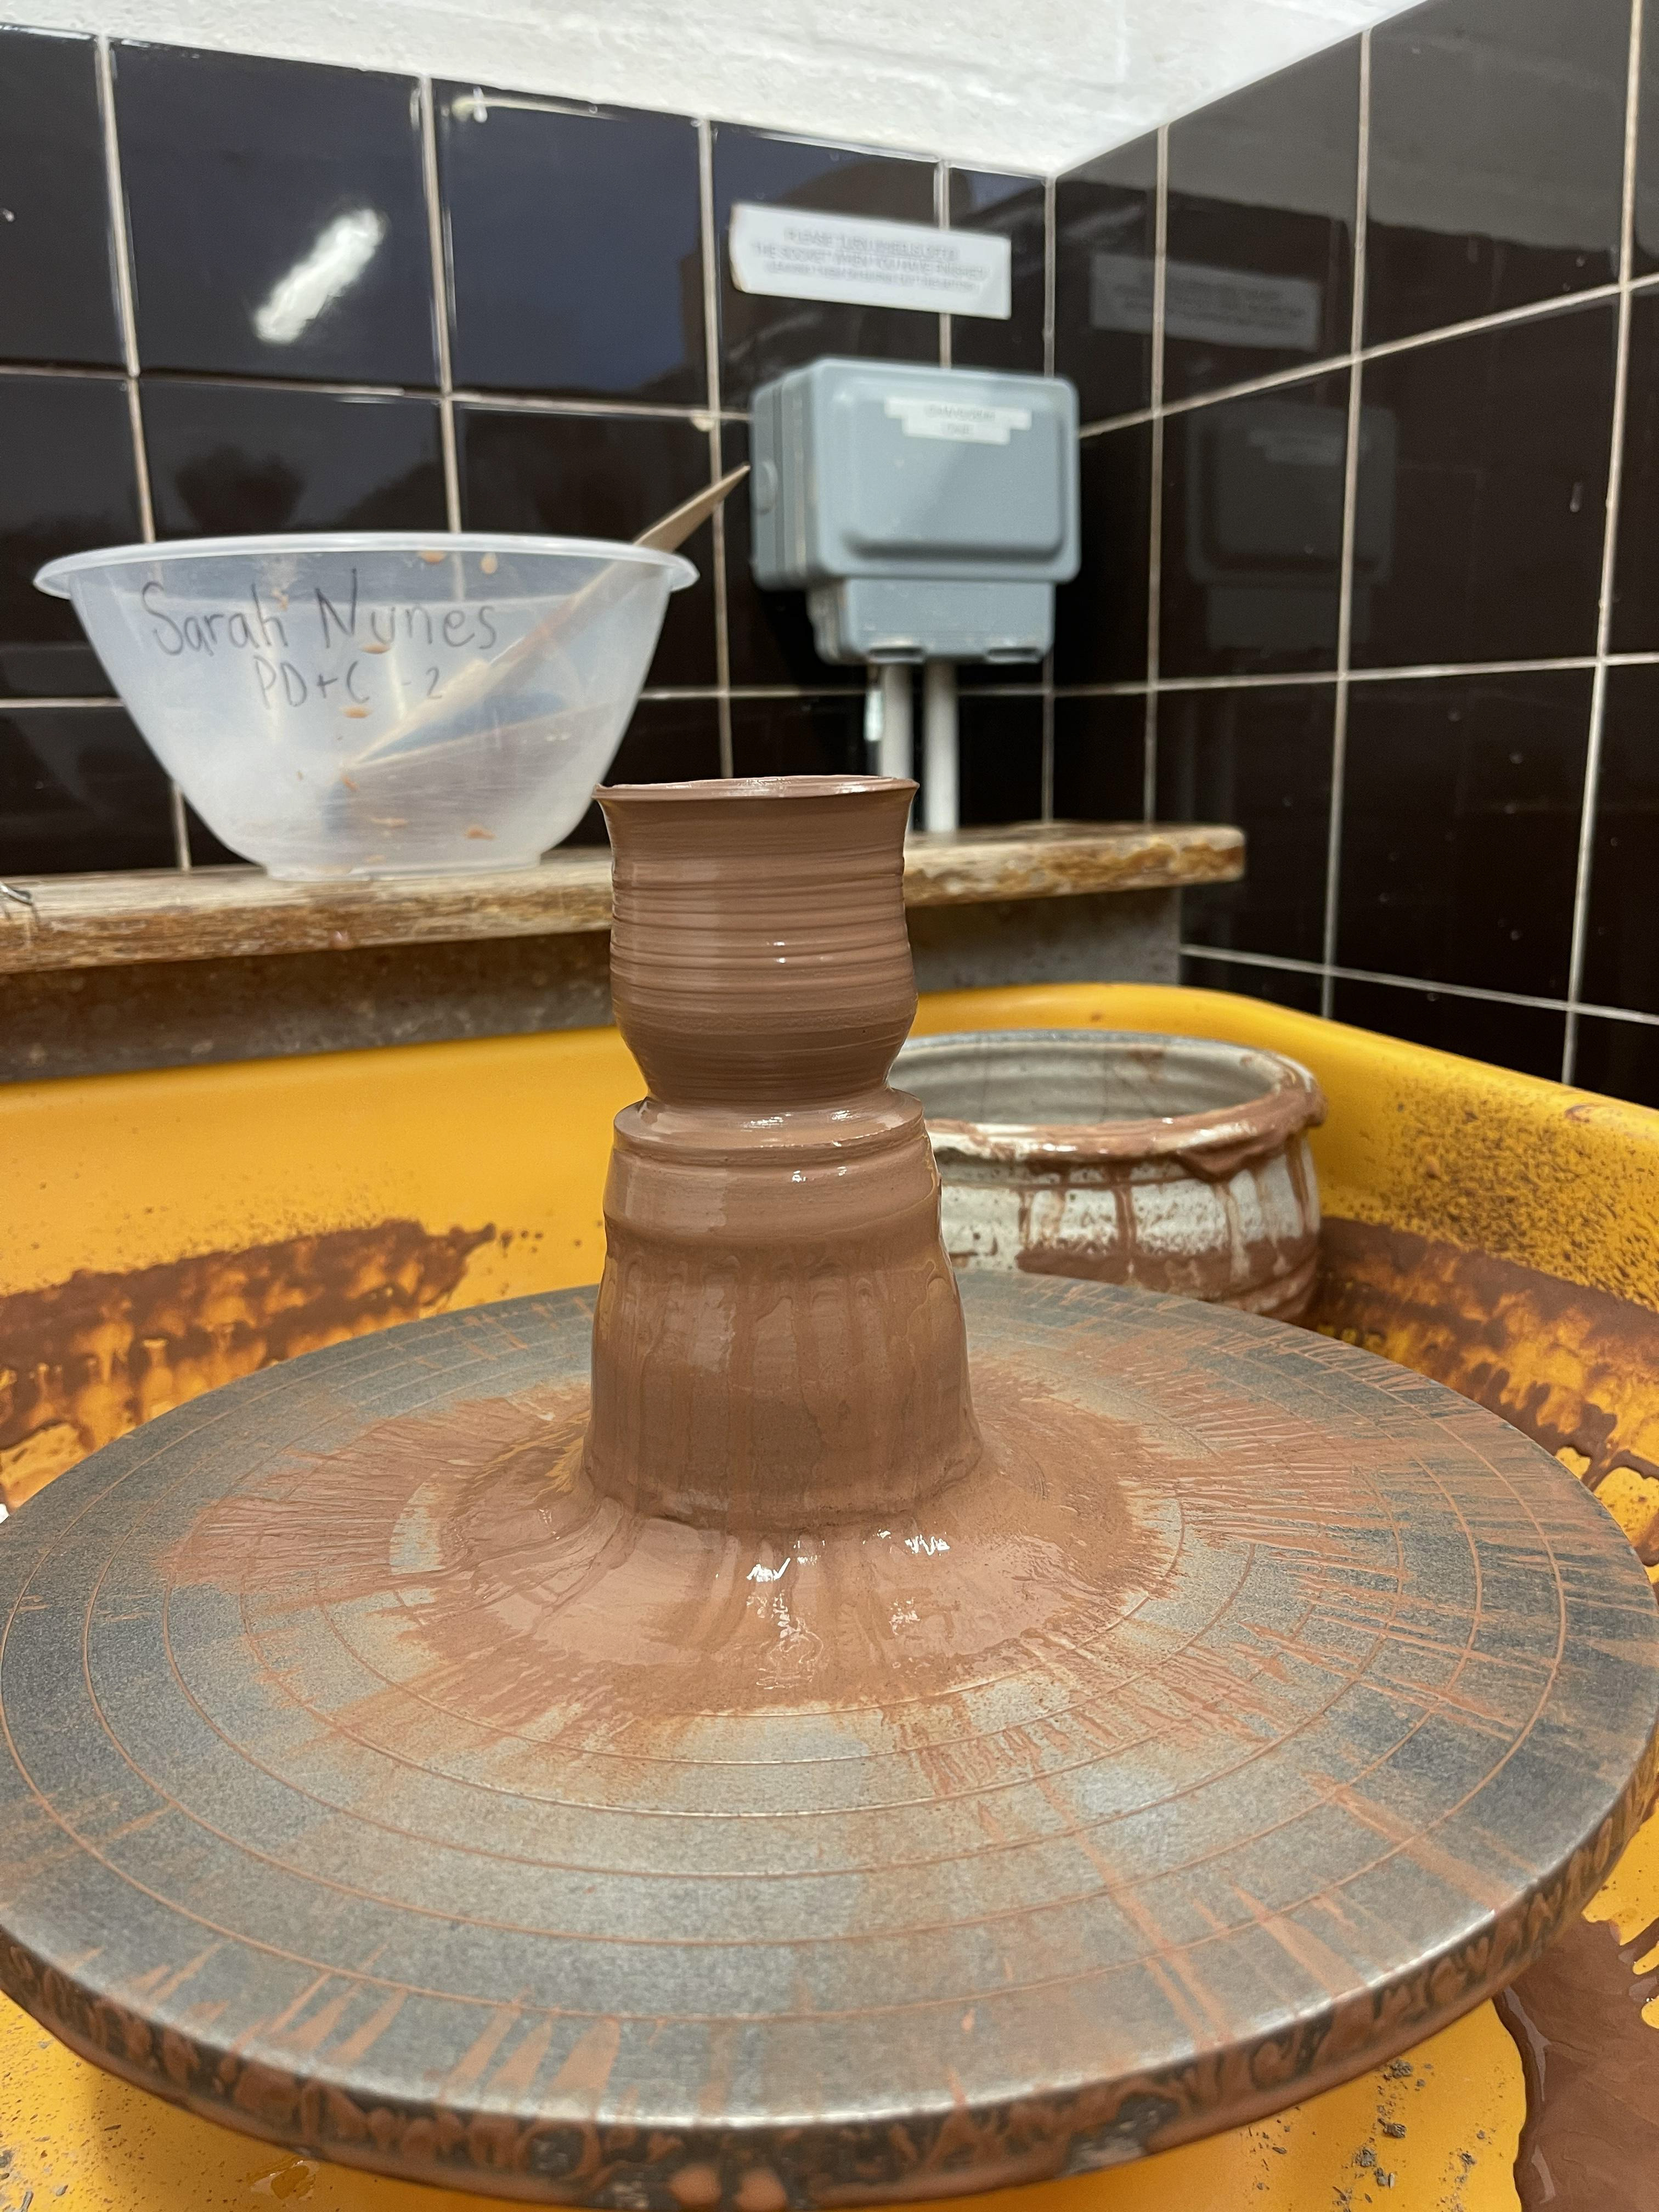
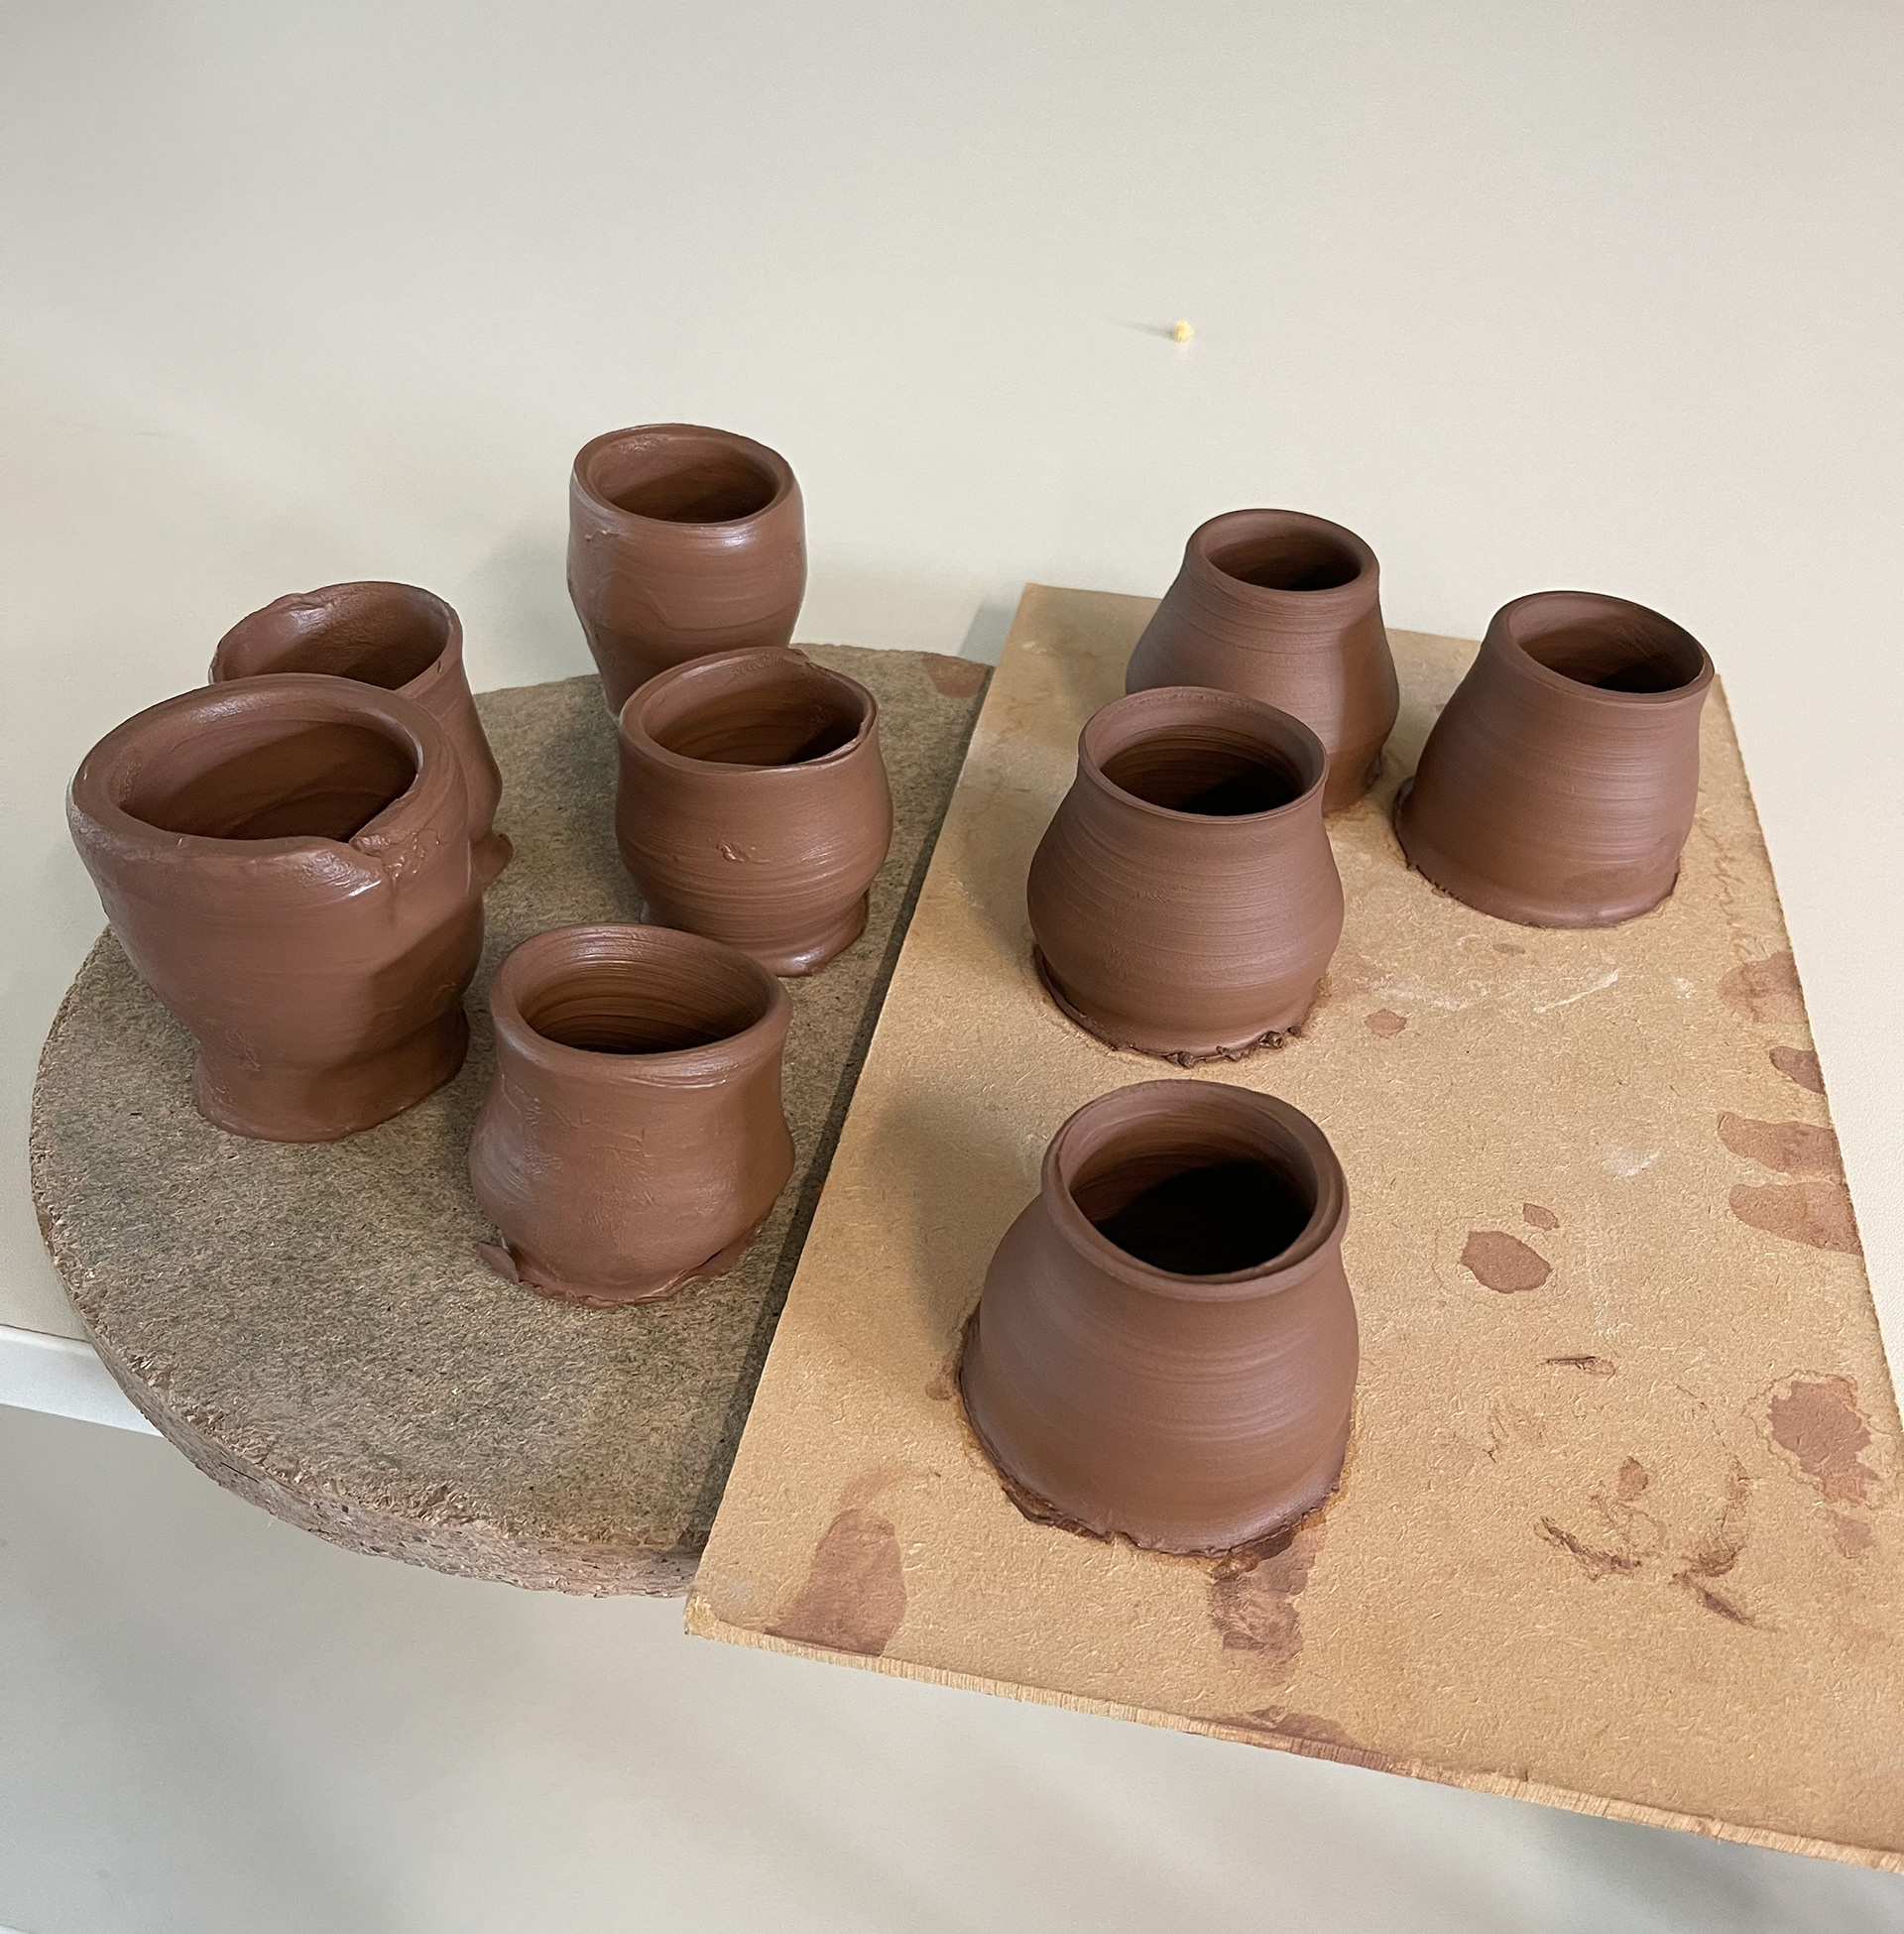
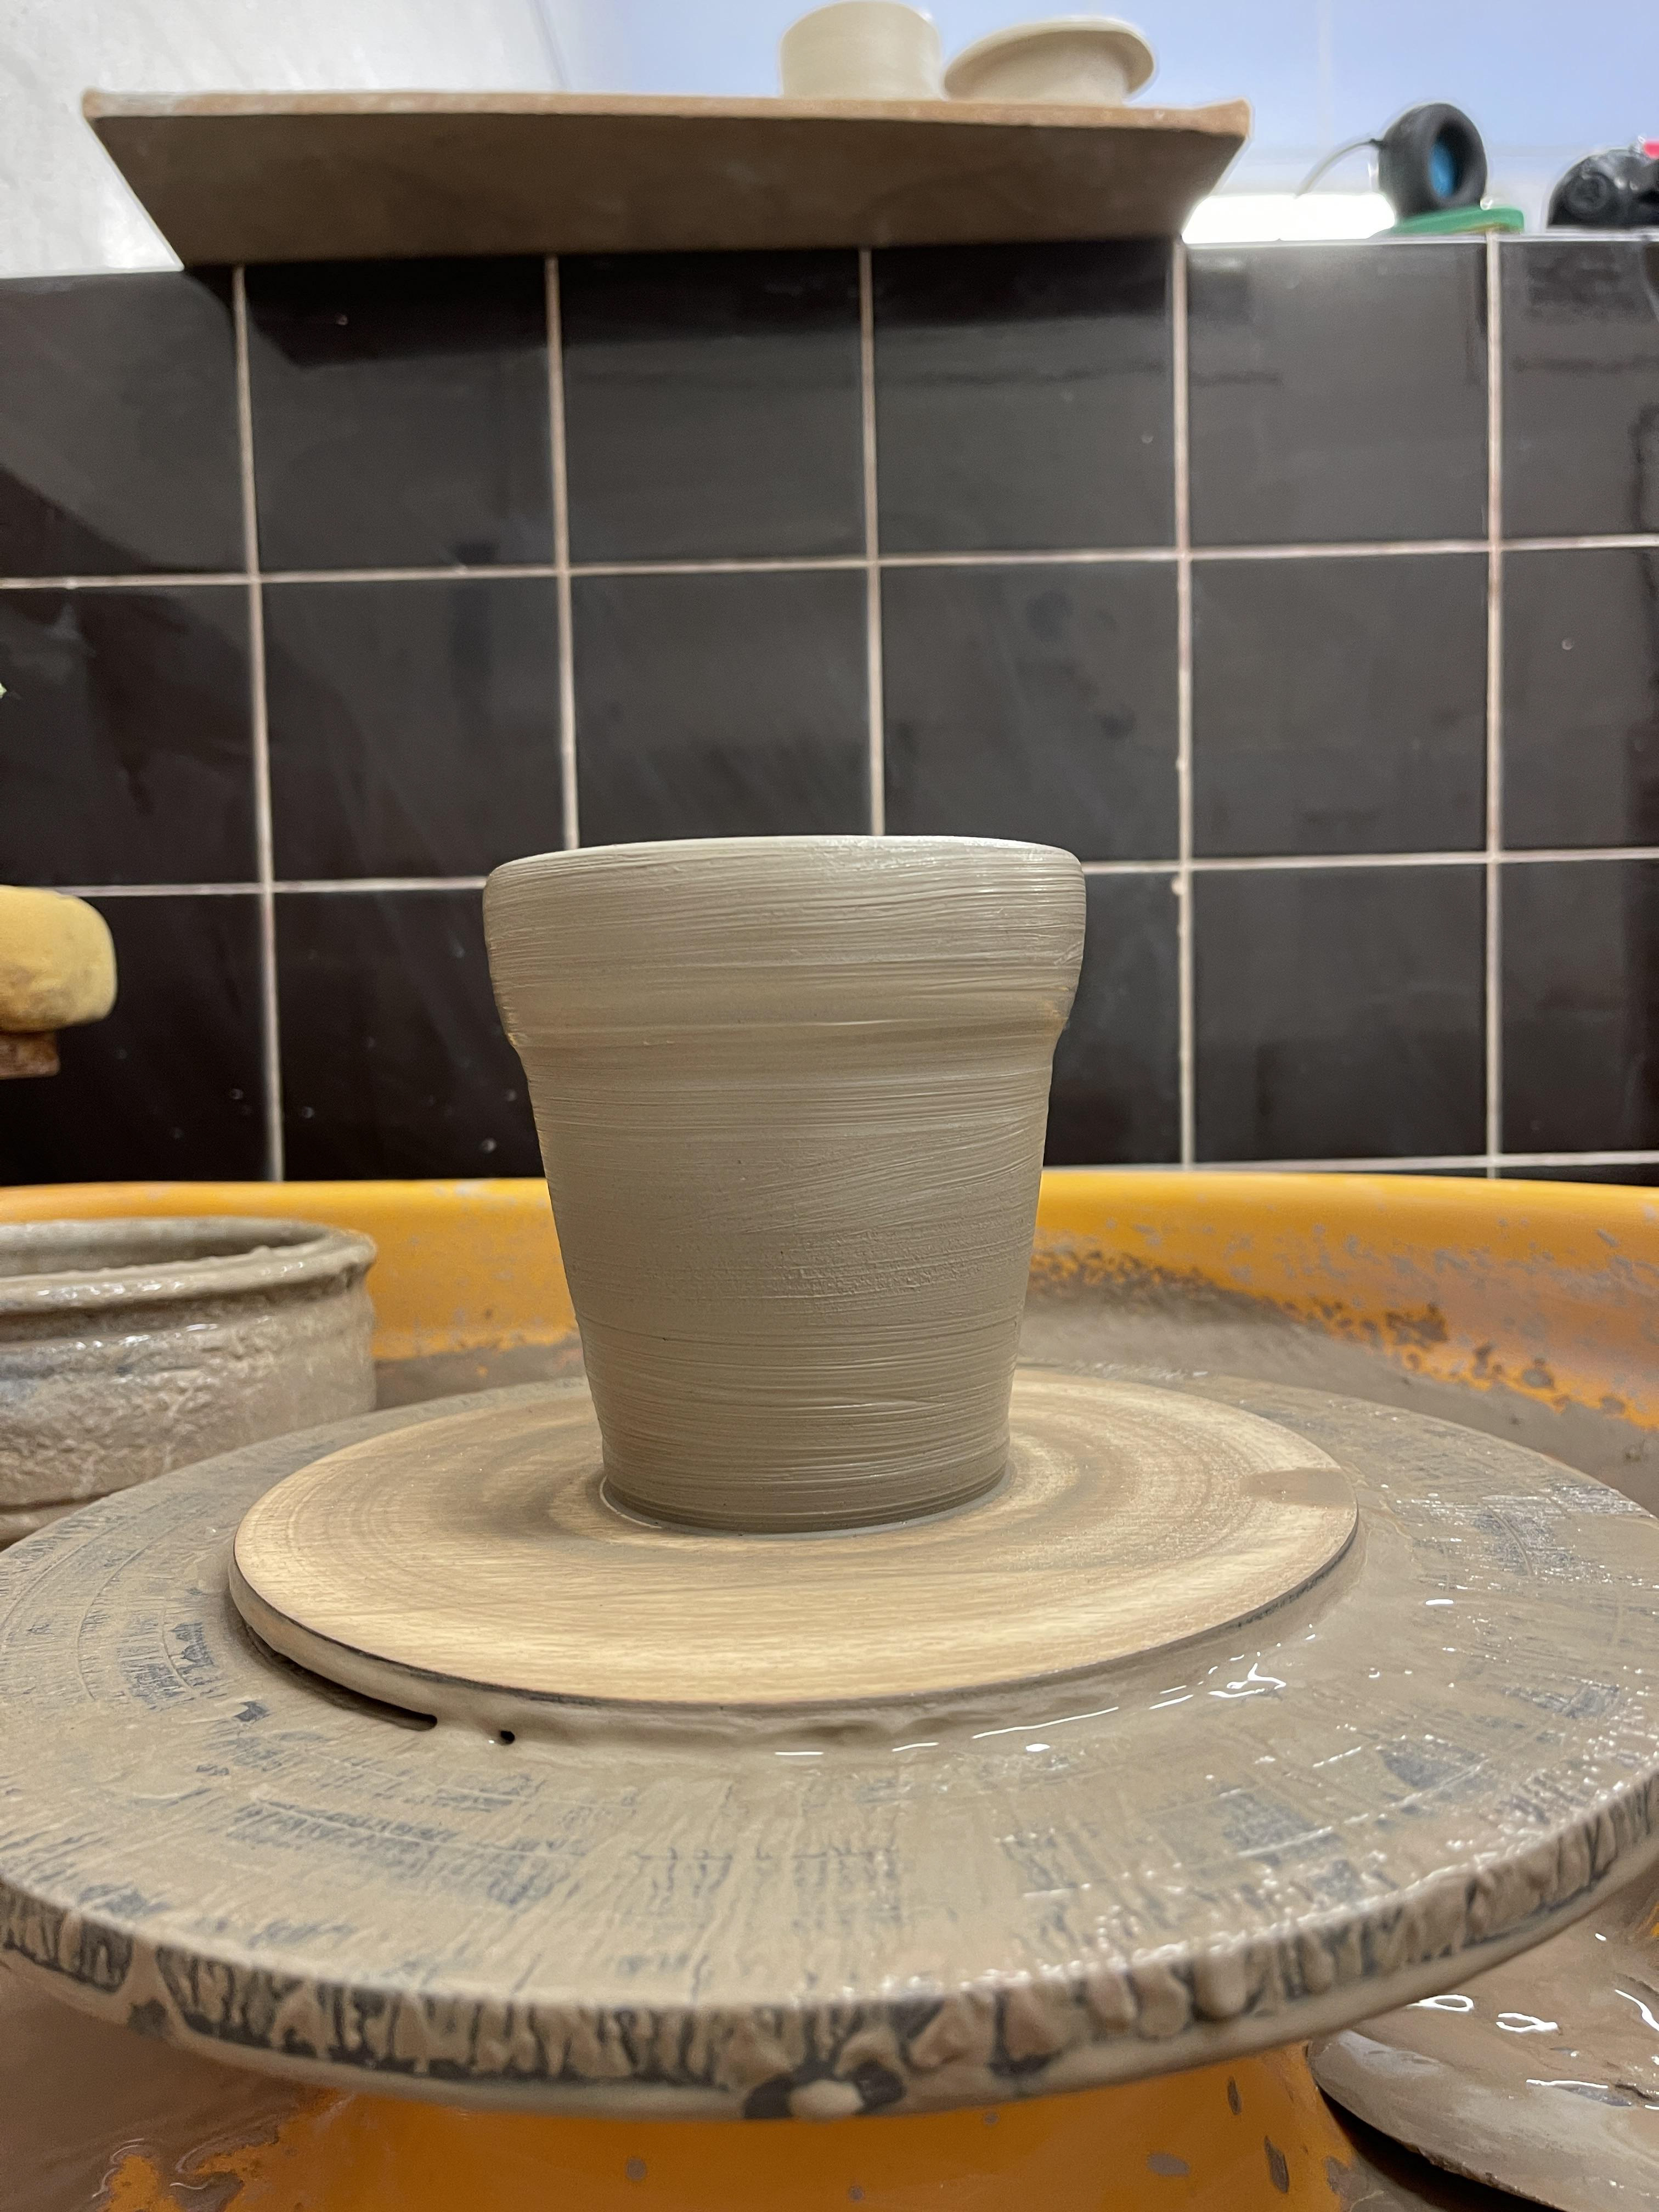
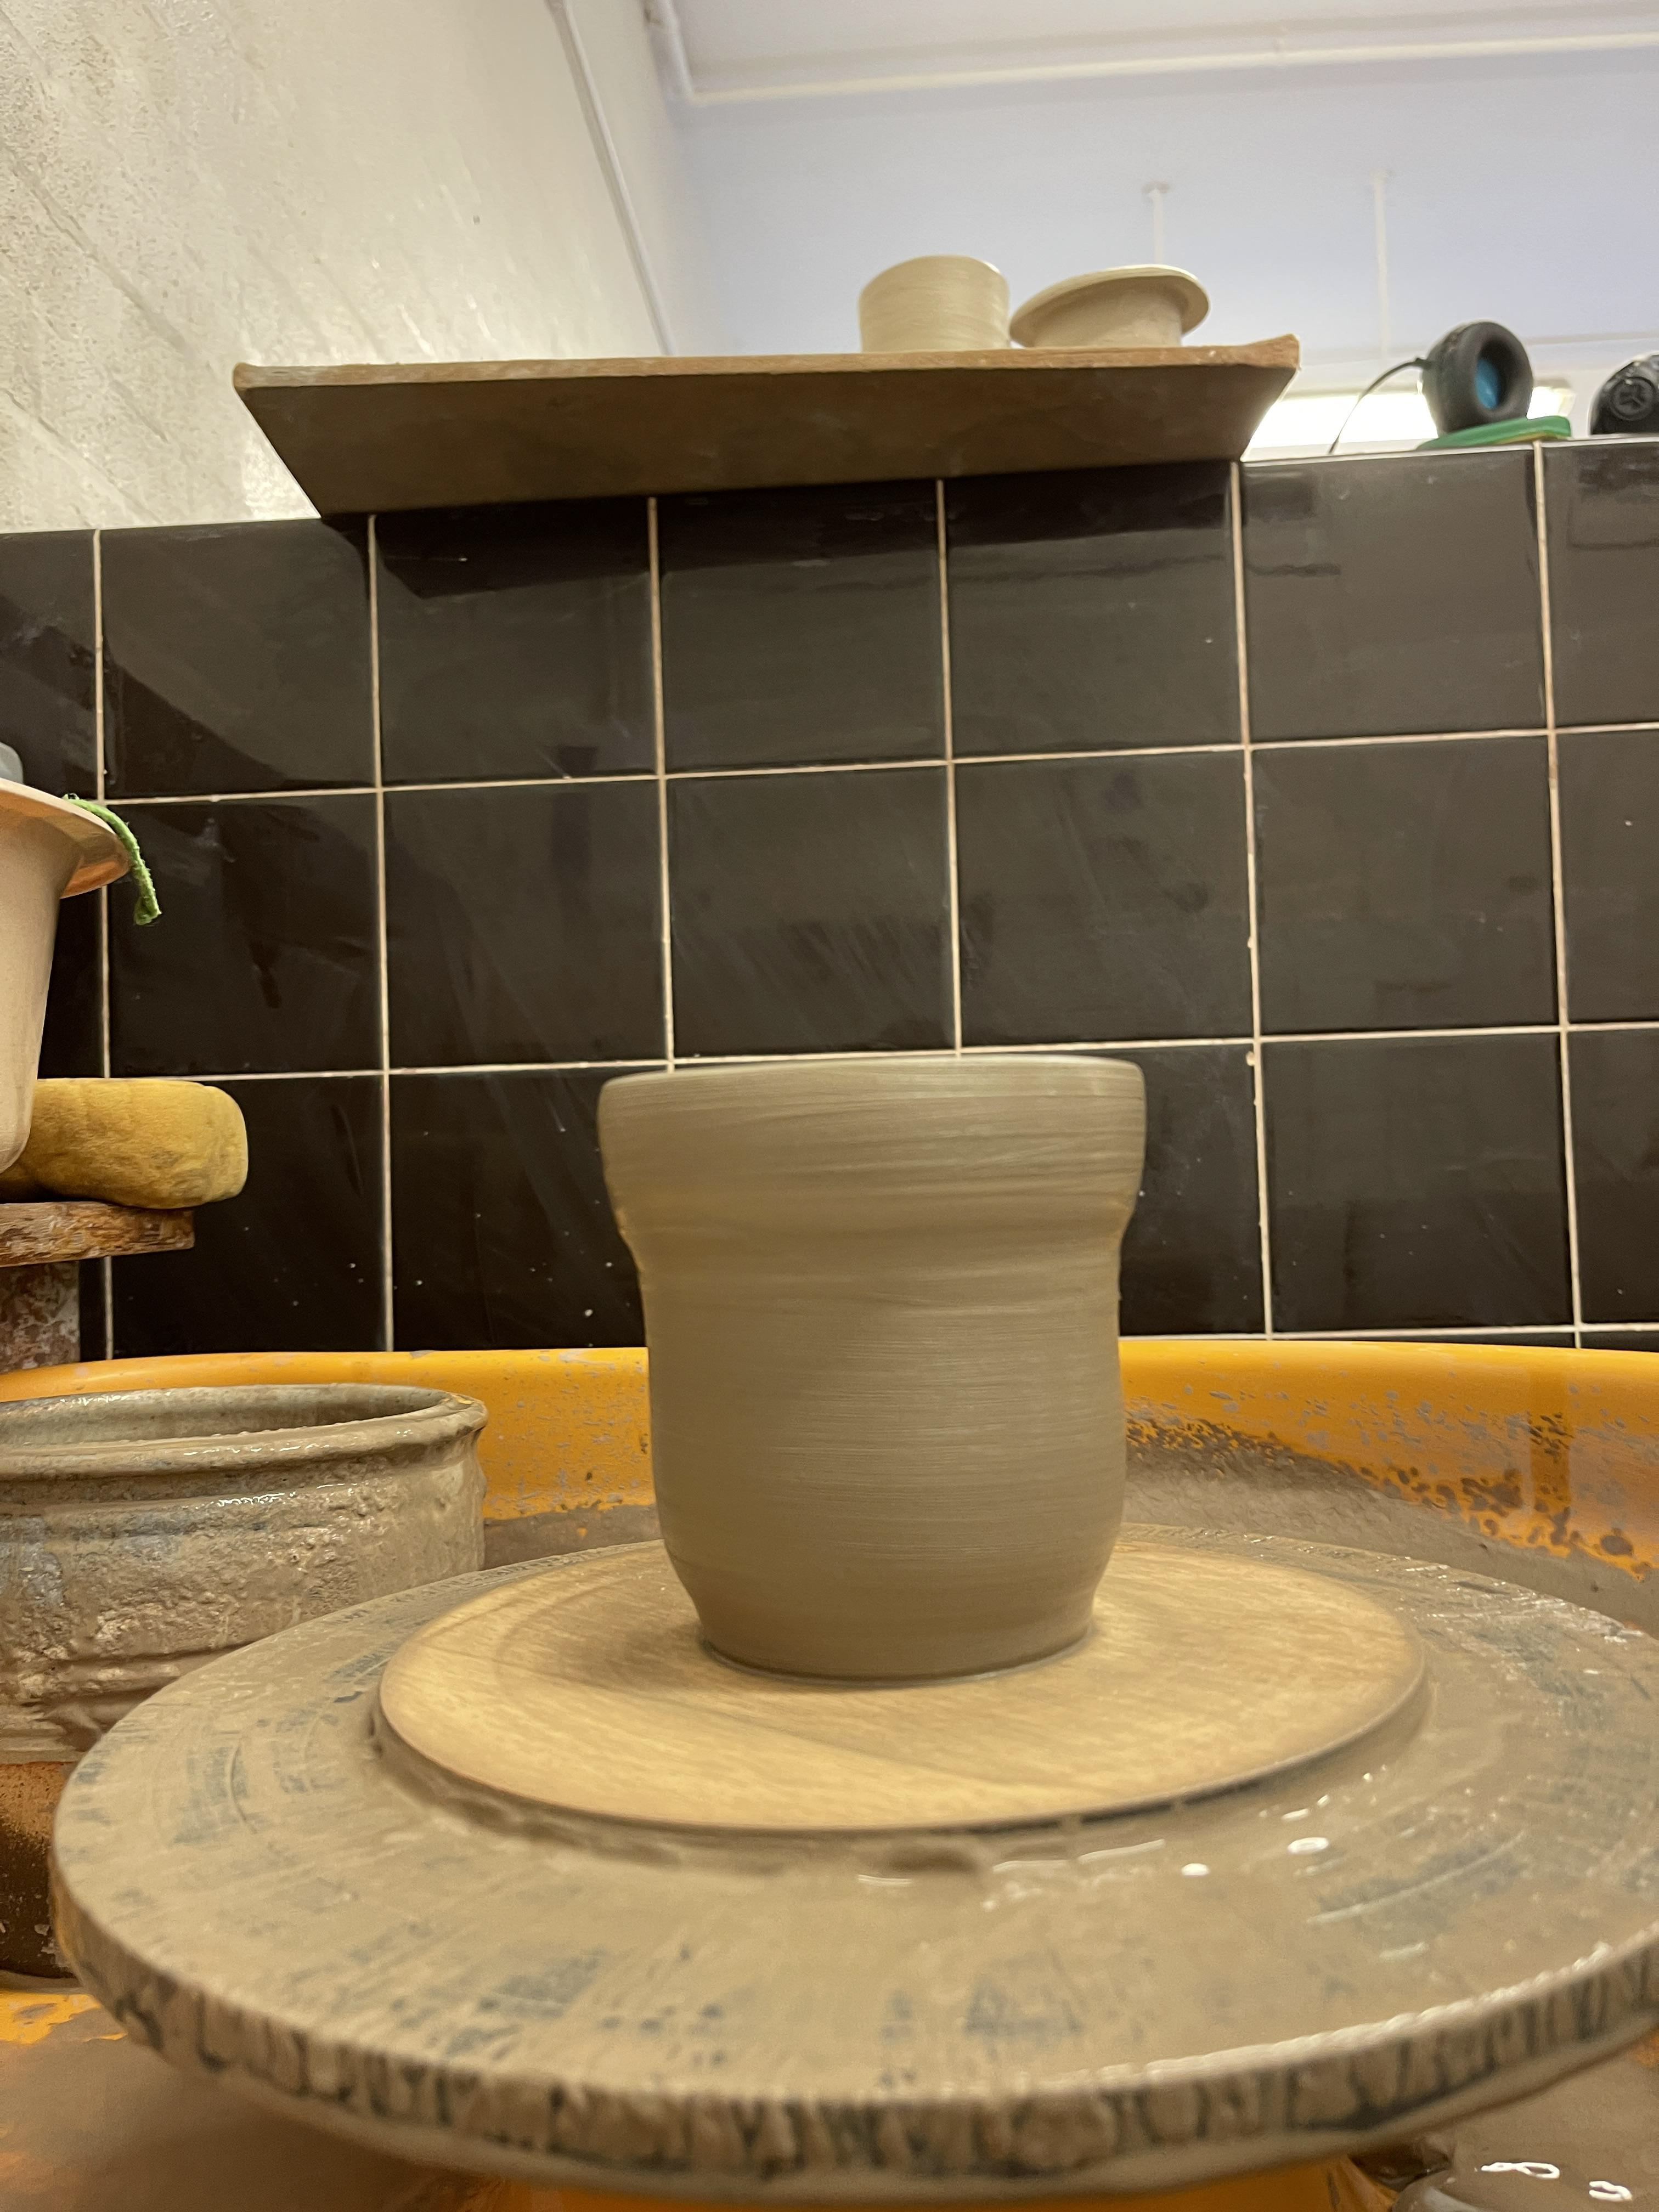
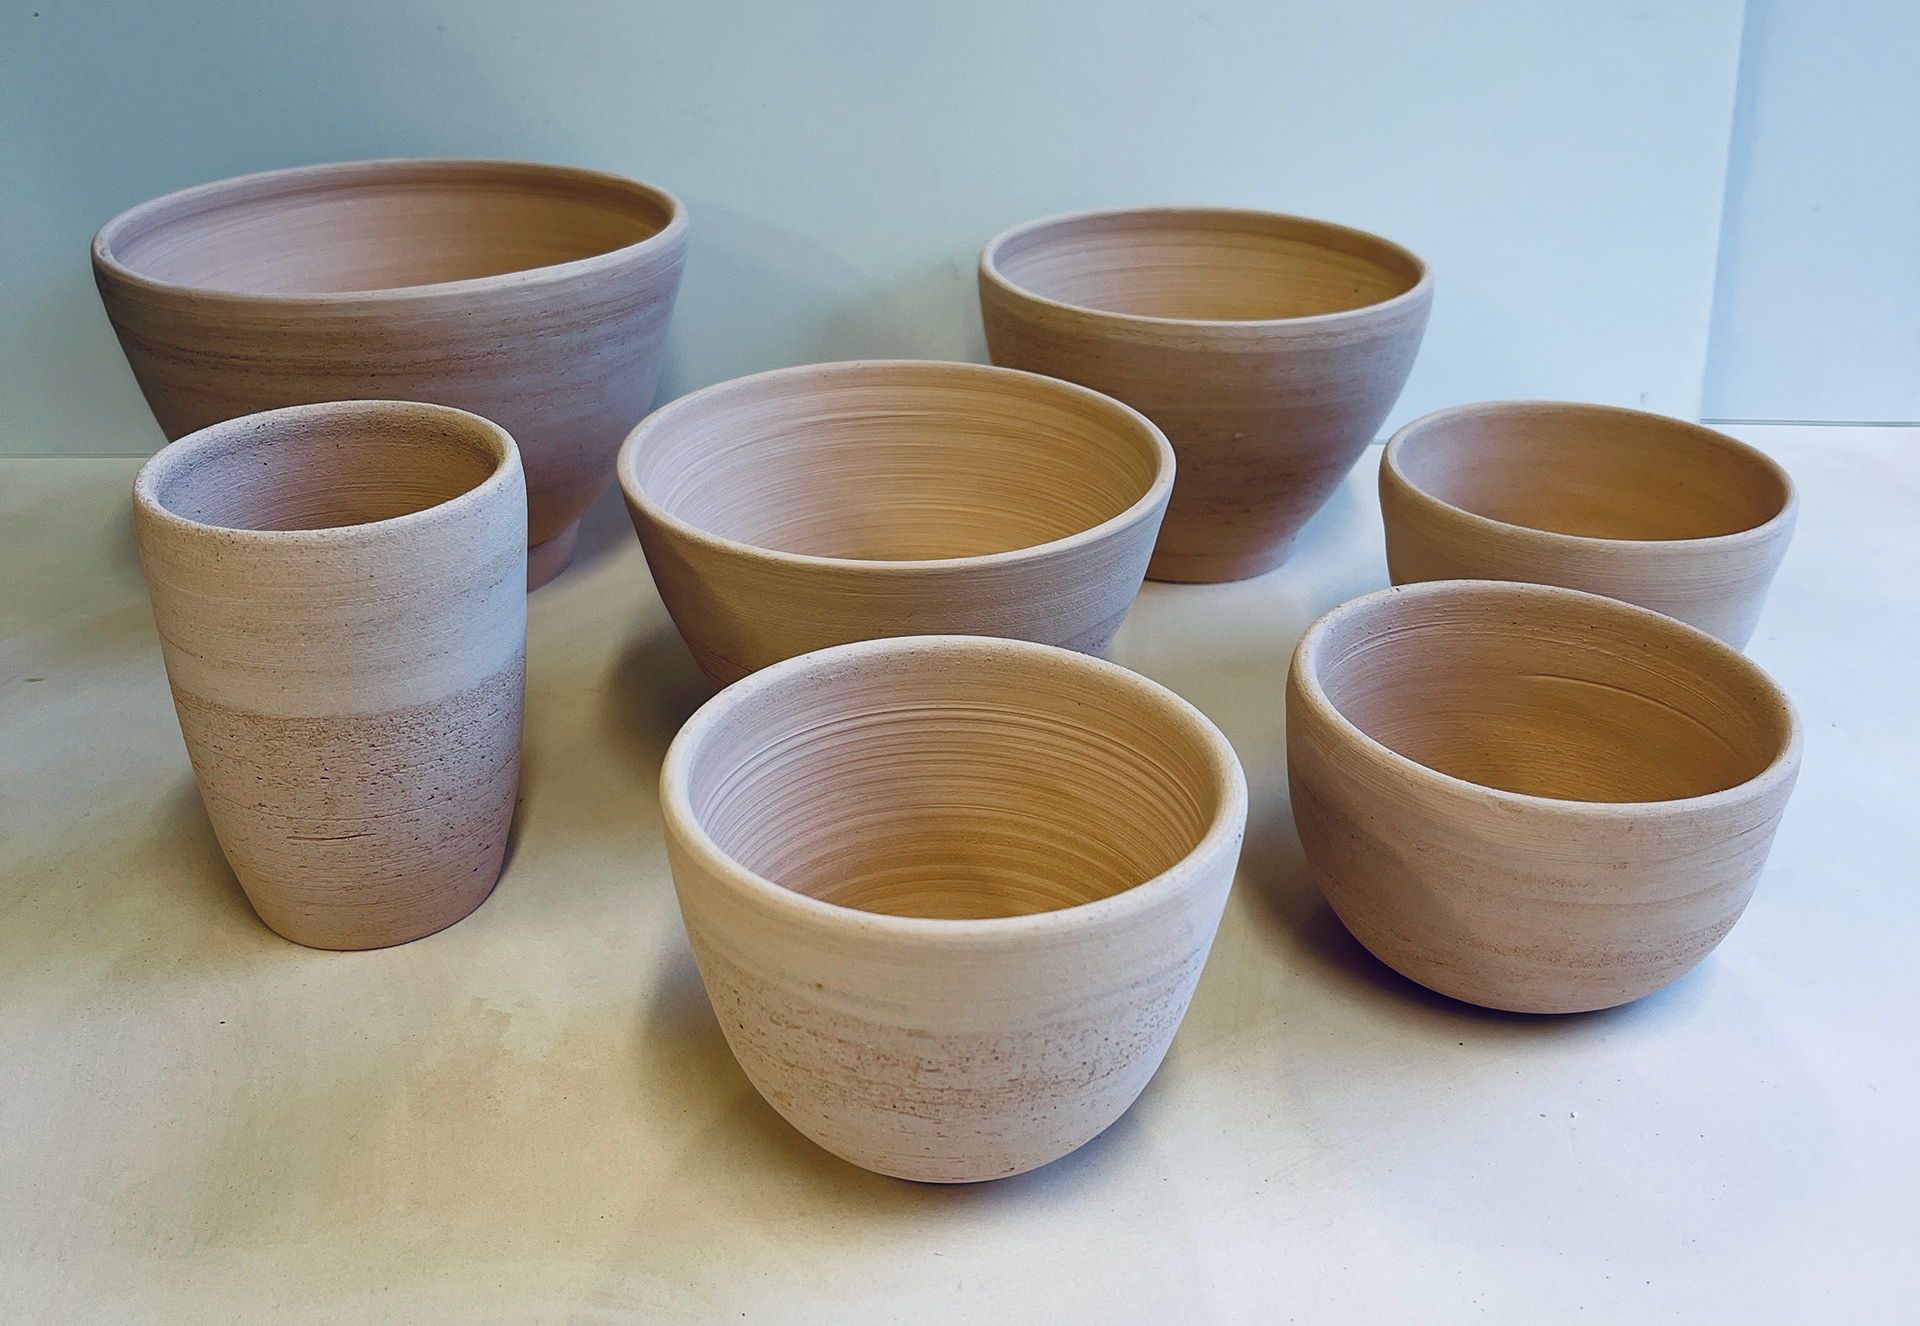
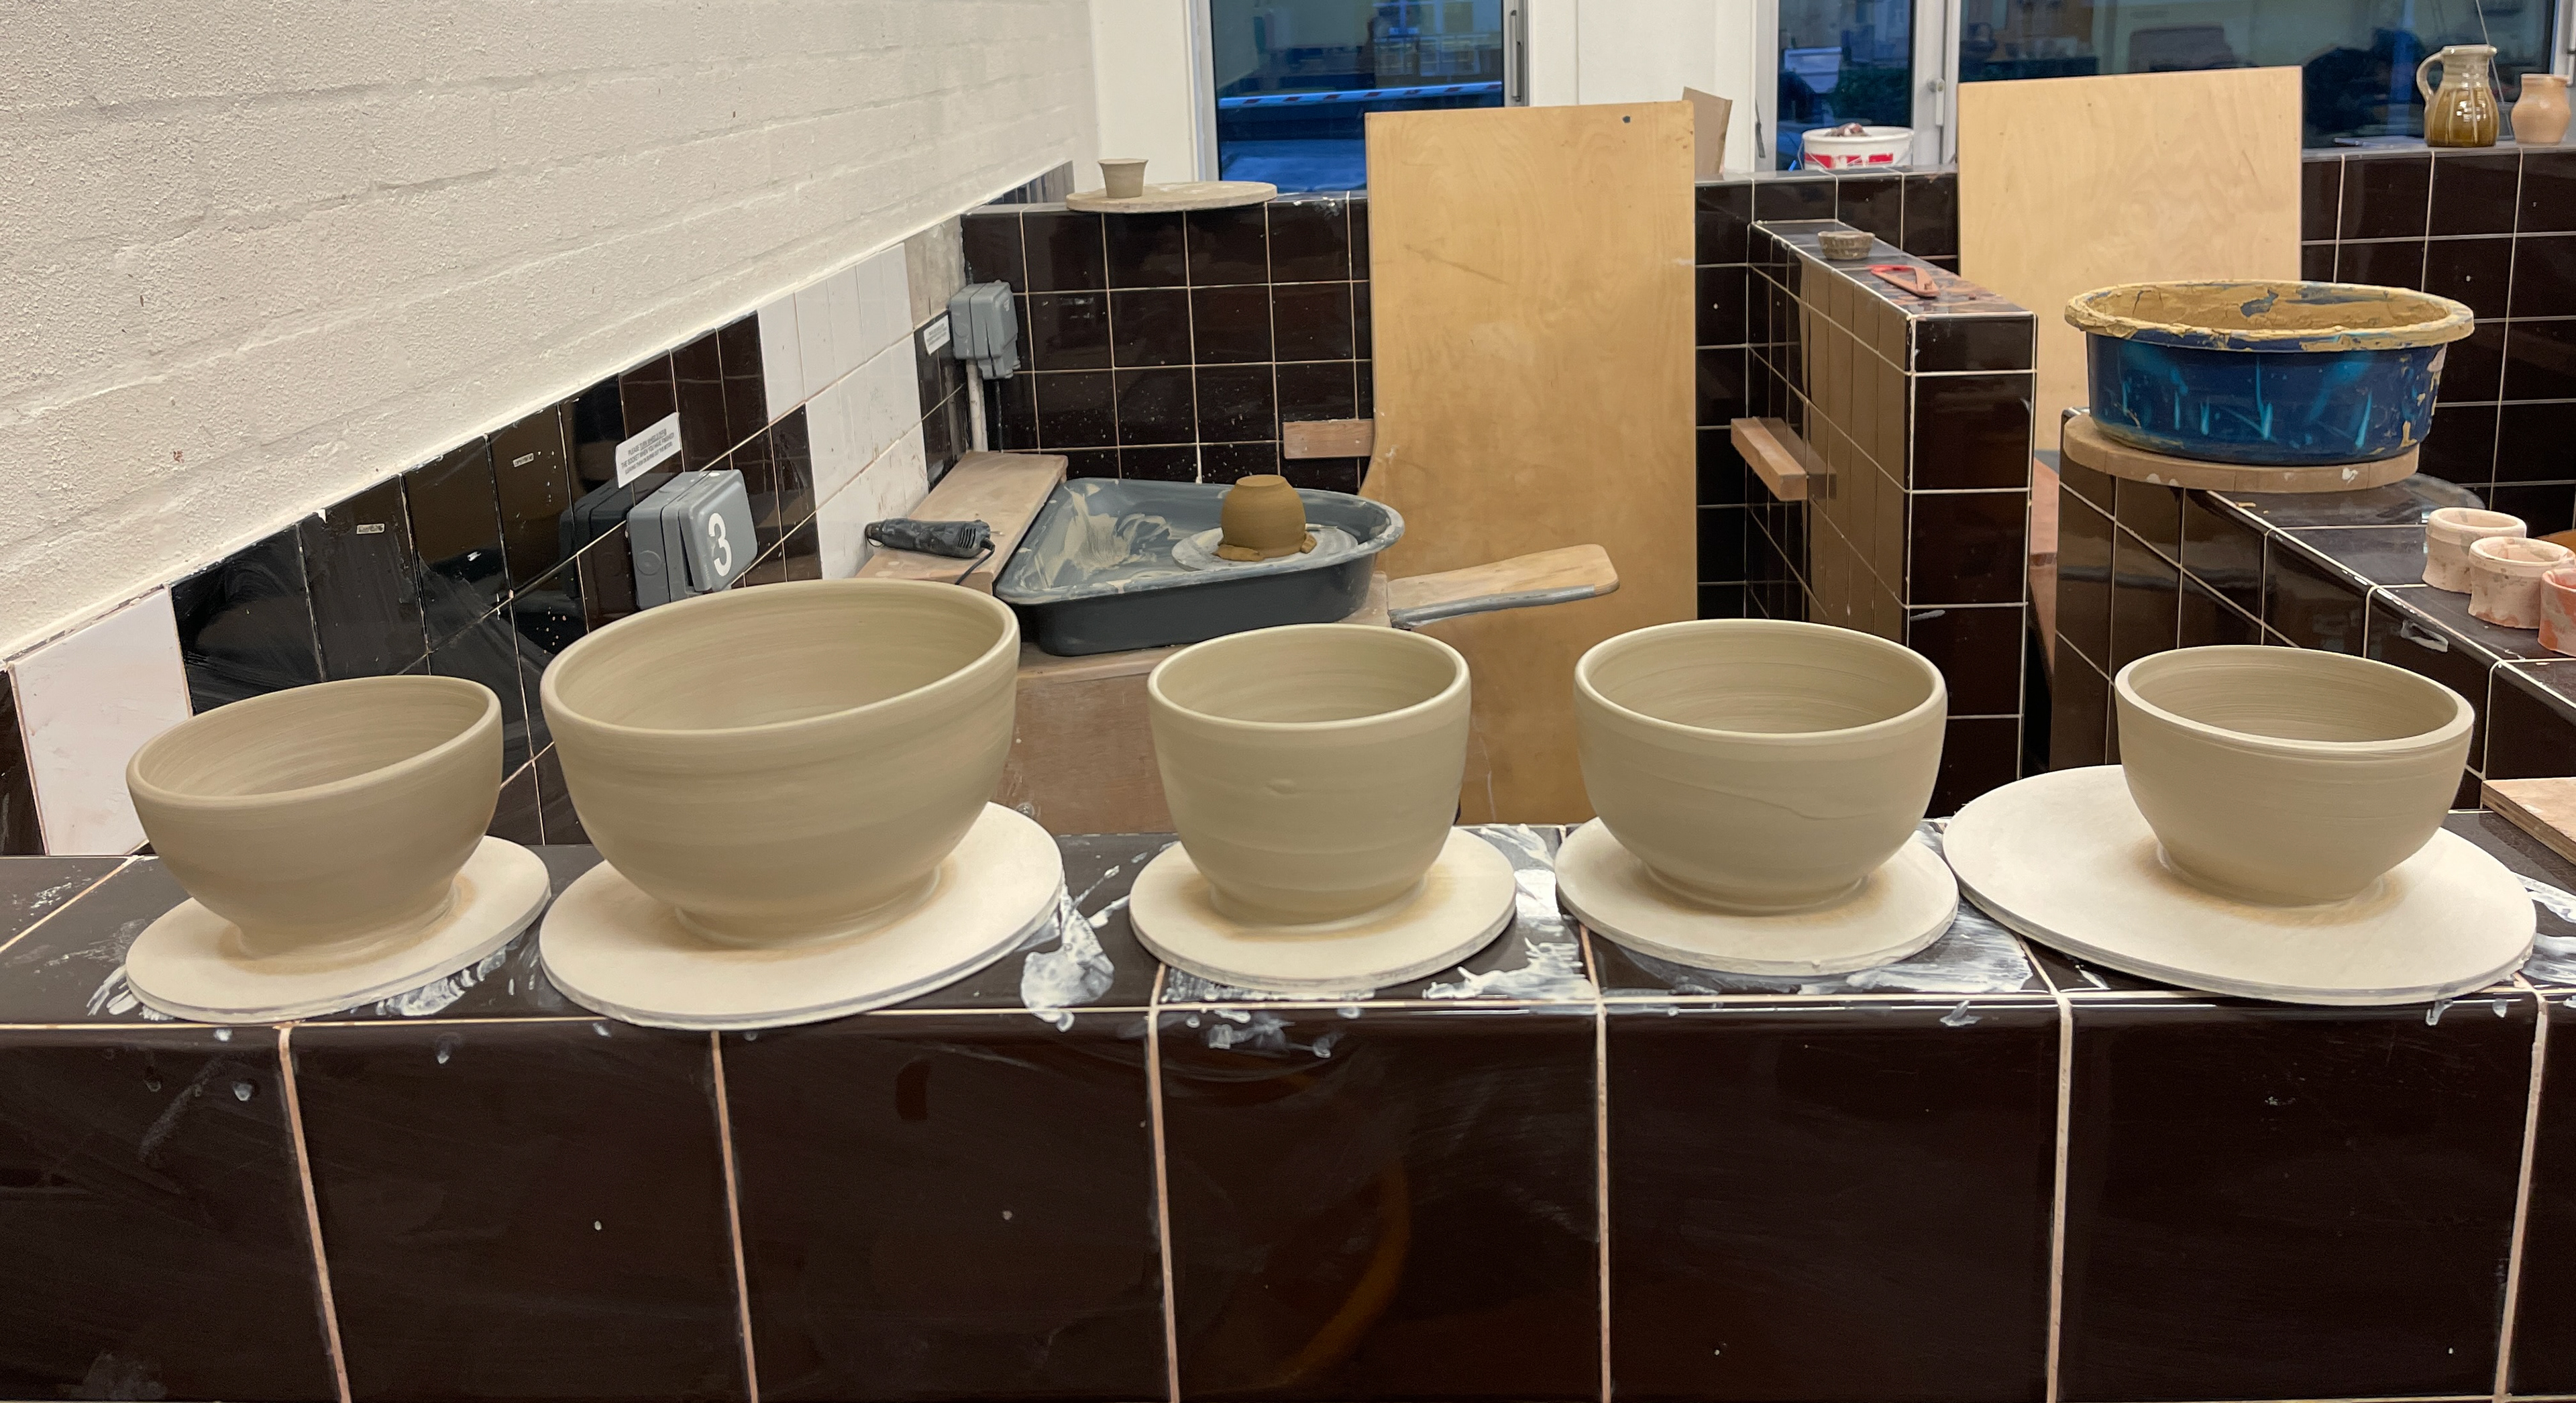
Right: Throwing off the hump technique. Left: one piece at a time throwing.
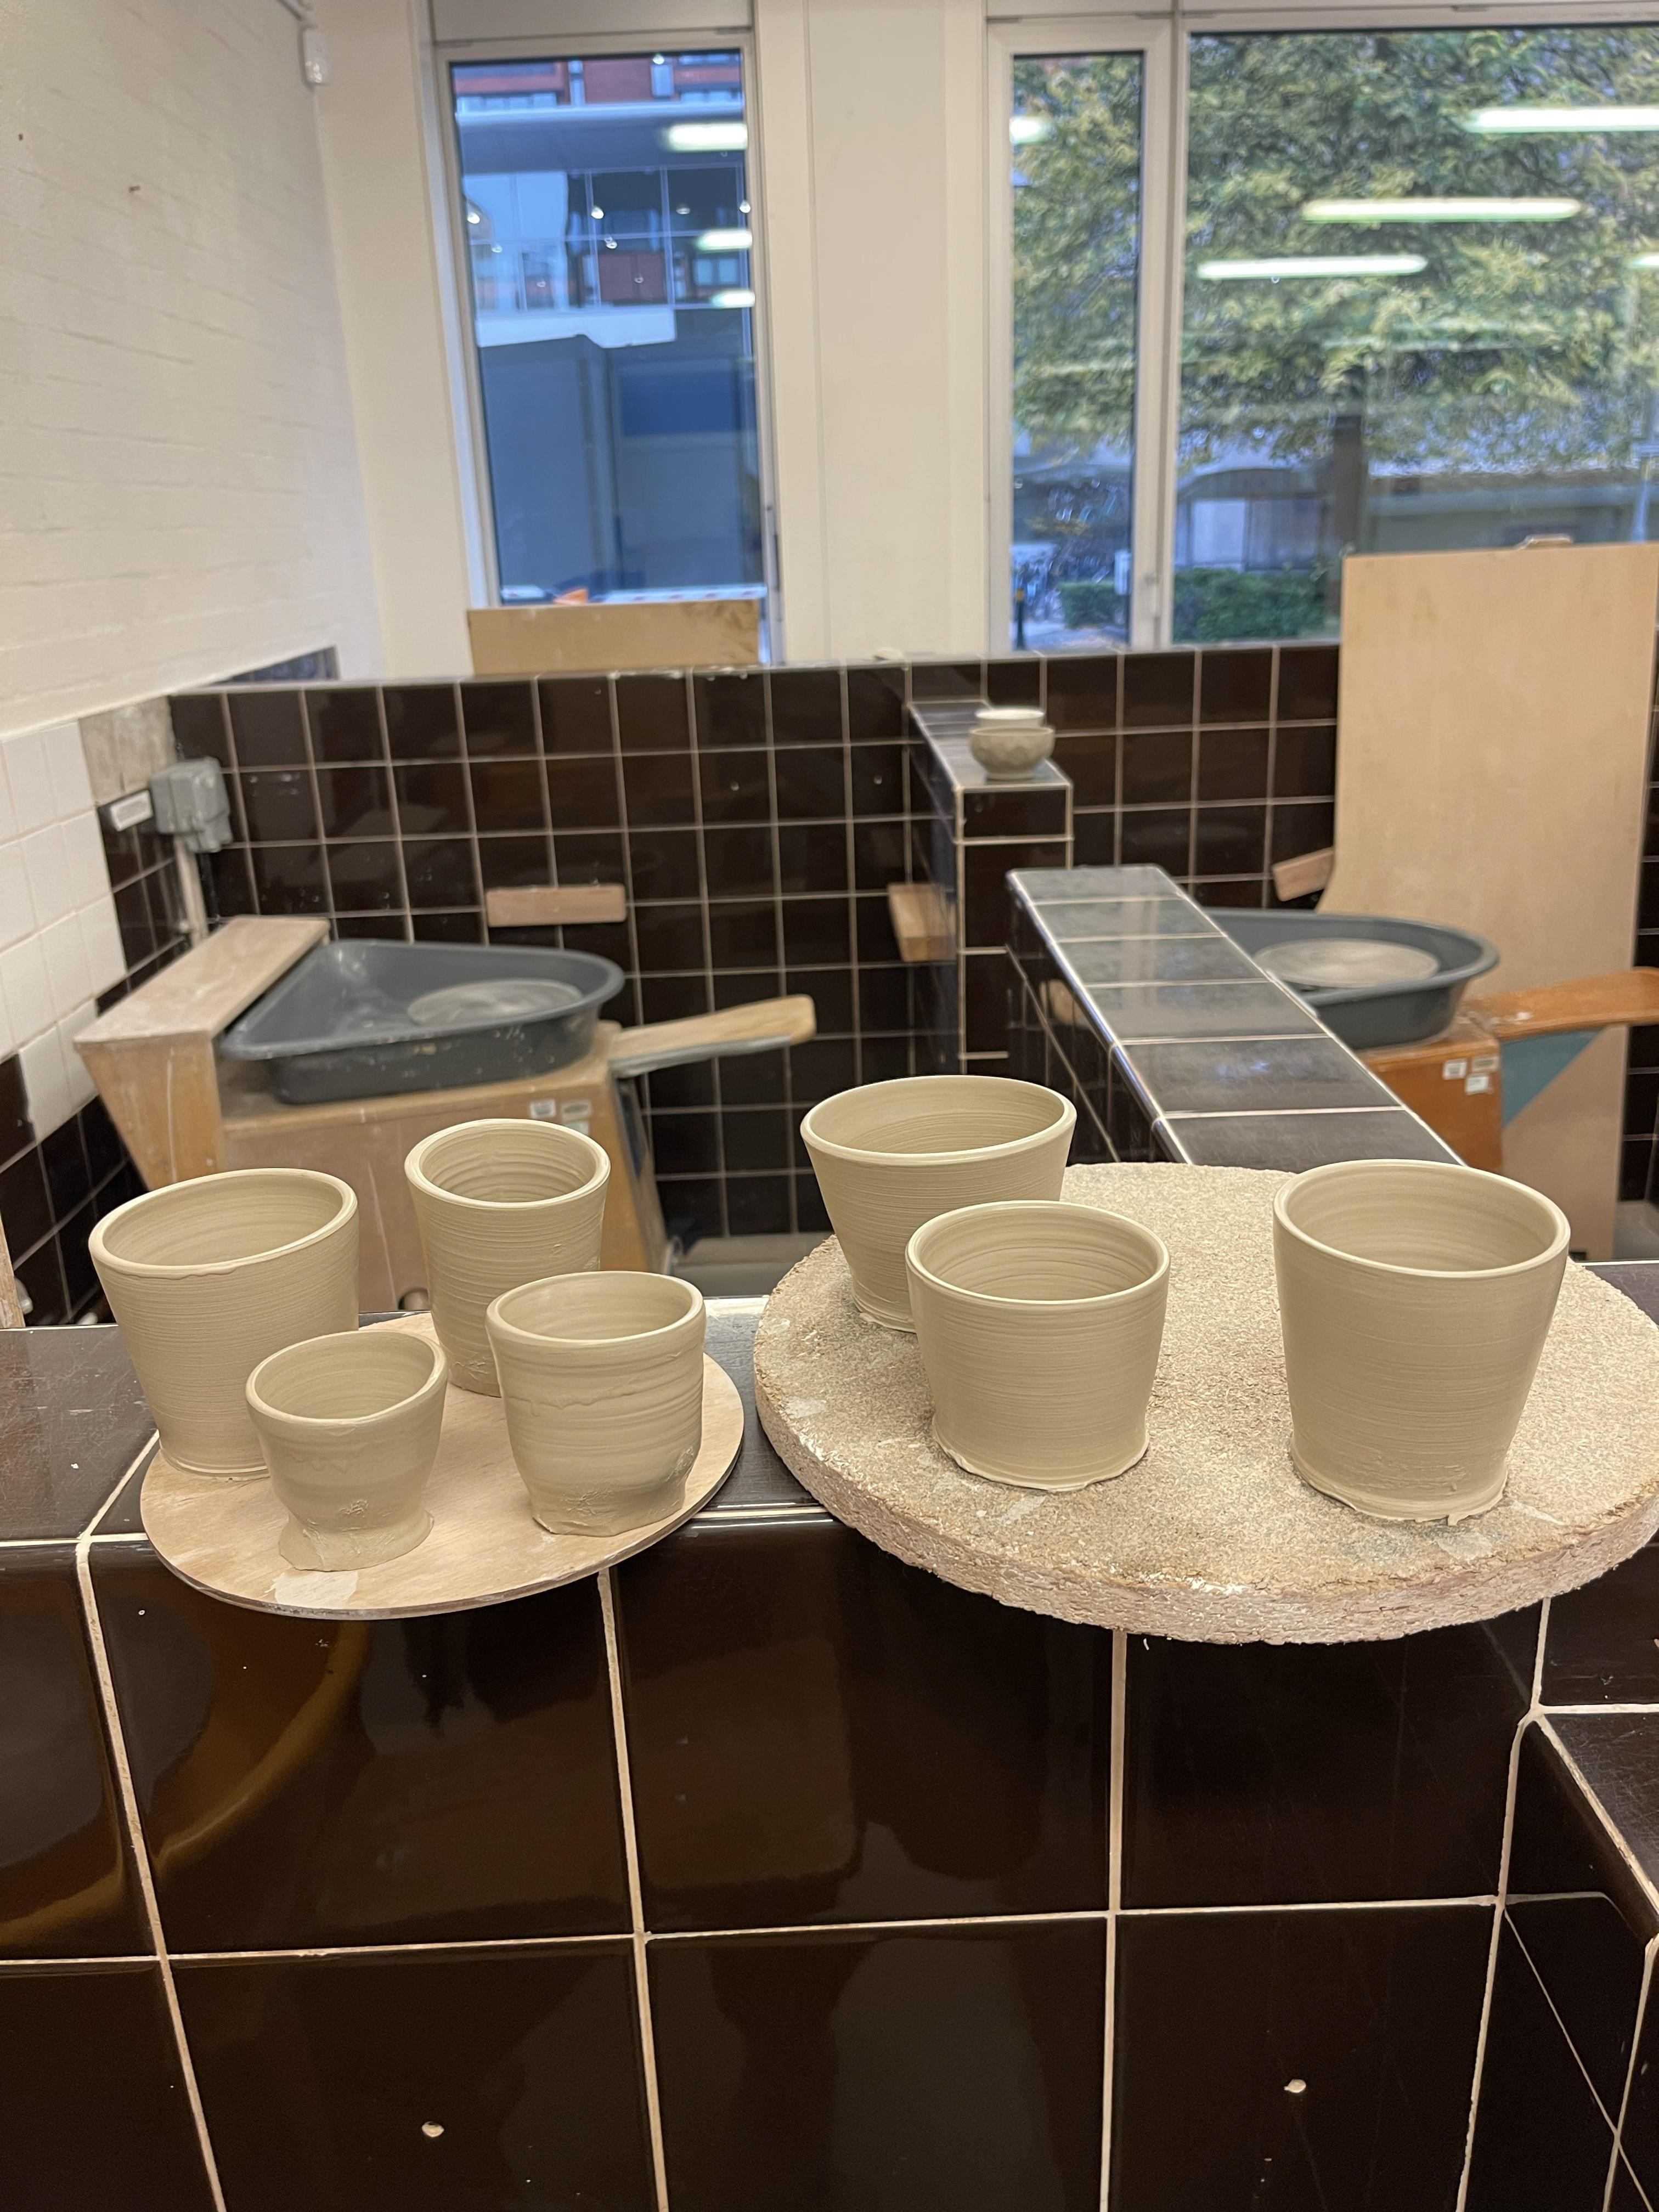
Left: Blindfolded throwing. Right: one piece at a time throwing
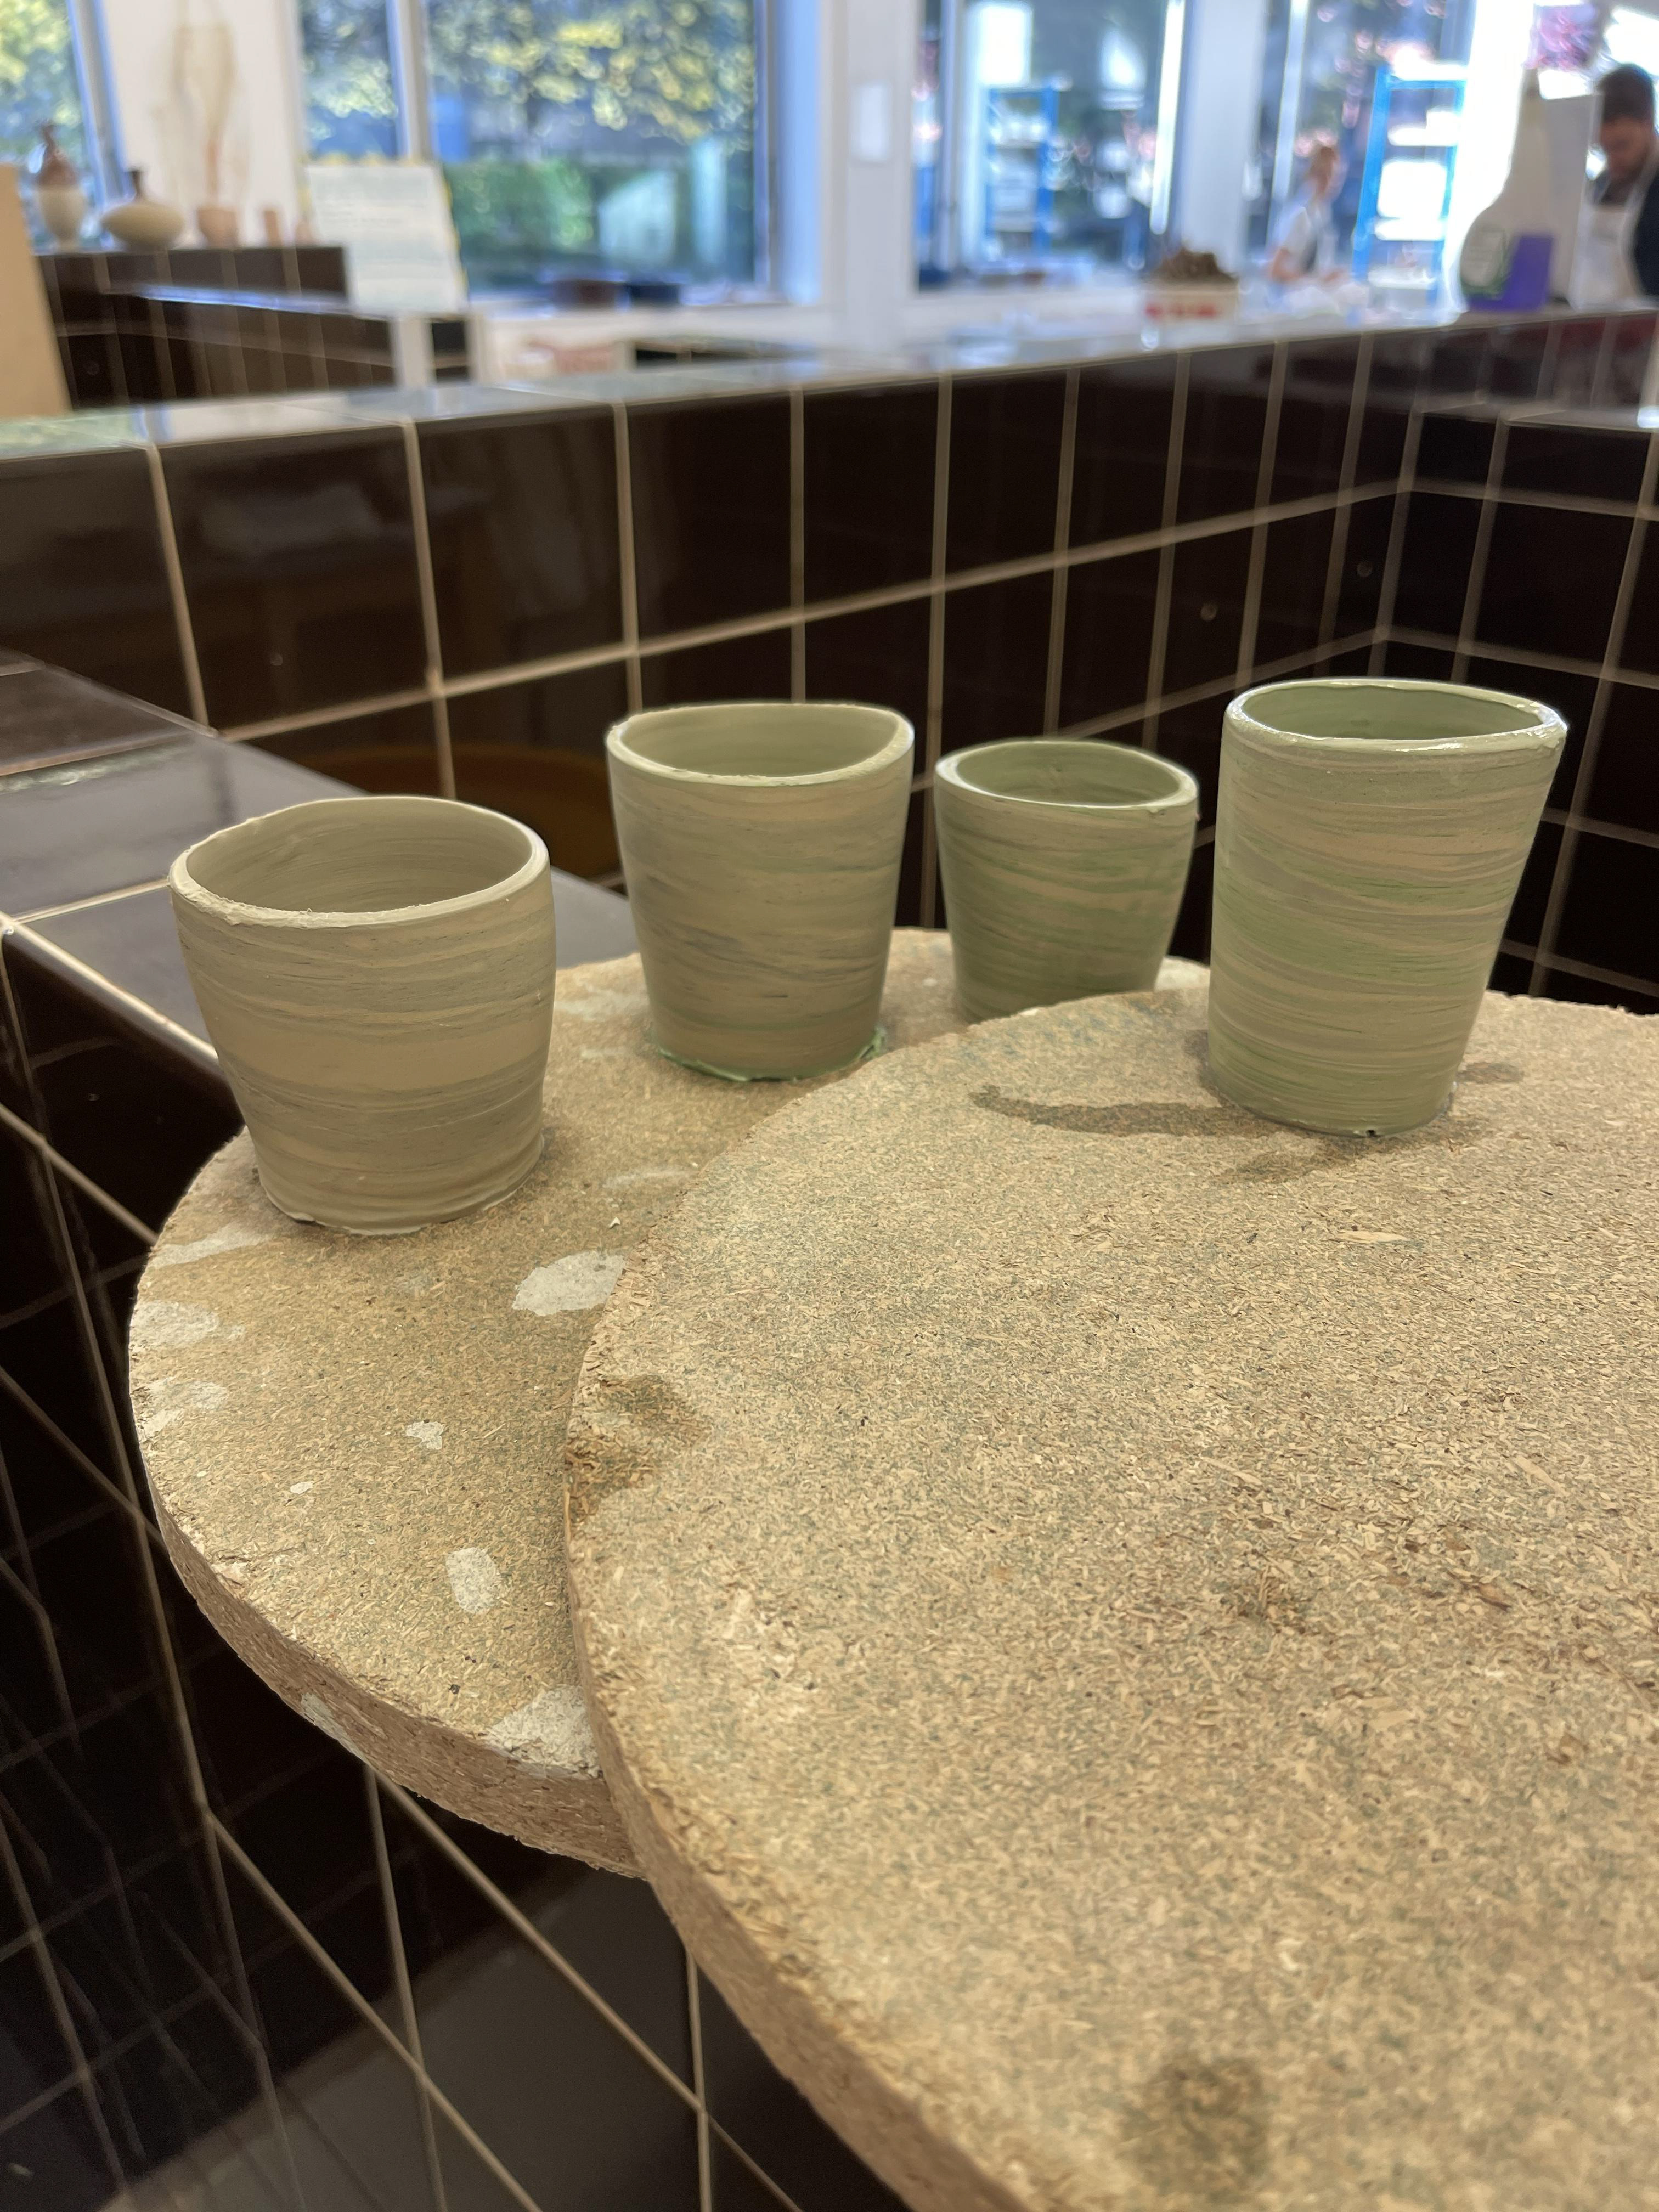


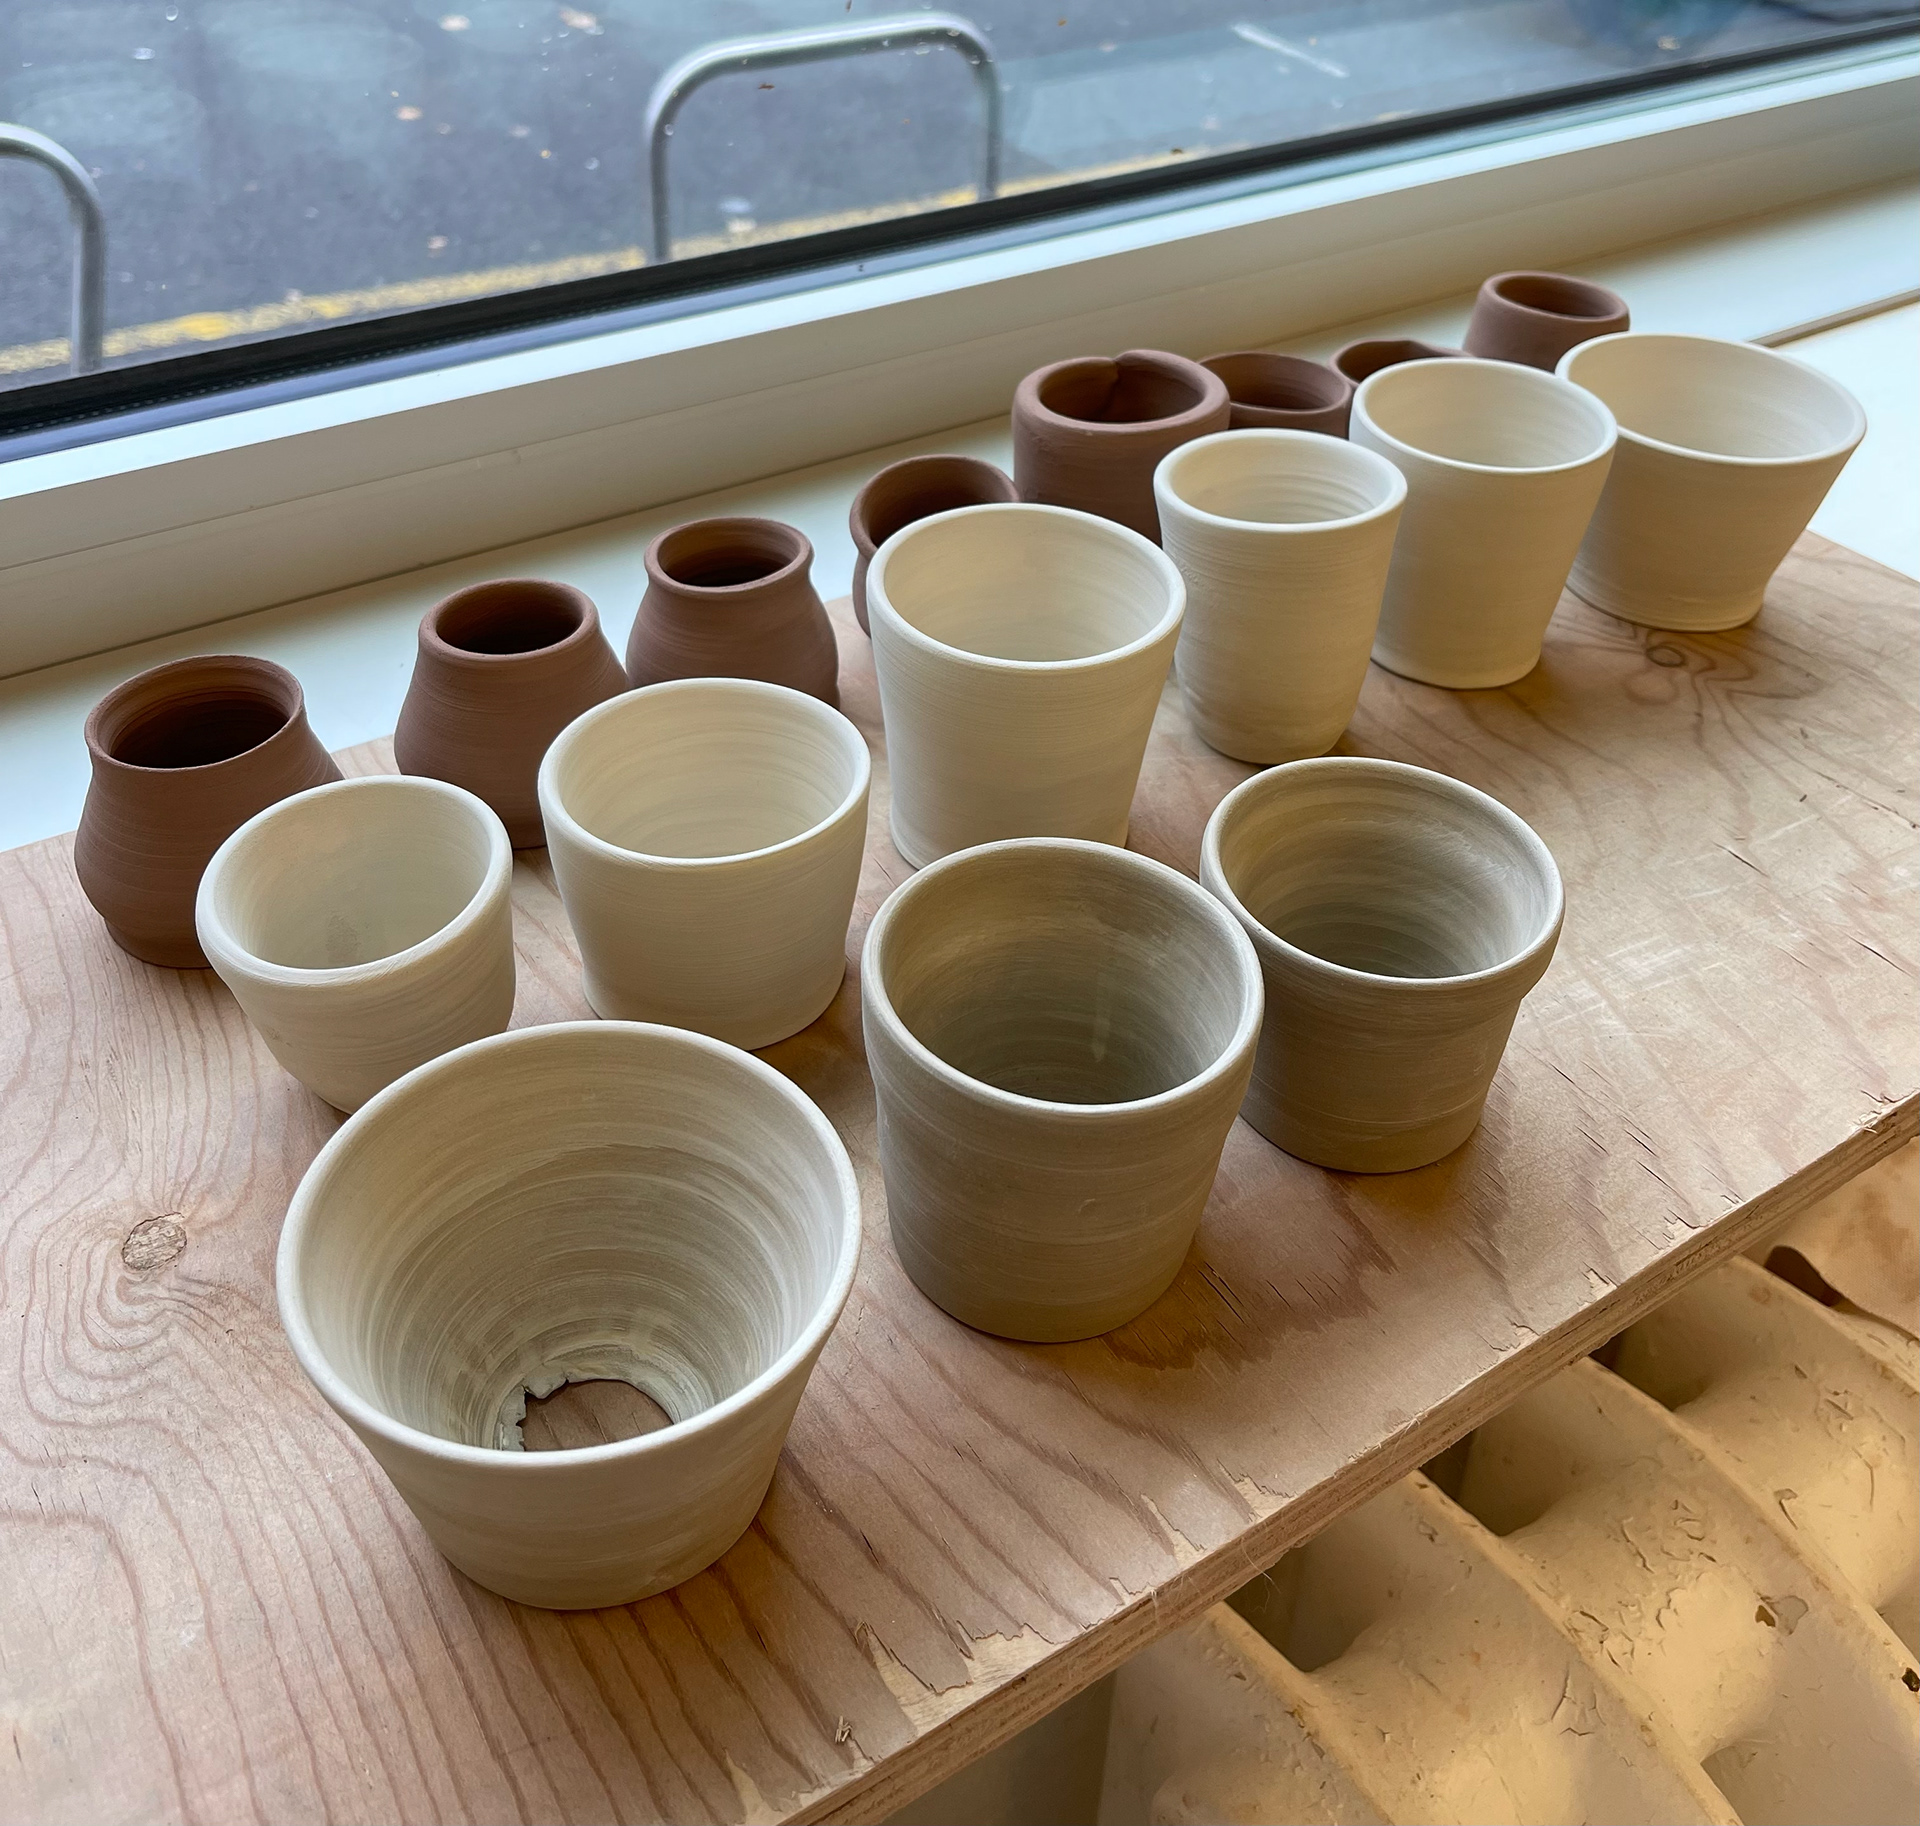
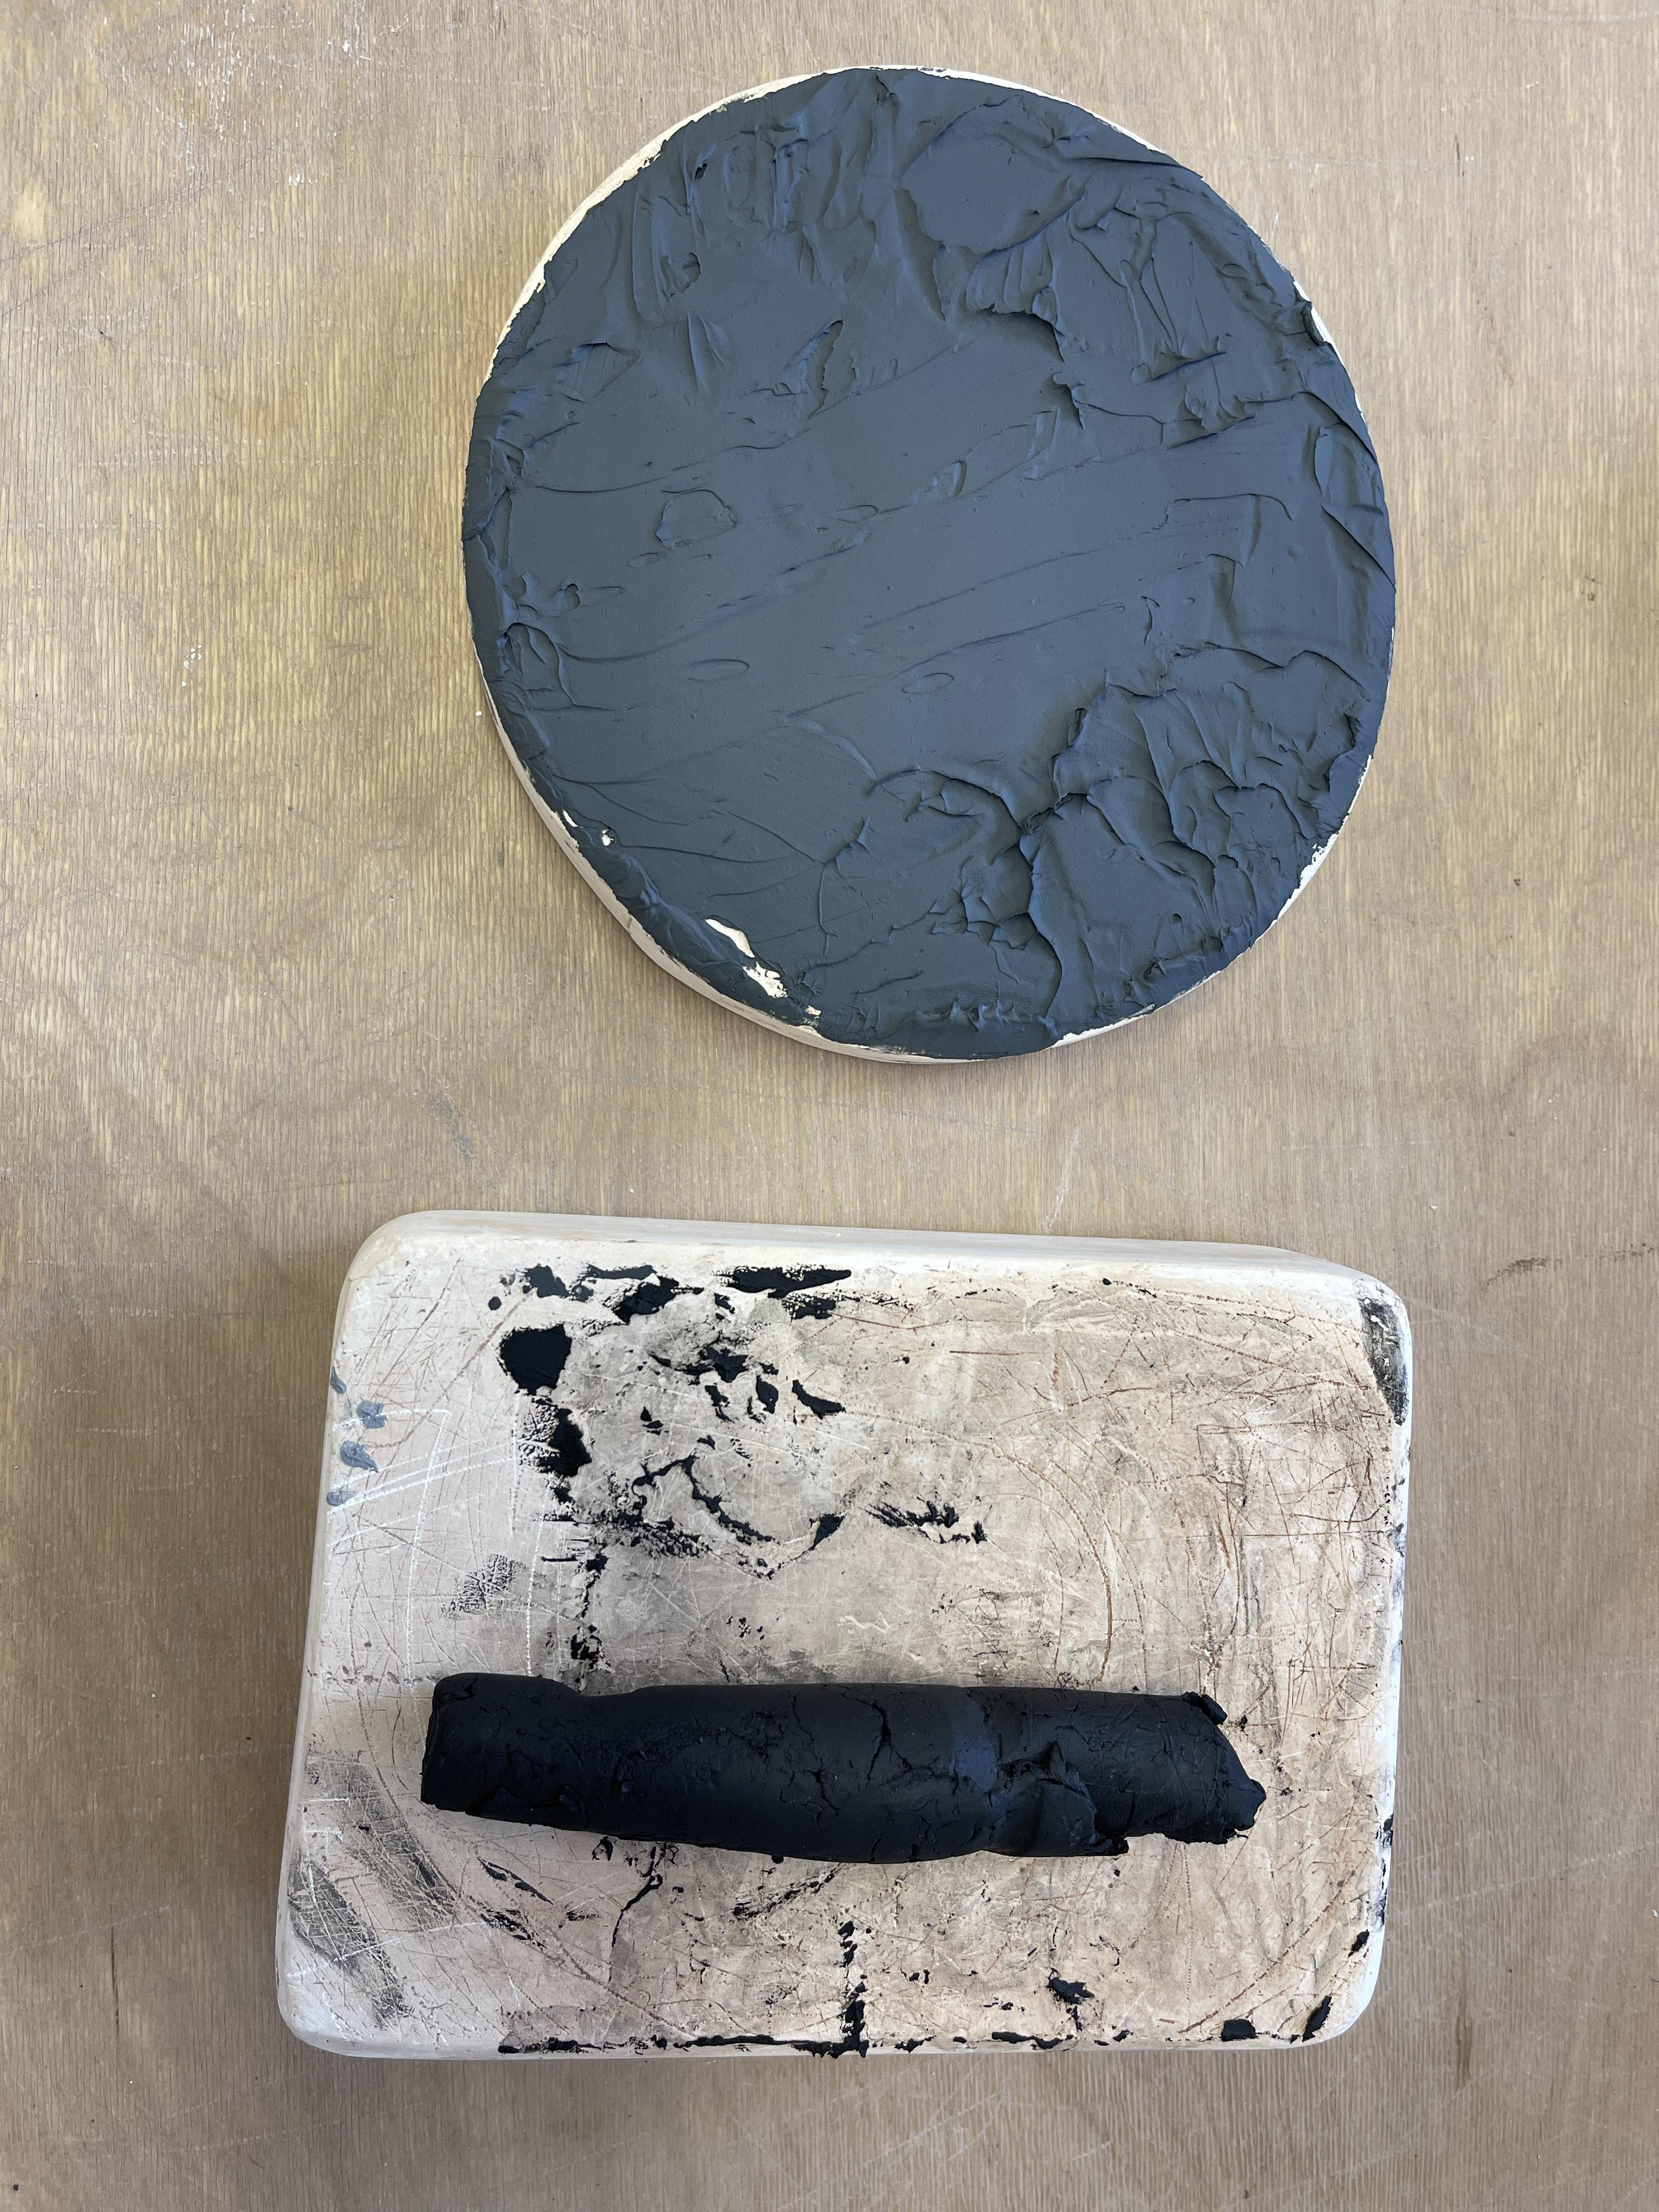
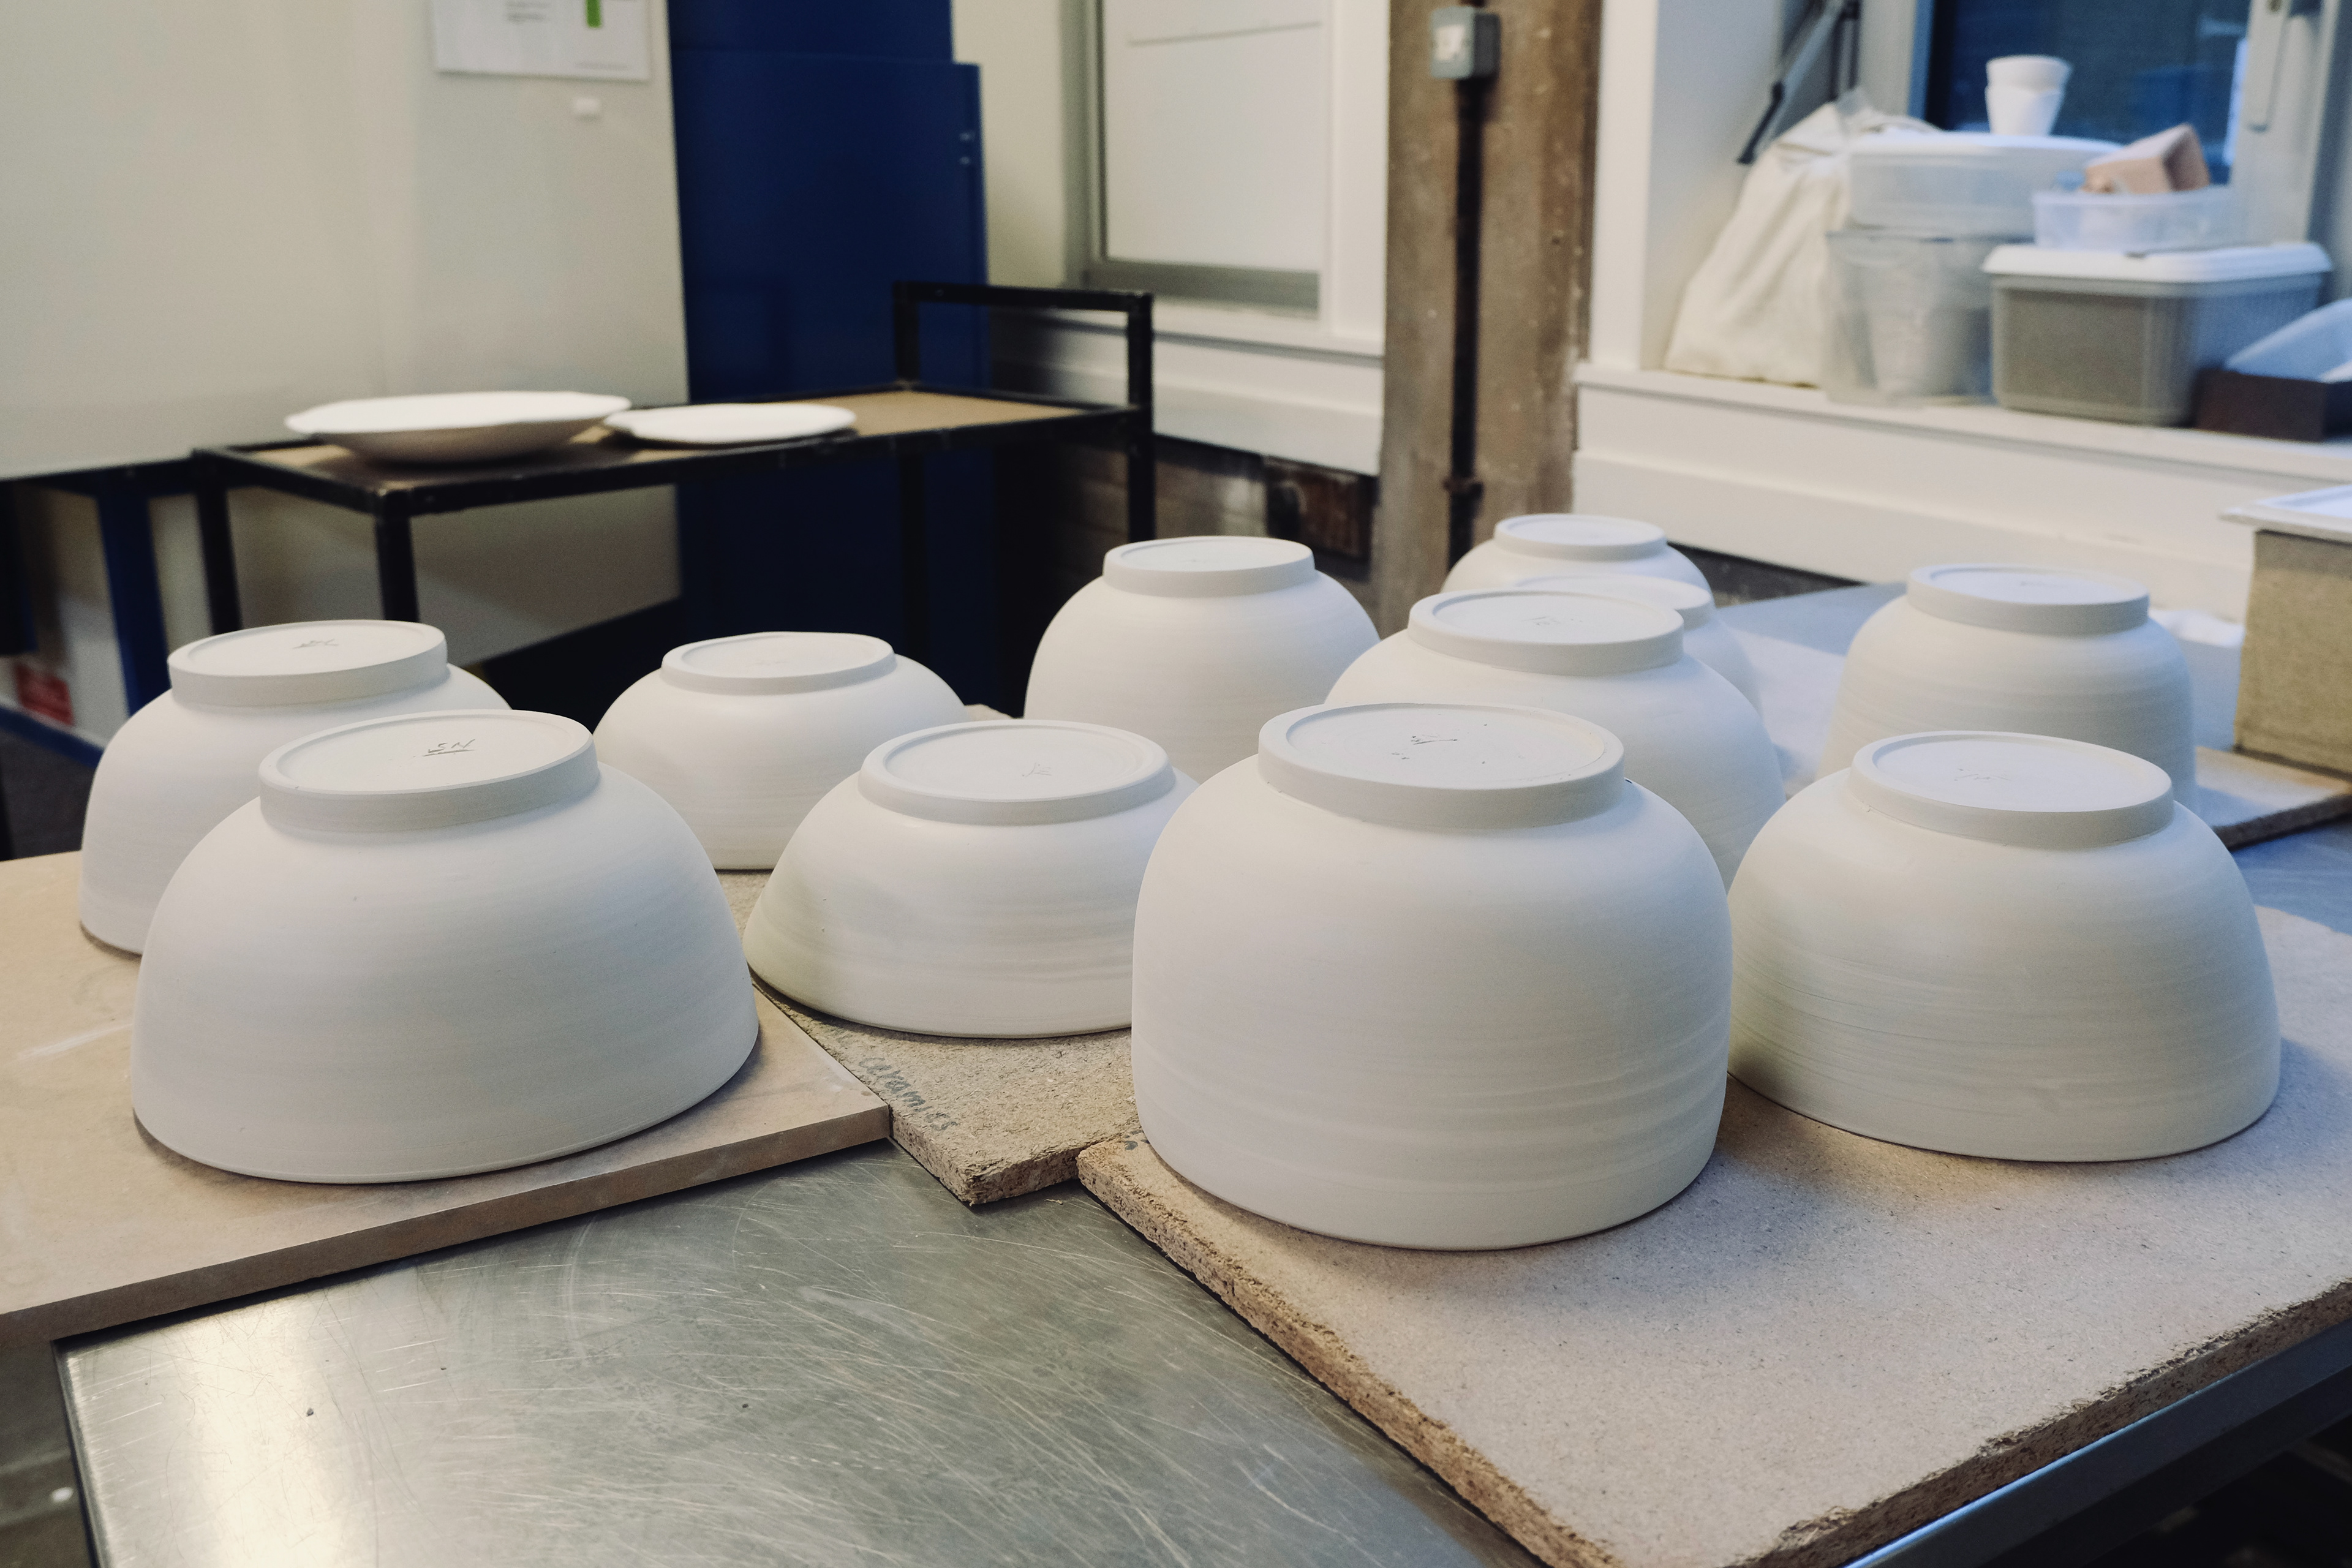
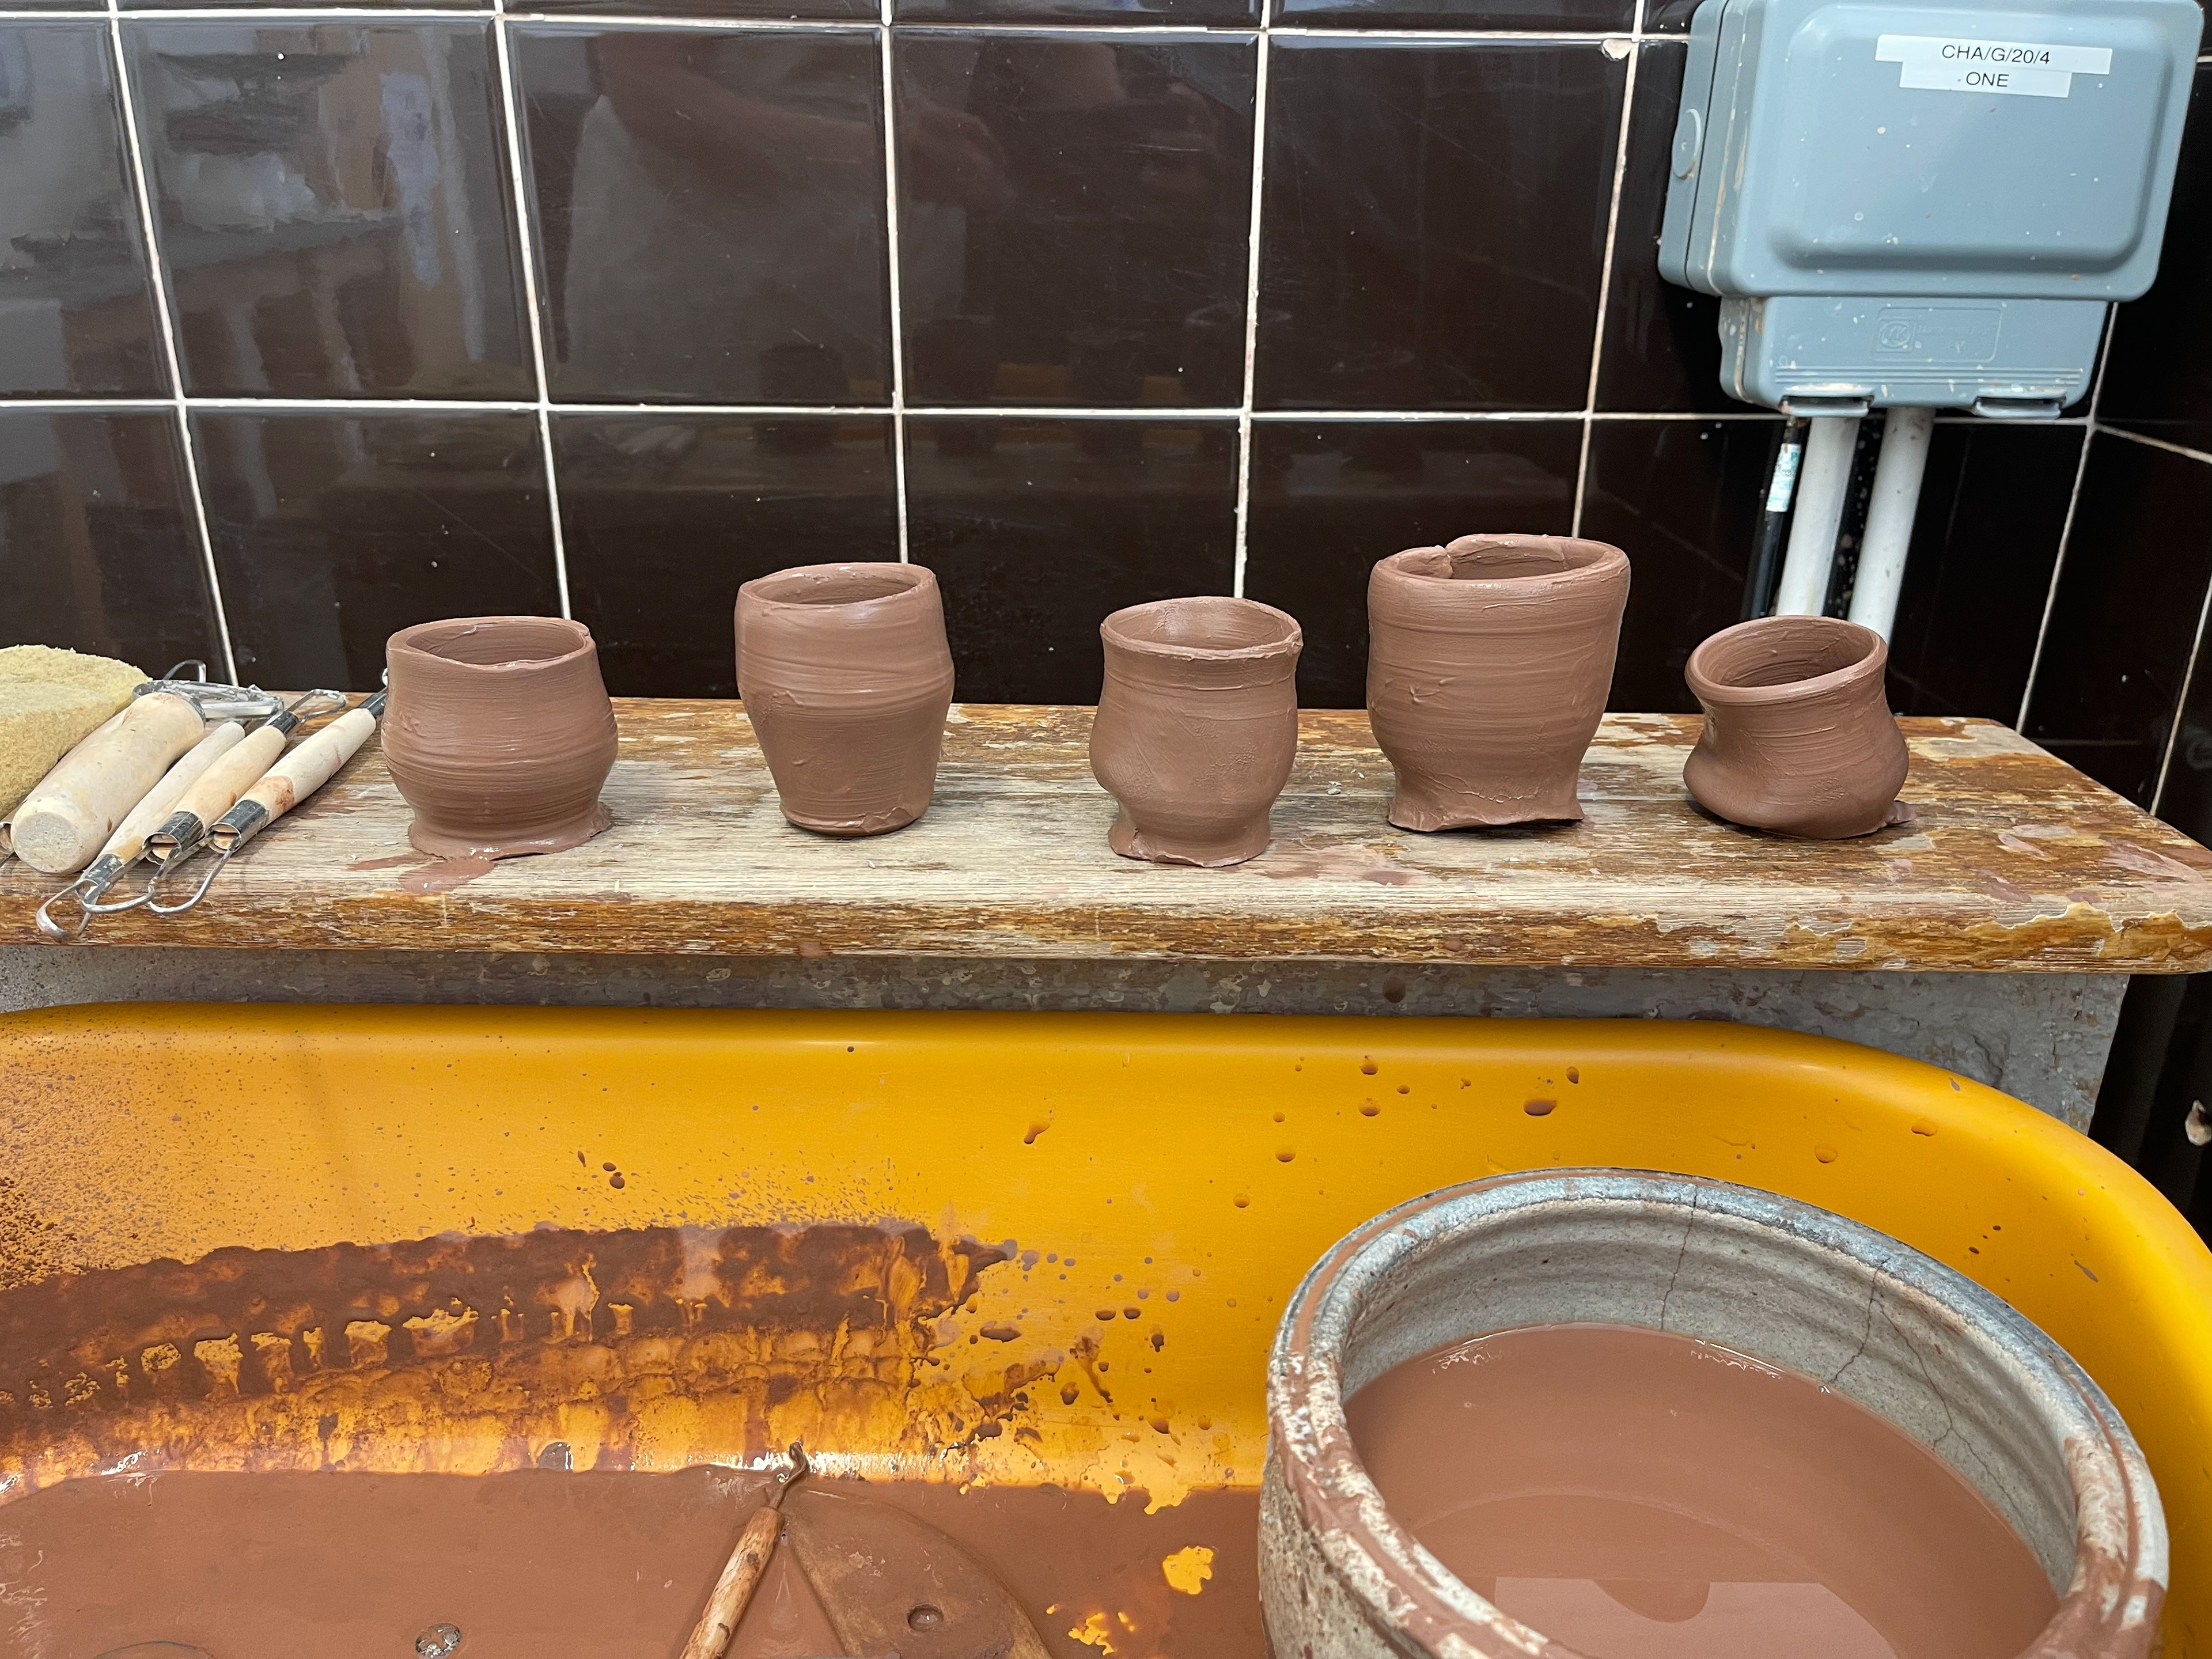
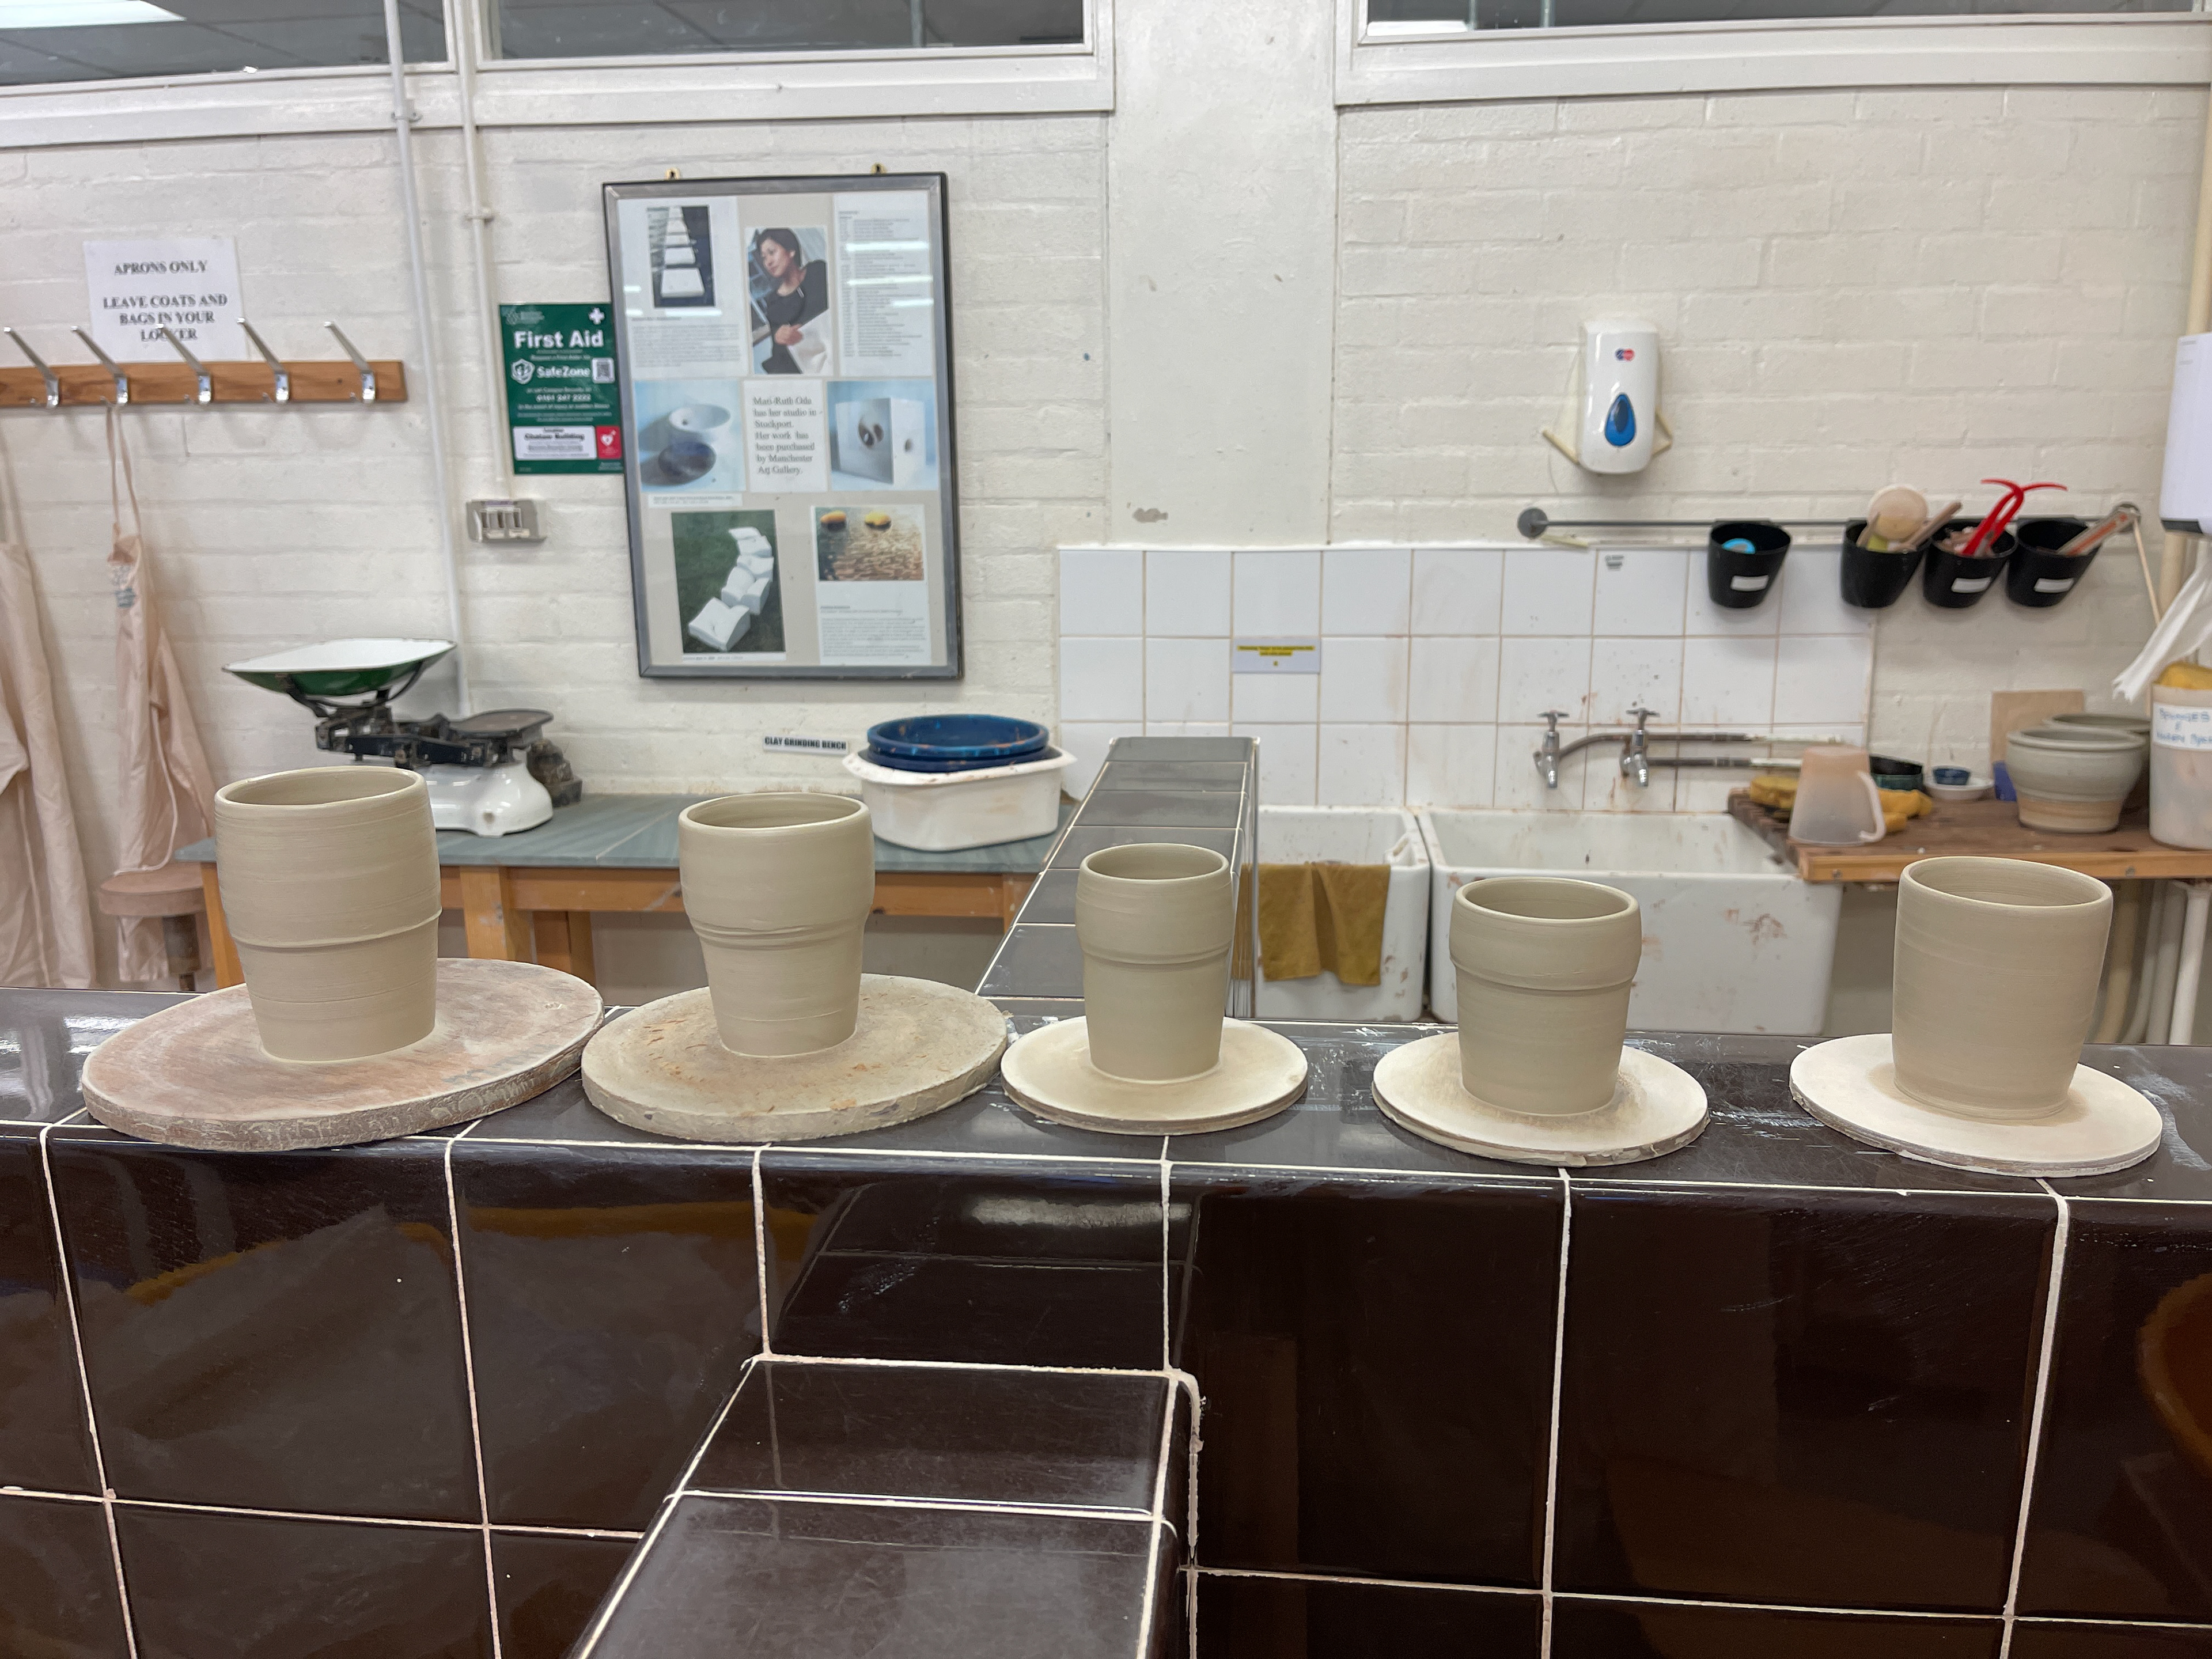
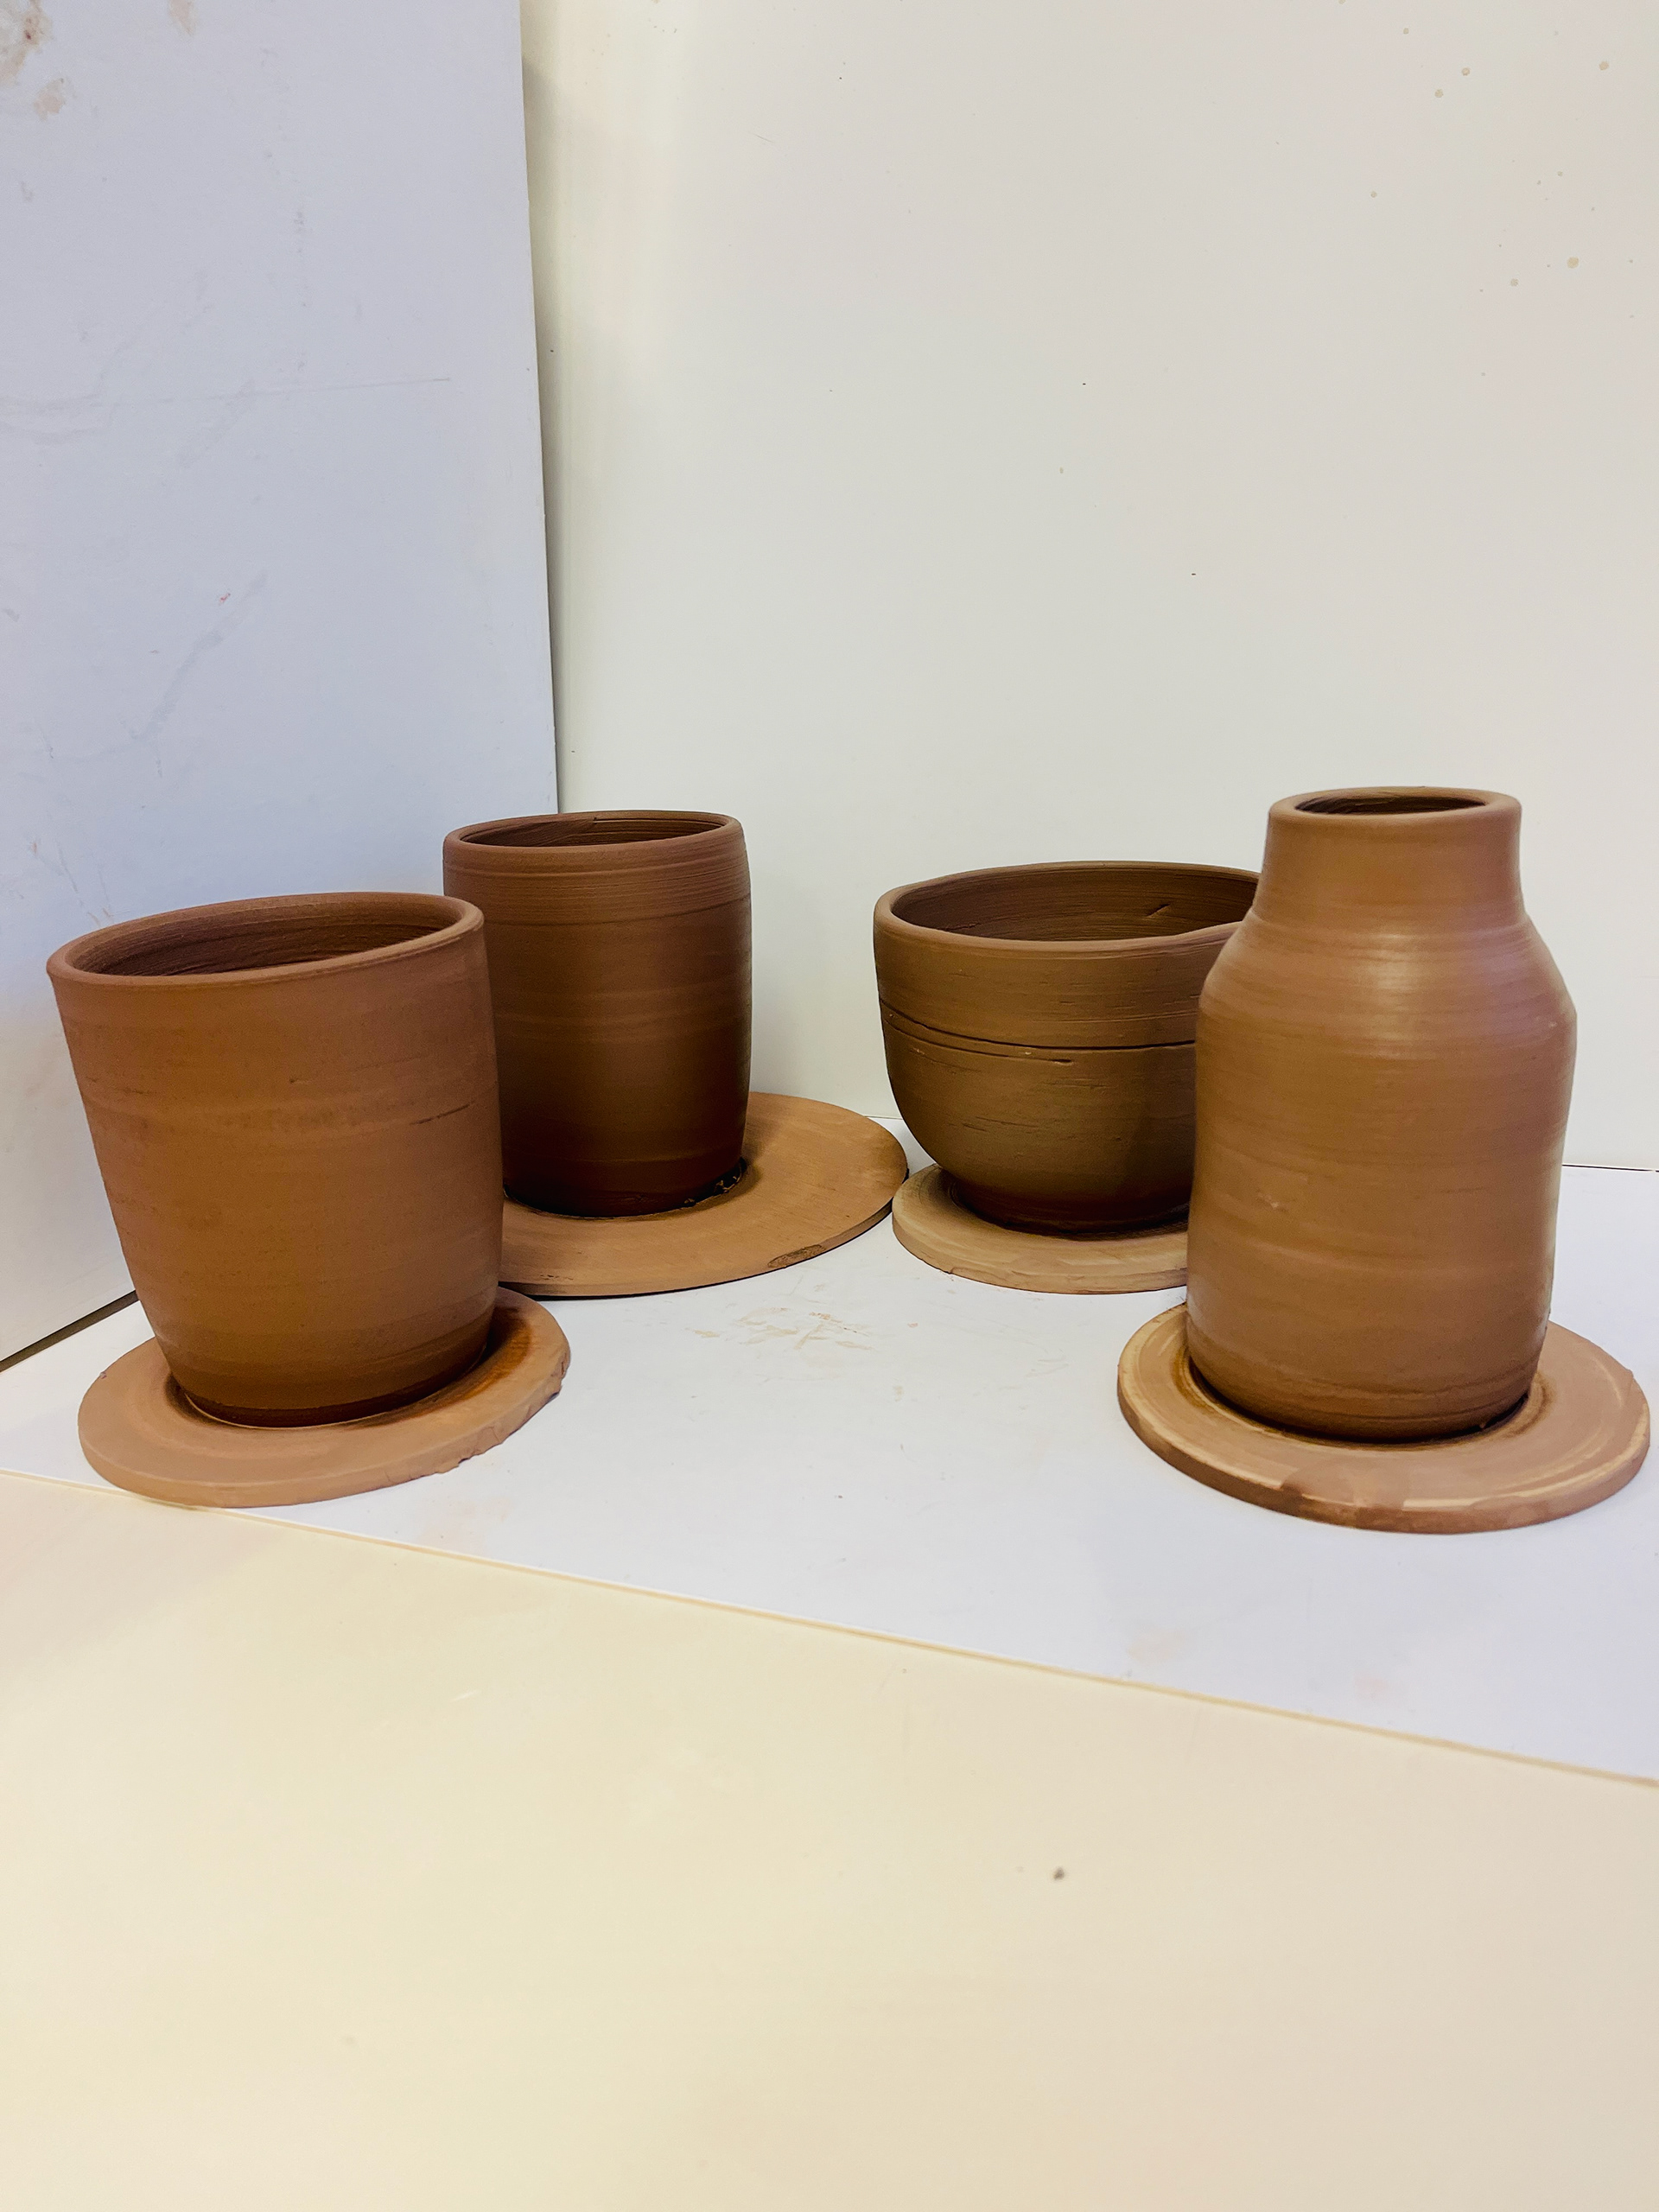
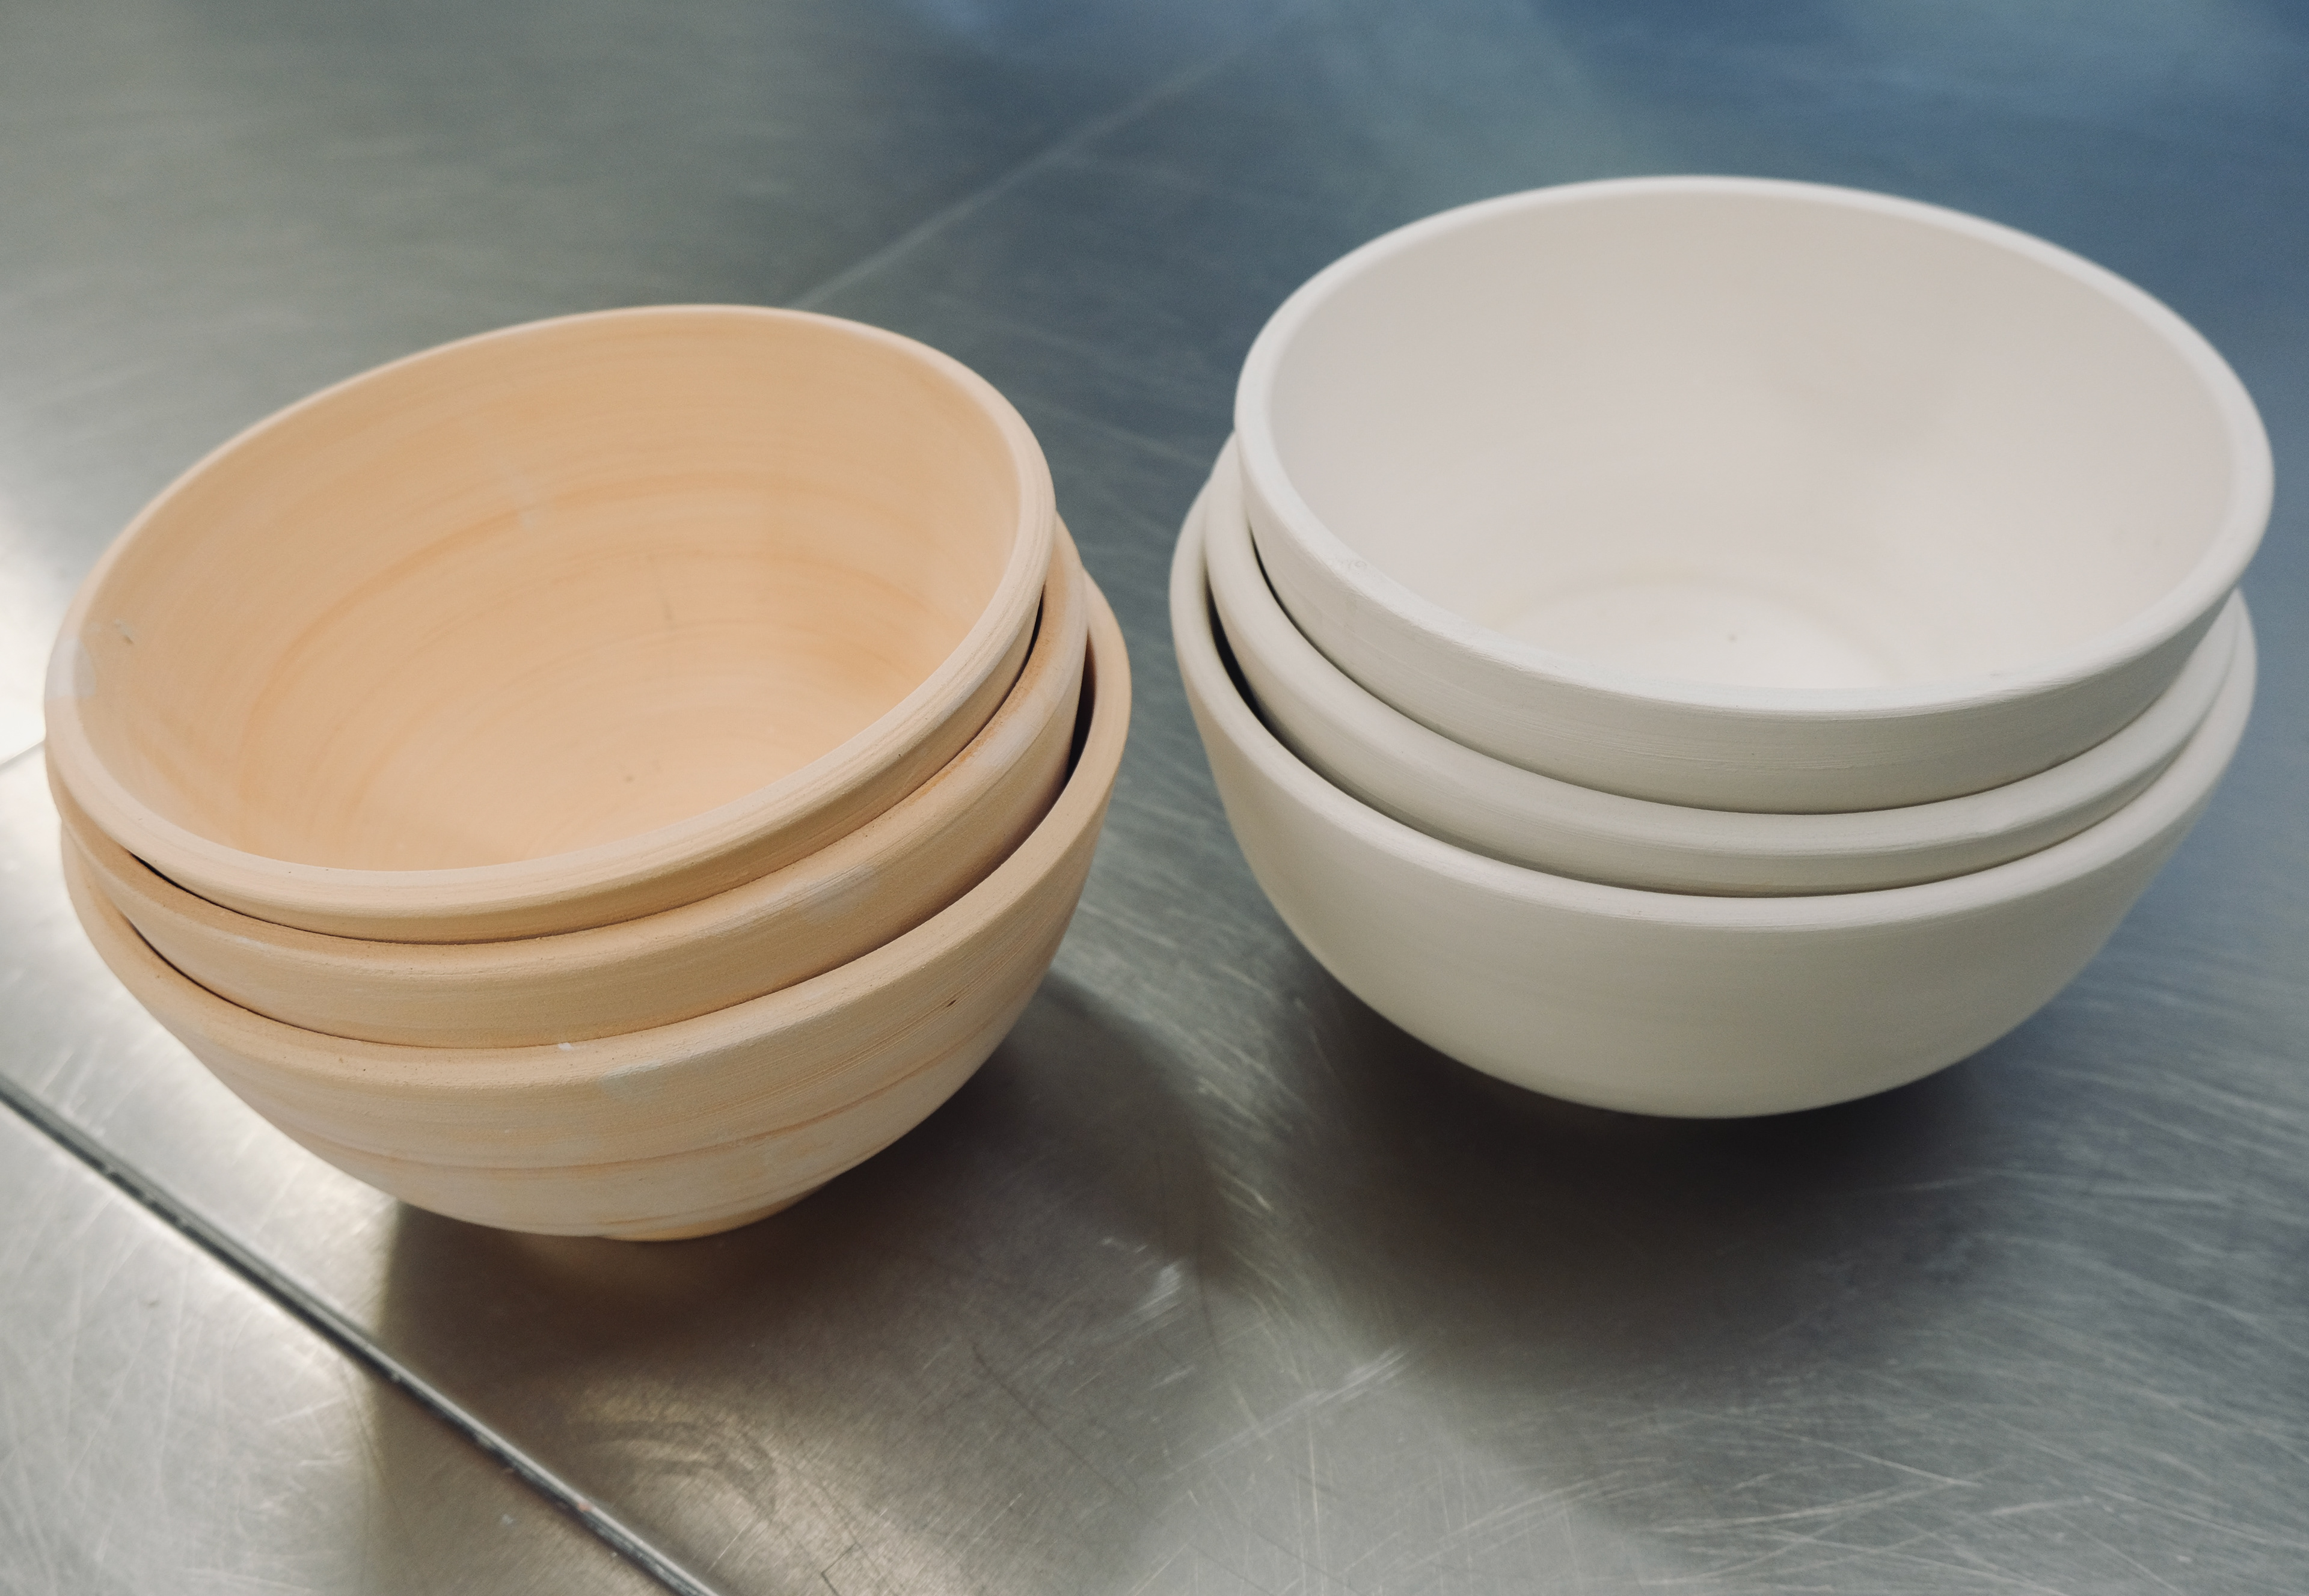
plastic stage
can be used without firing

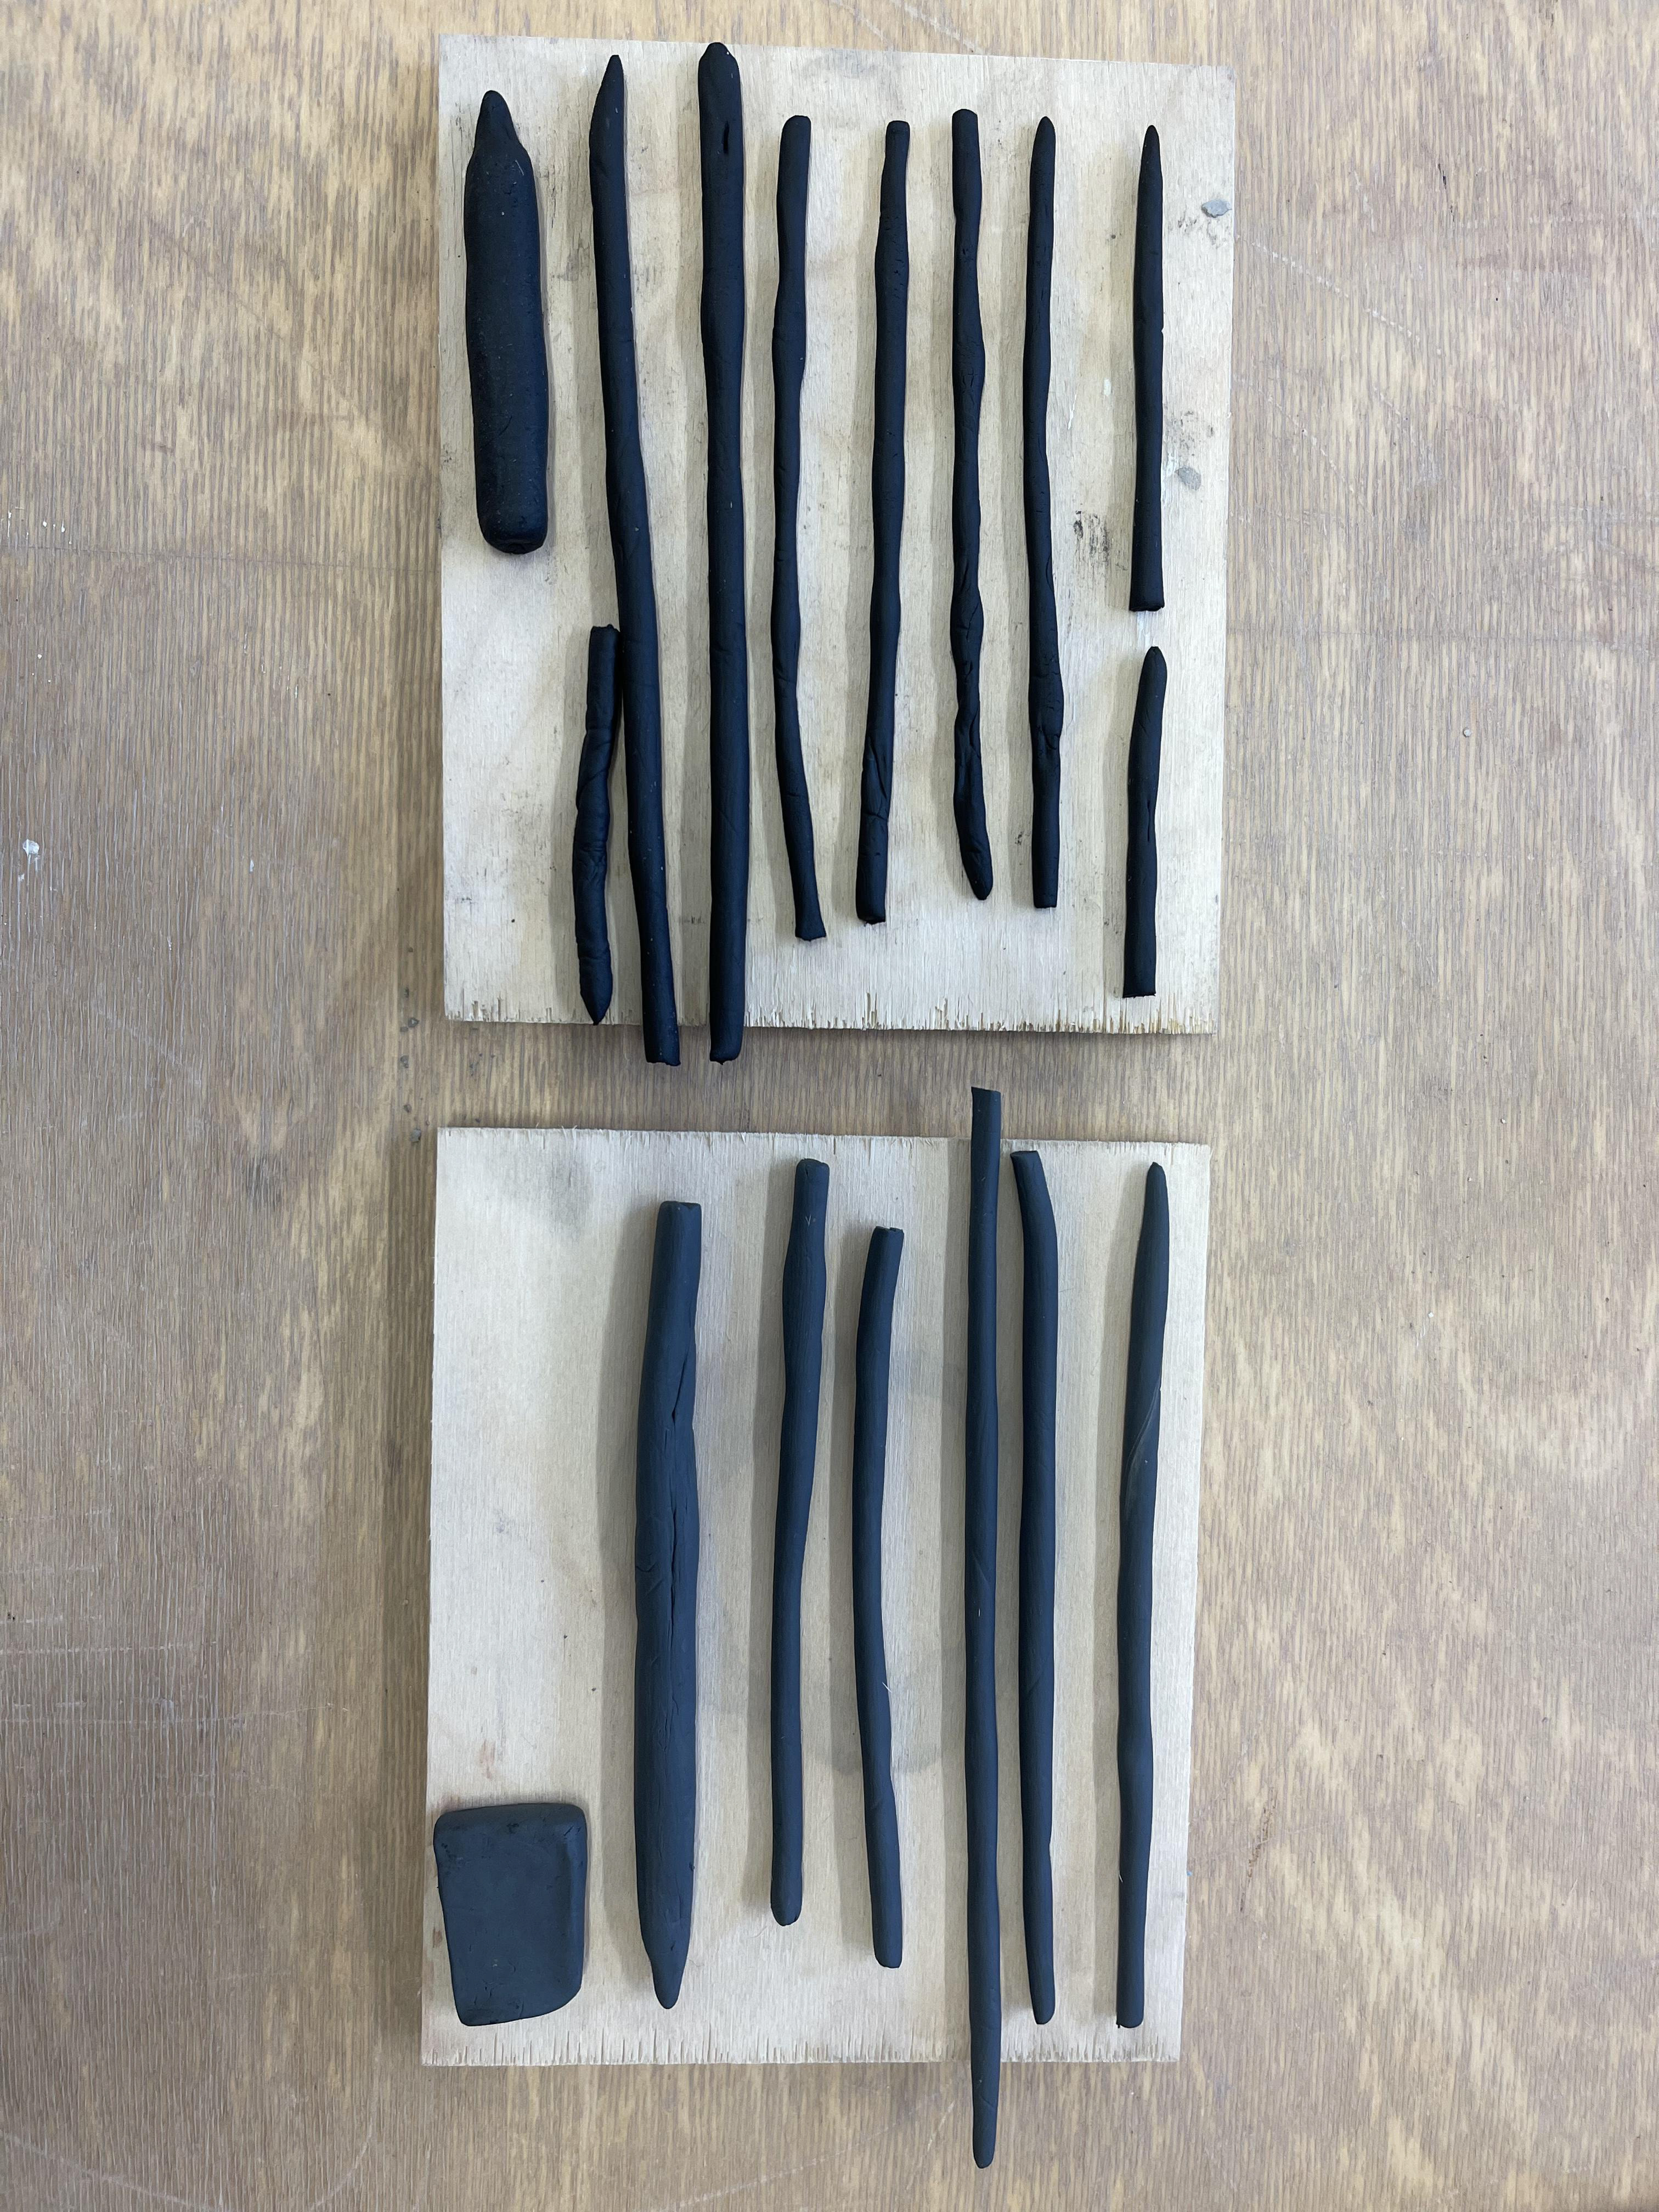
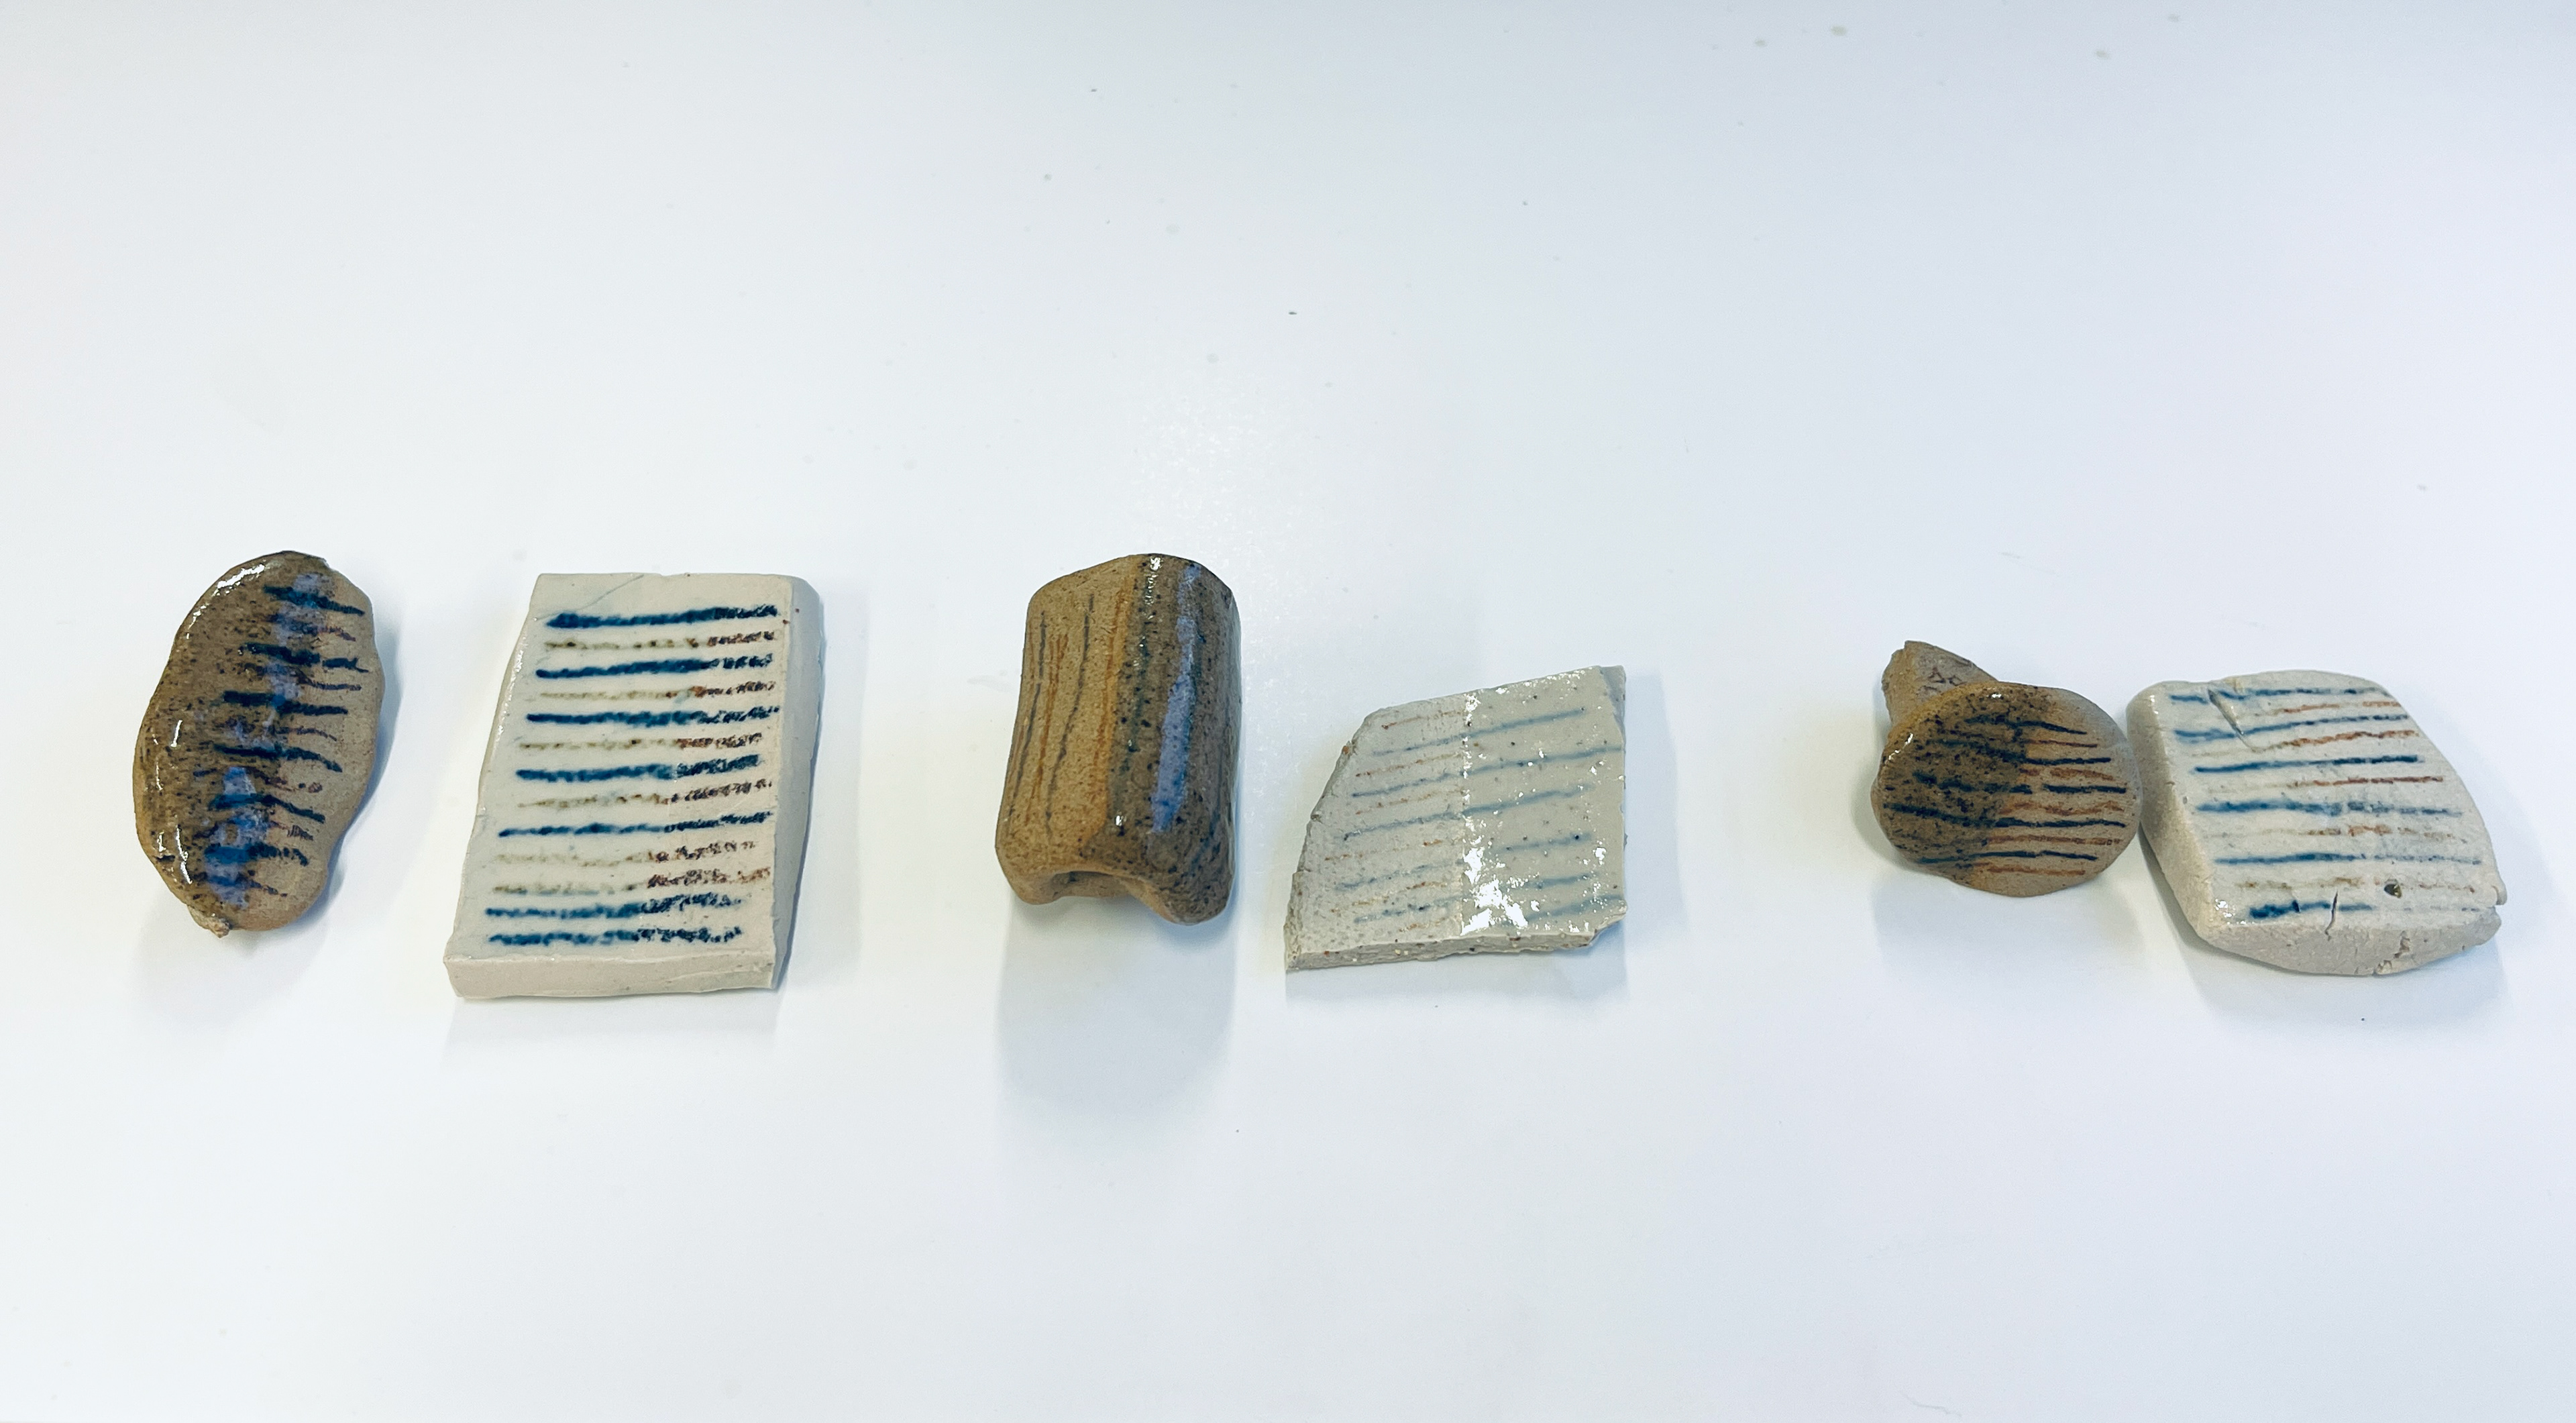
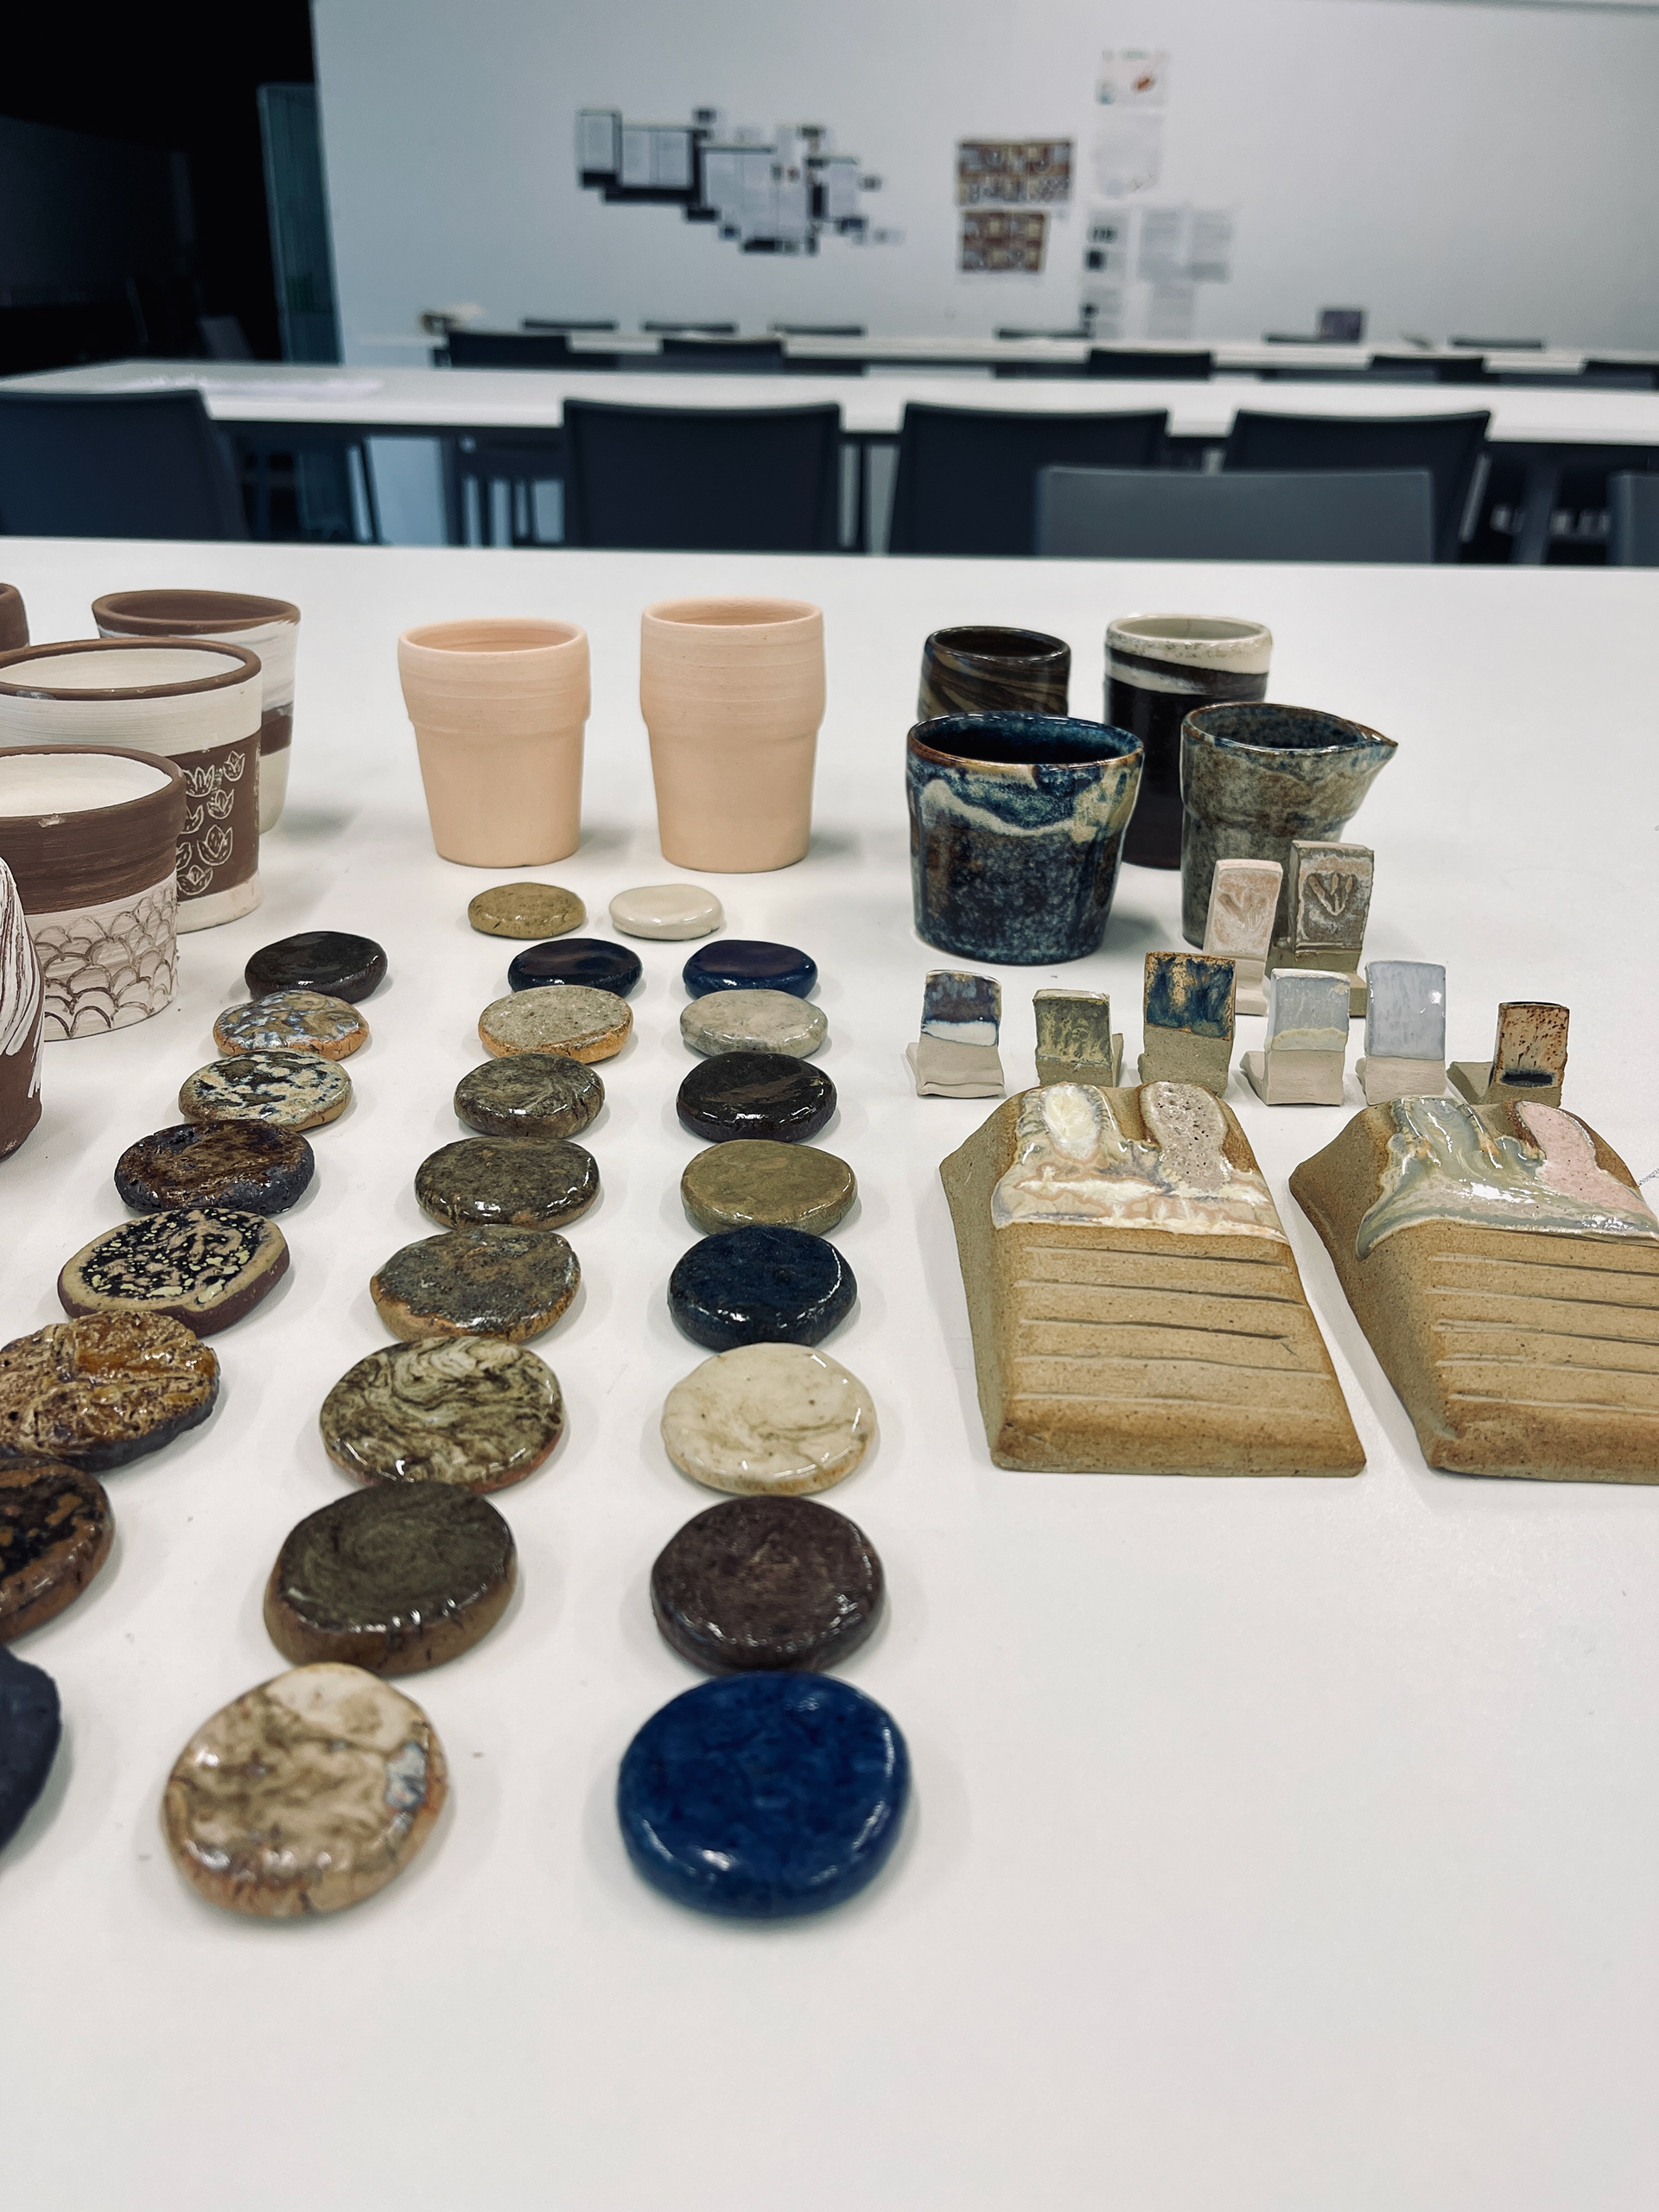
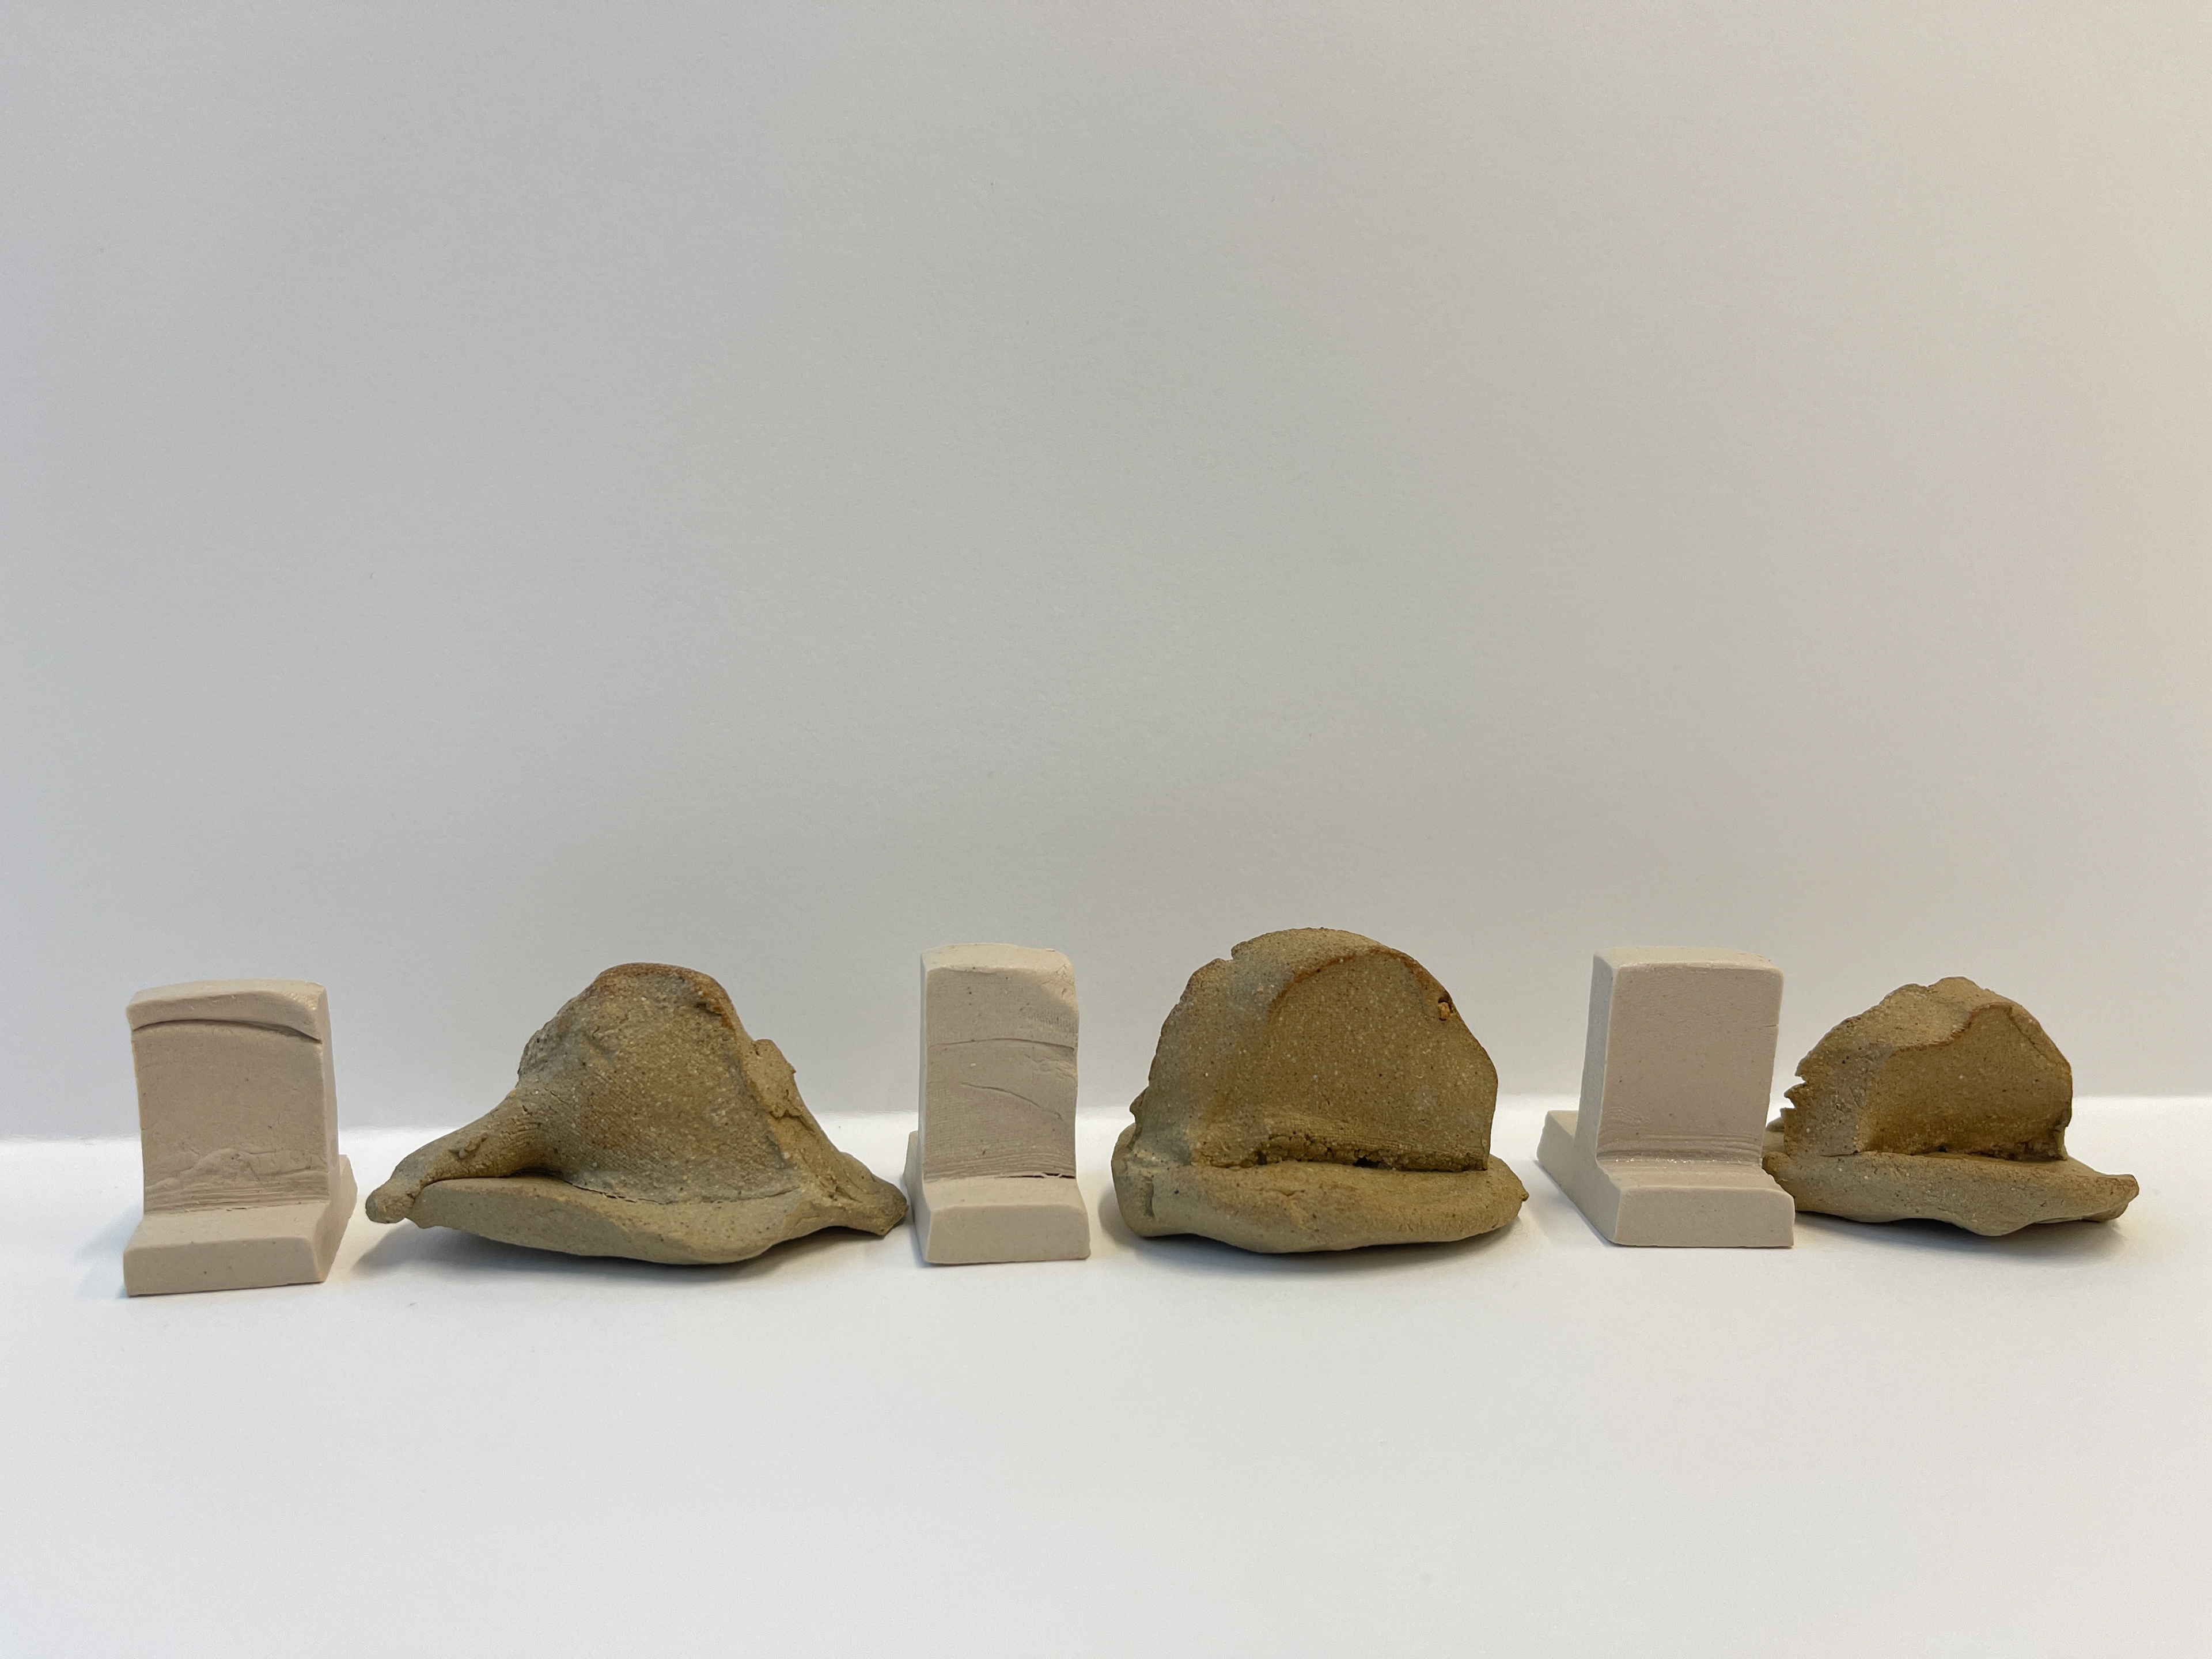
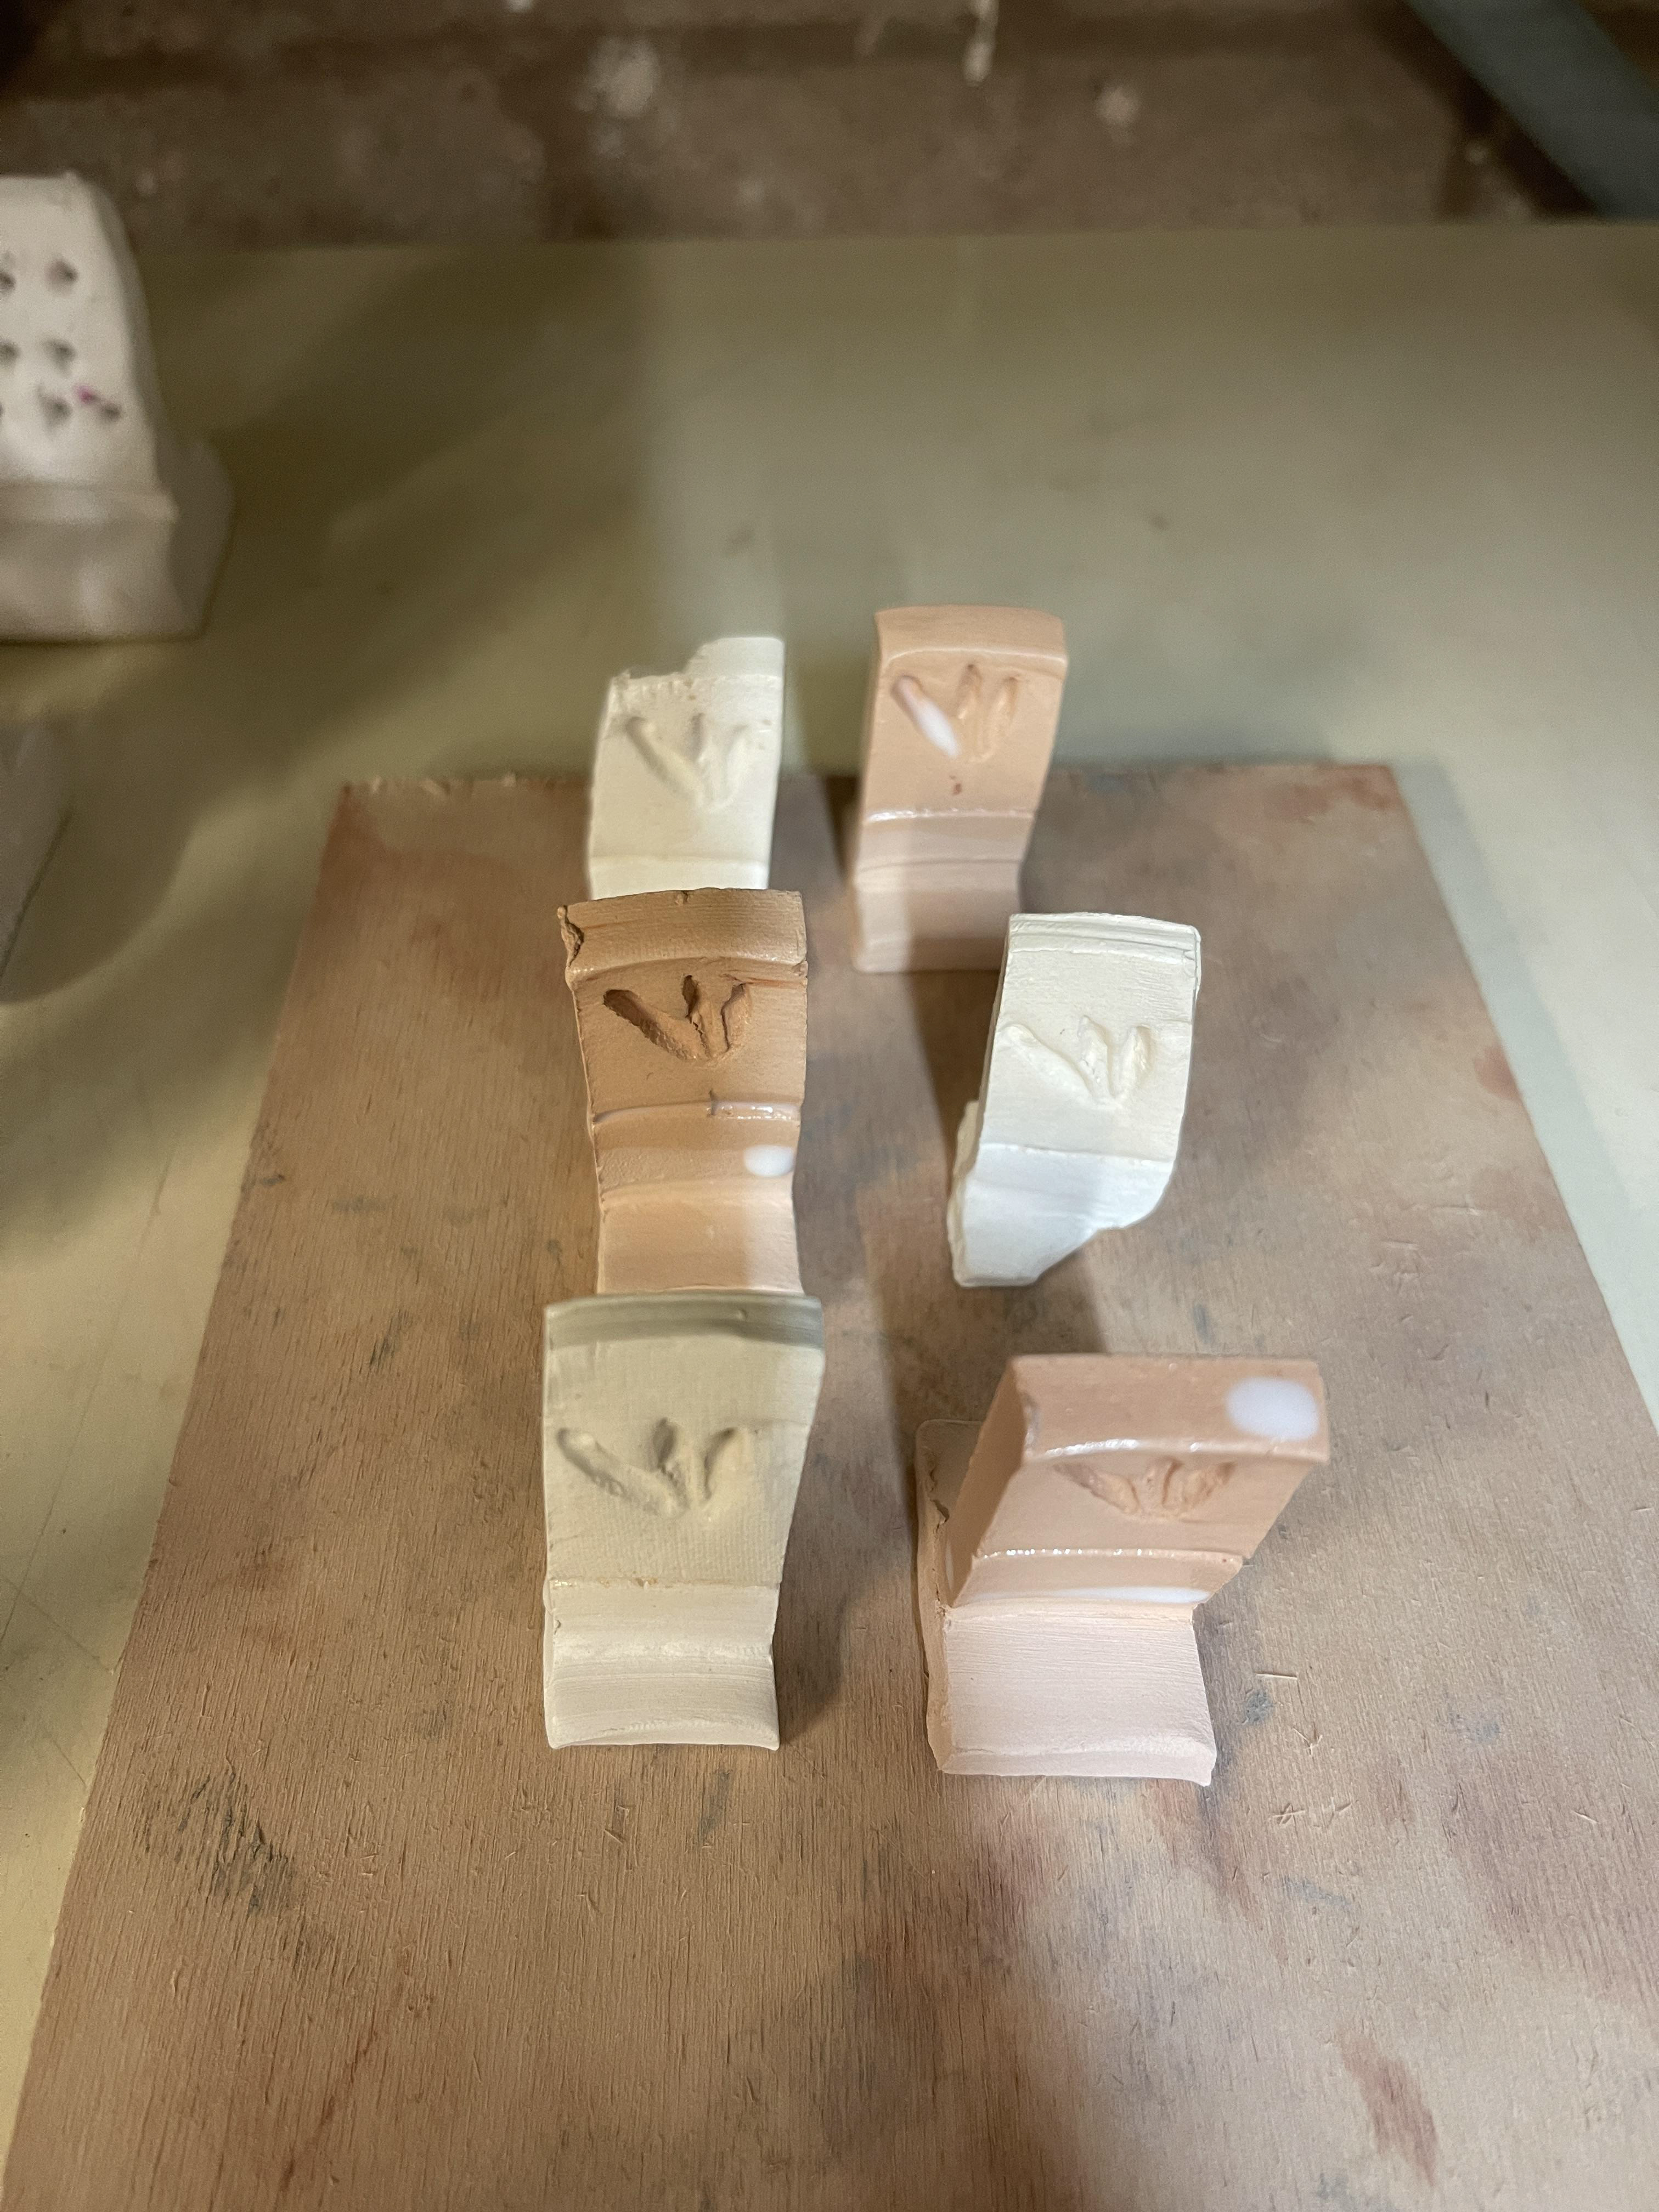
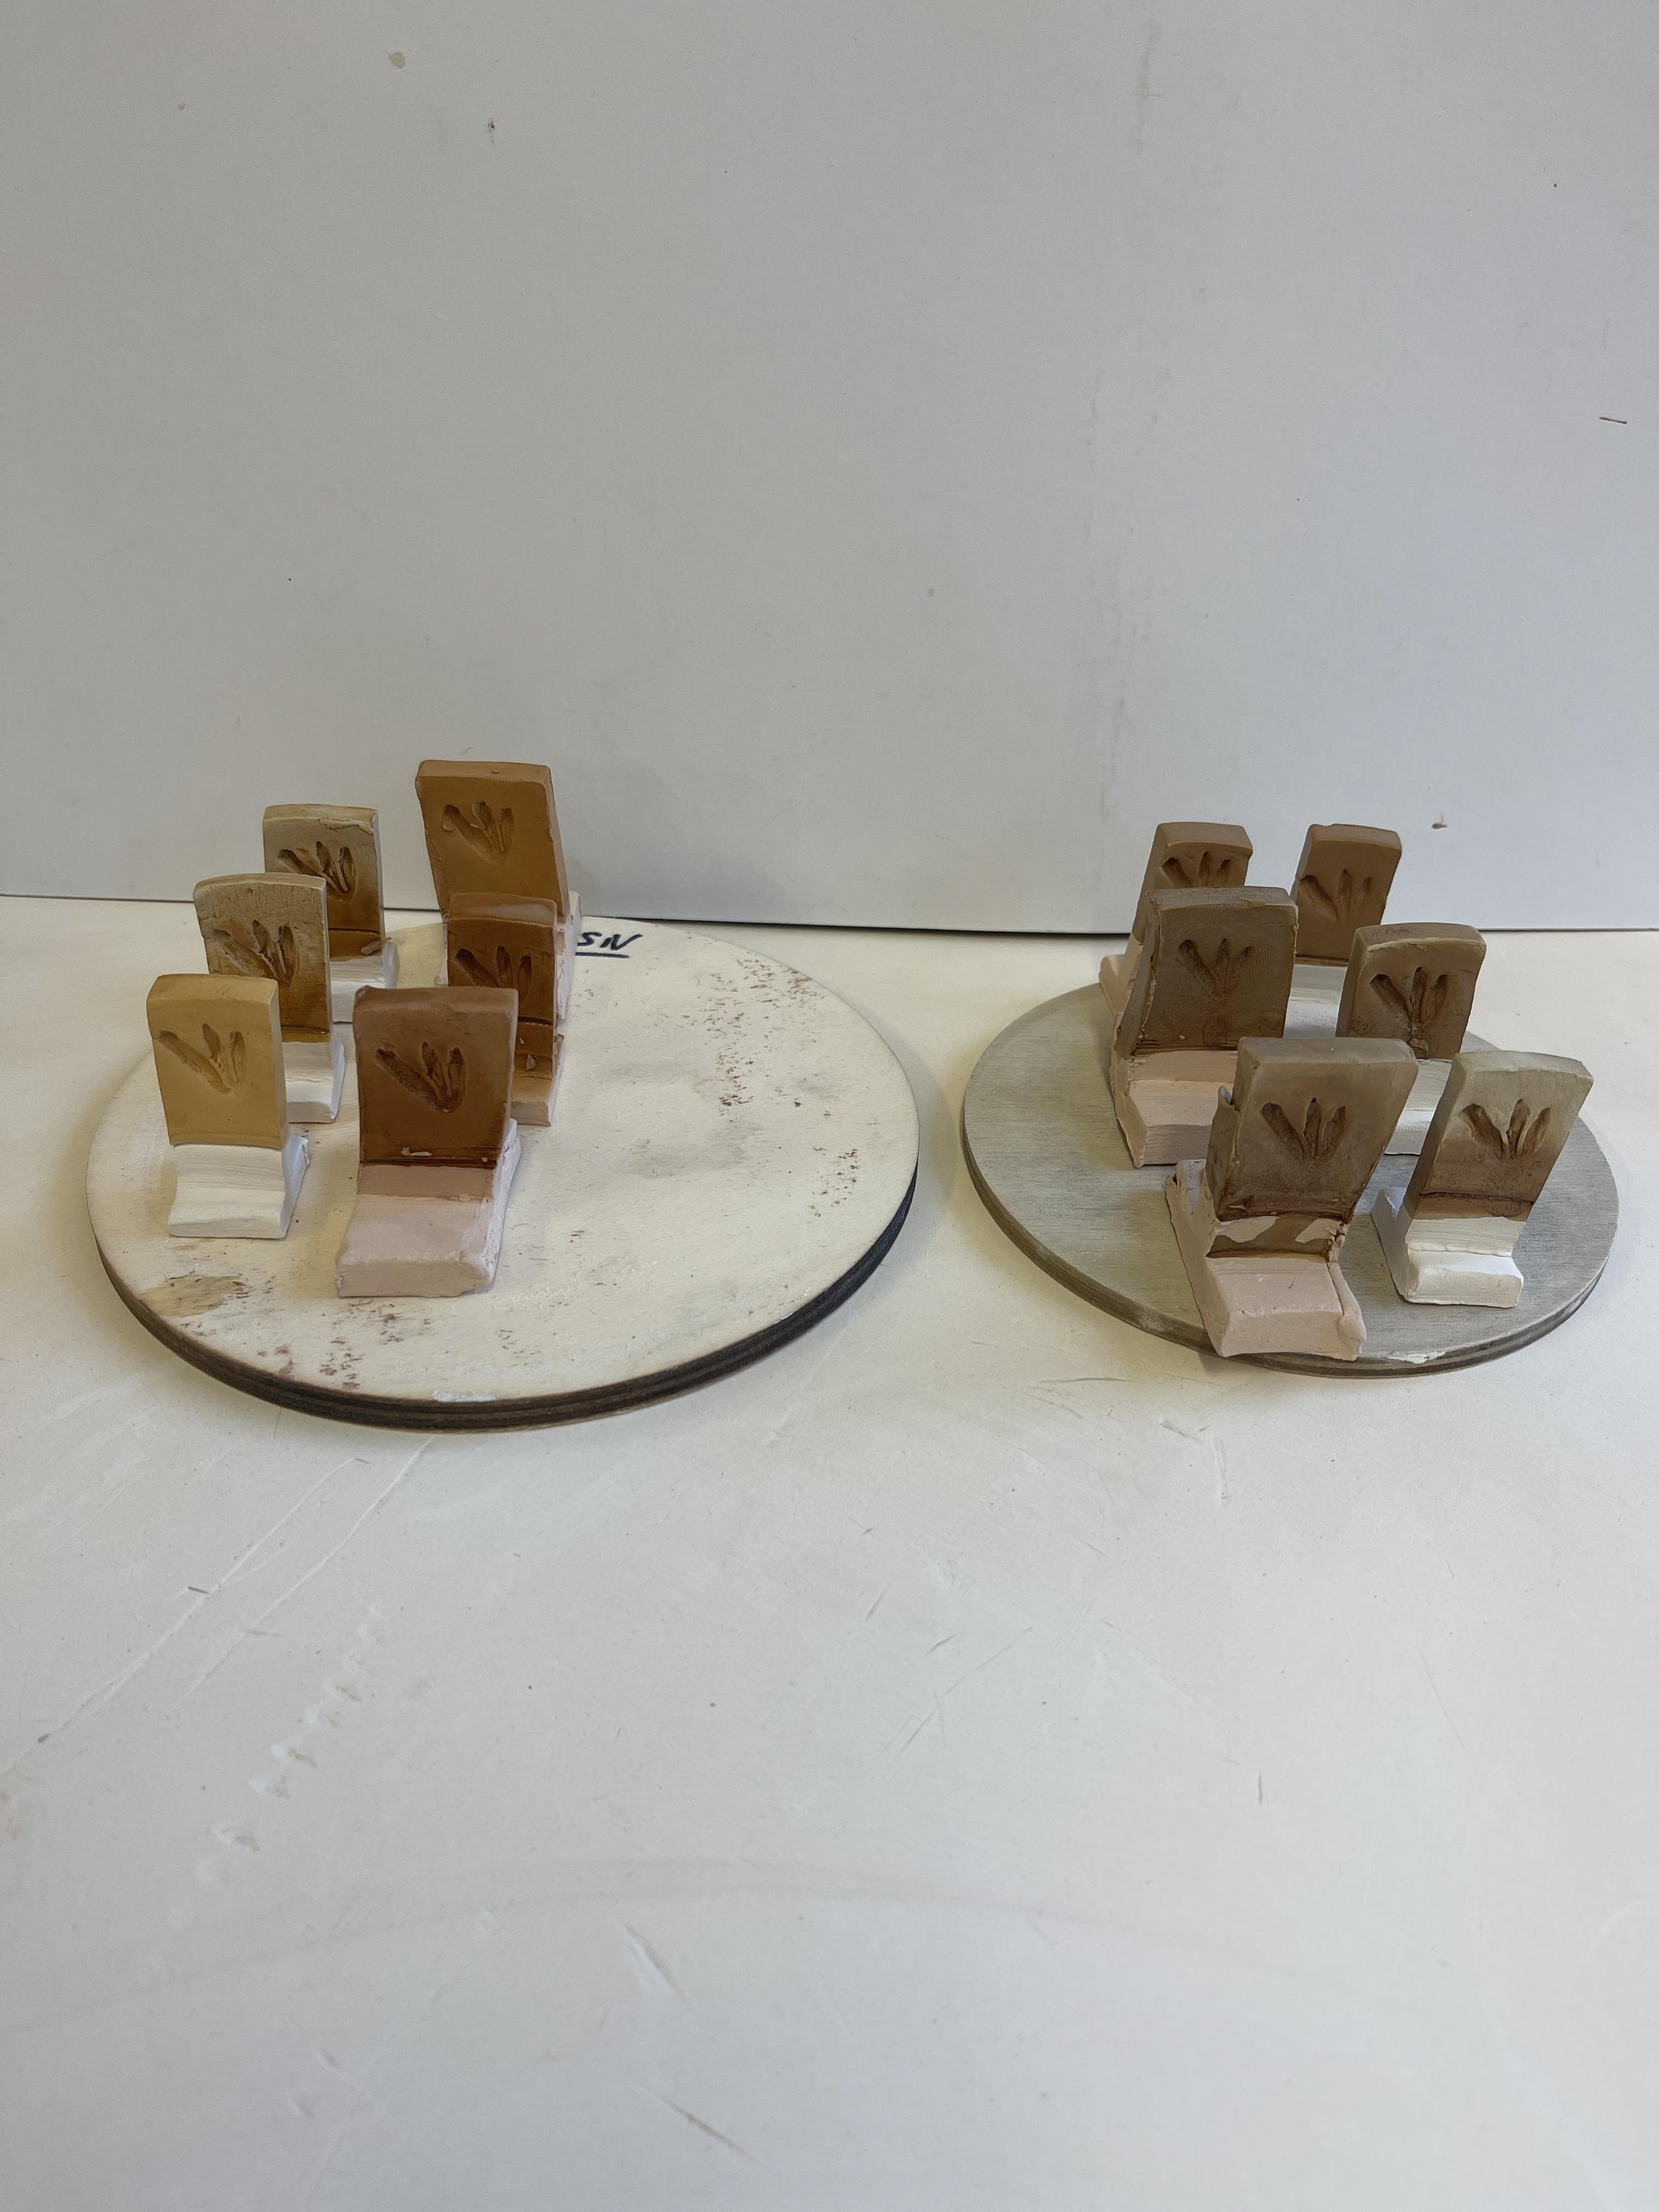
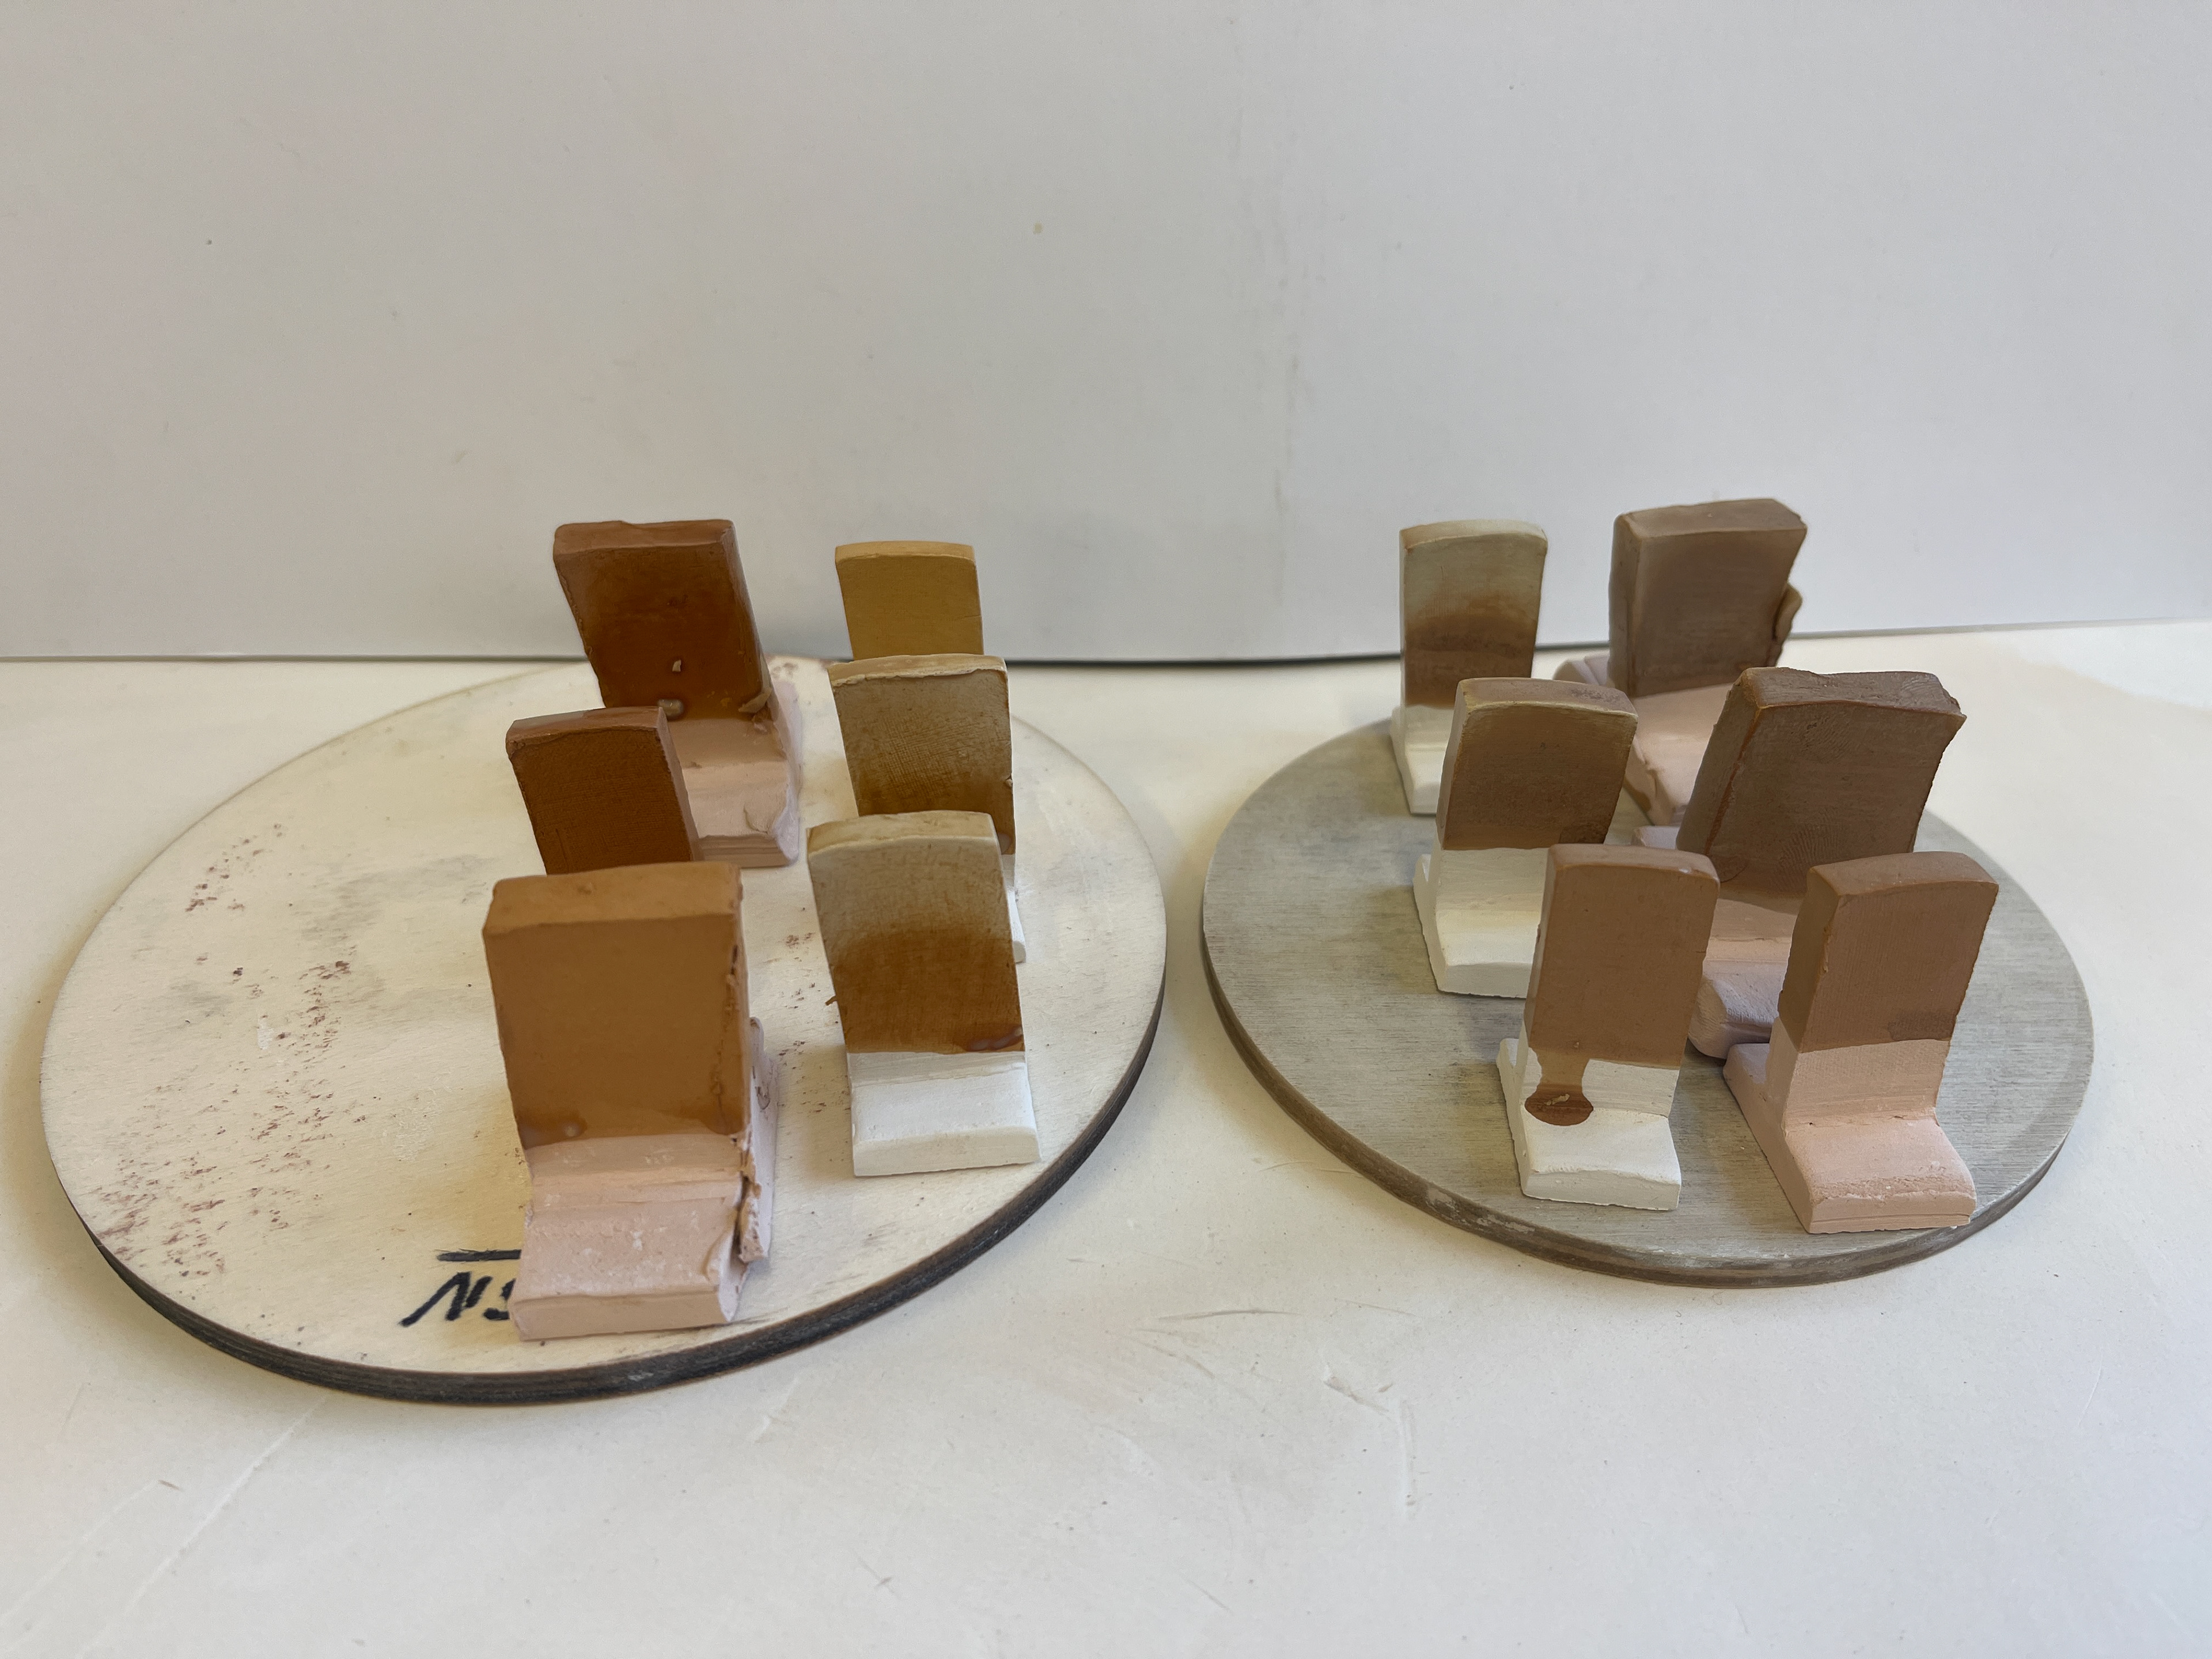
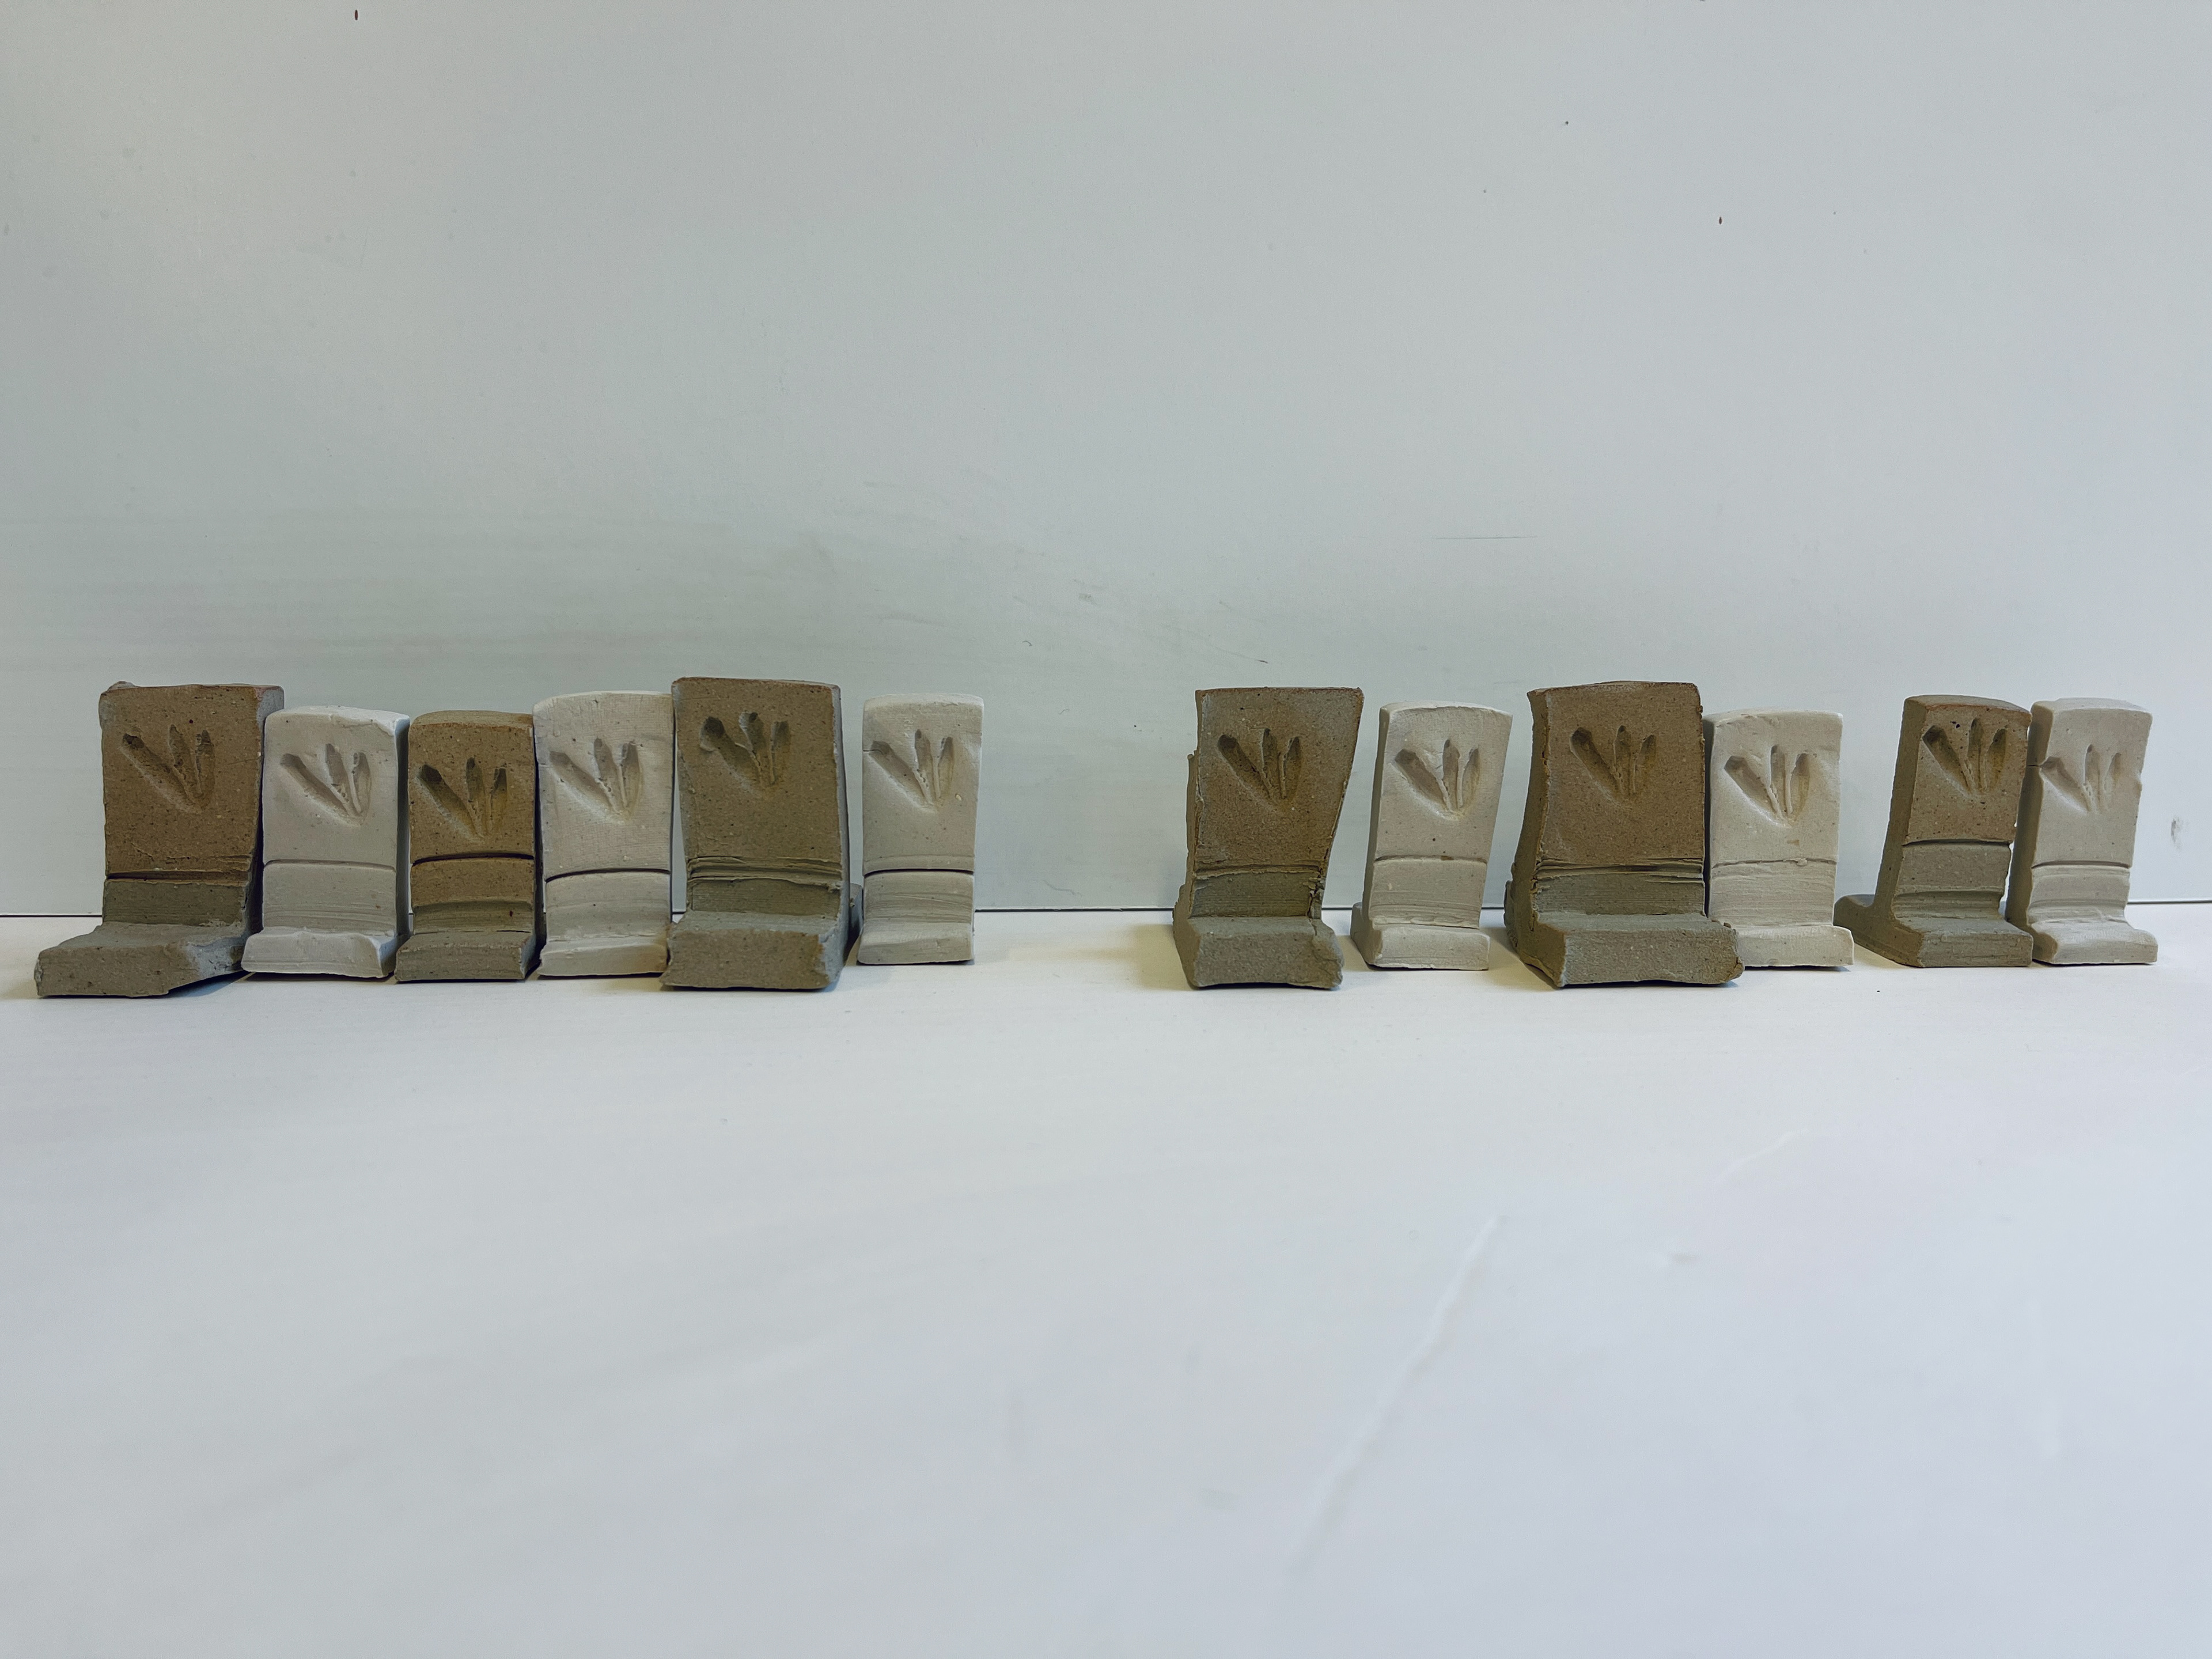
underglaze pencil tests.

bisque fired pieces

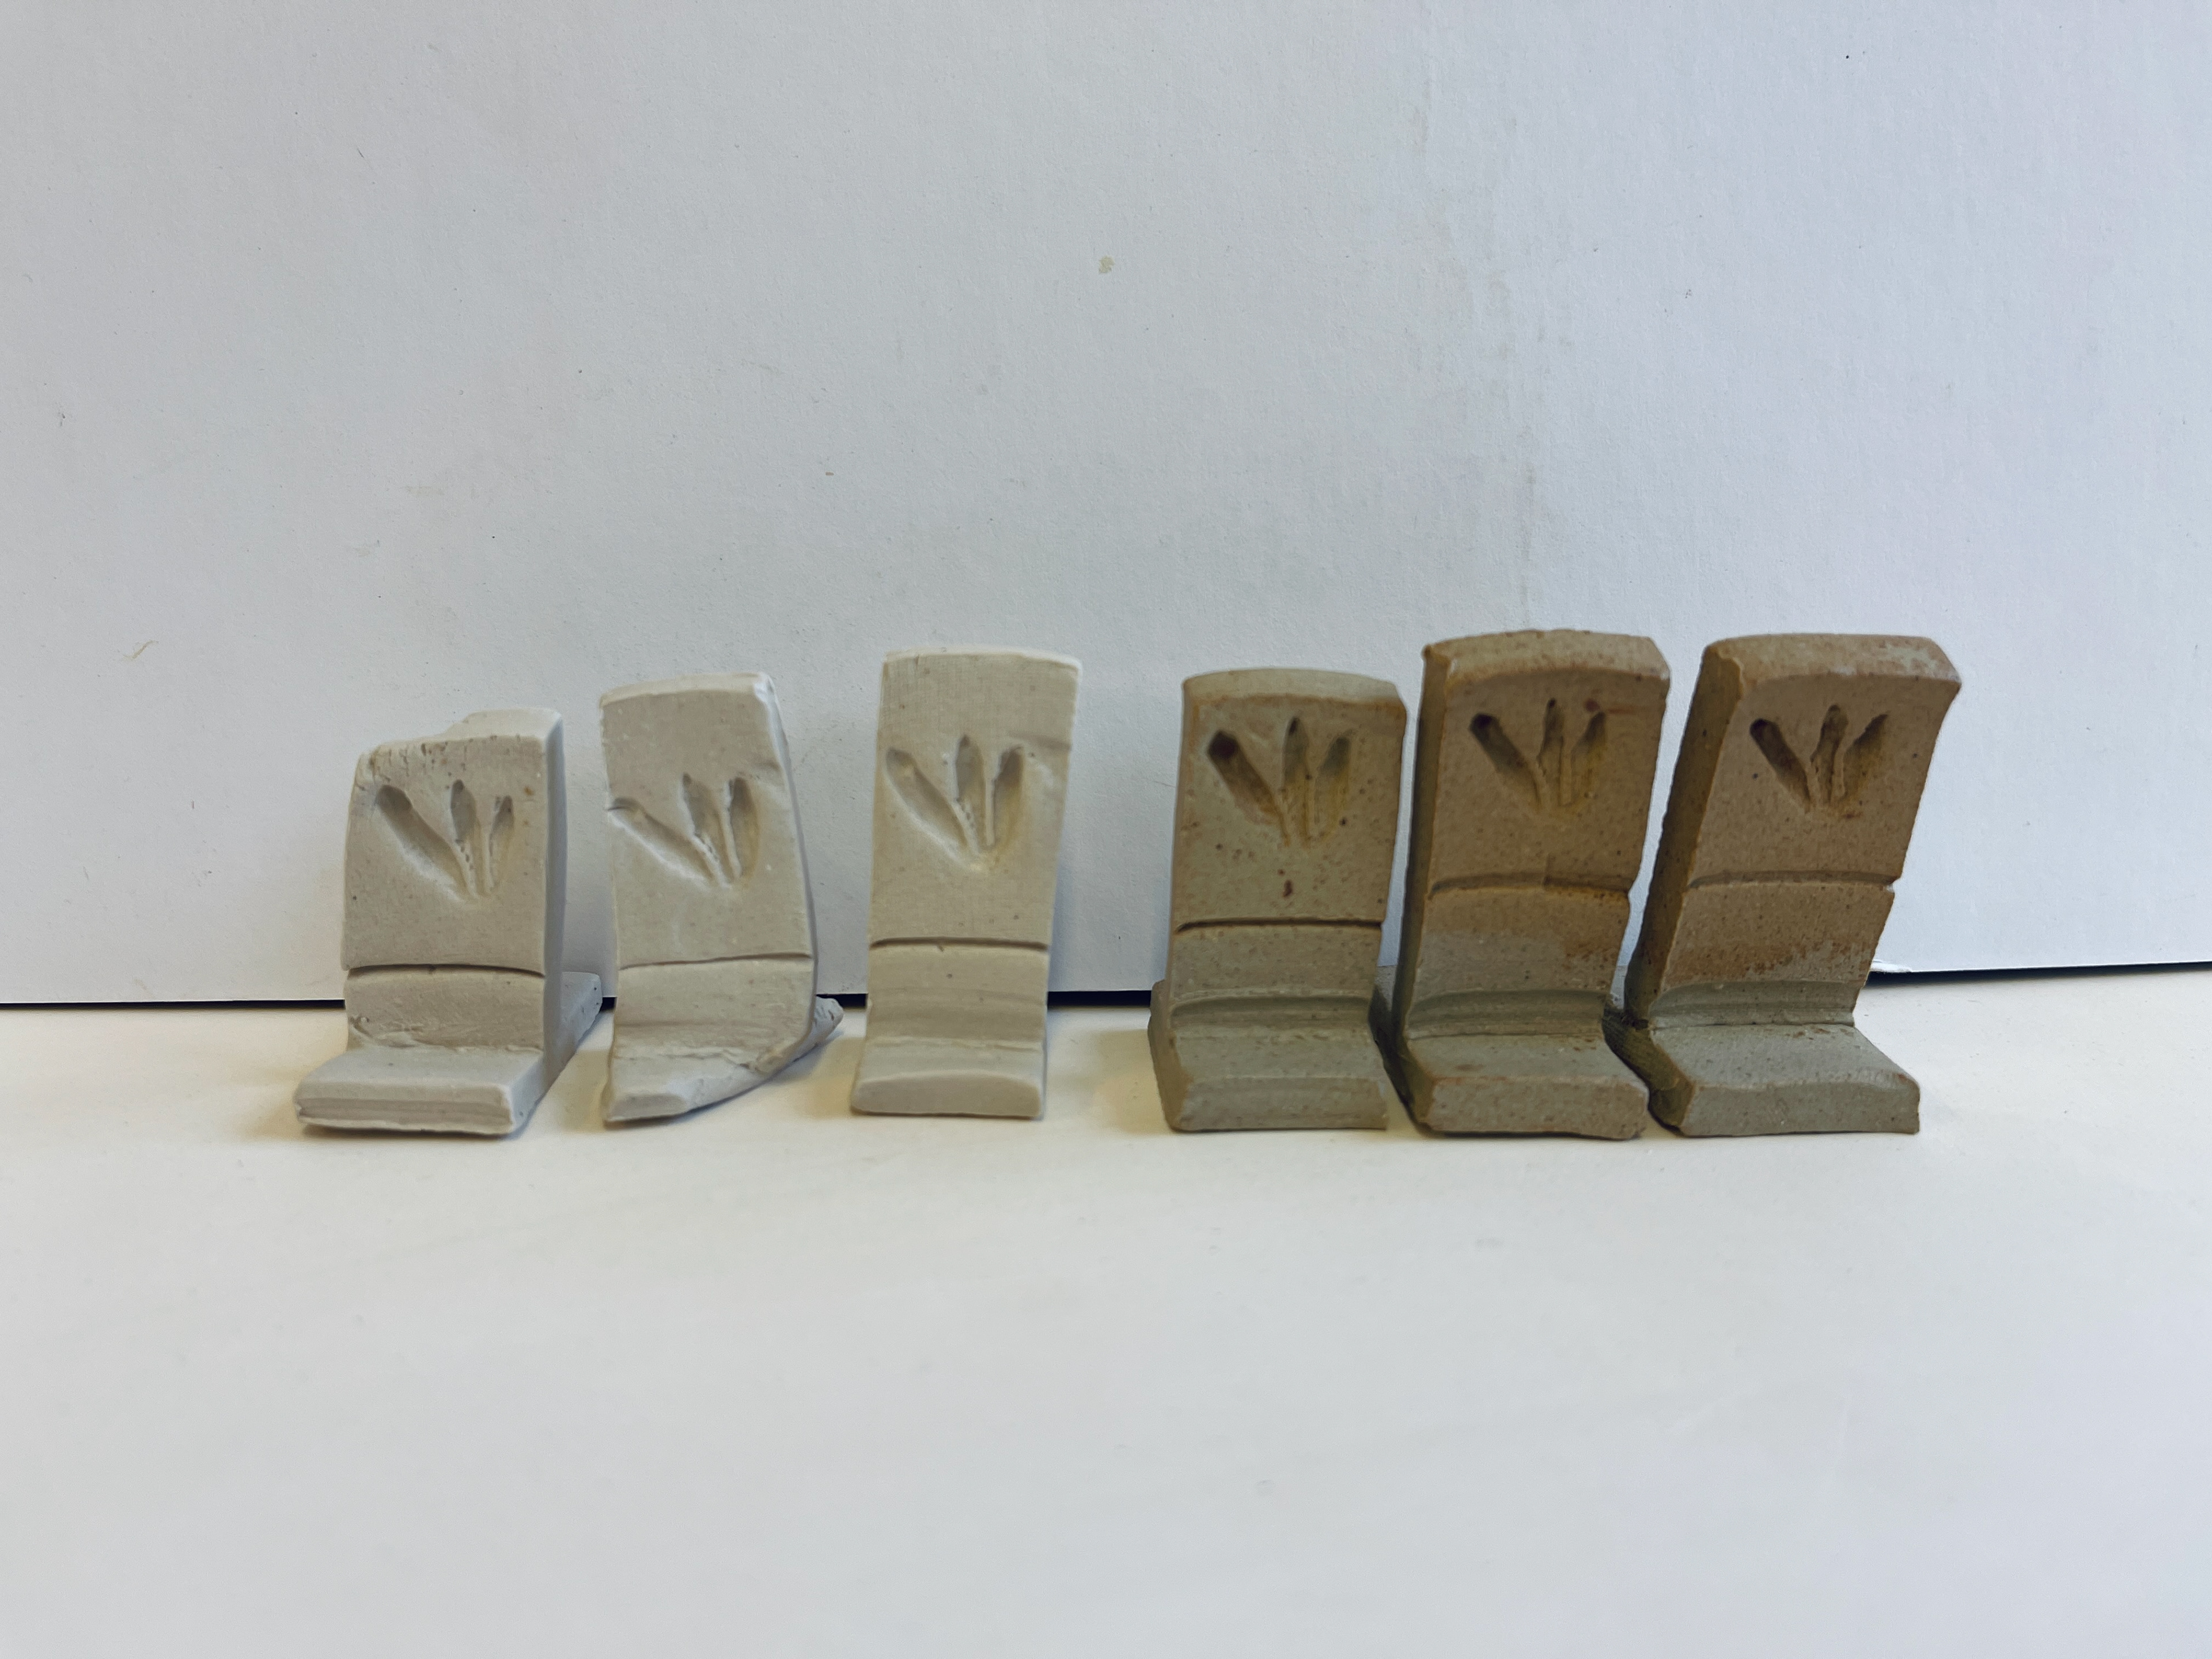
air dried underglaze pencil, stoneware fired

stoneware fired, left pieces- cone 015 fired pencils on almington and ivory stoneware body

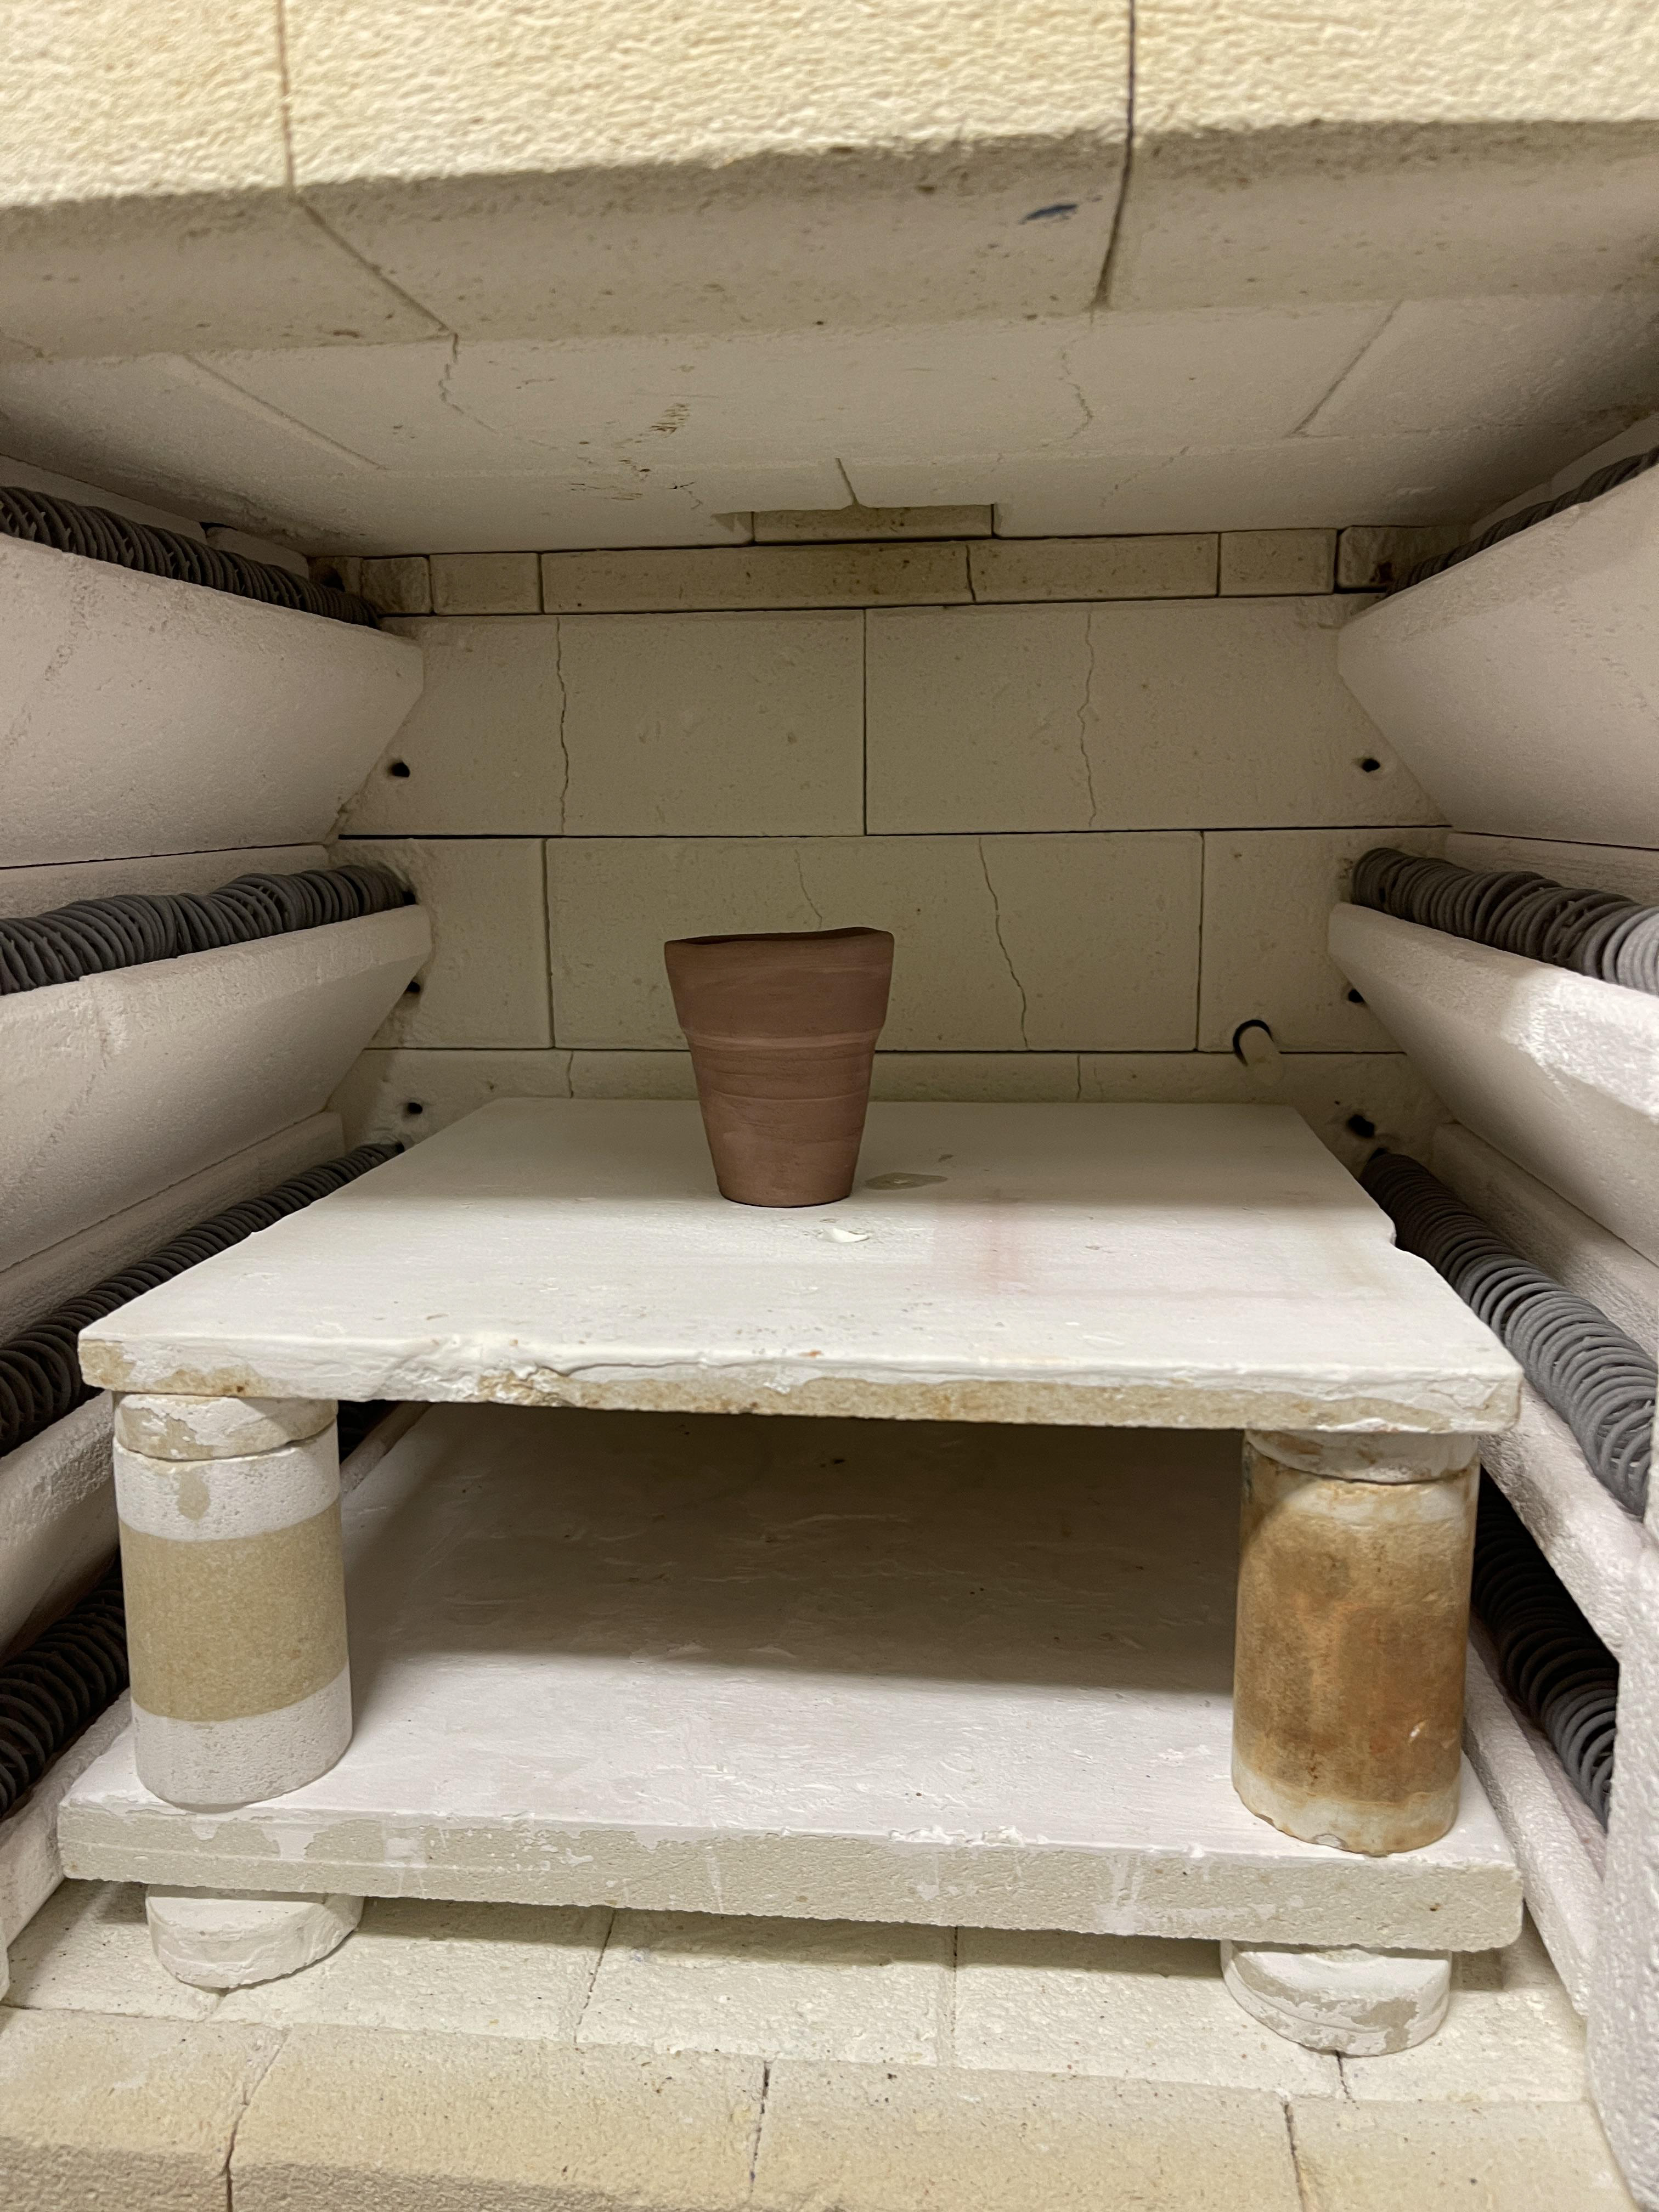
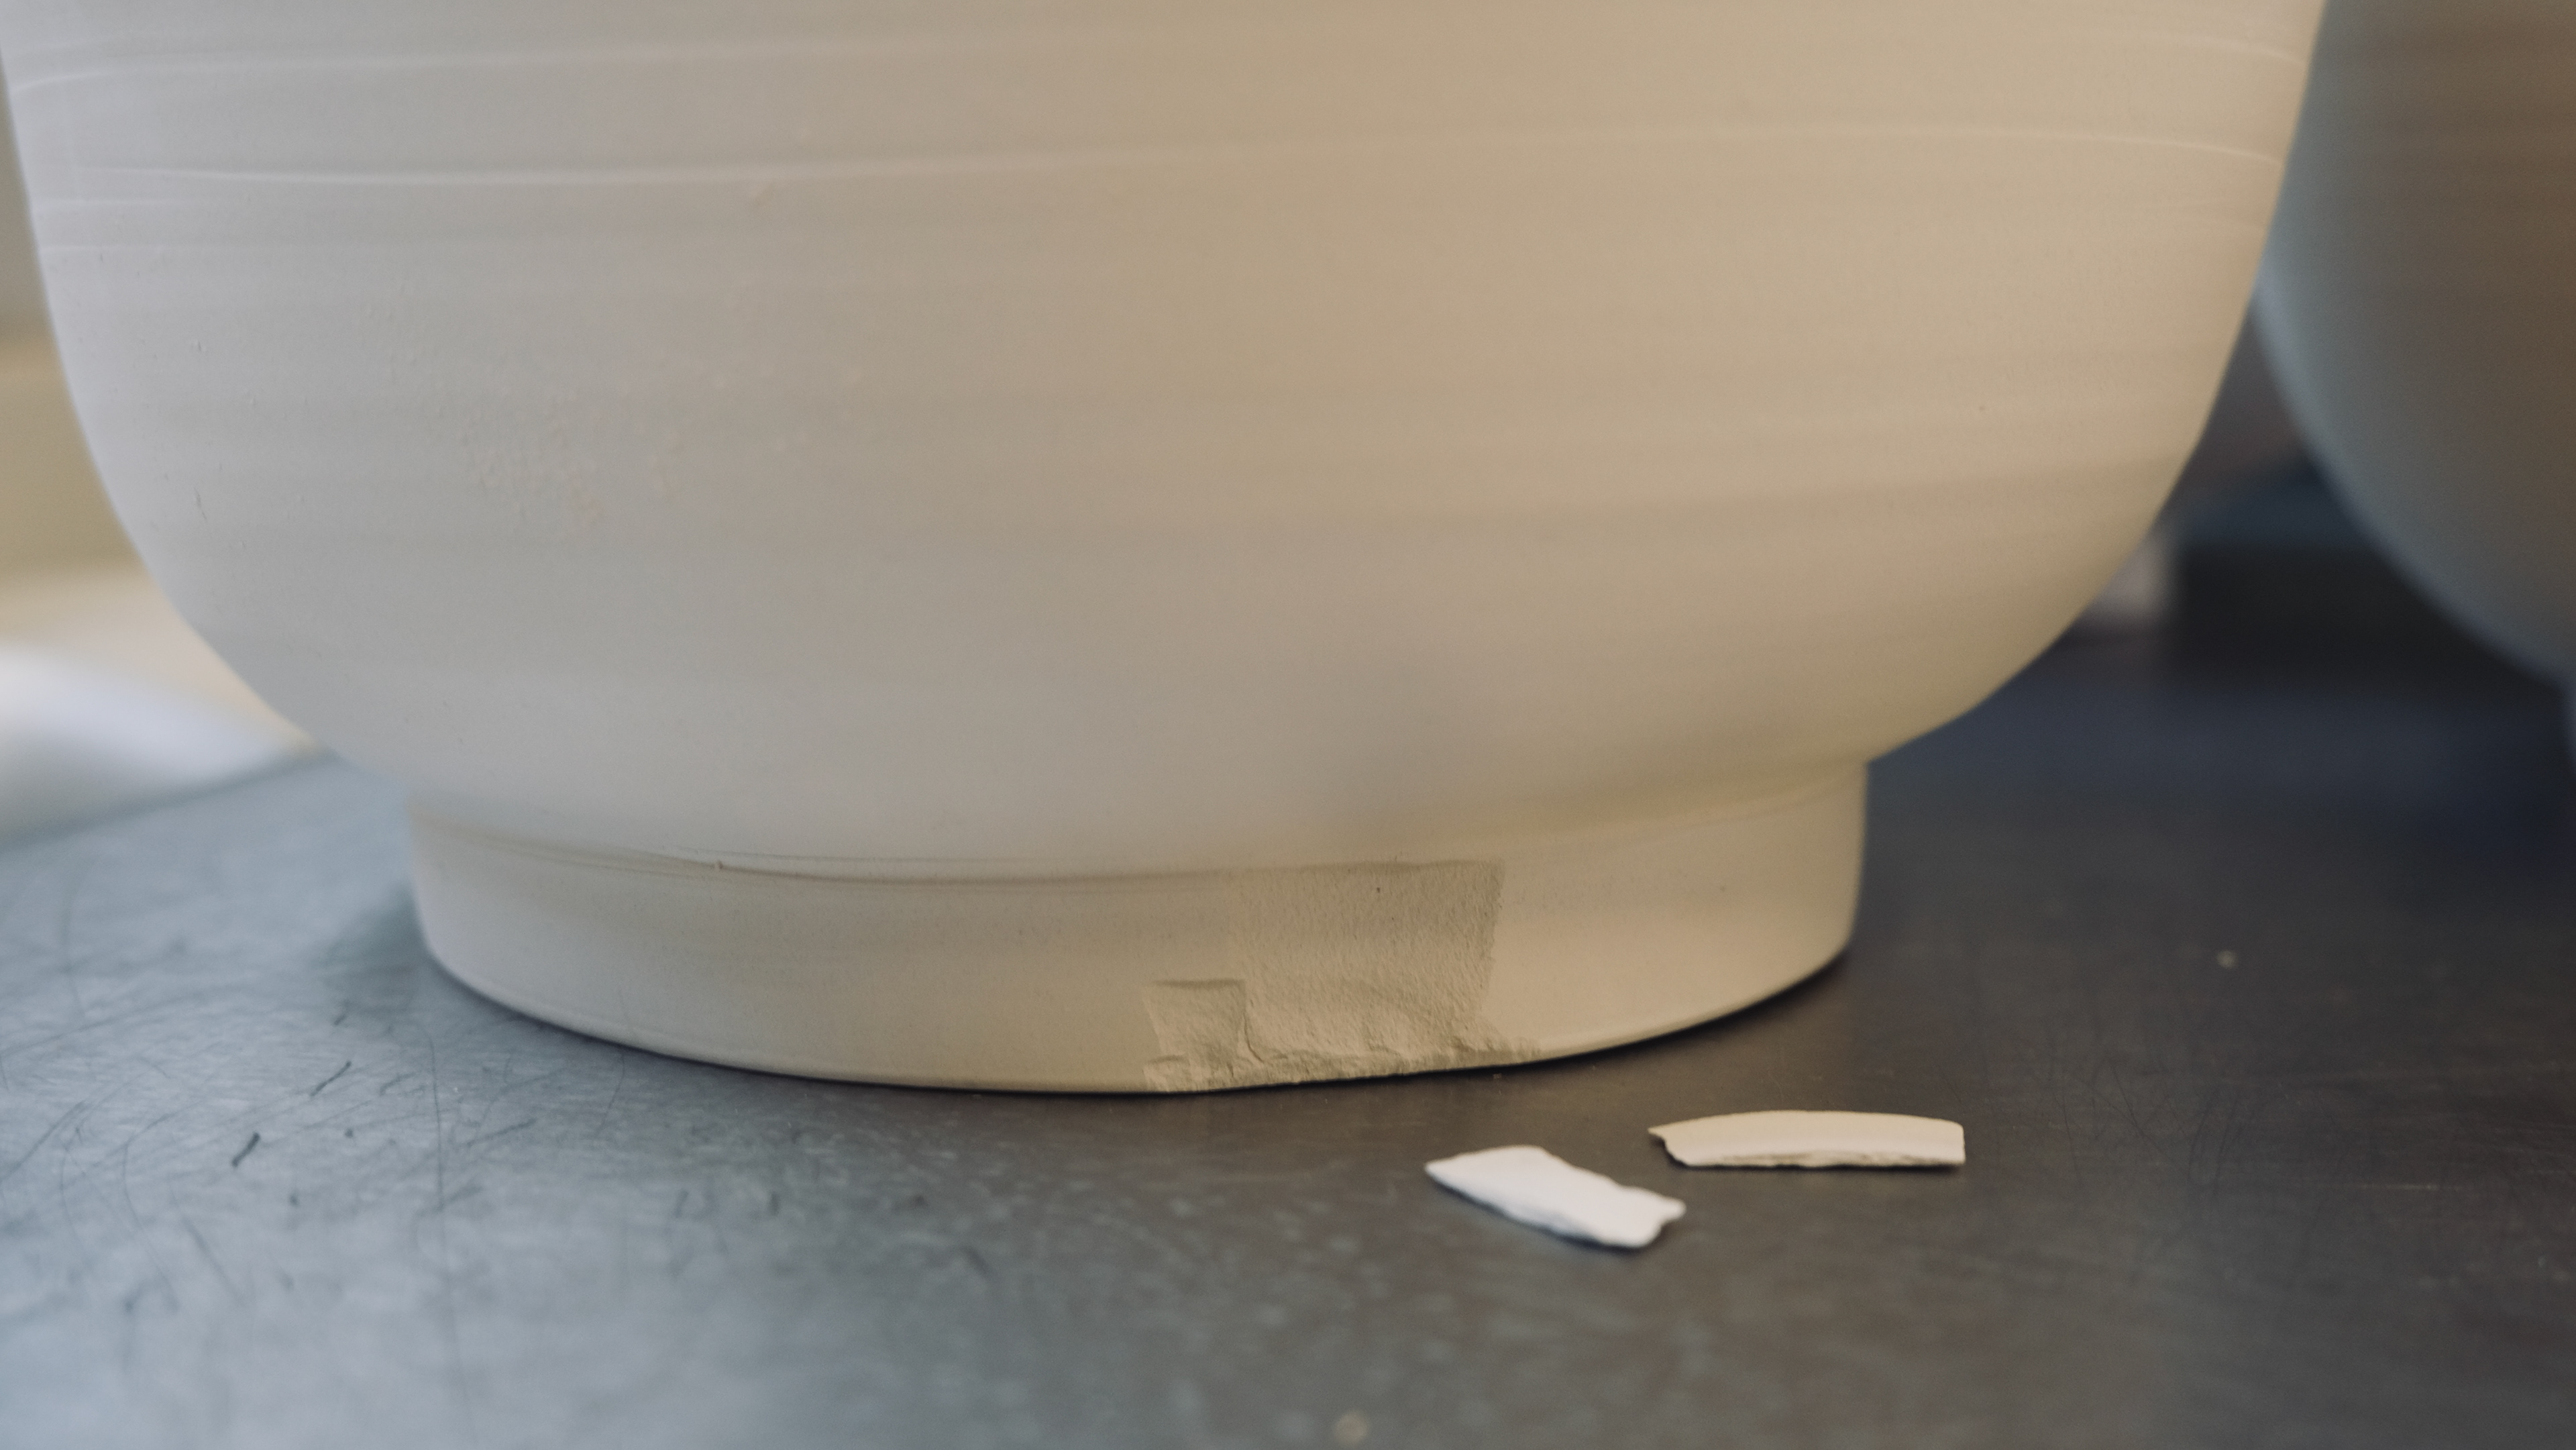
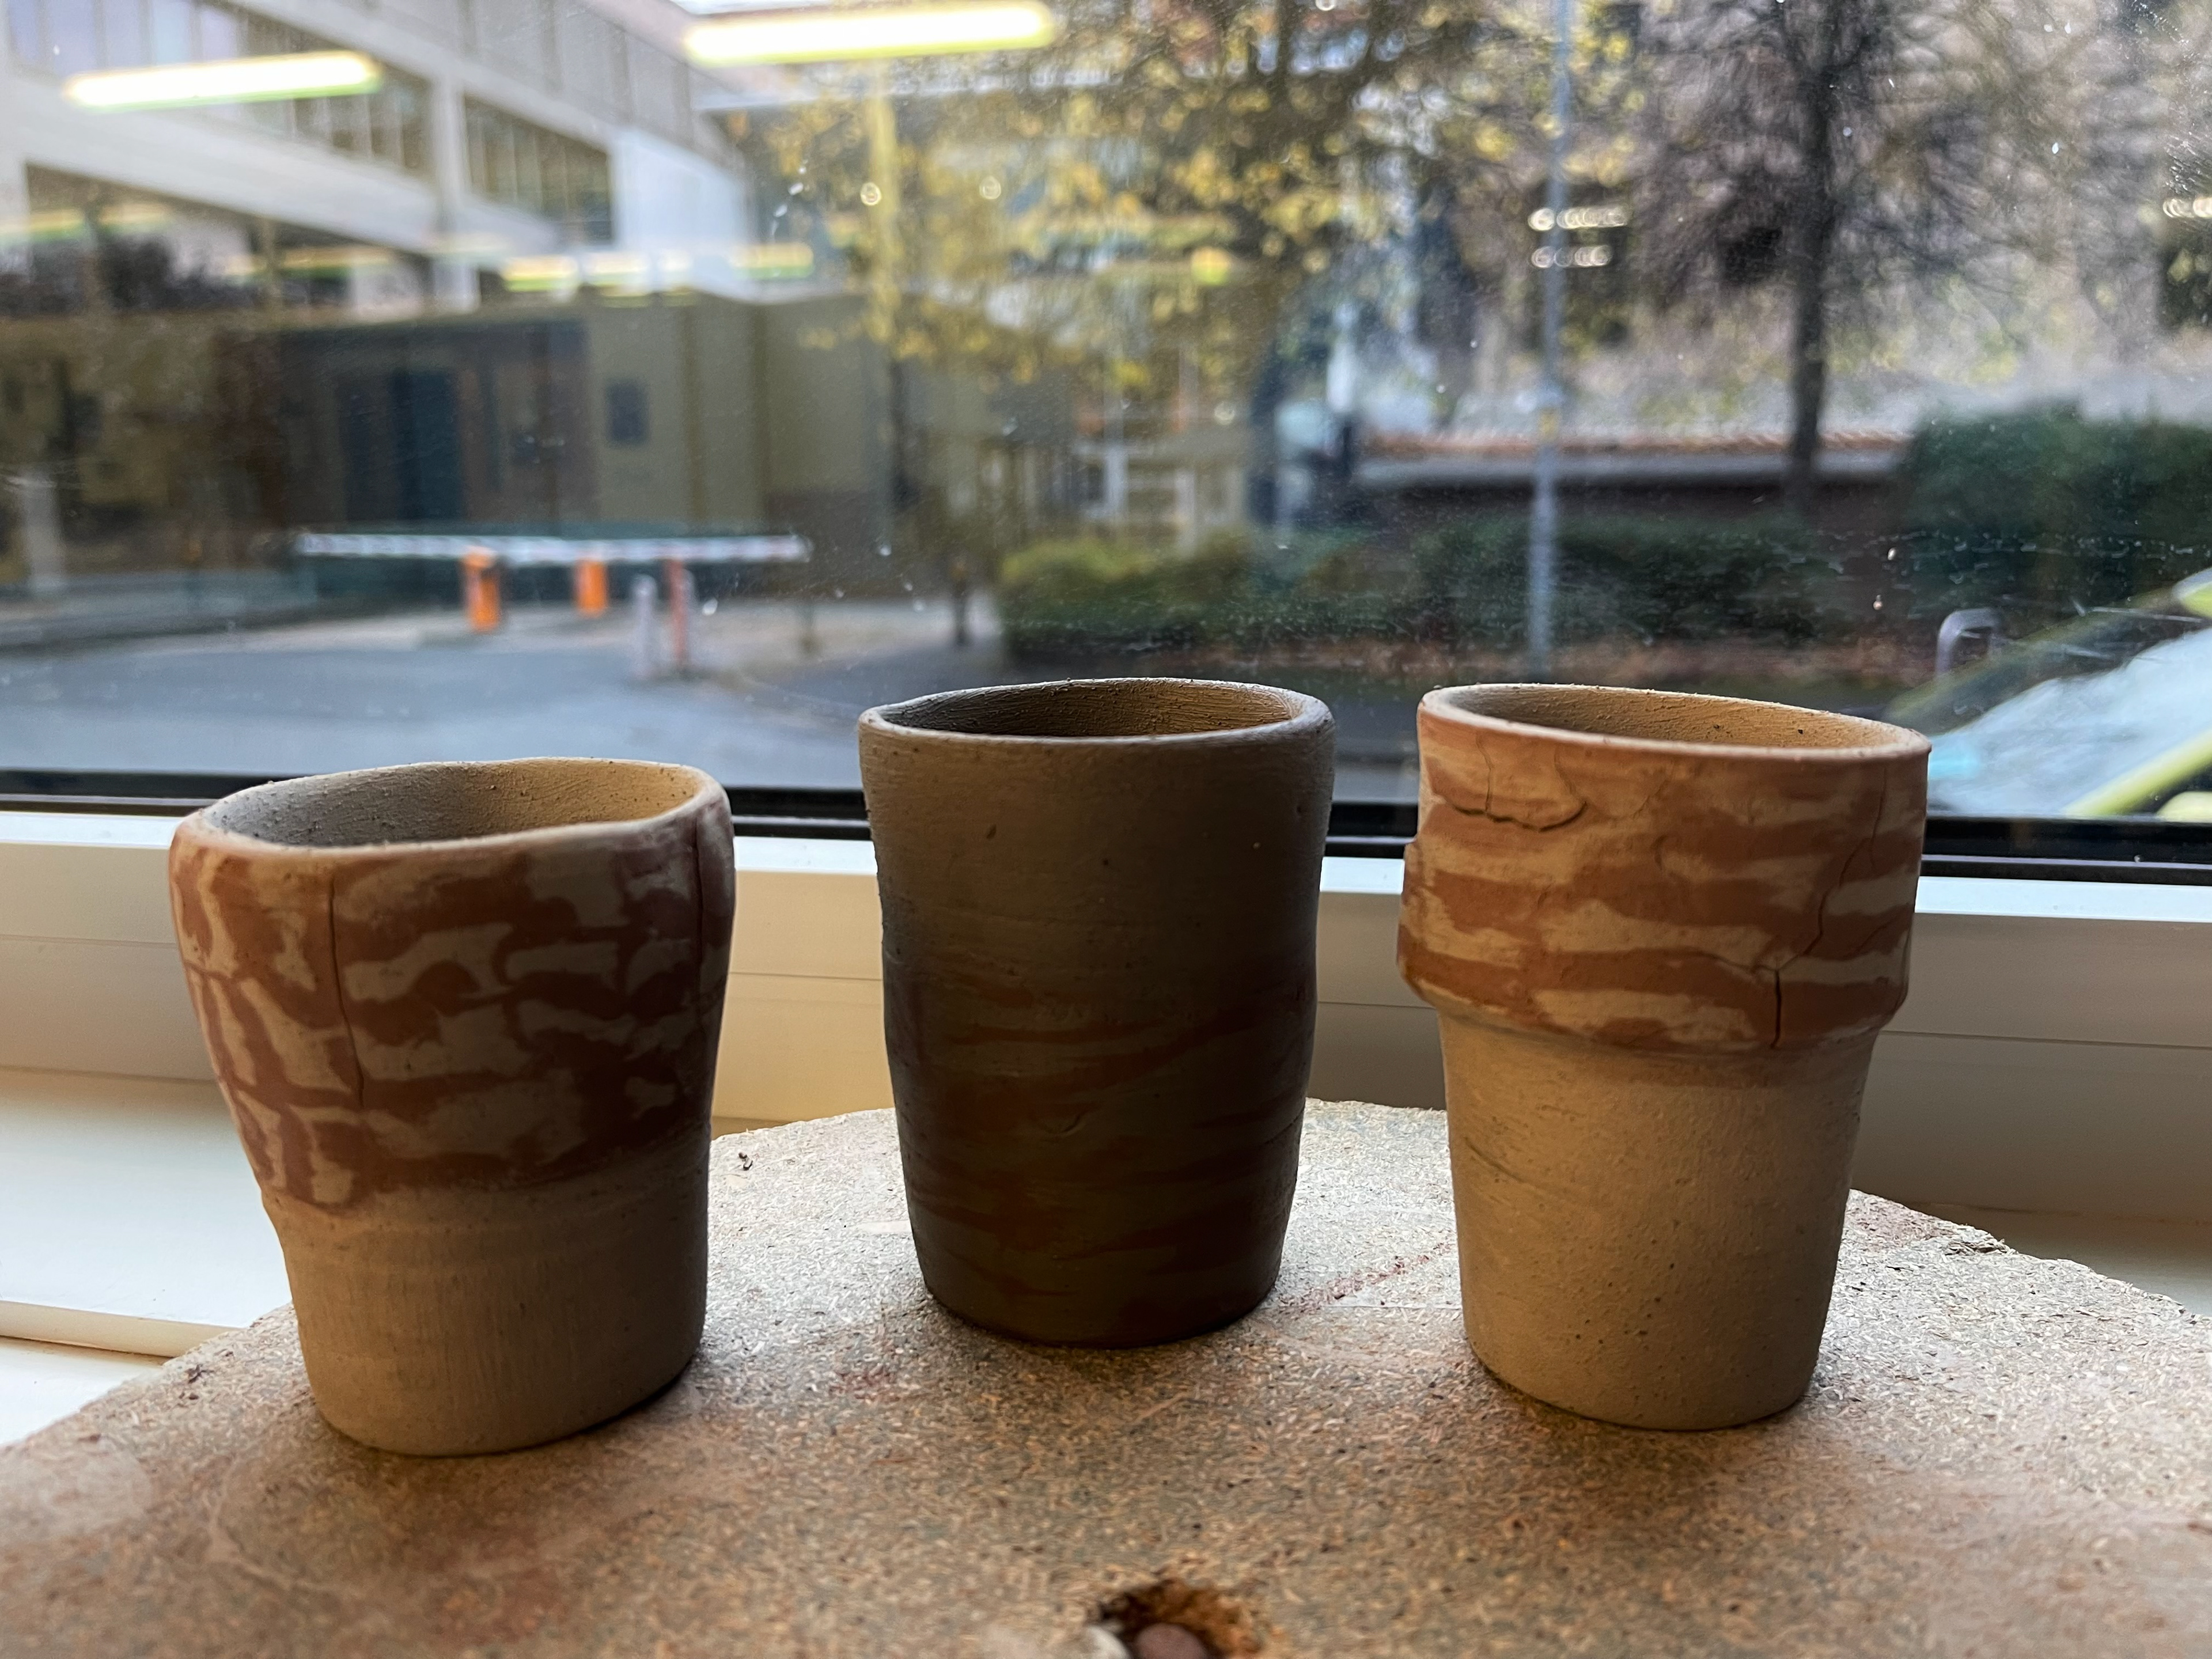
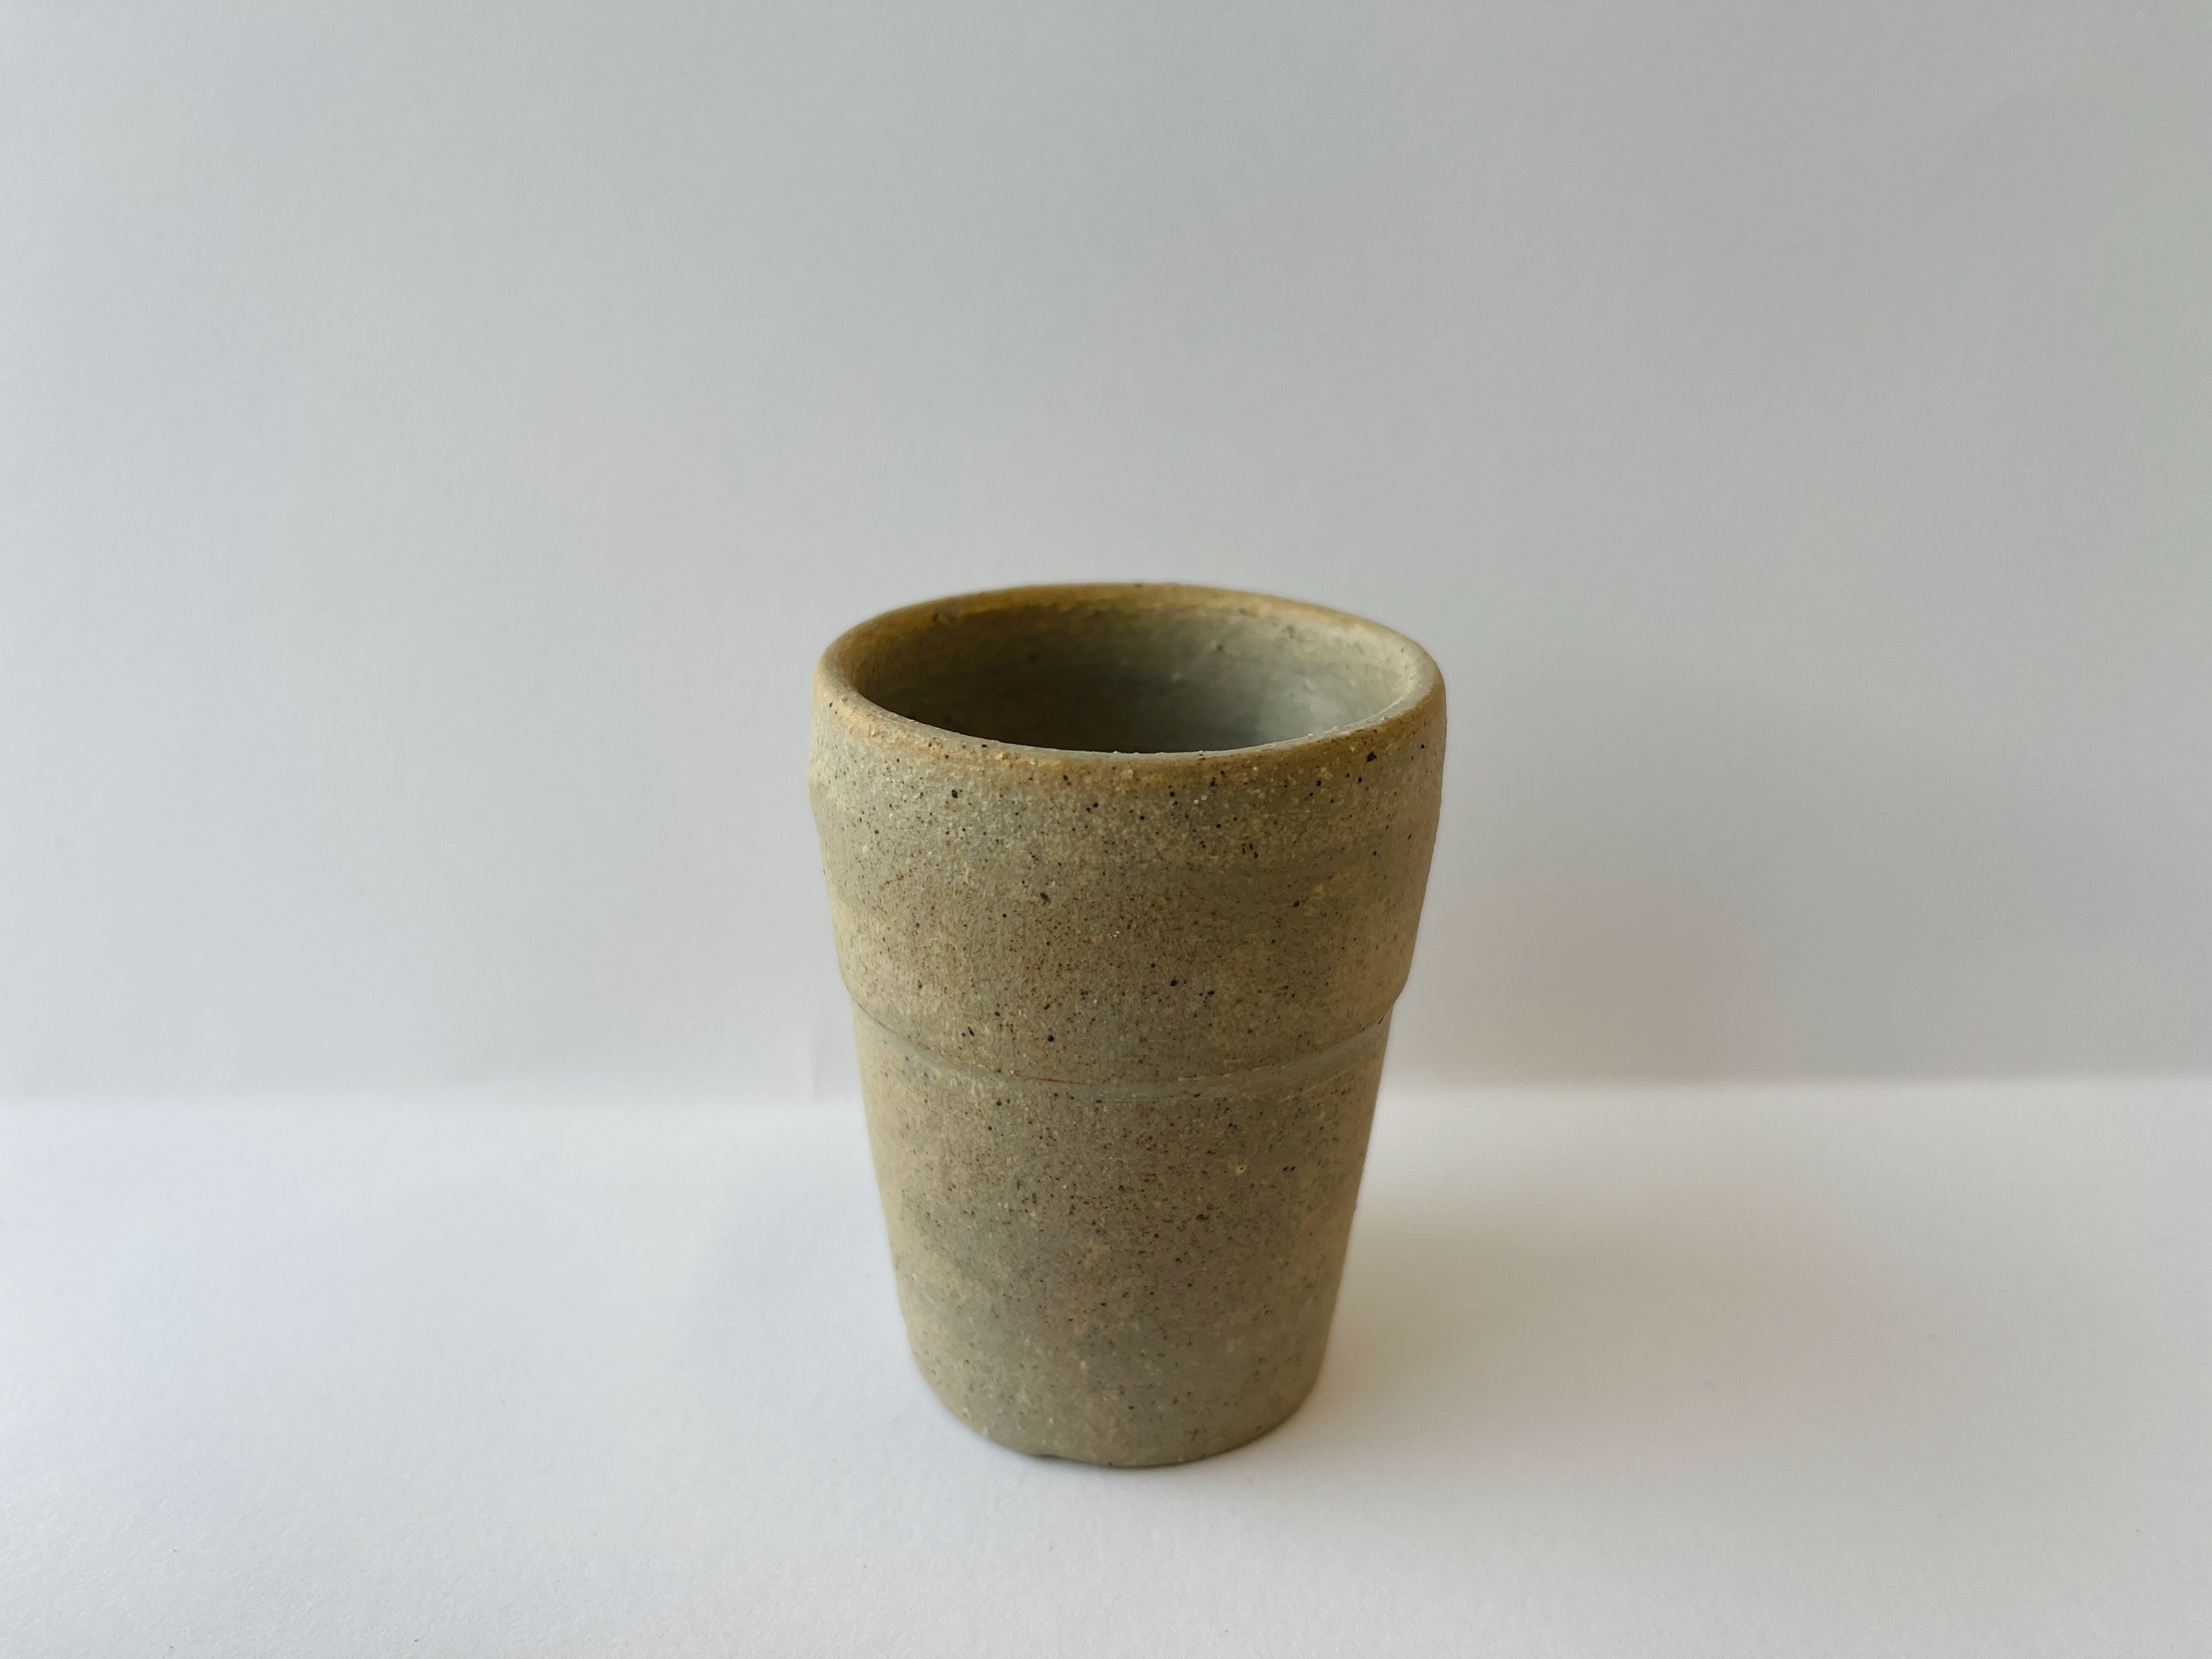
Chai cup- before
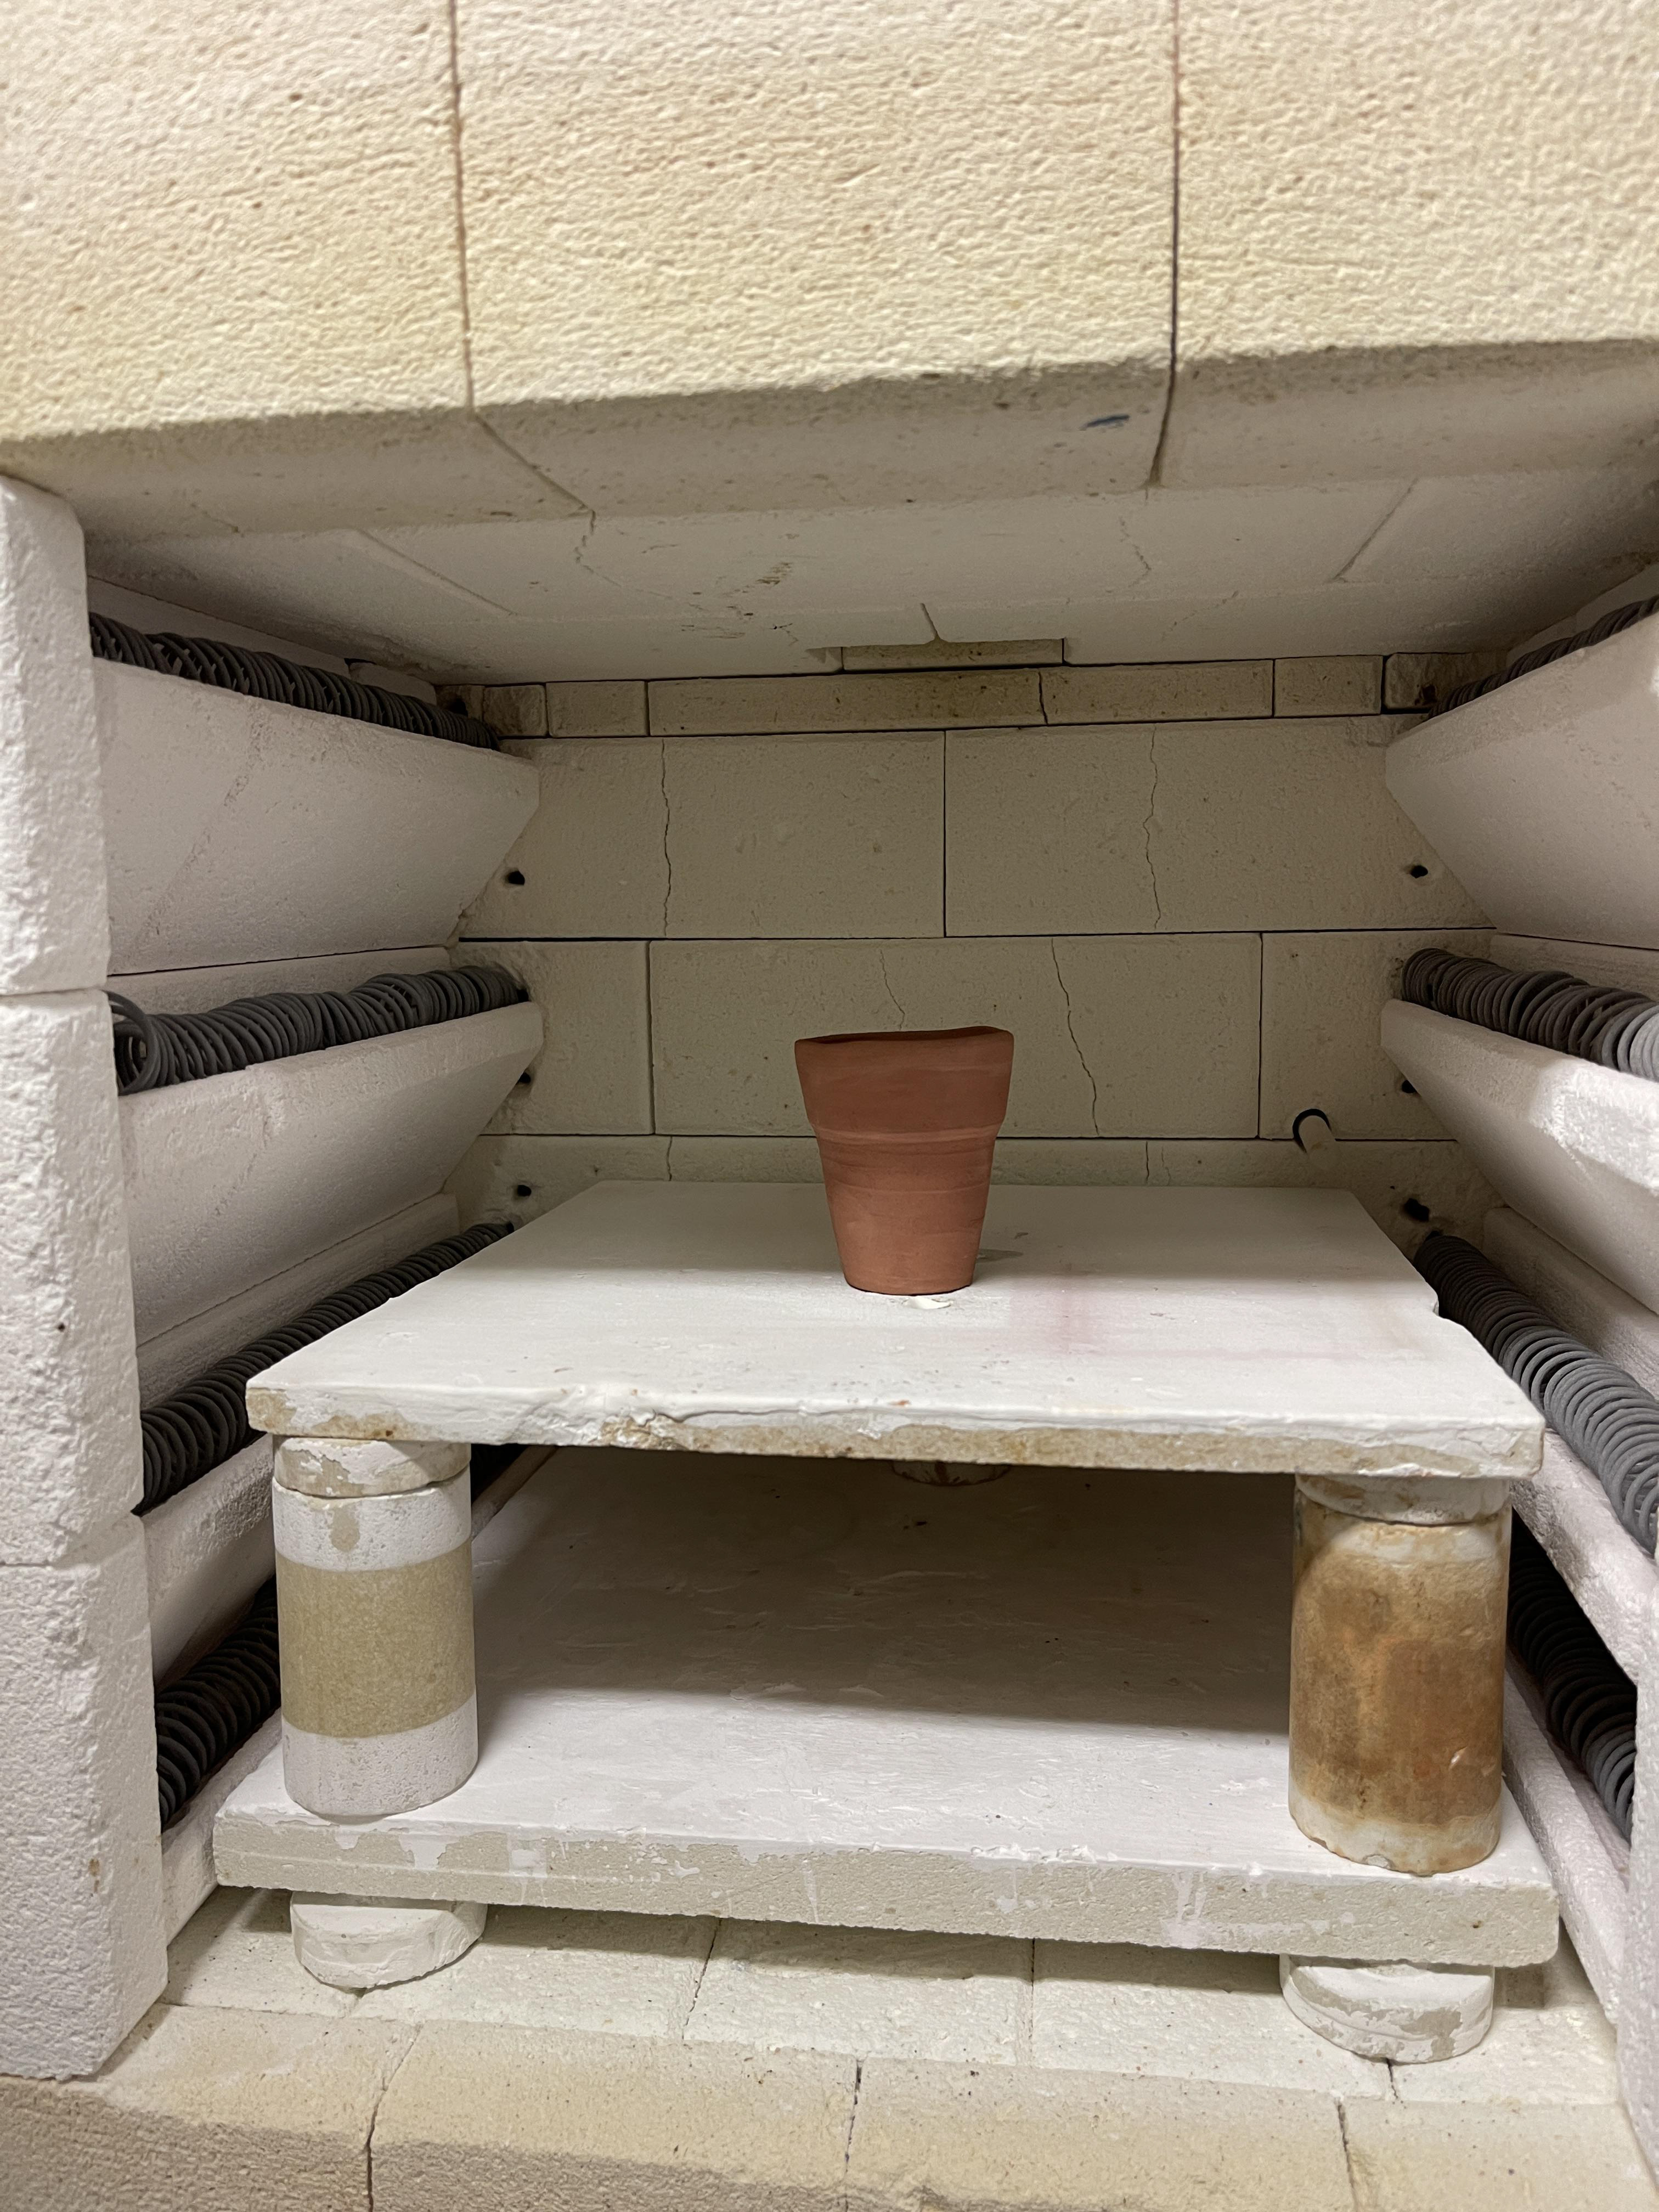
After being fired at 400*c.
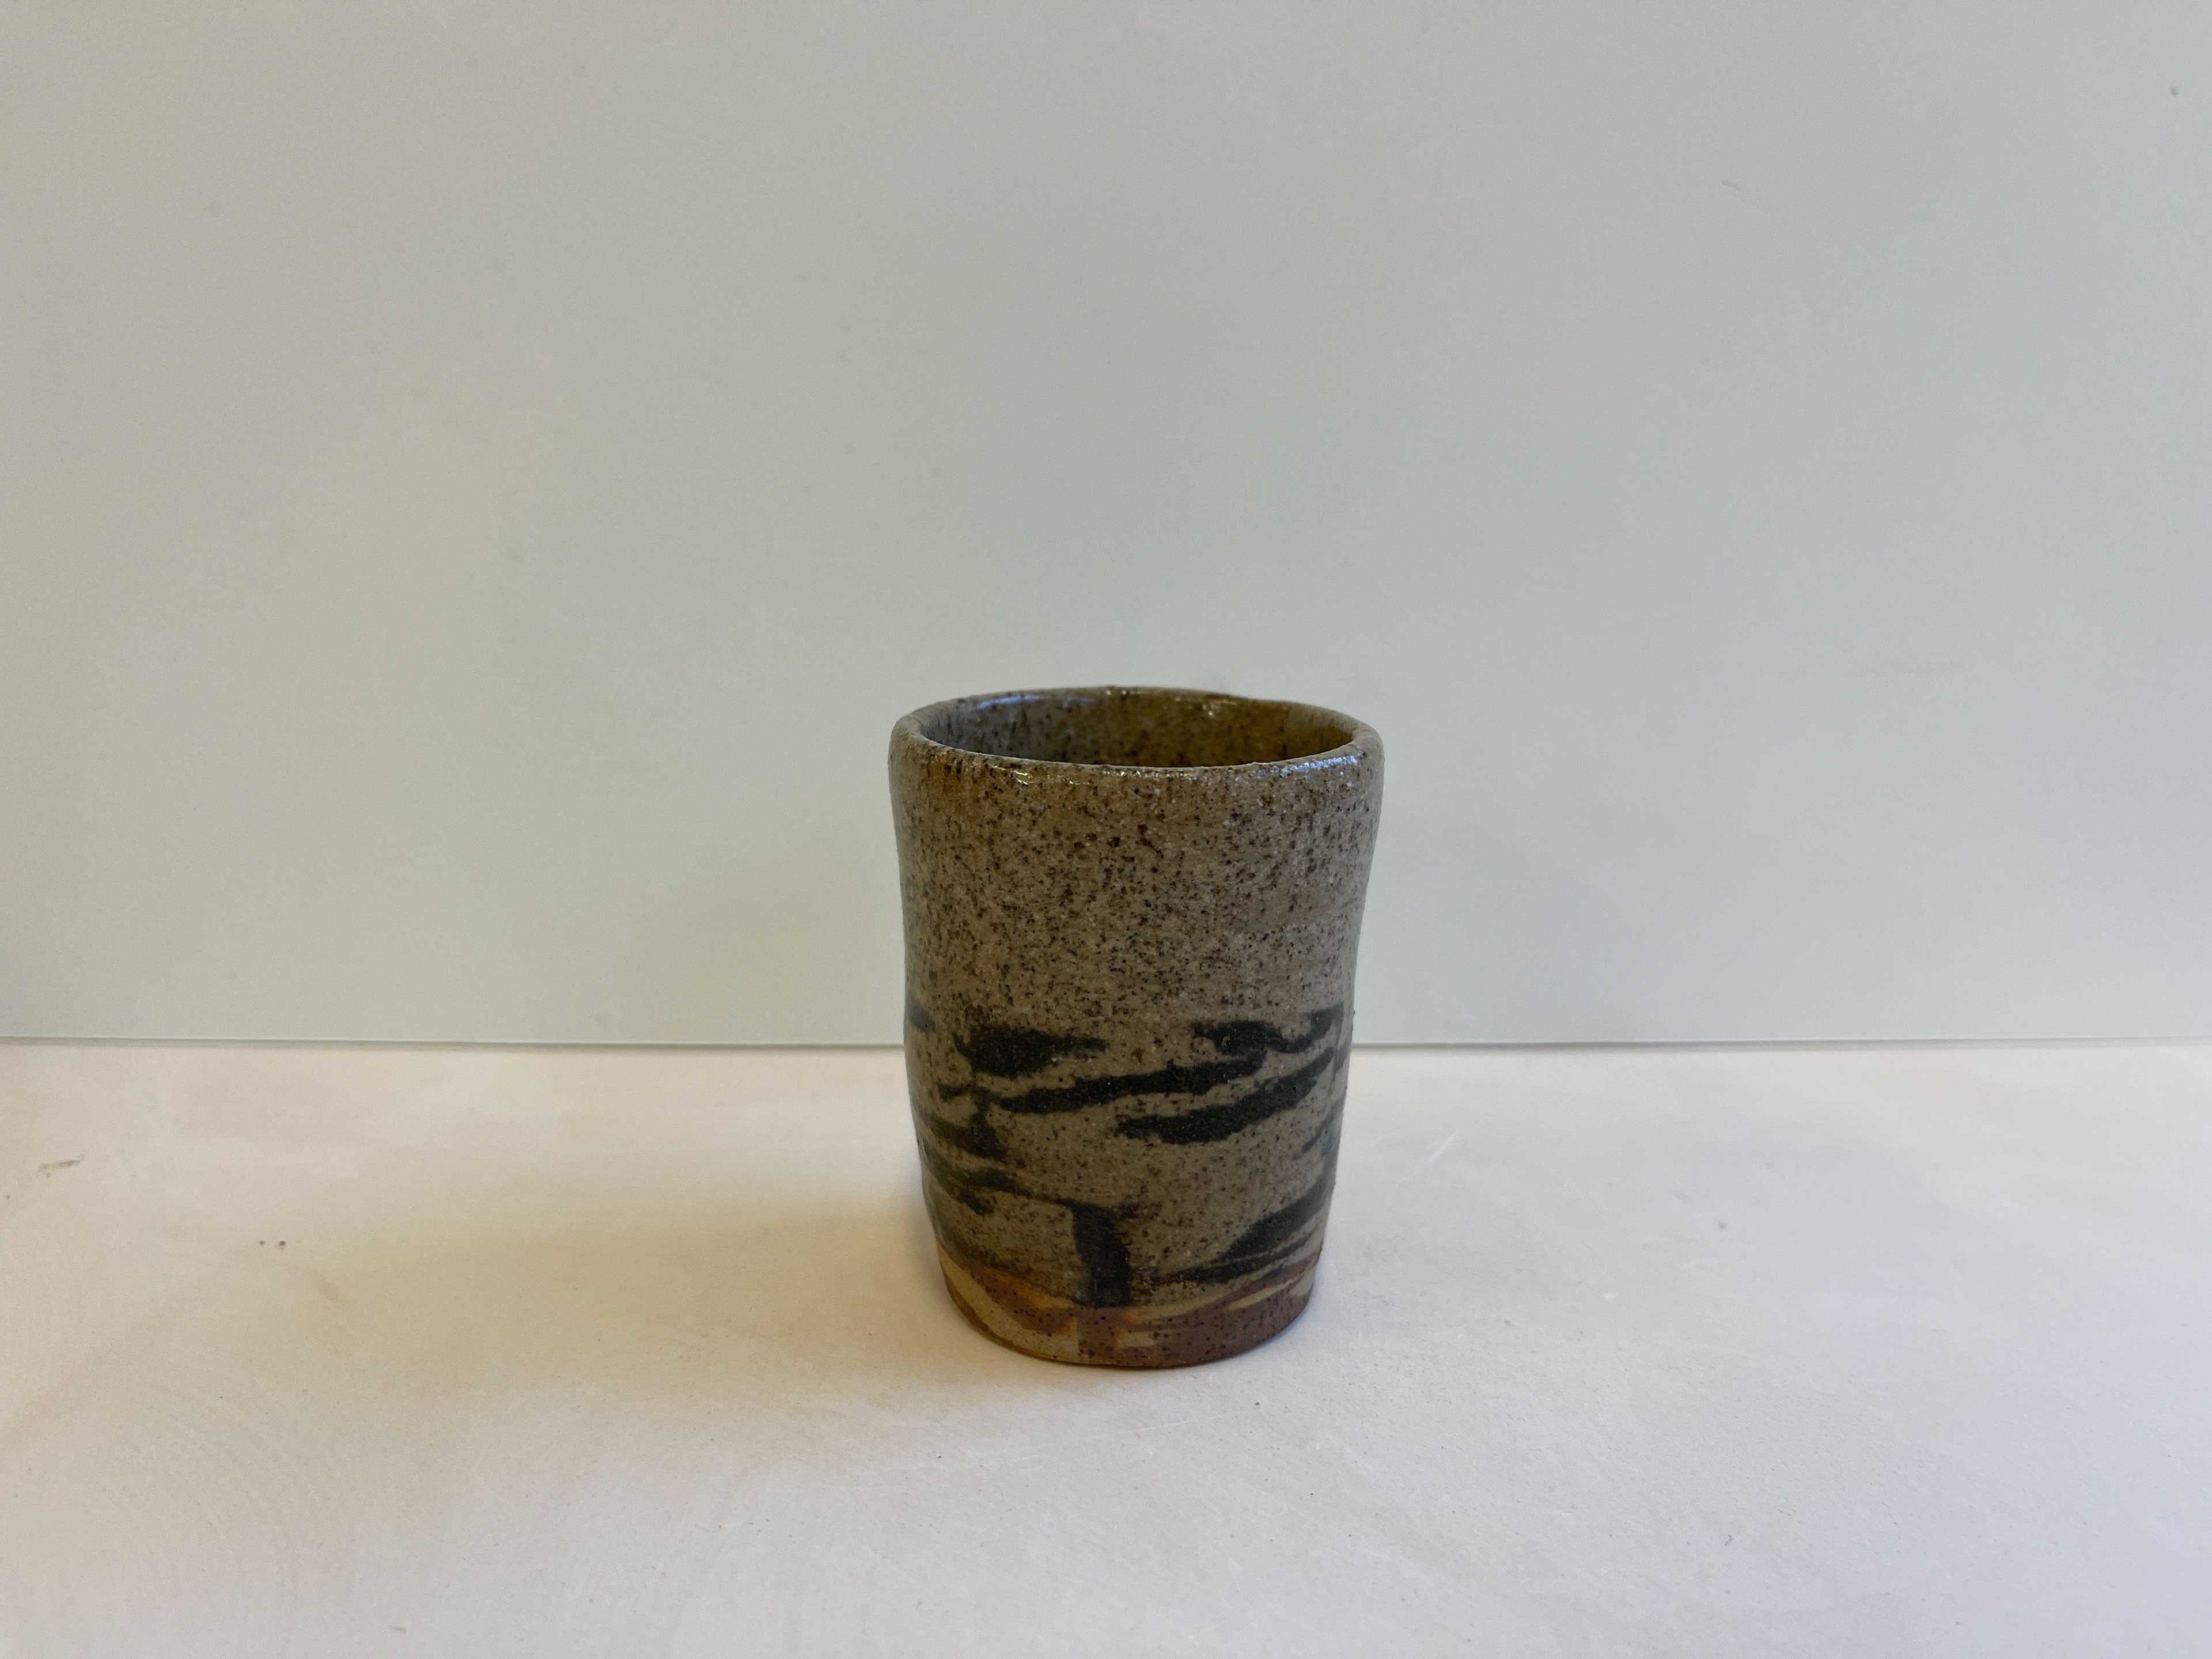


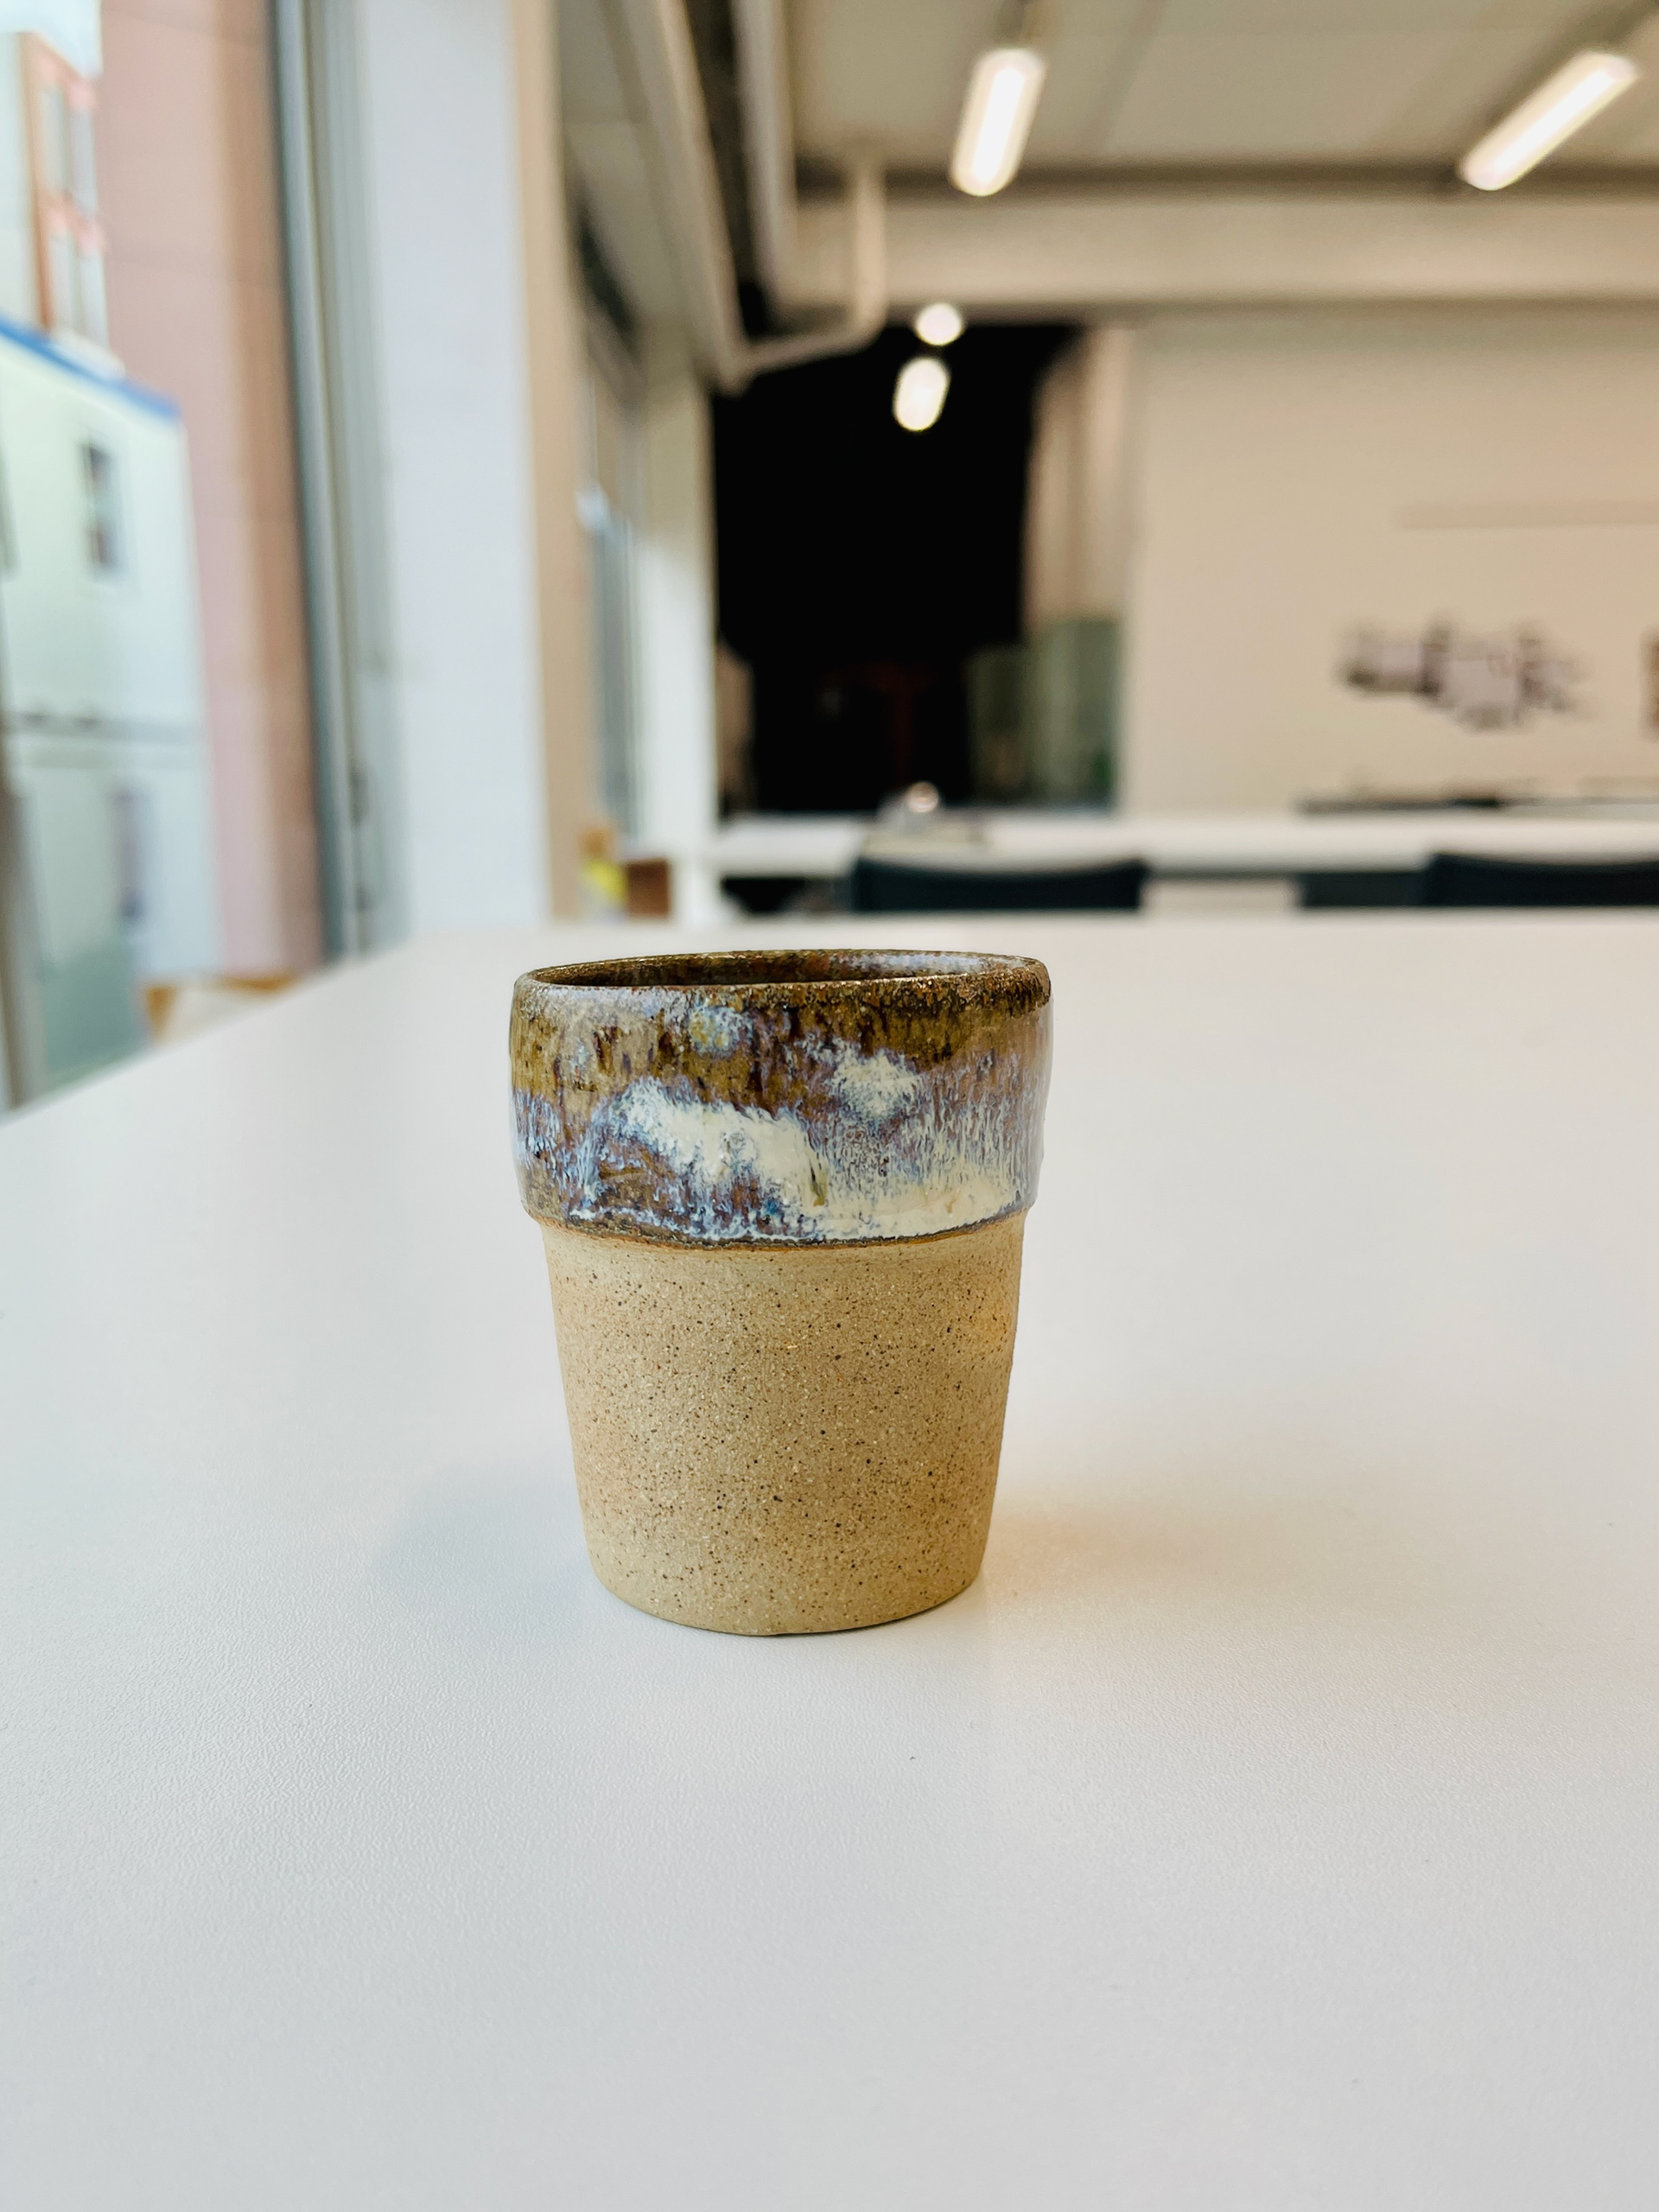
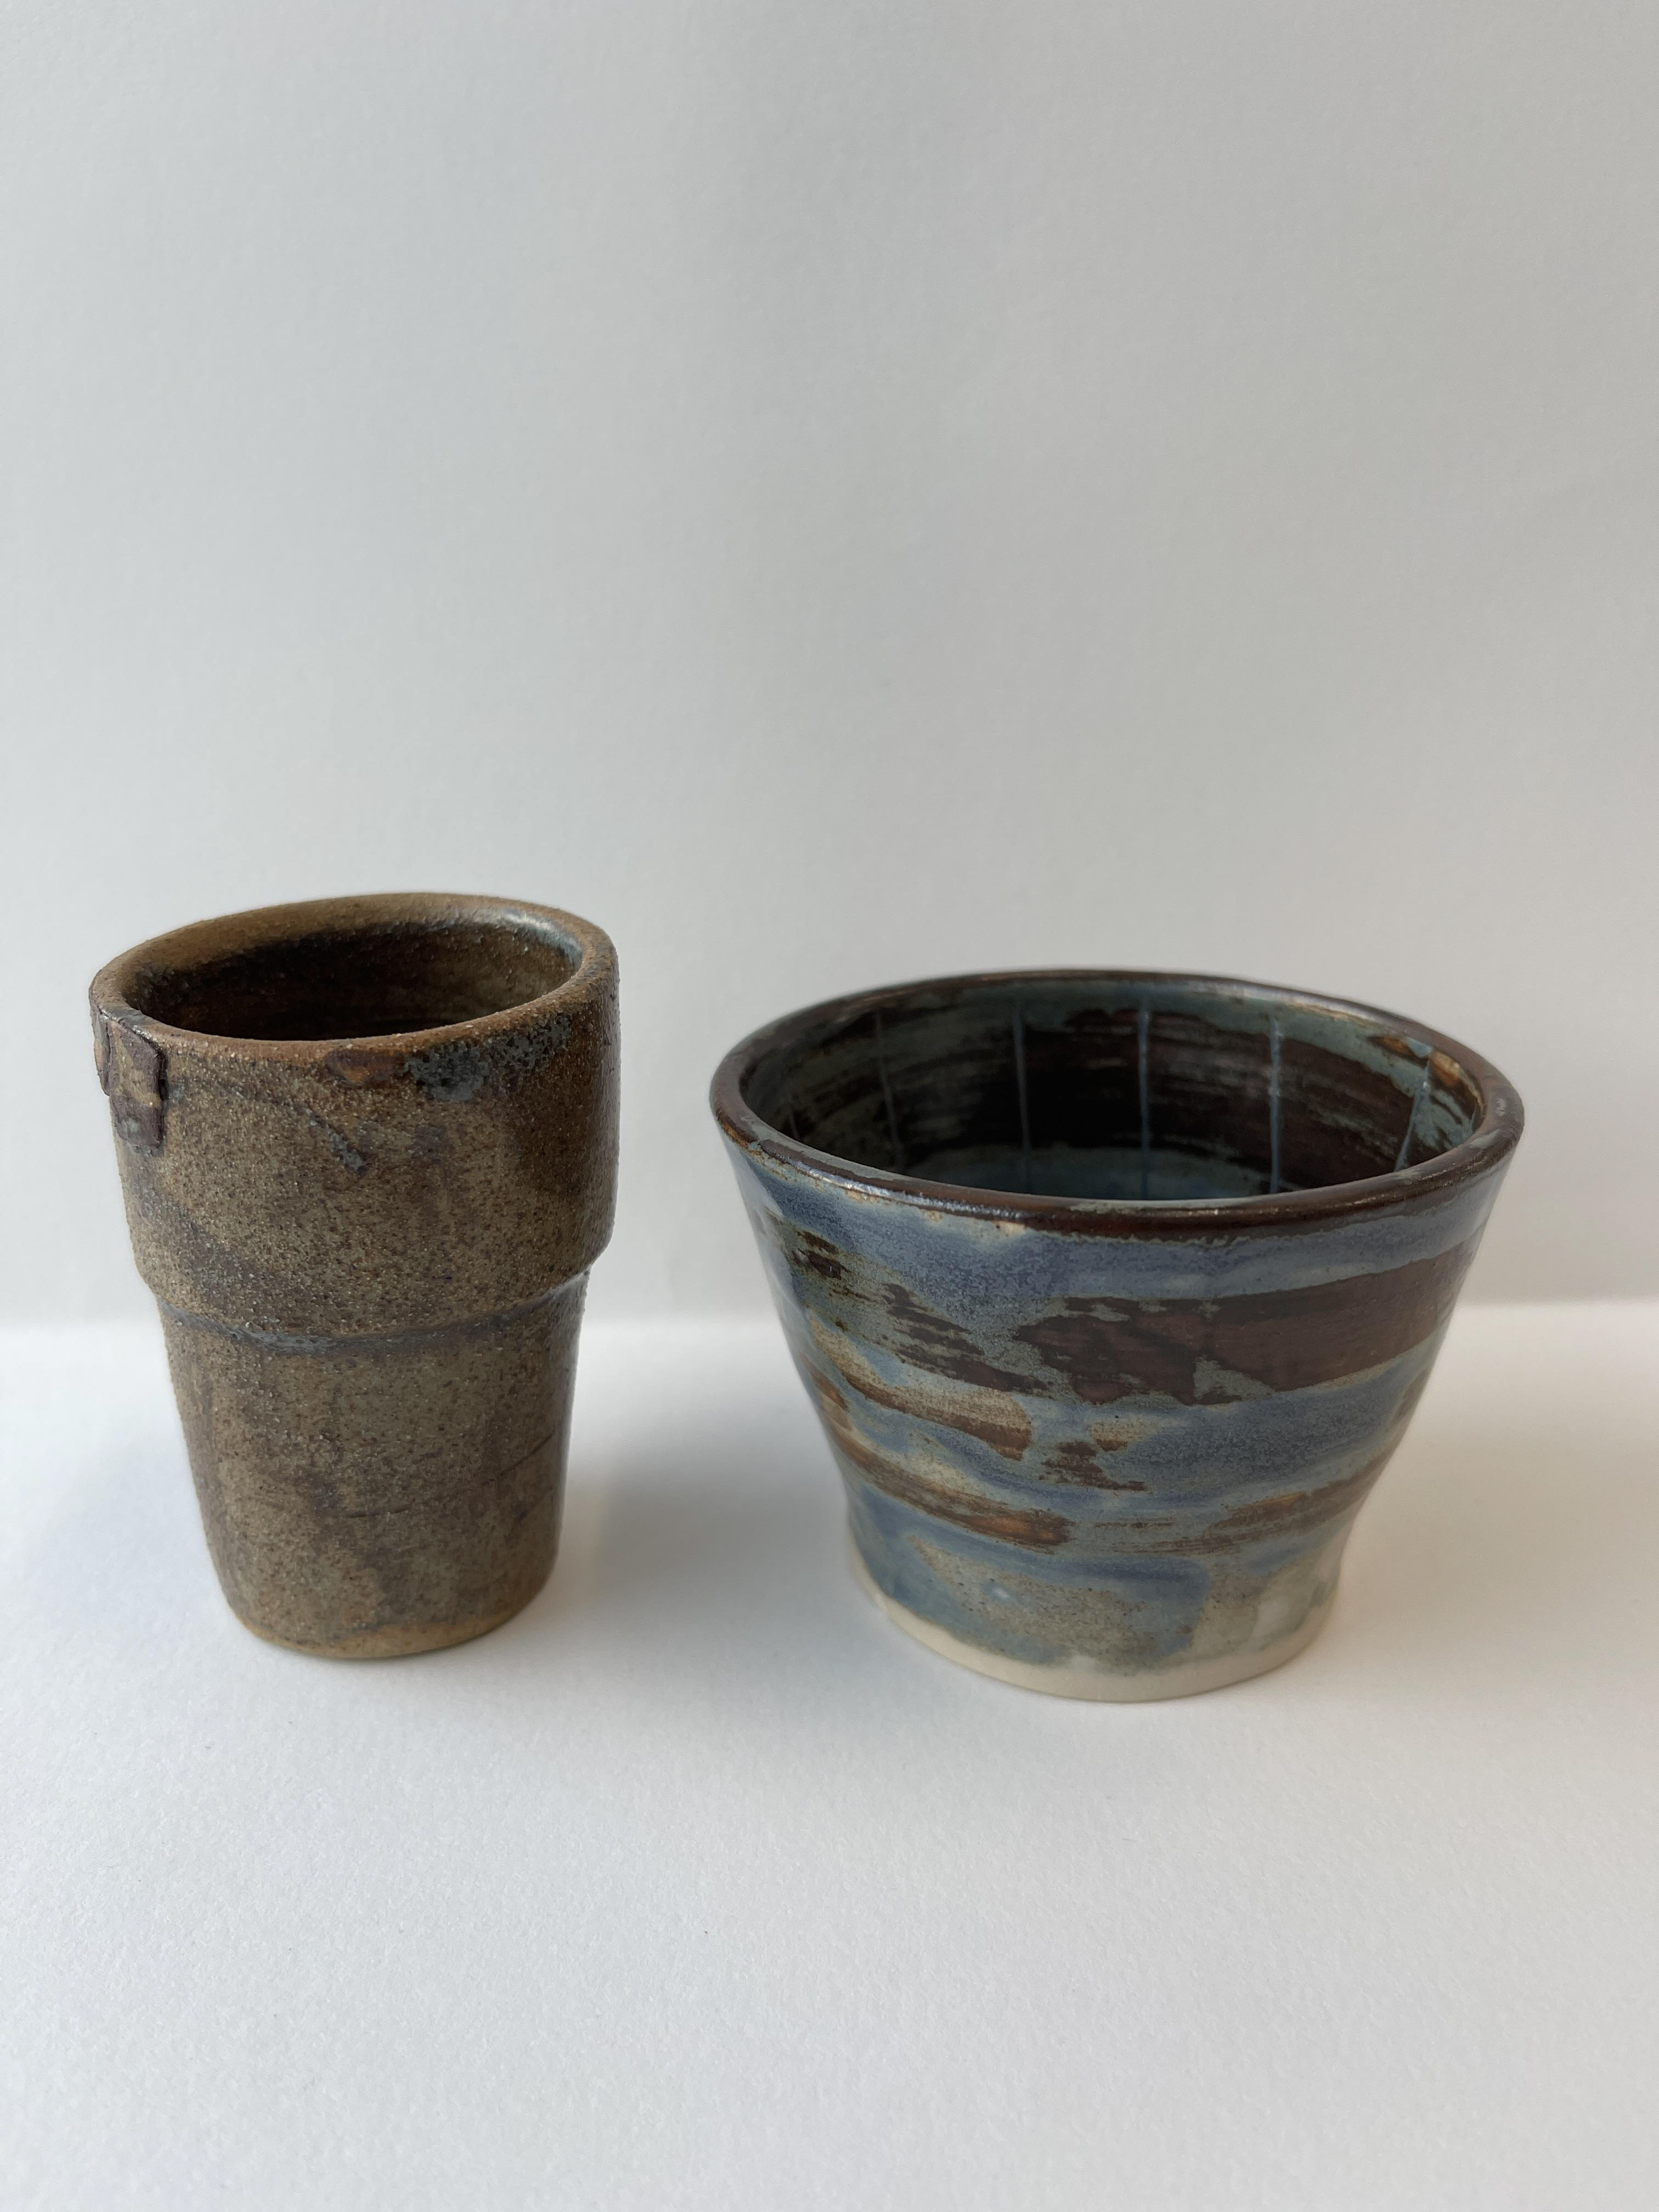
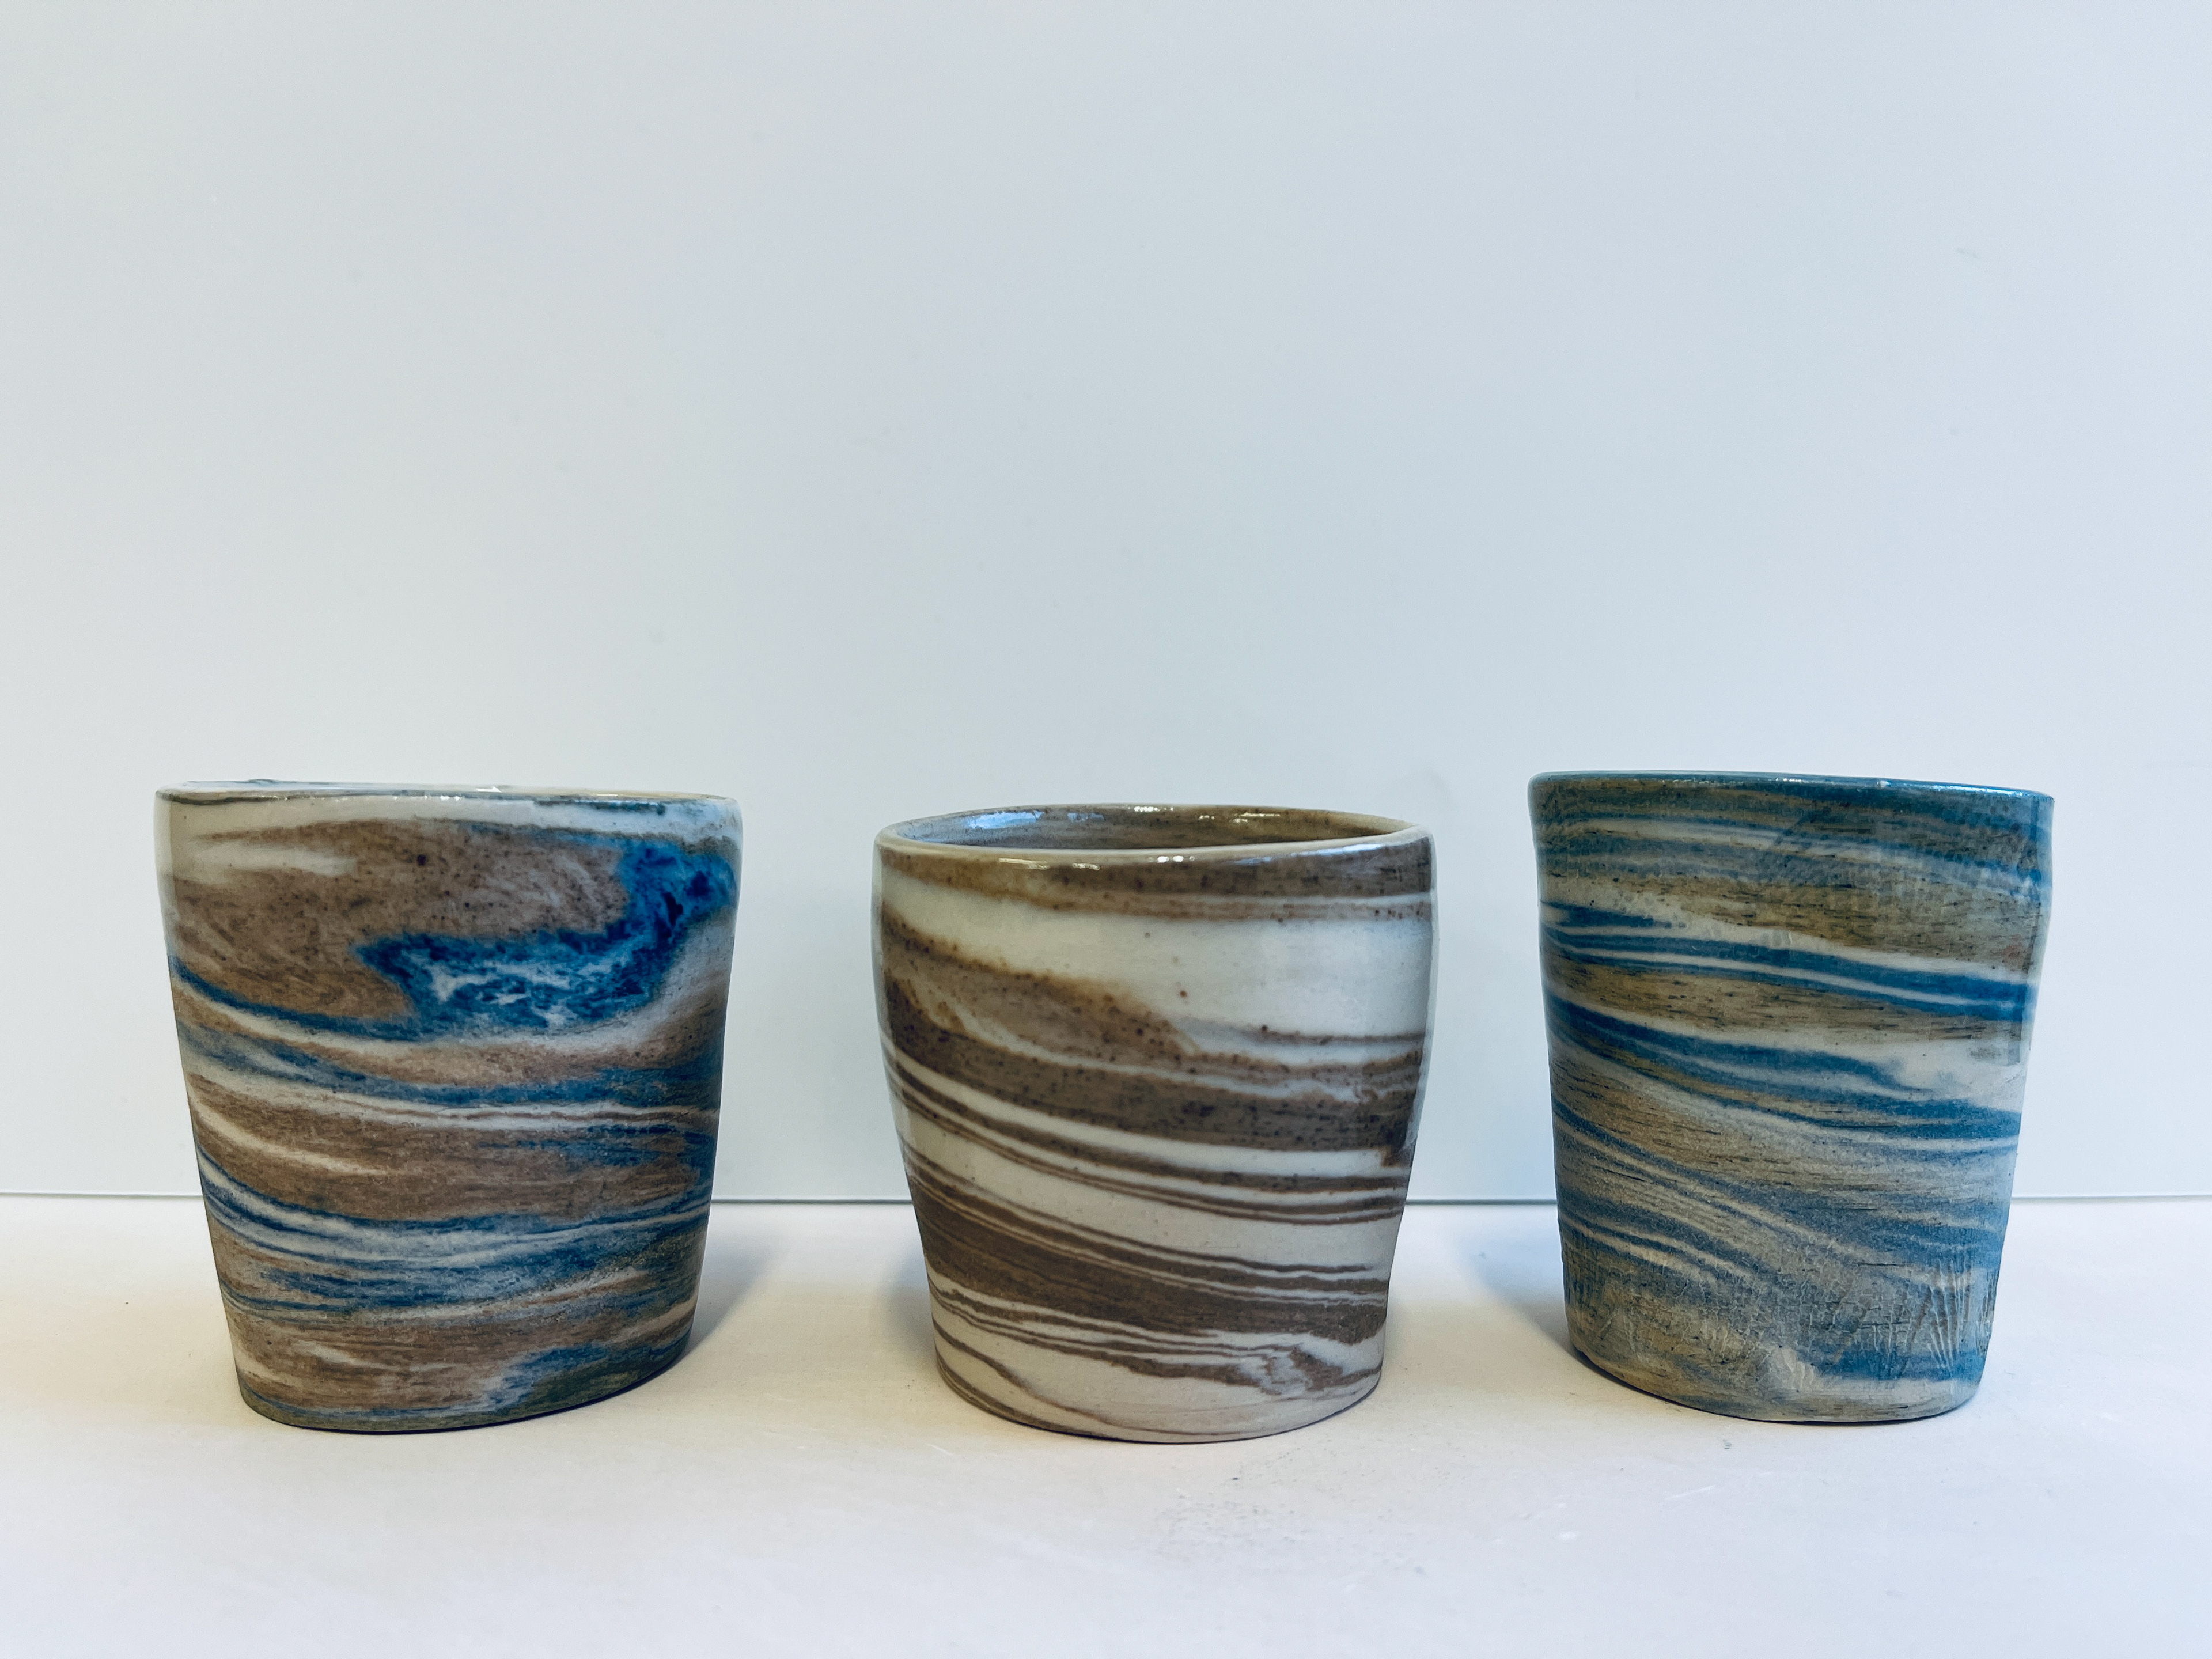
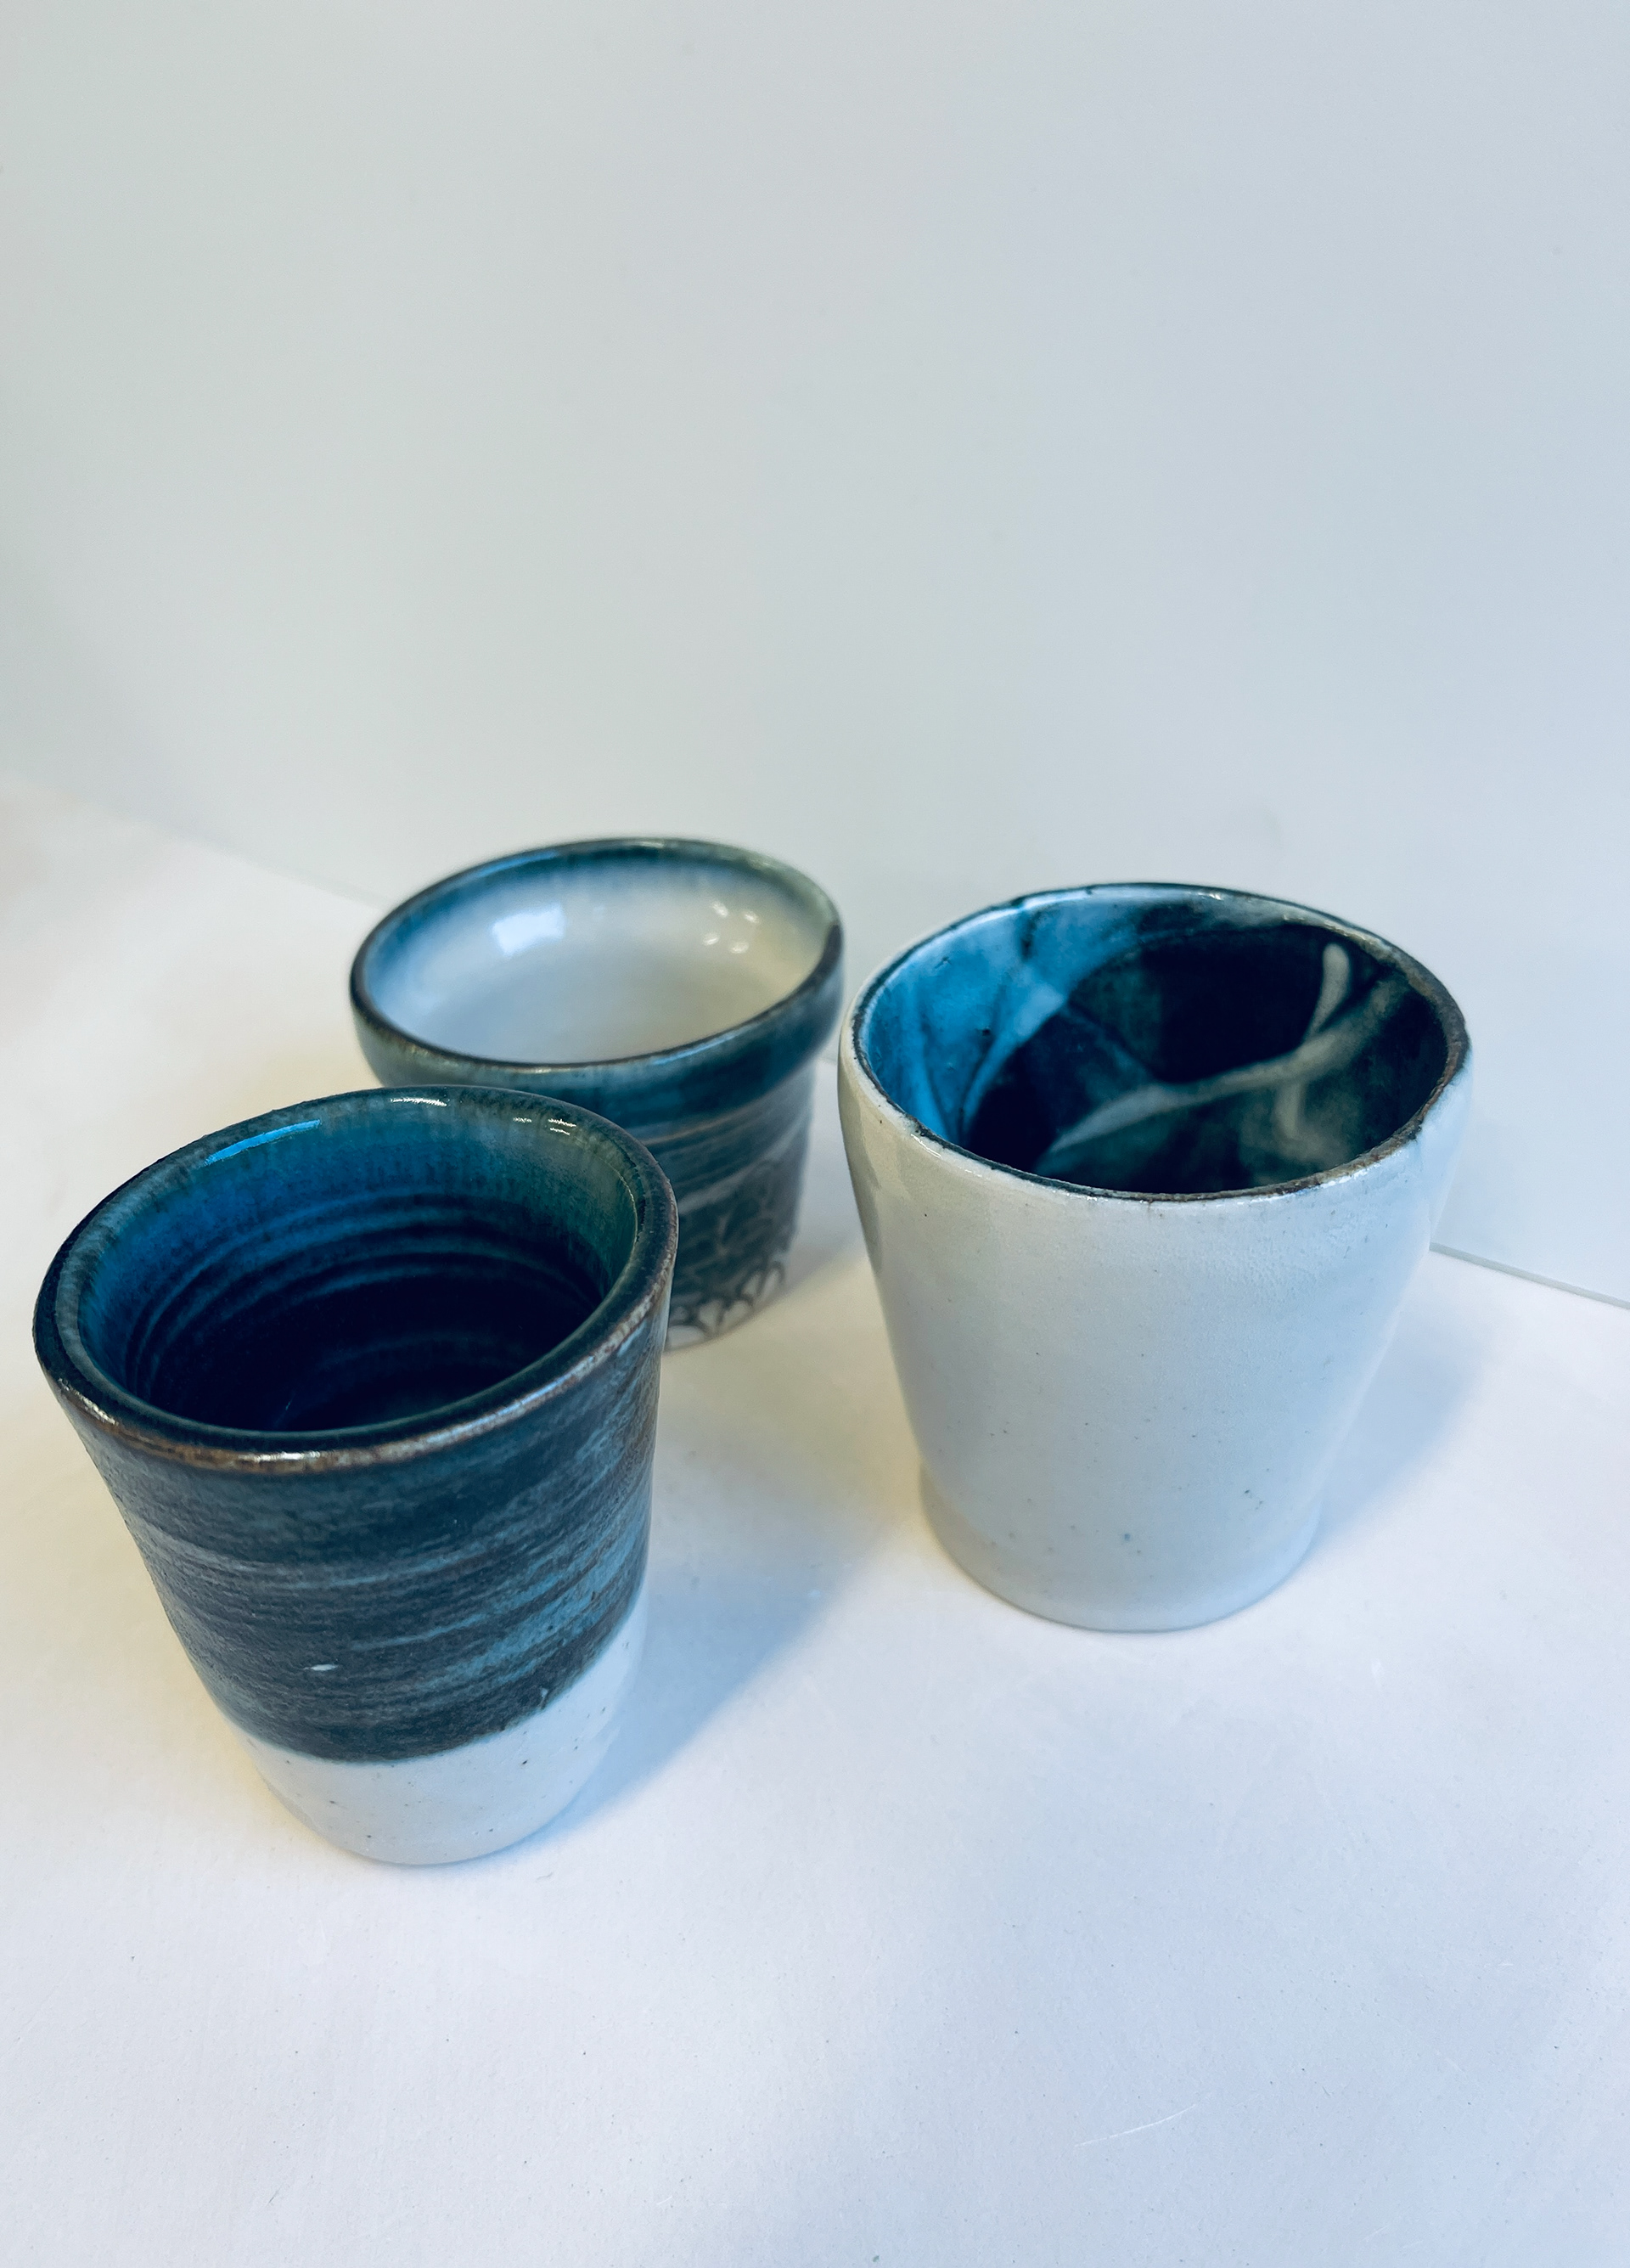
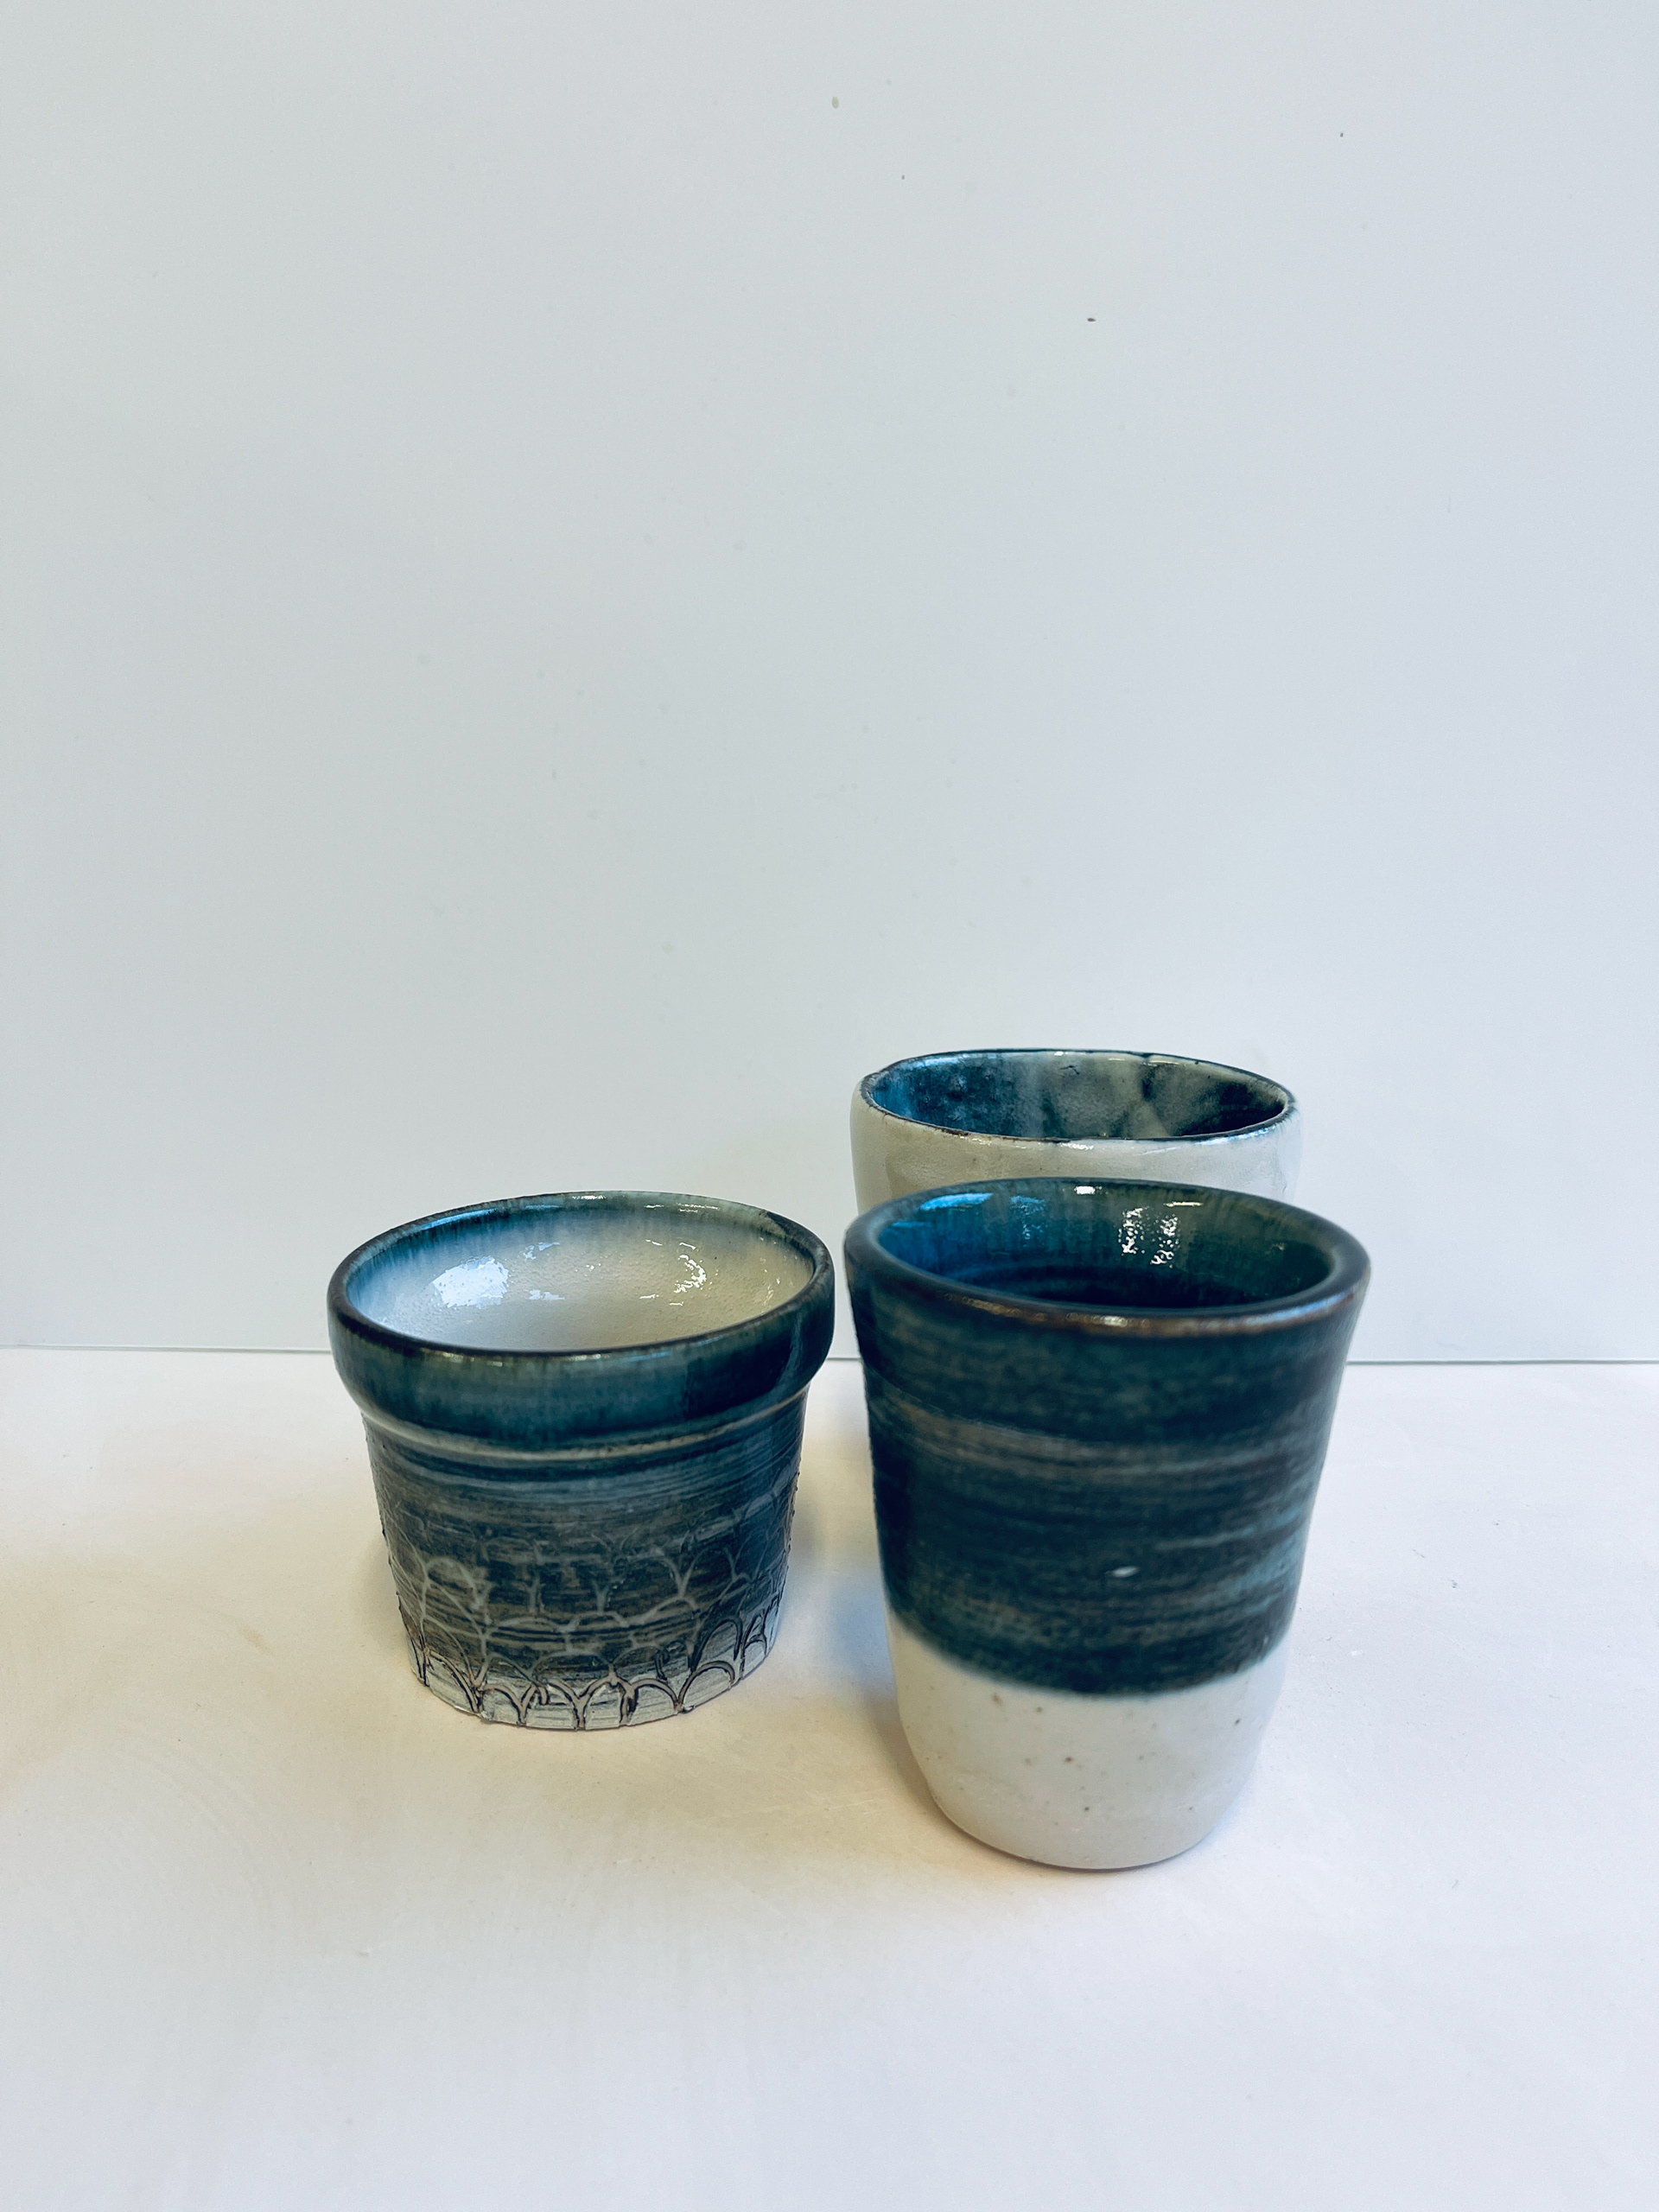
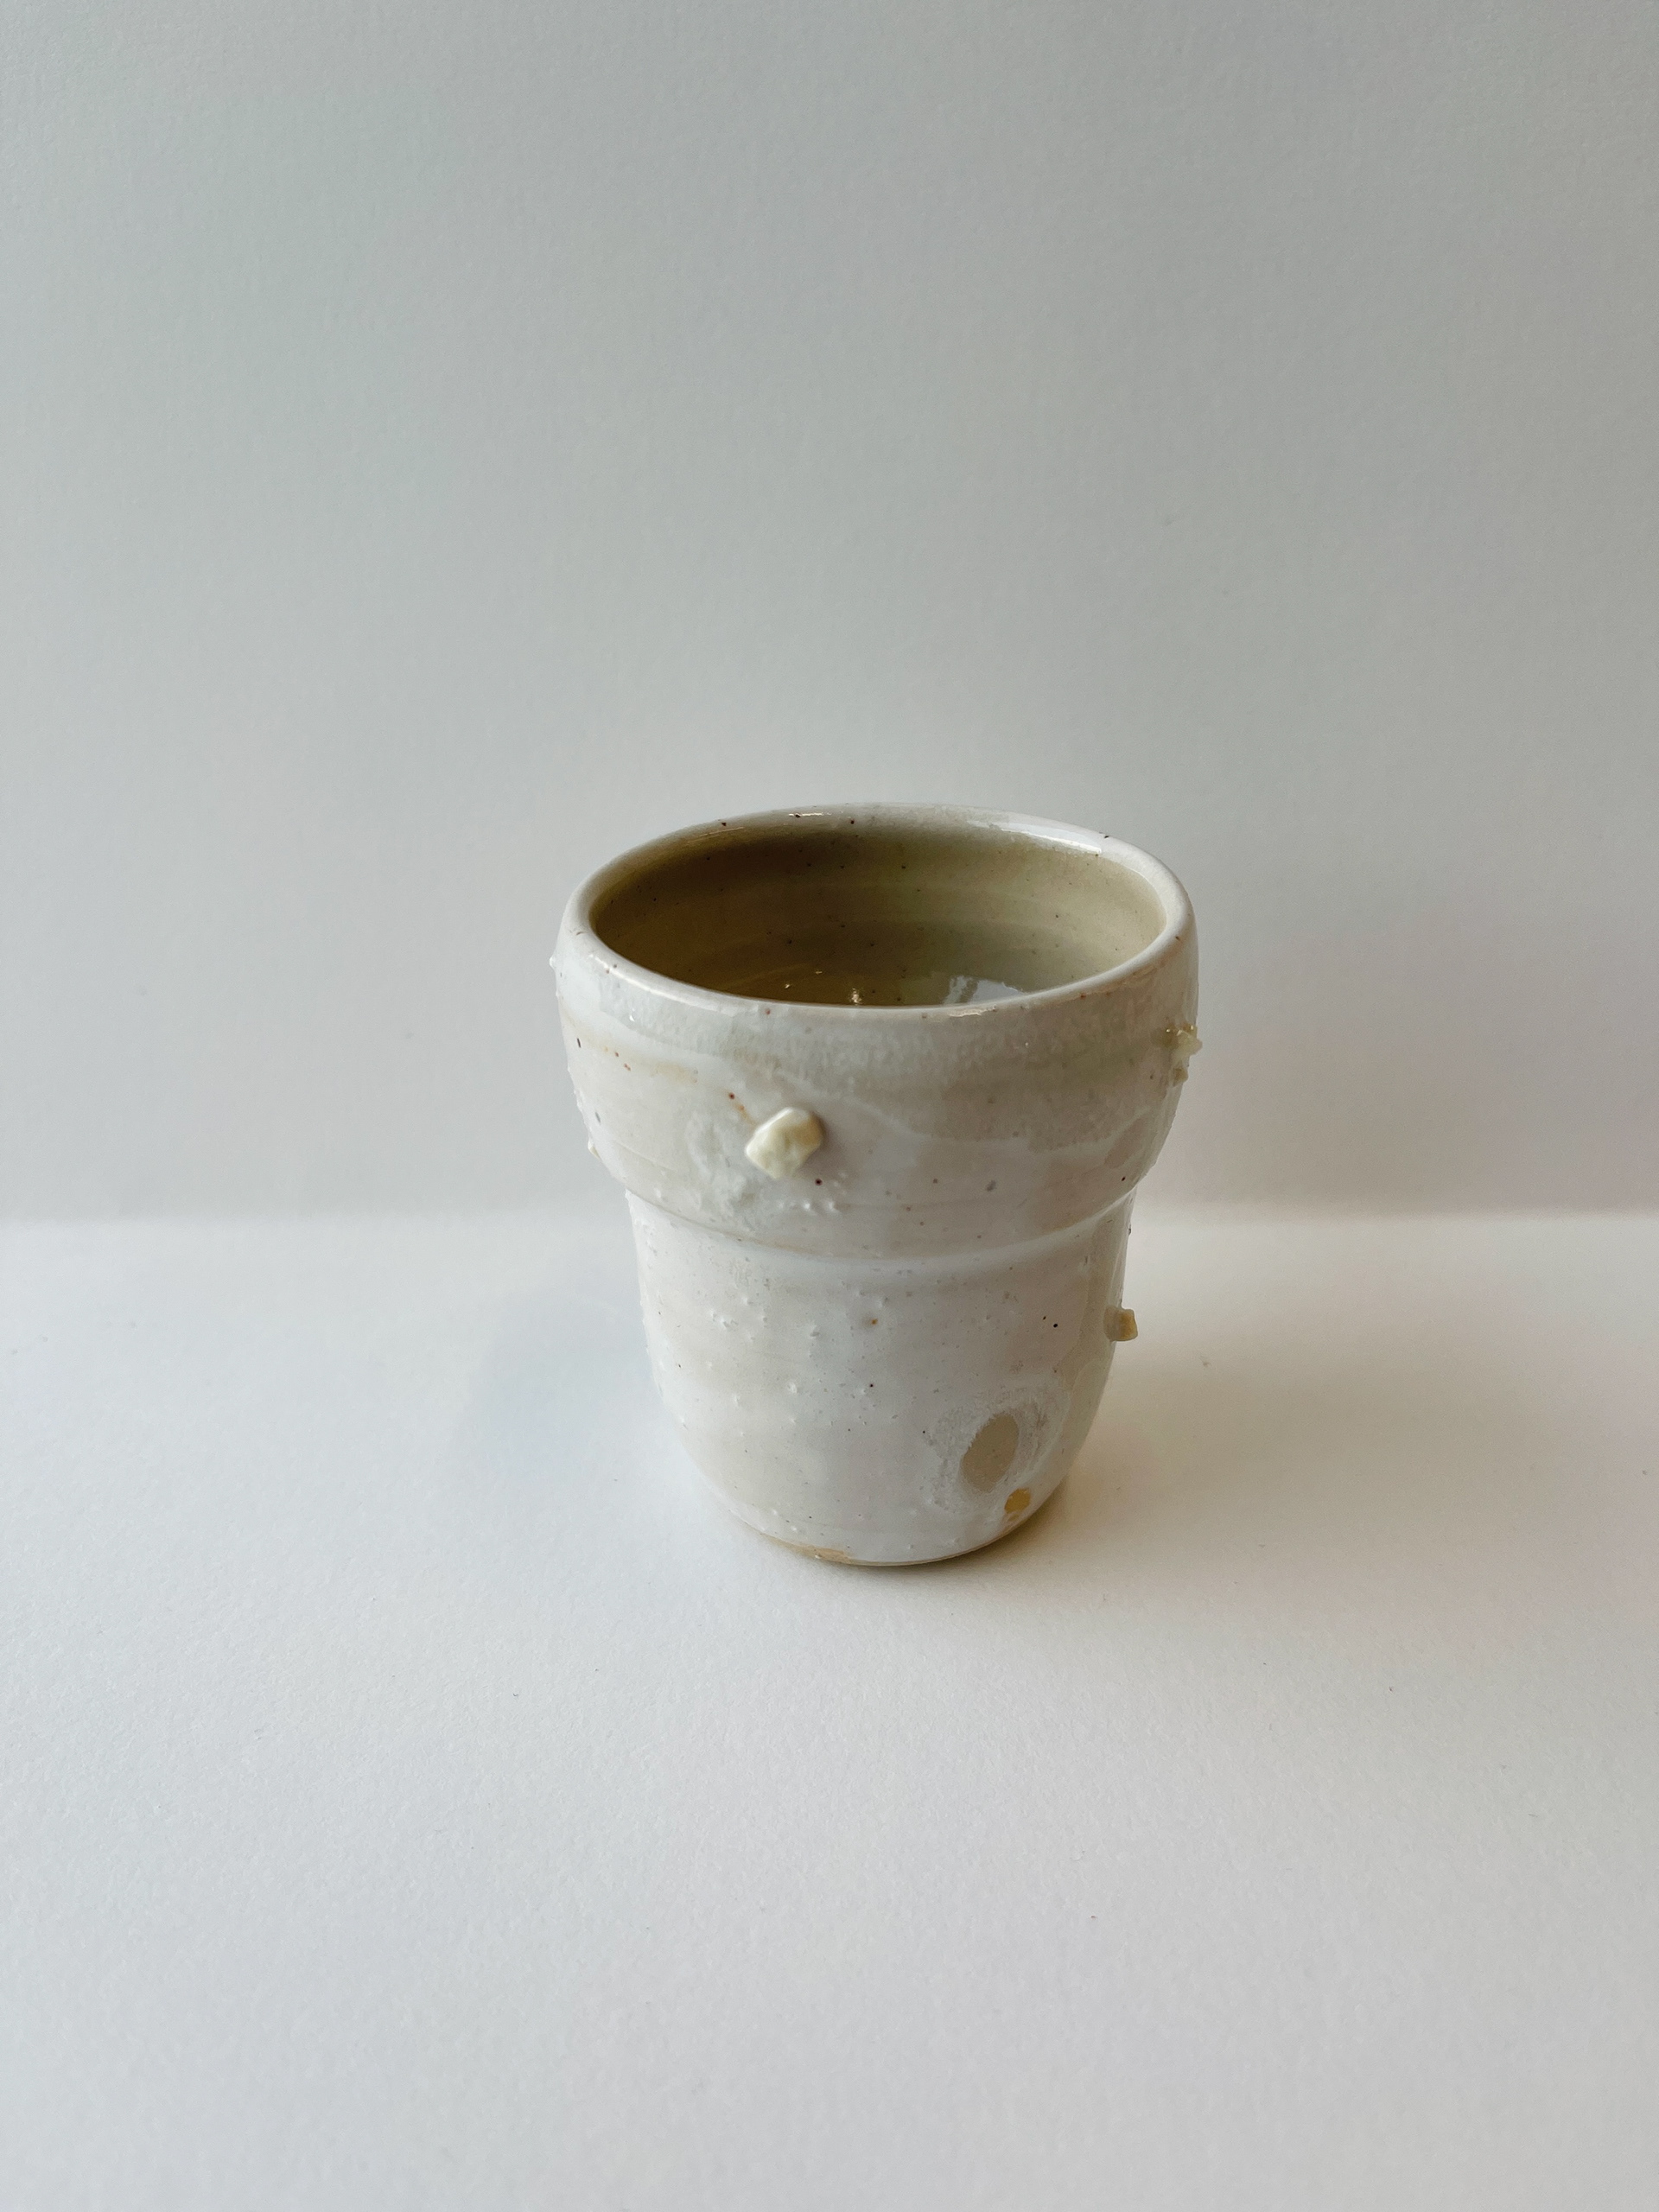
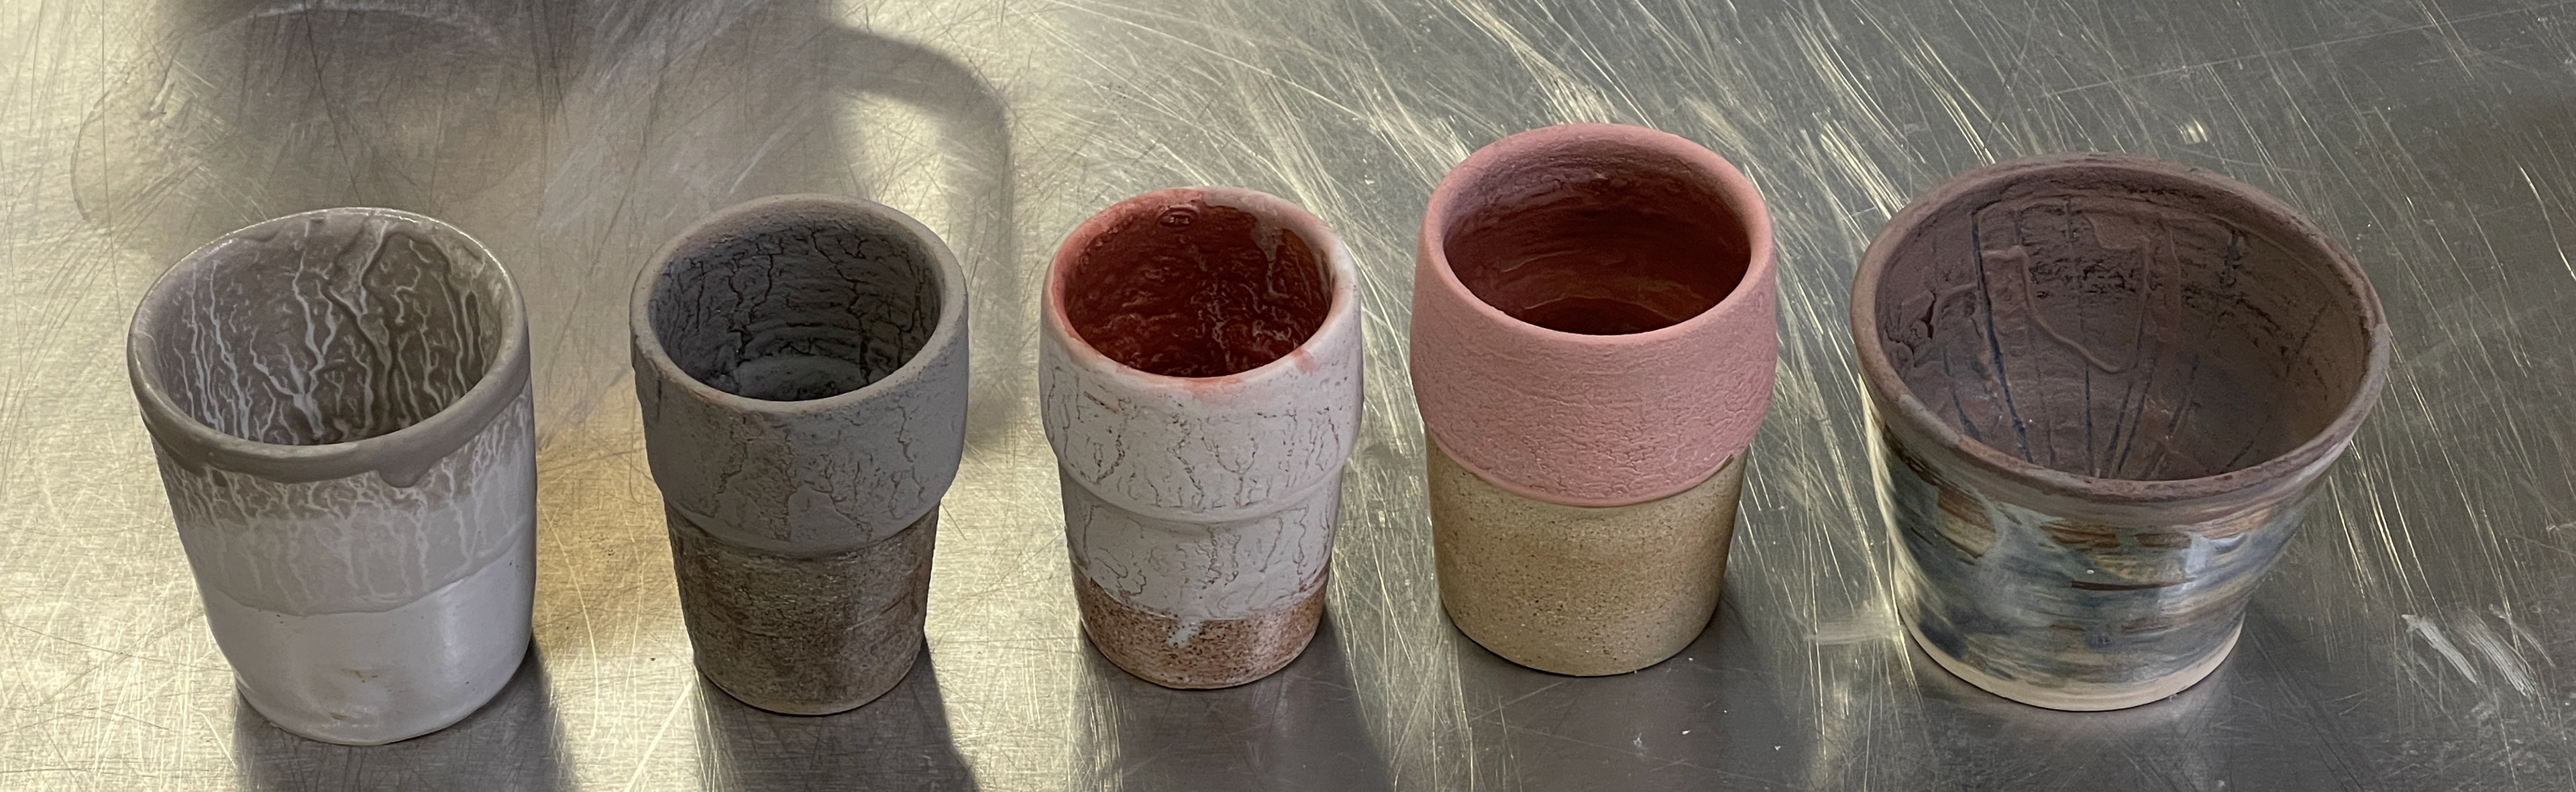
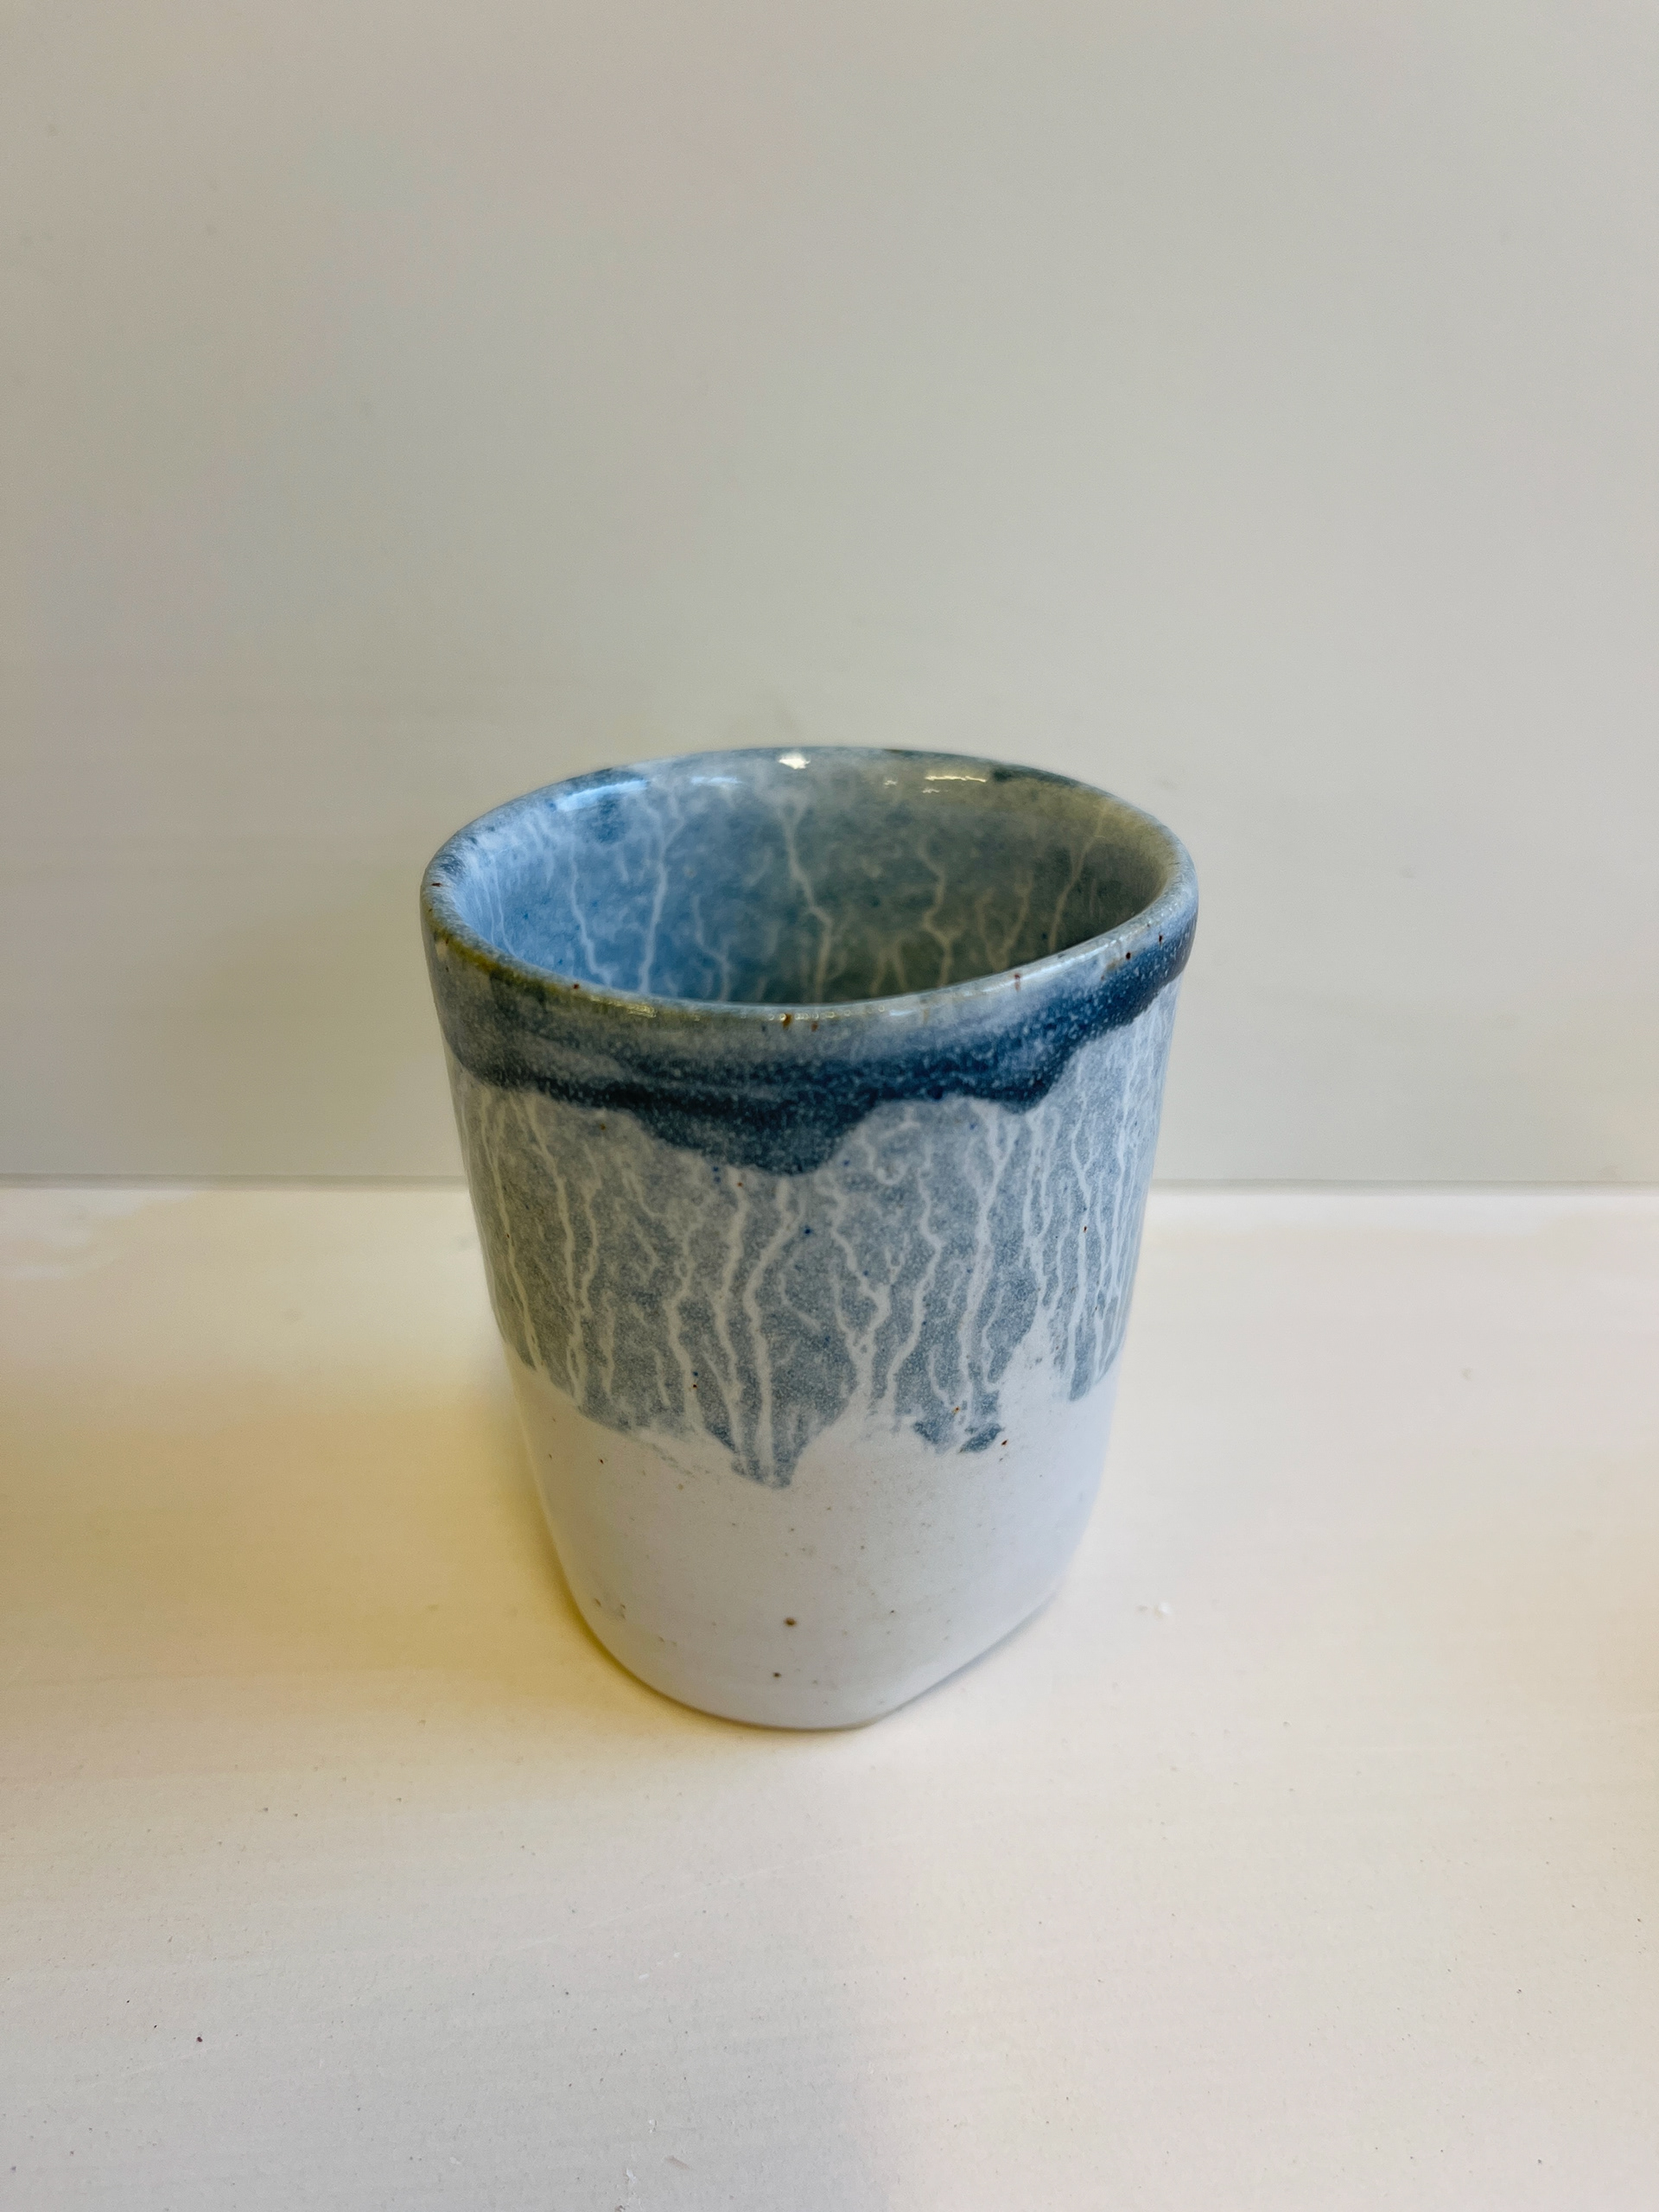
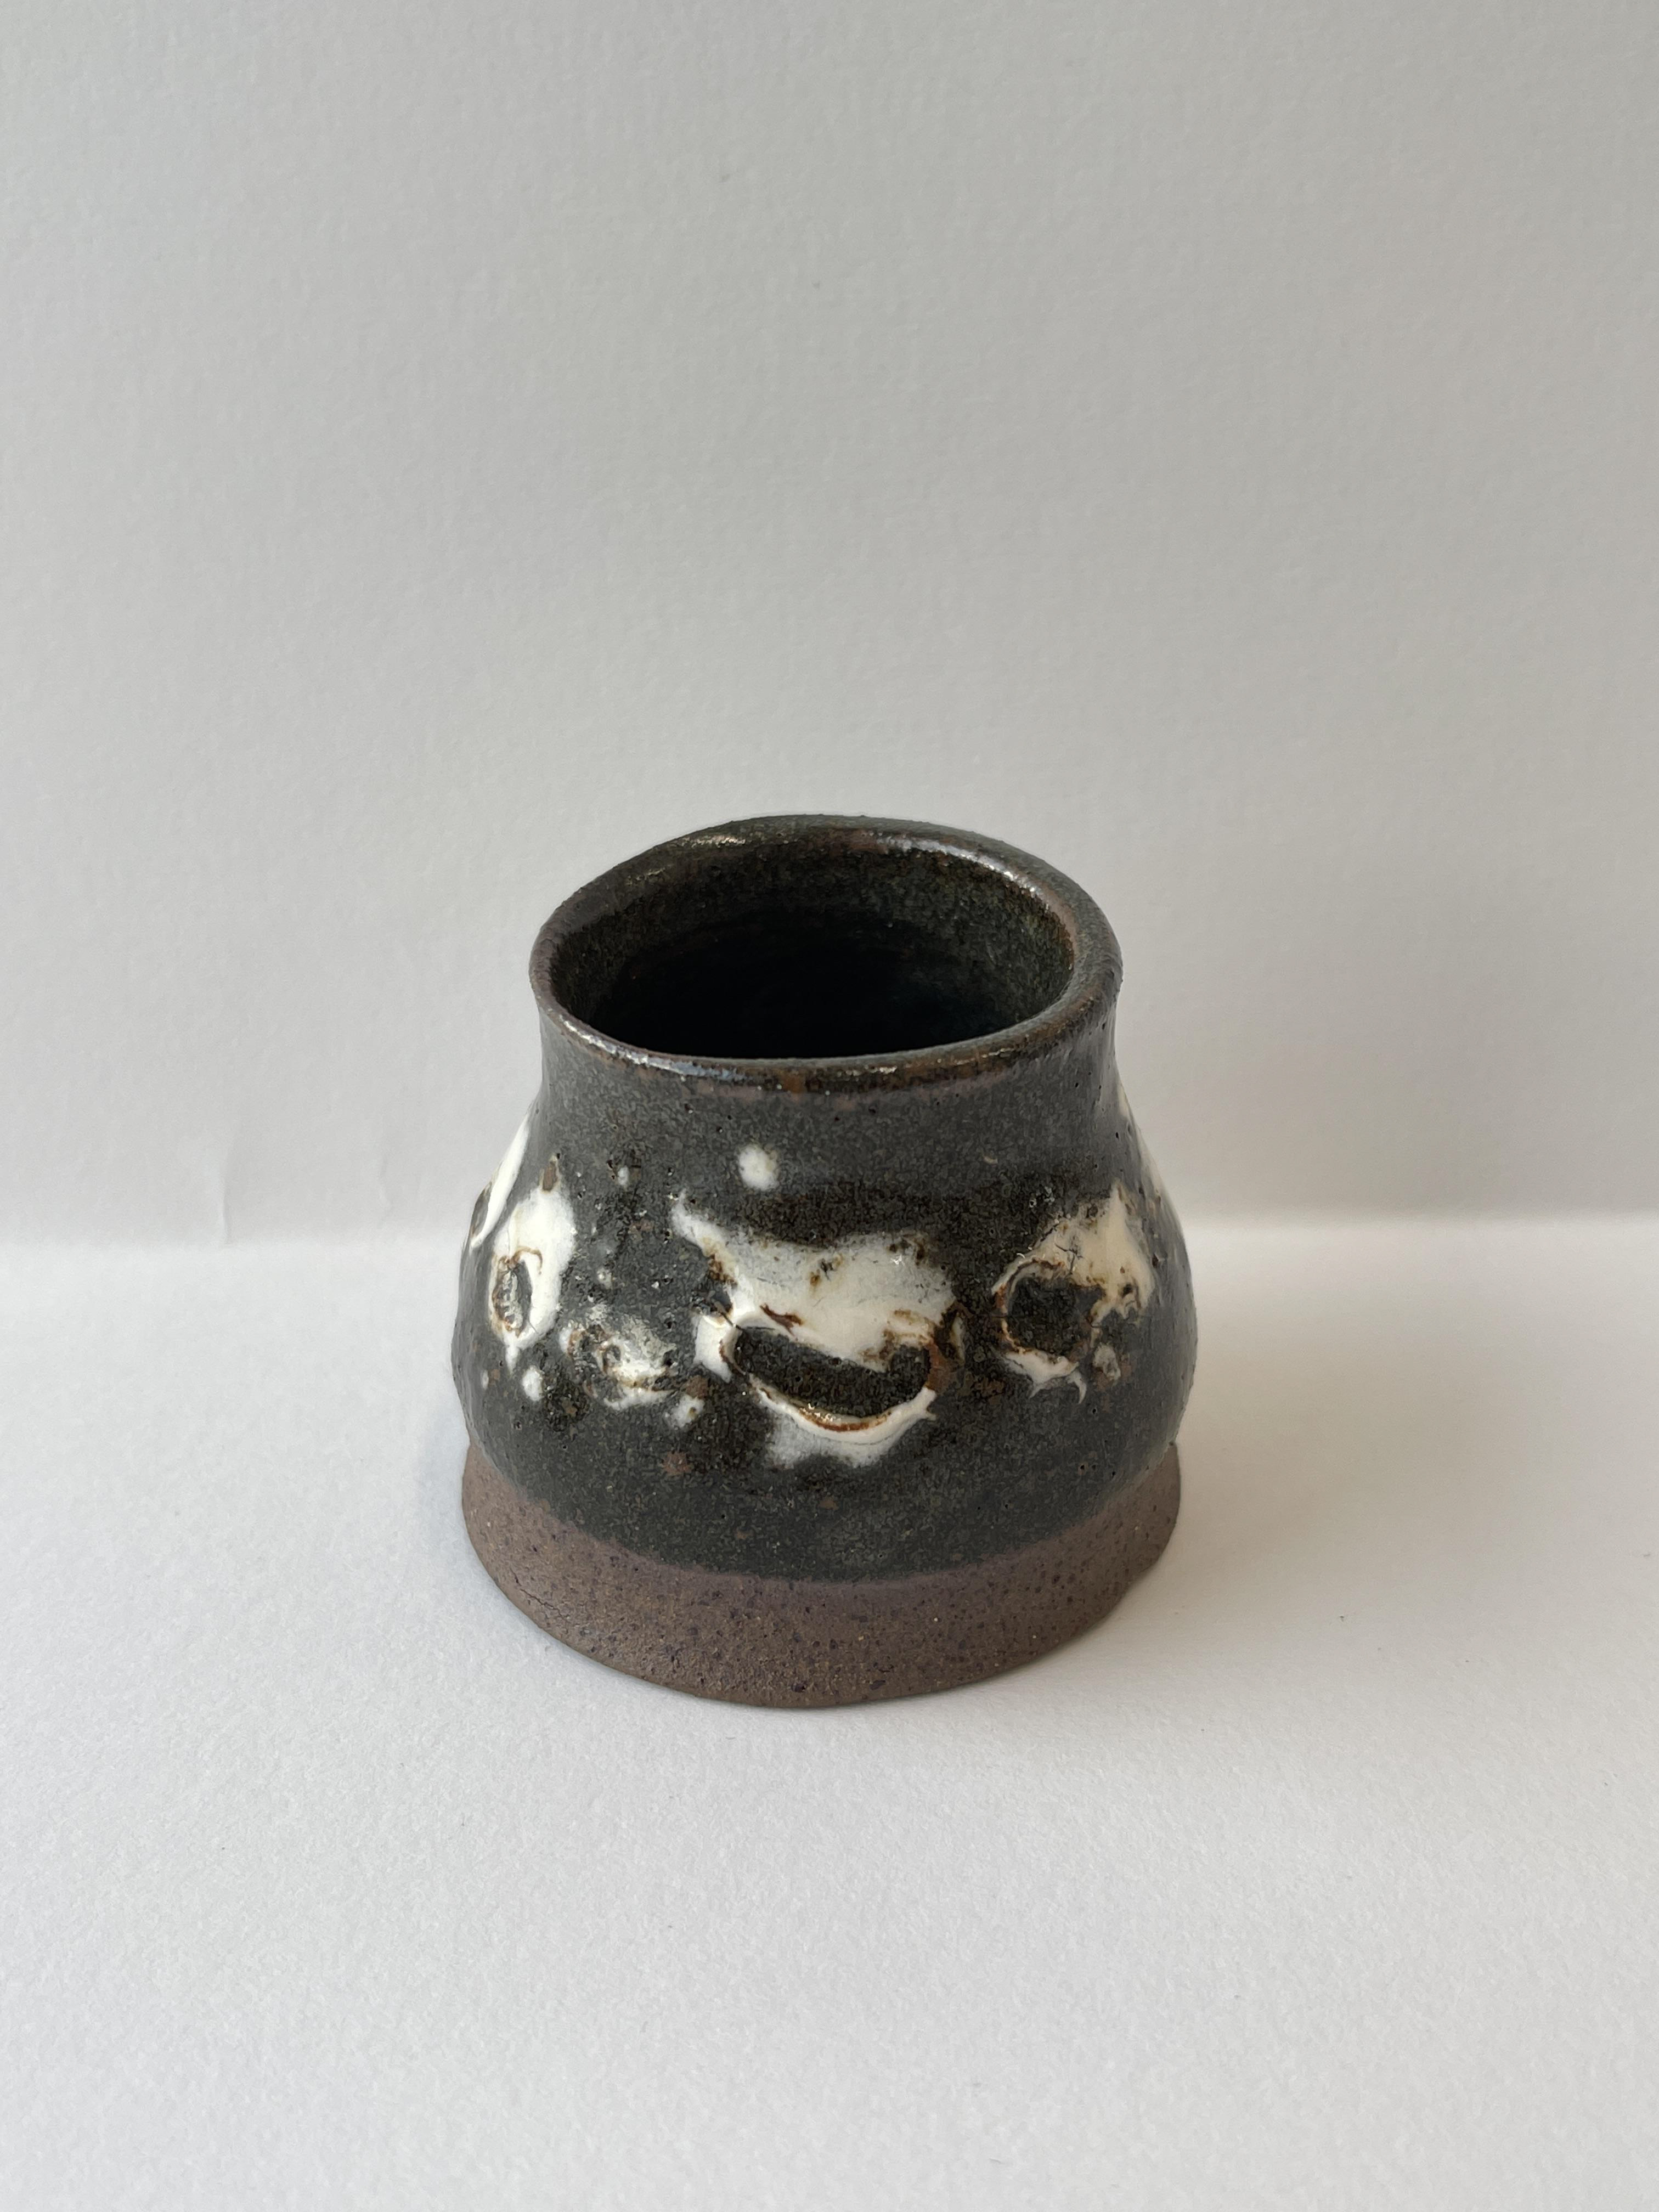
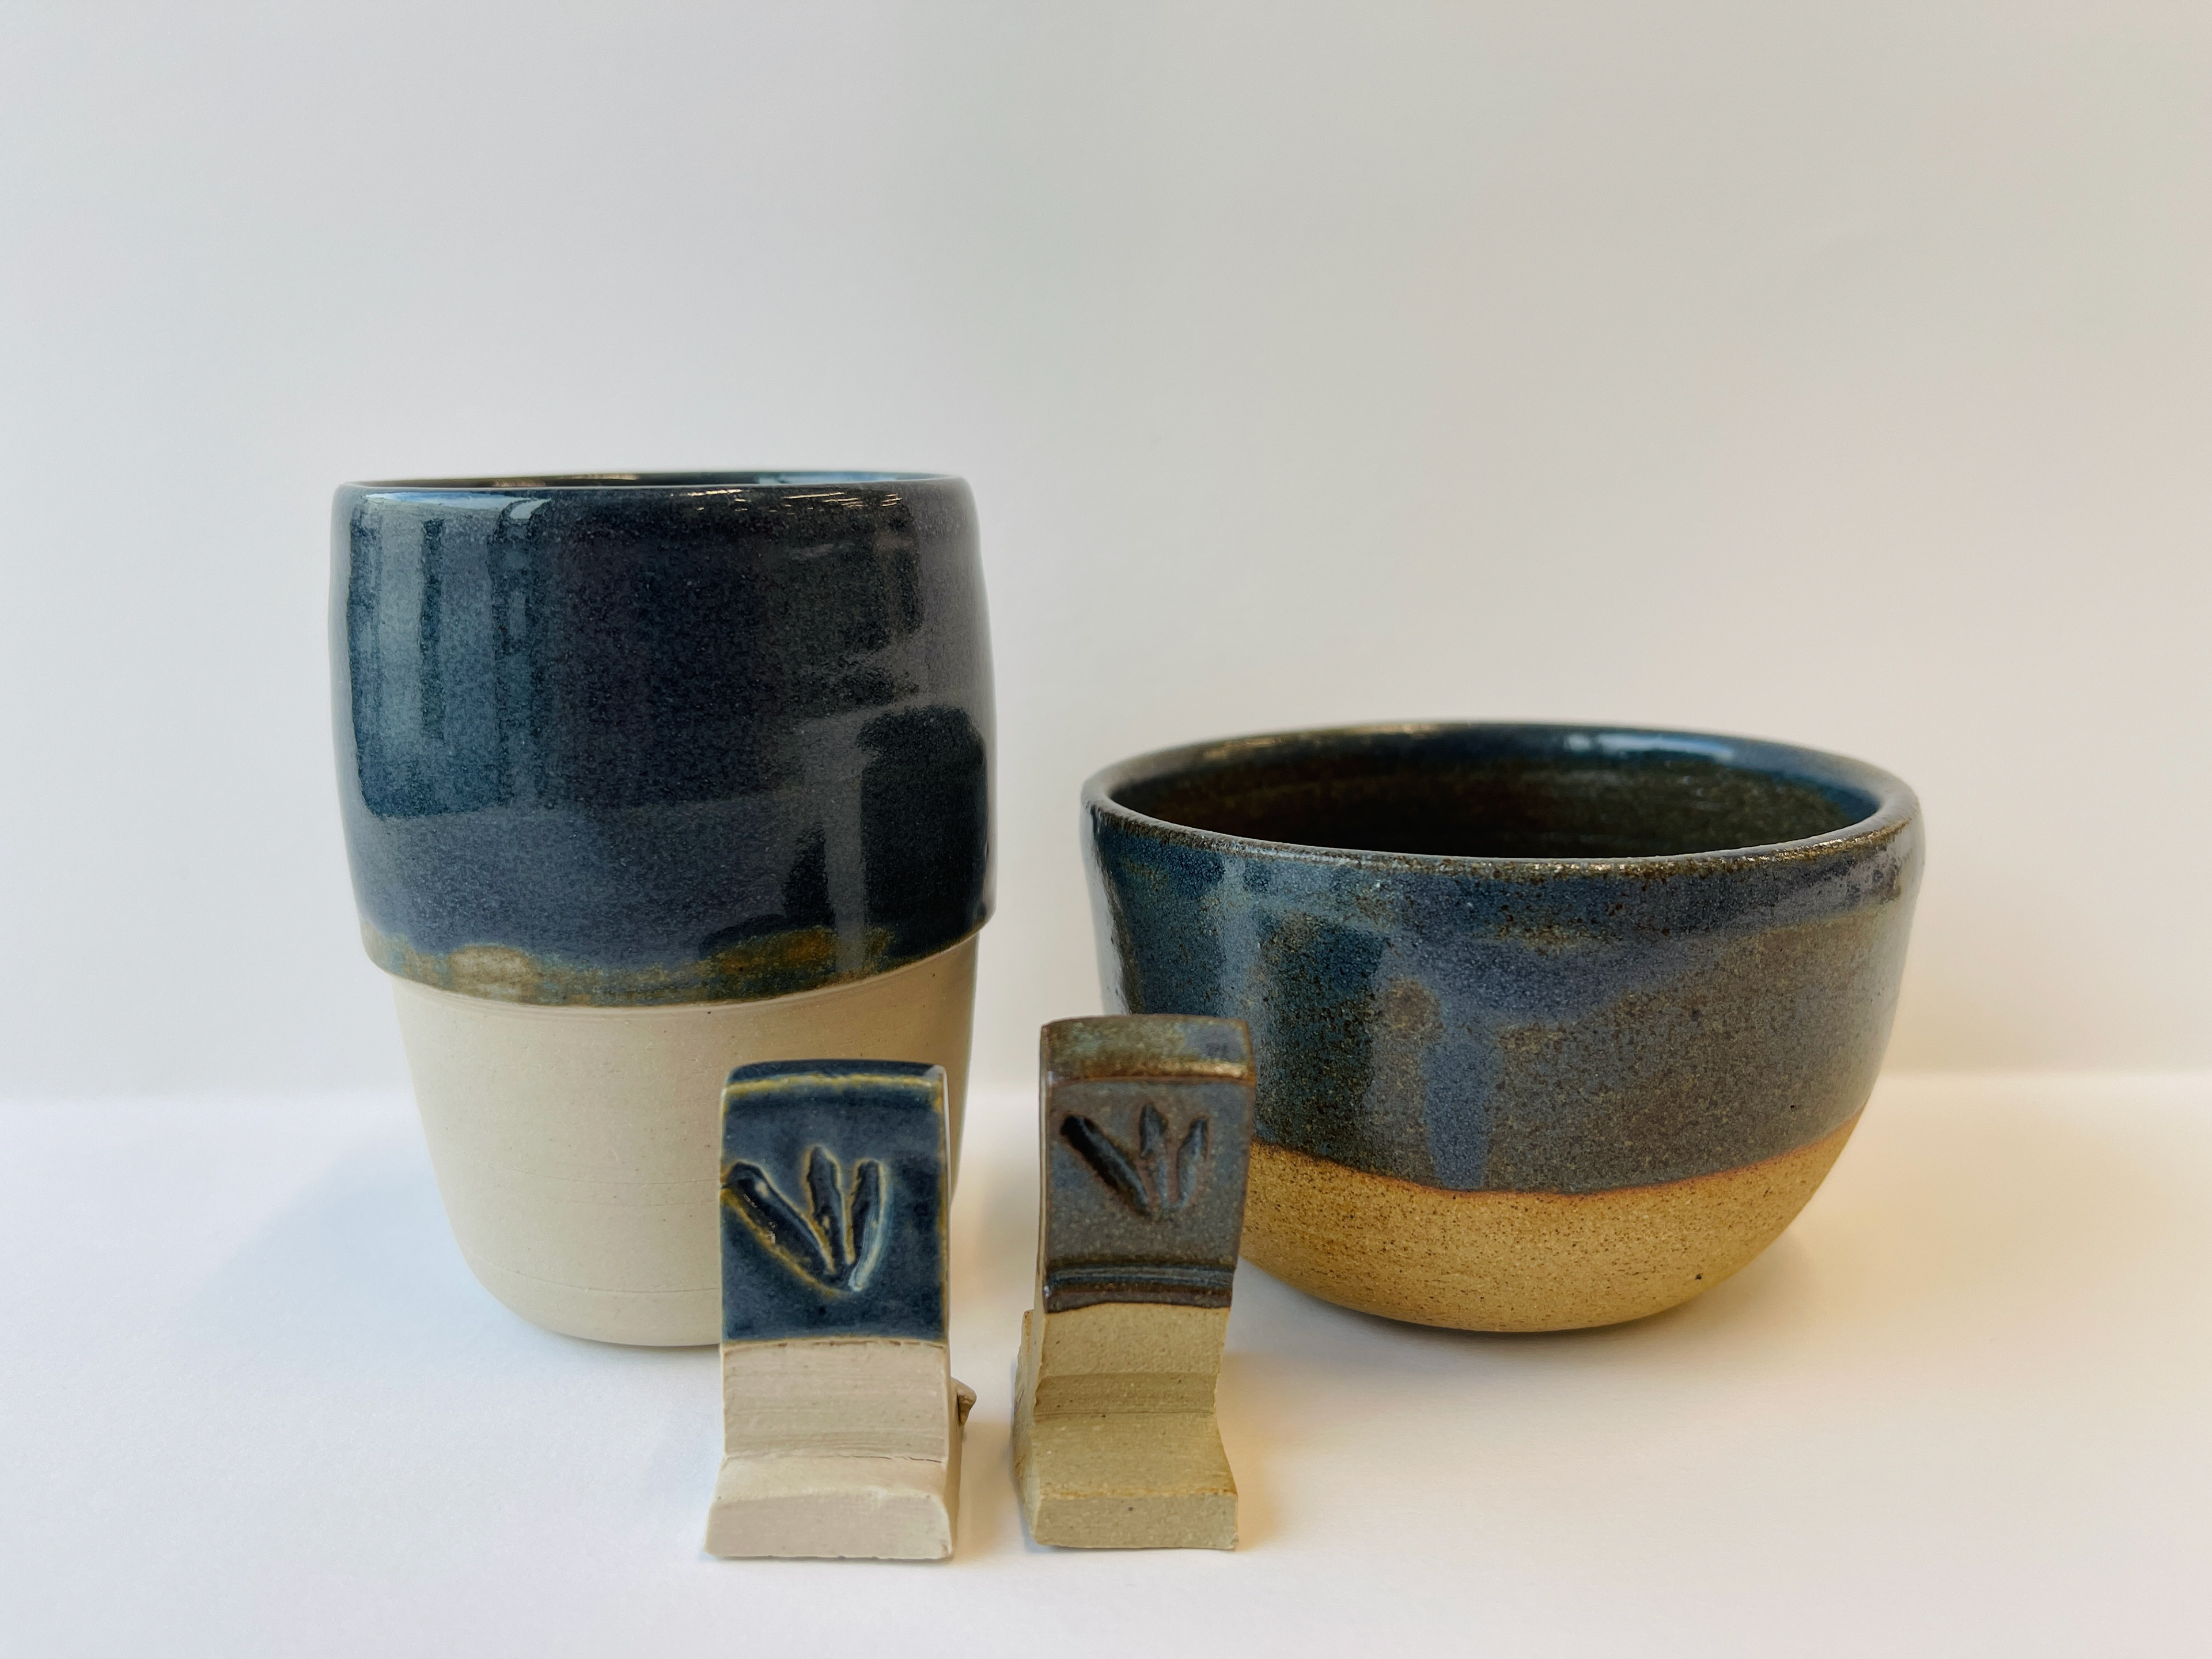
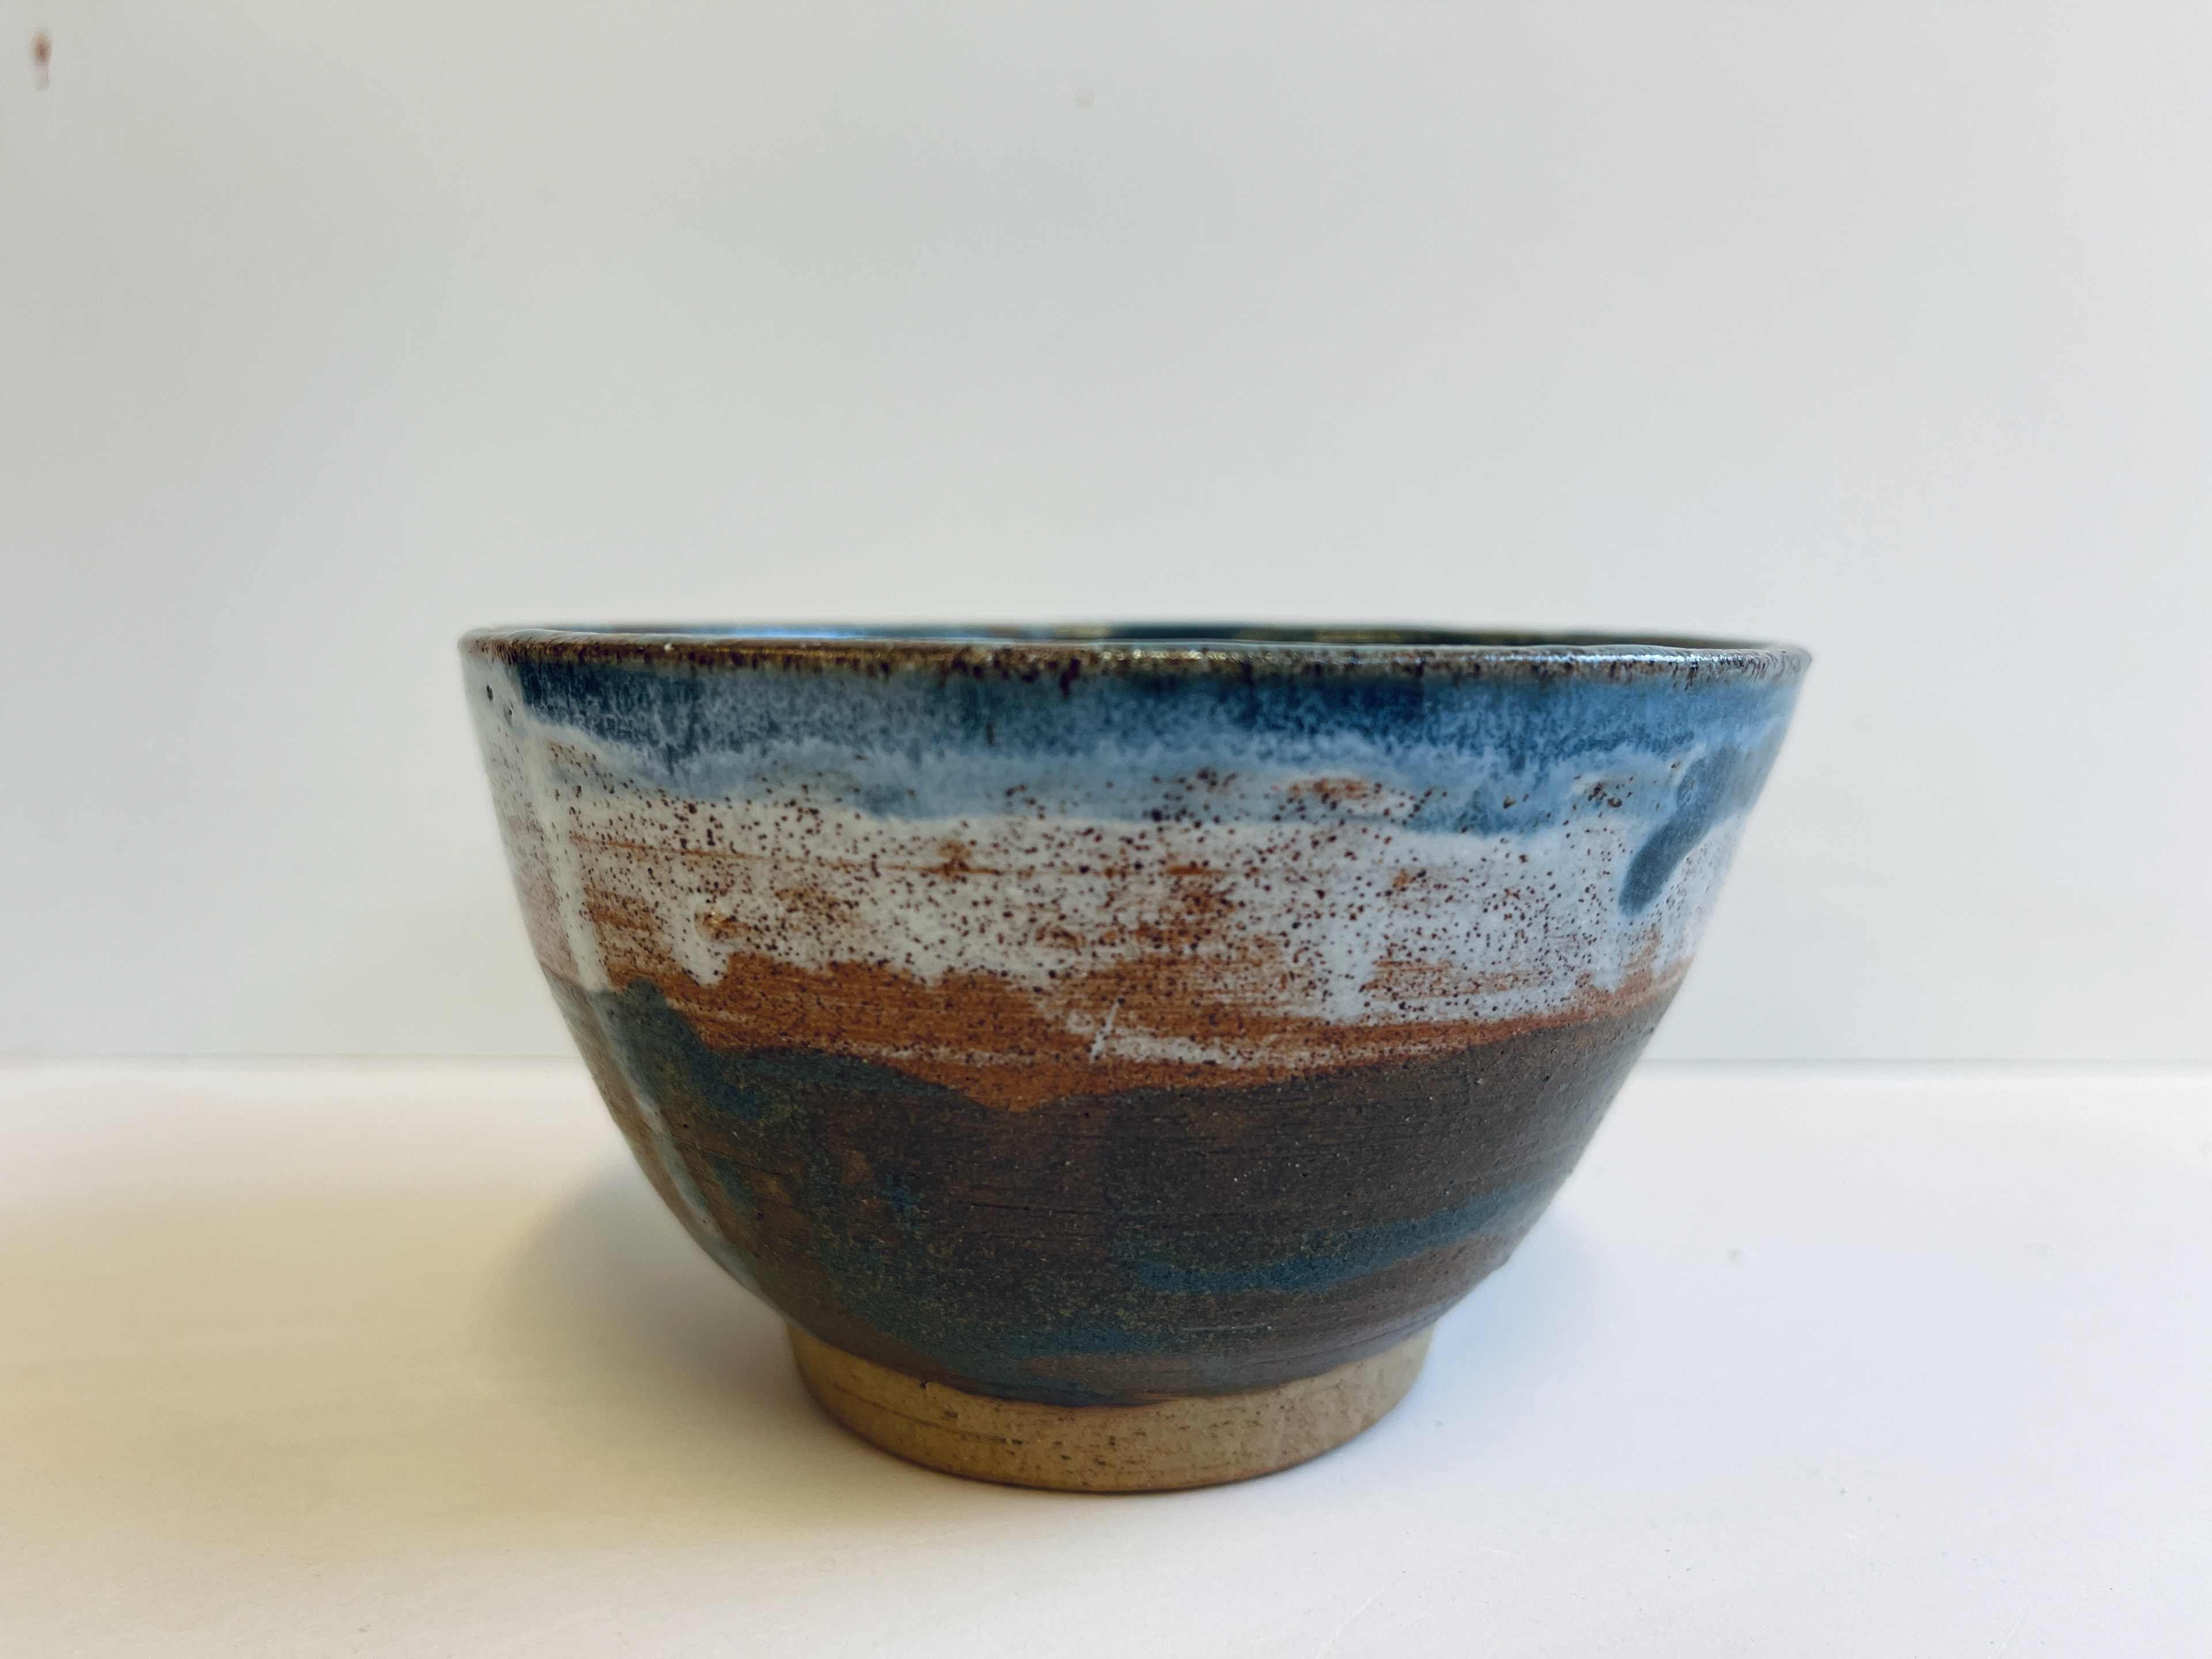
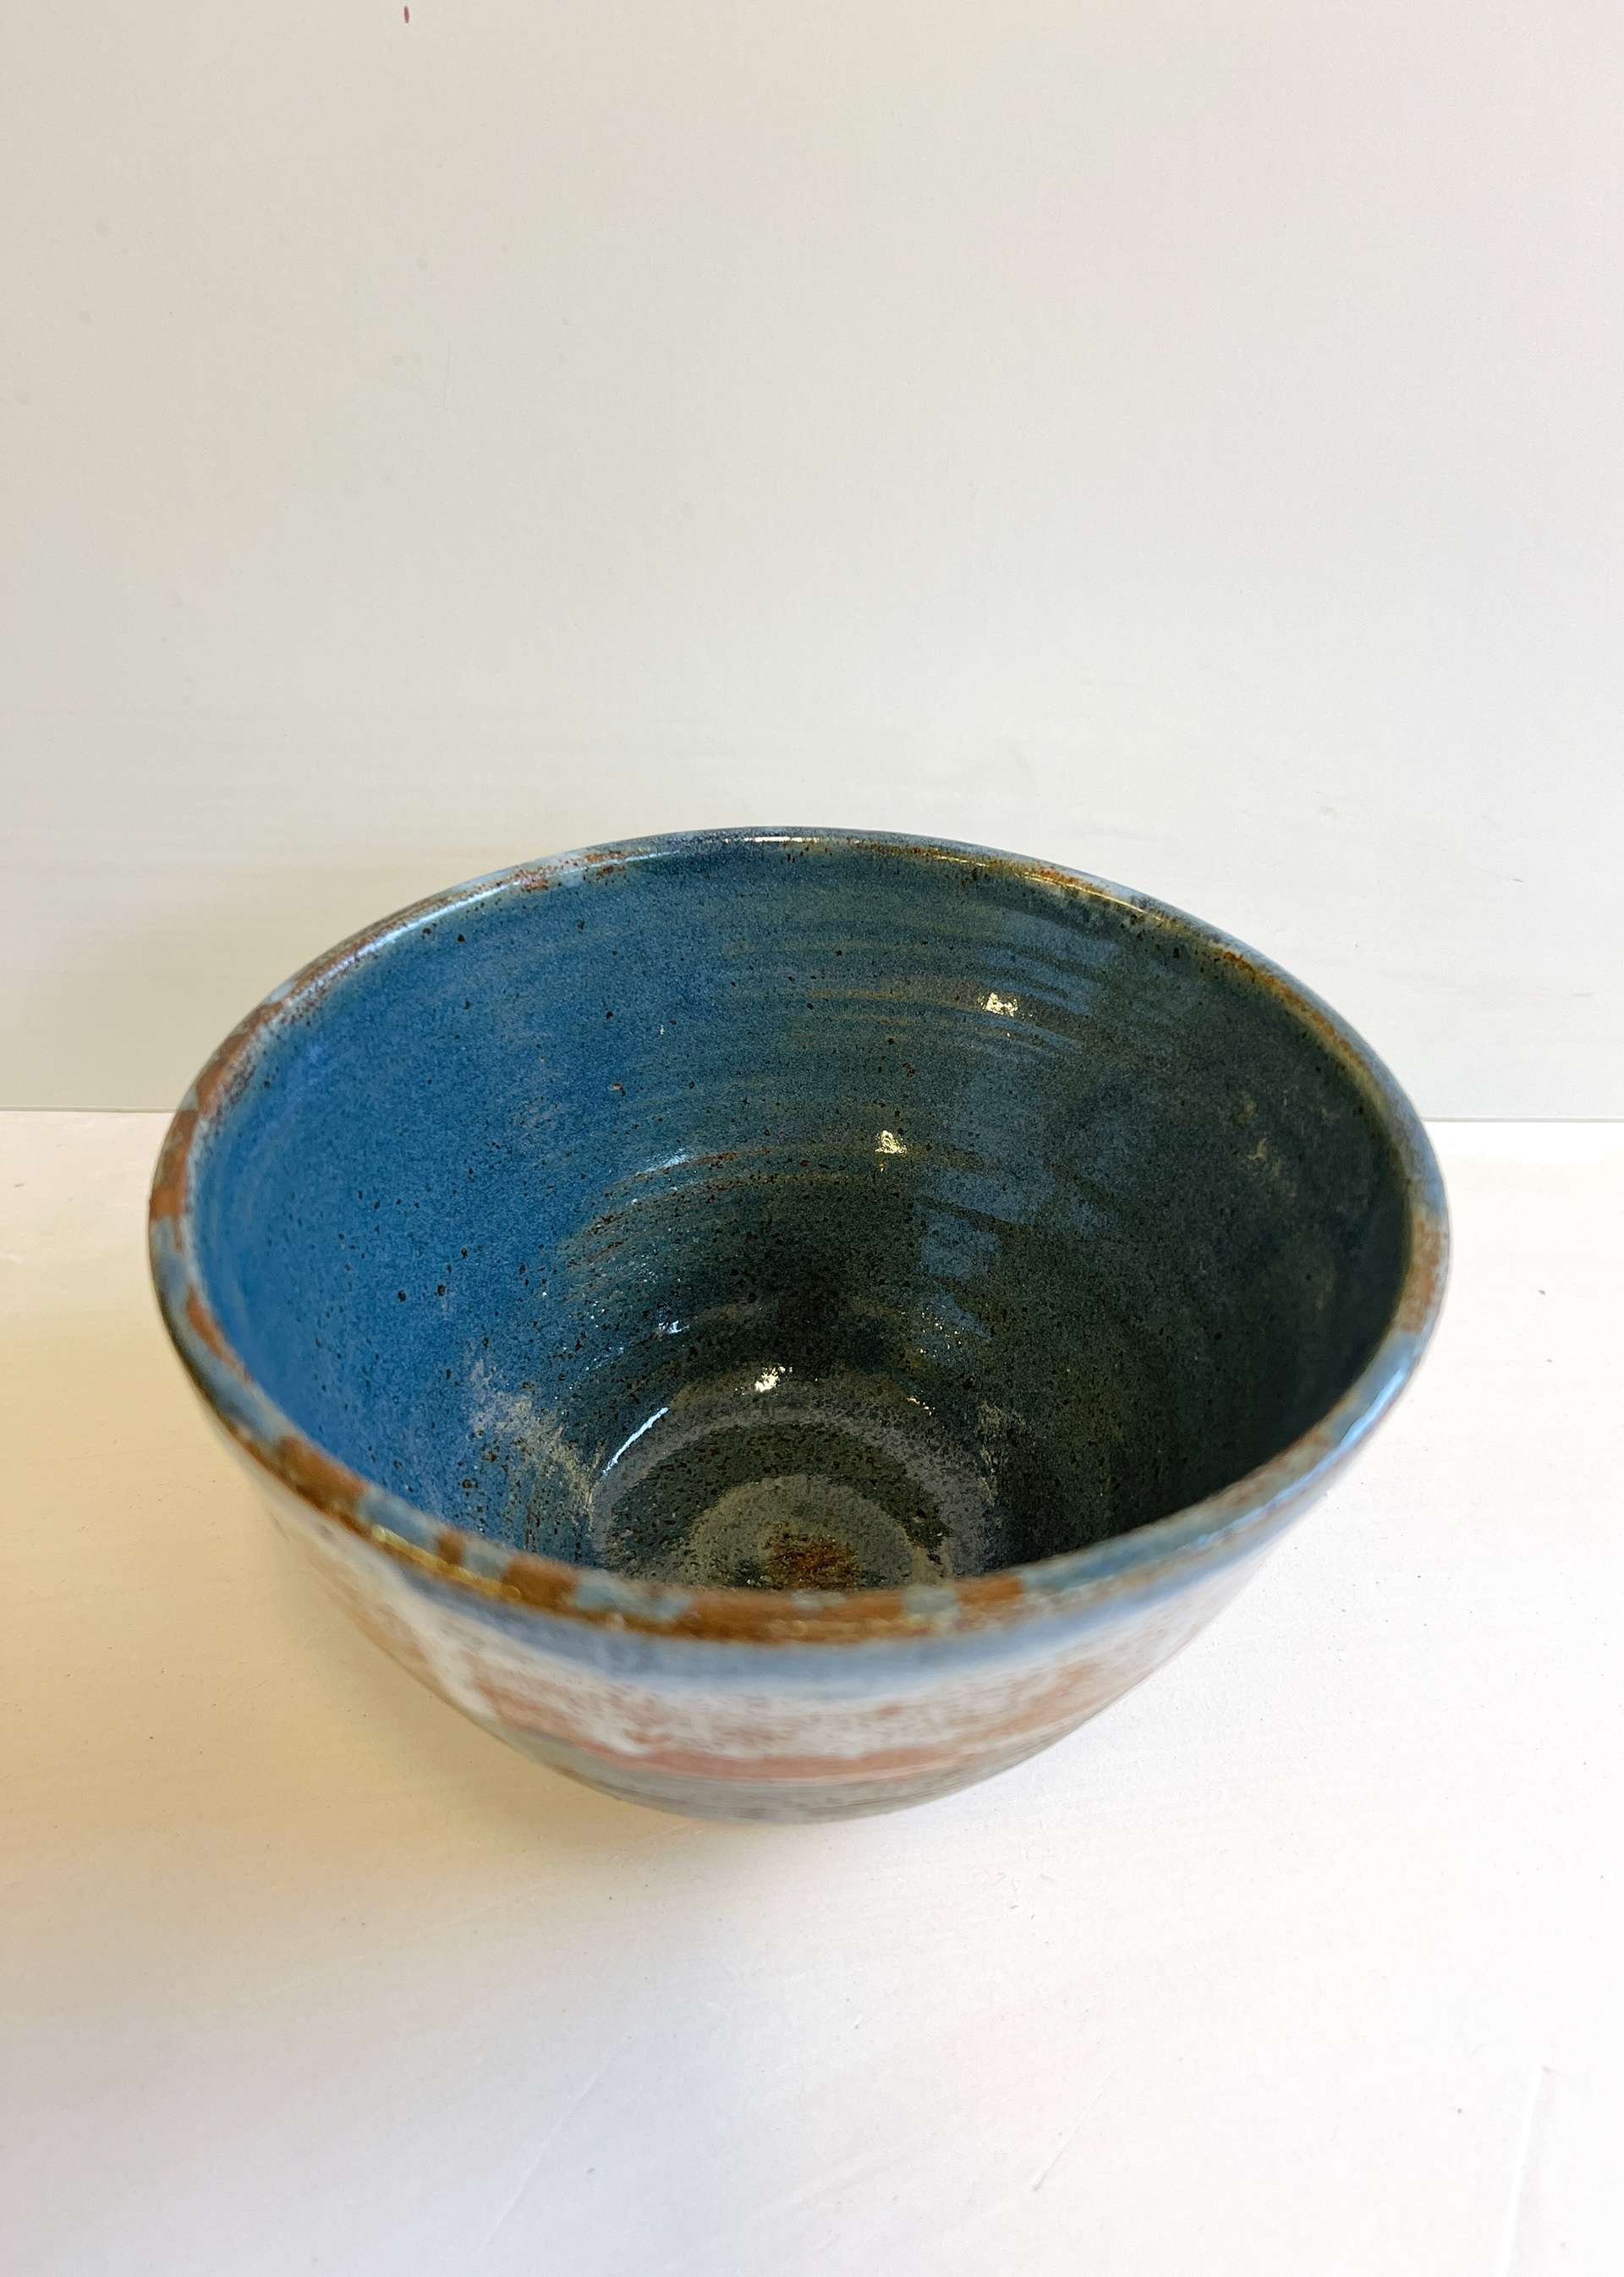
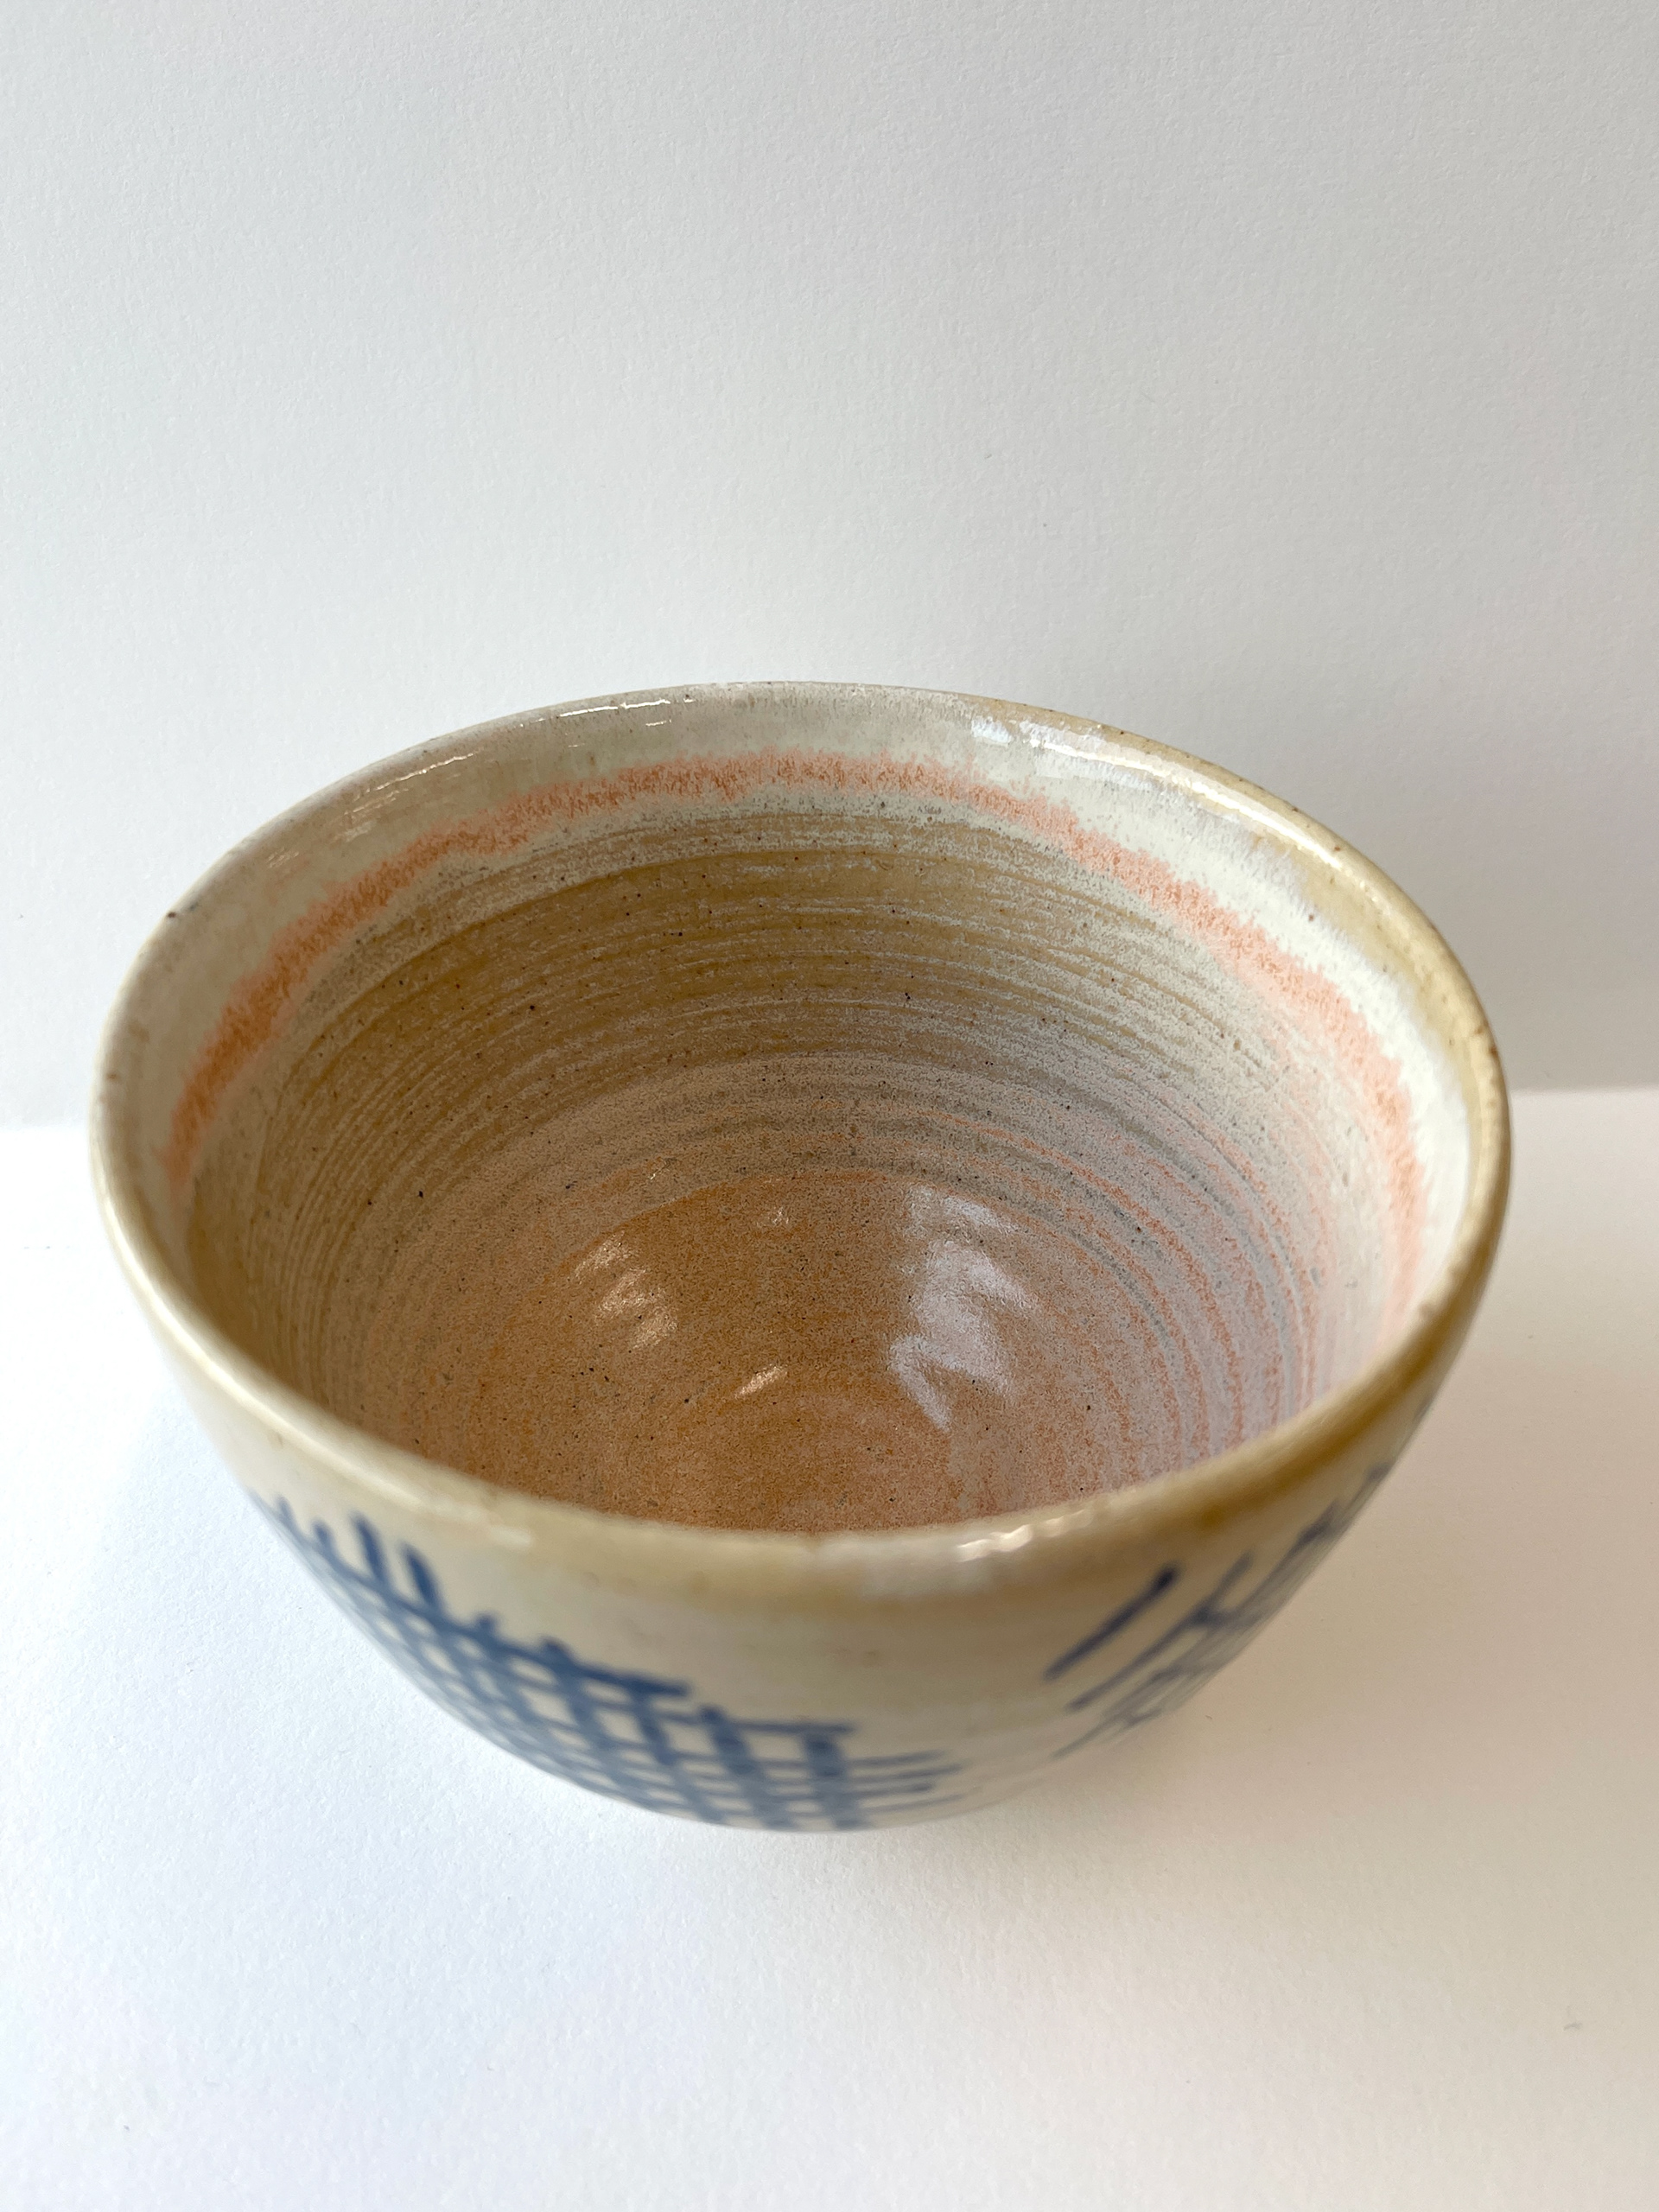
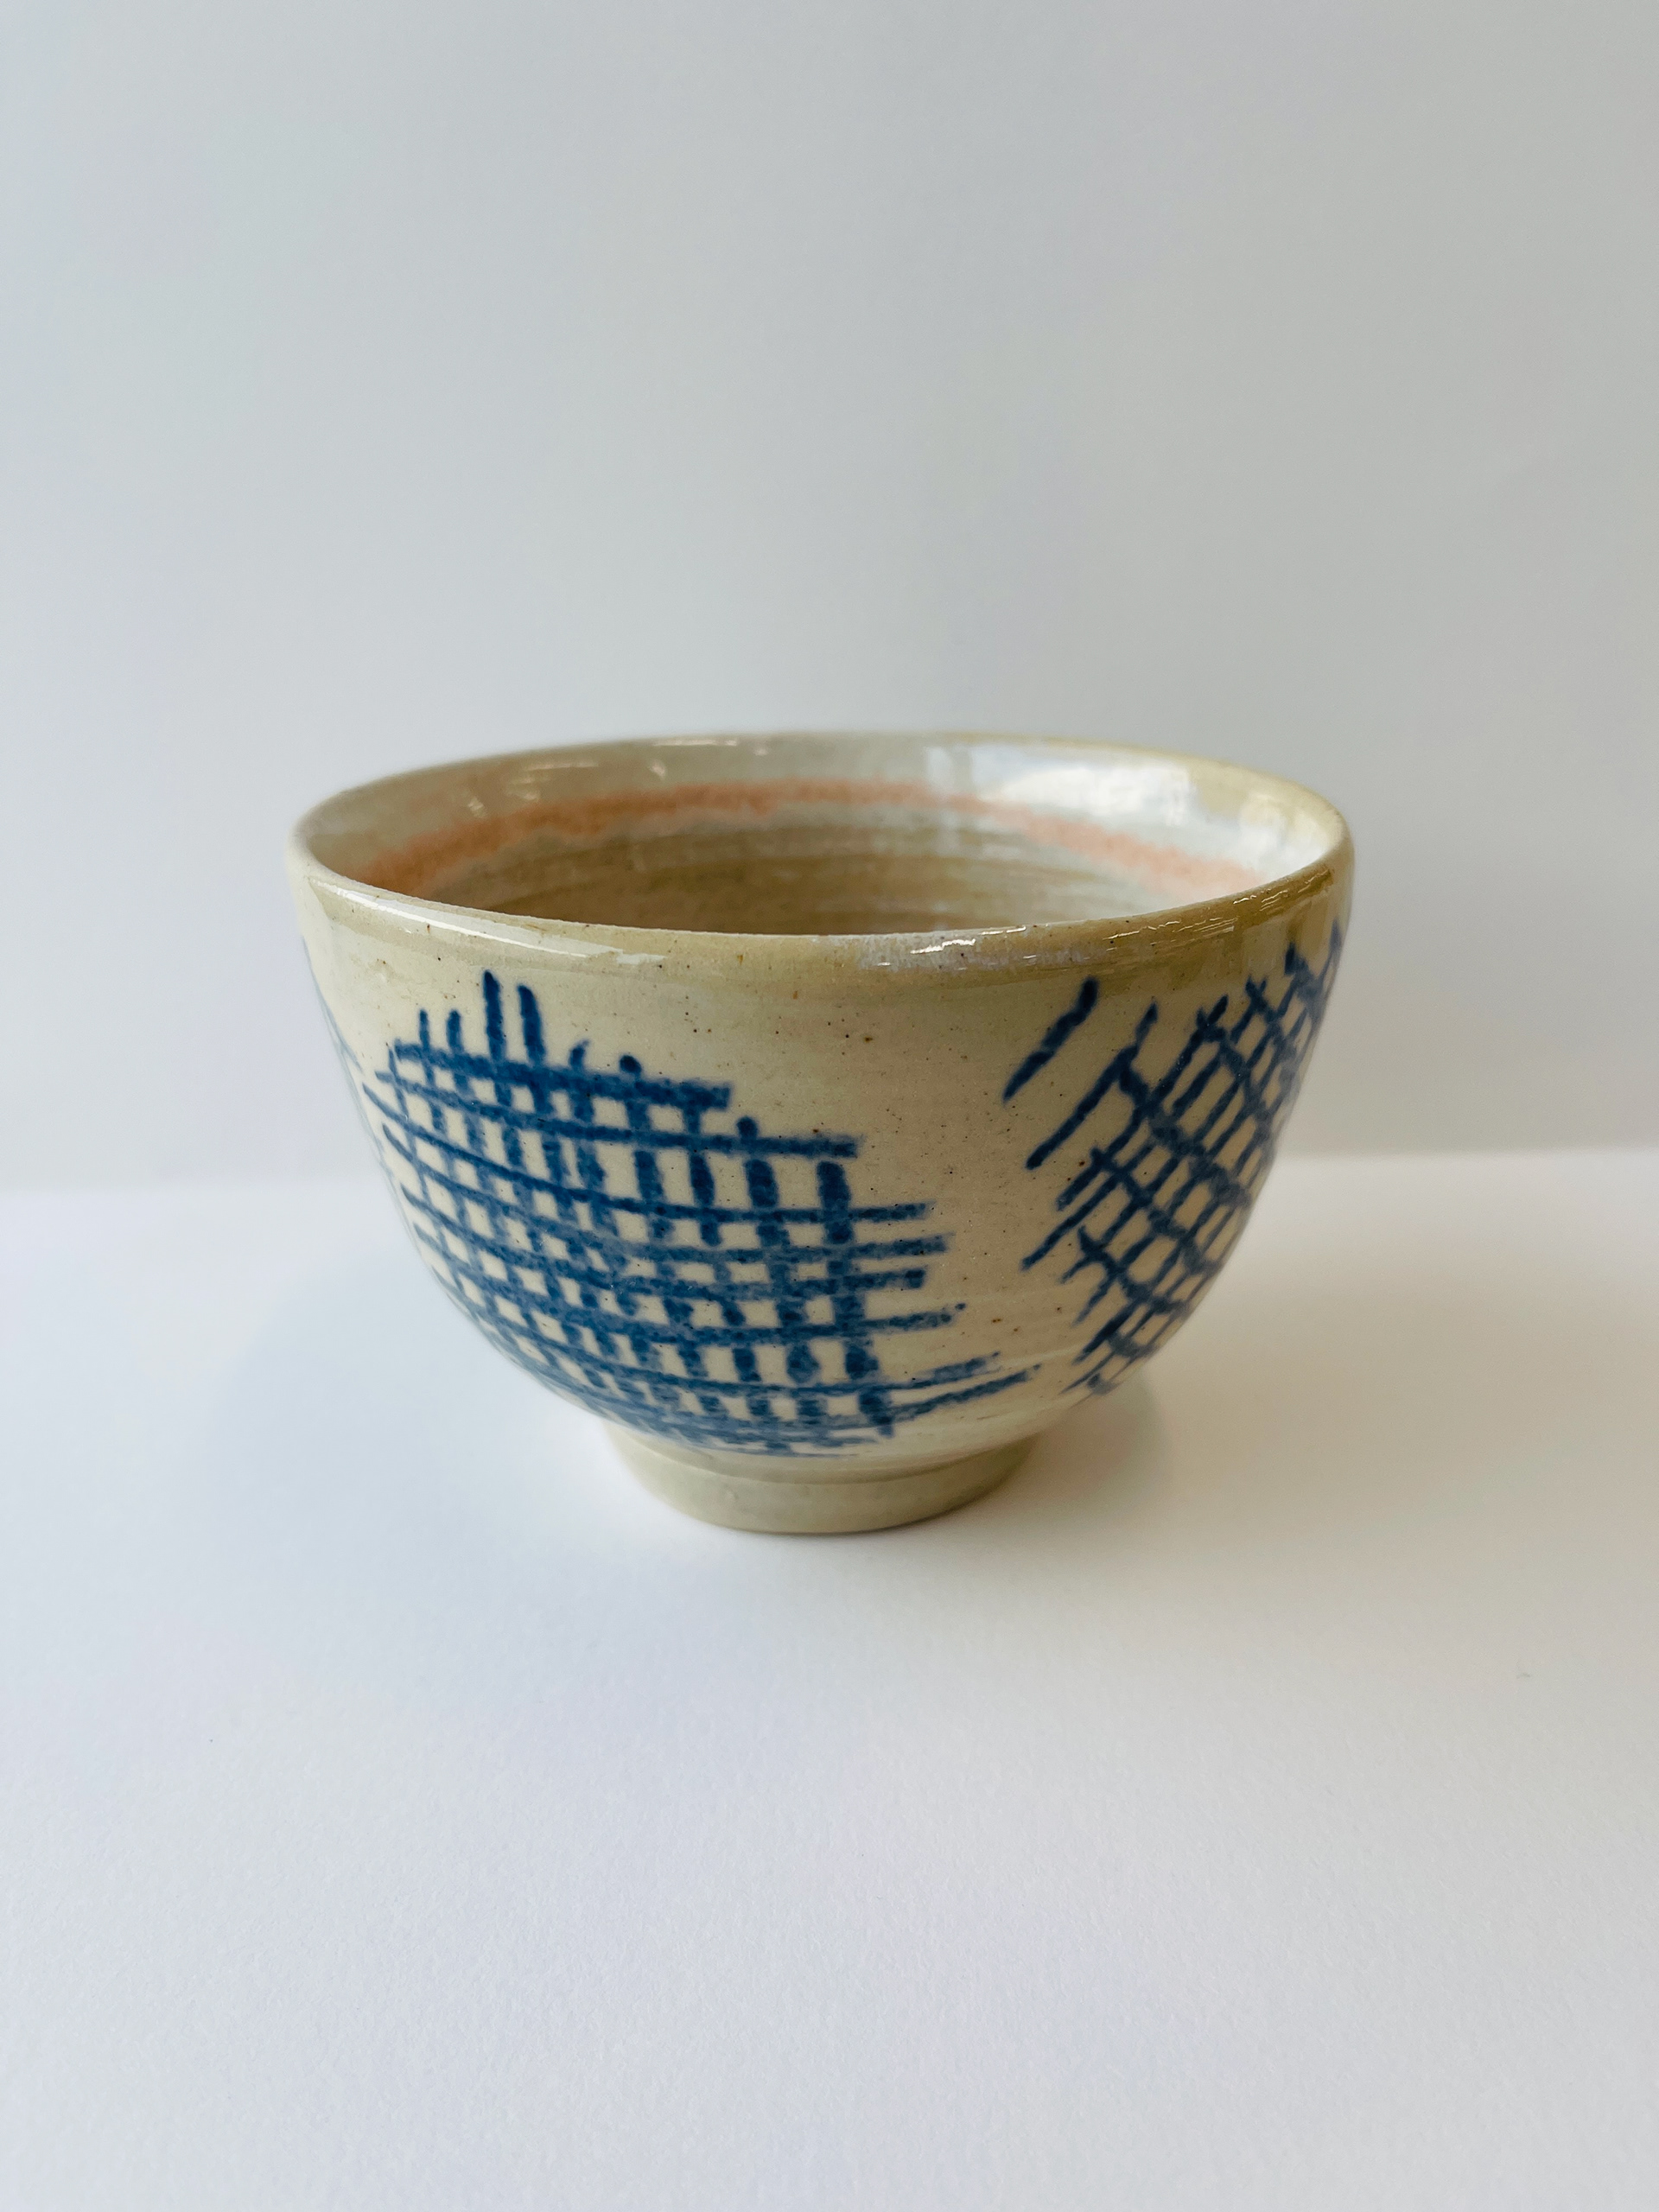
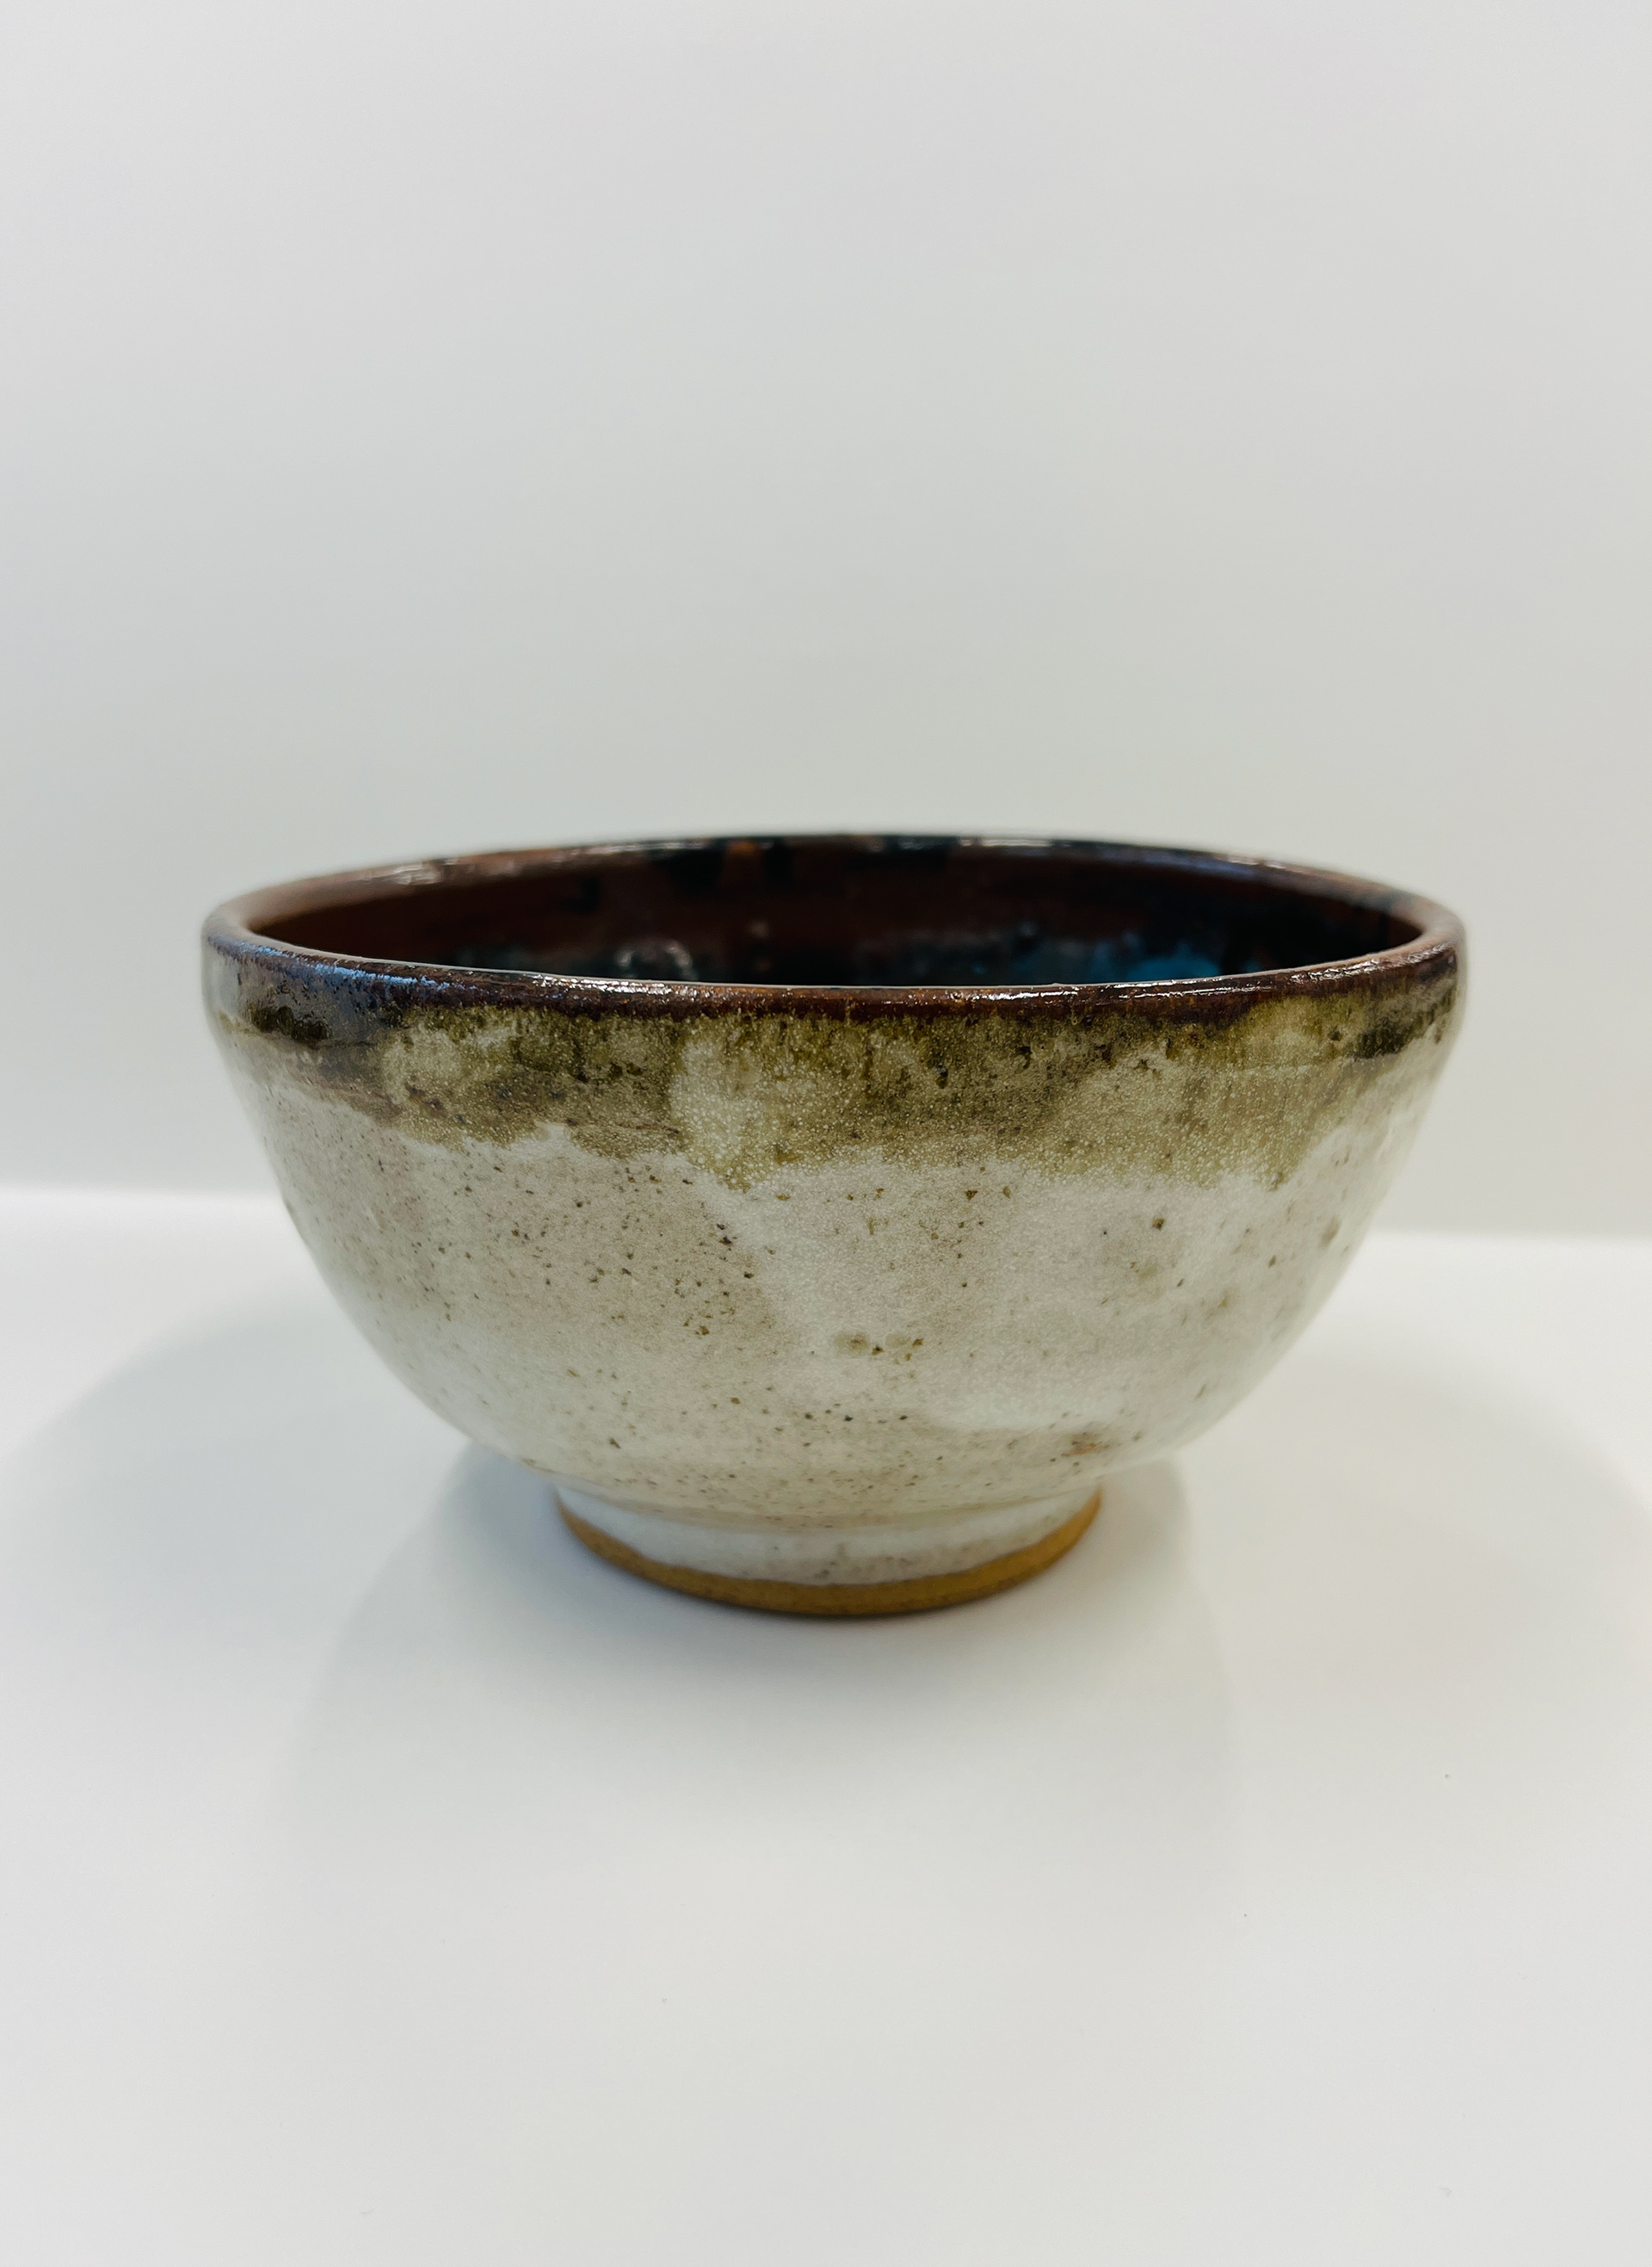
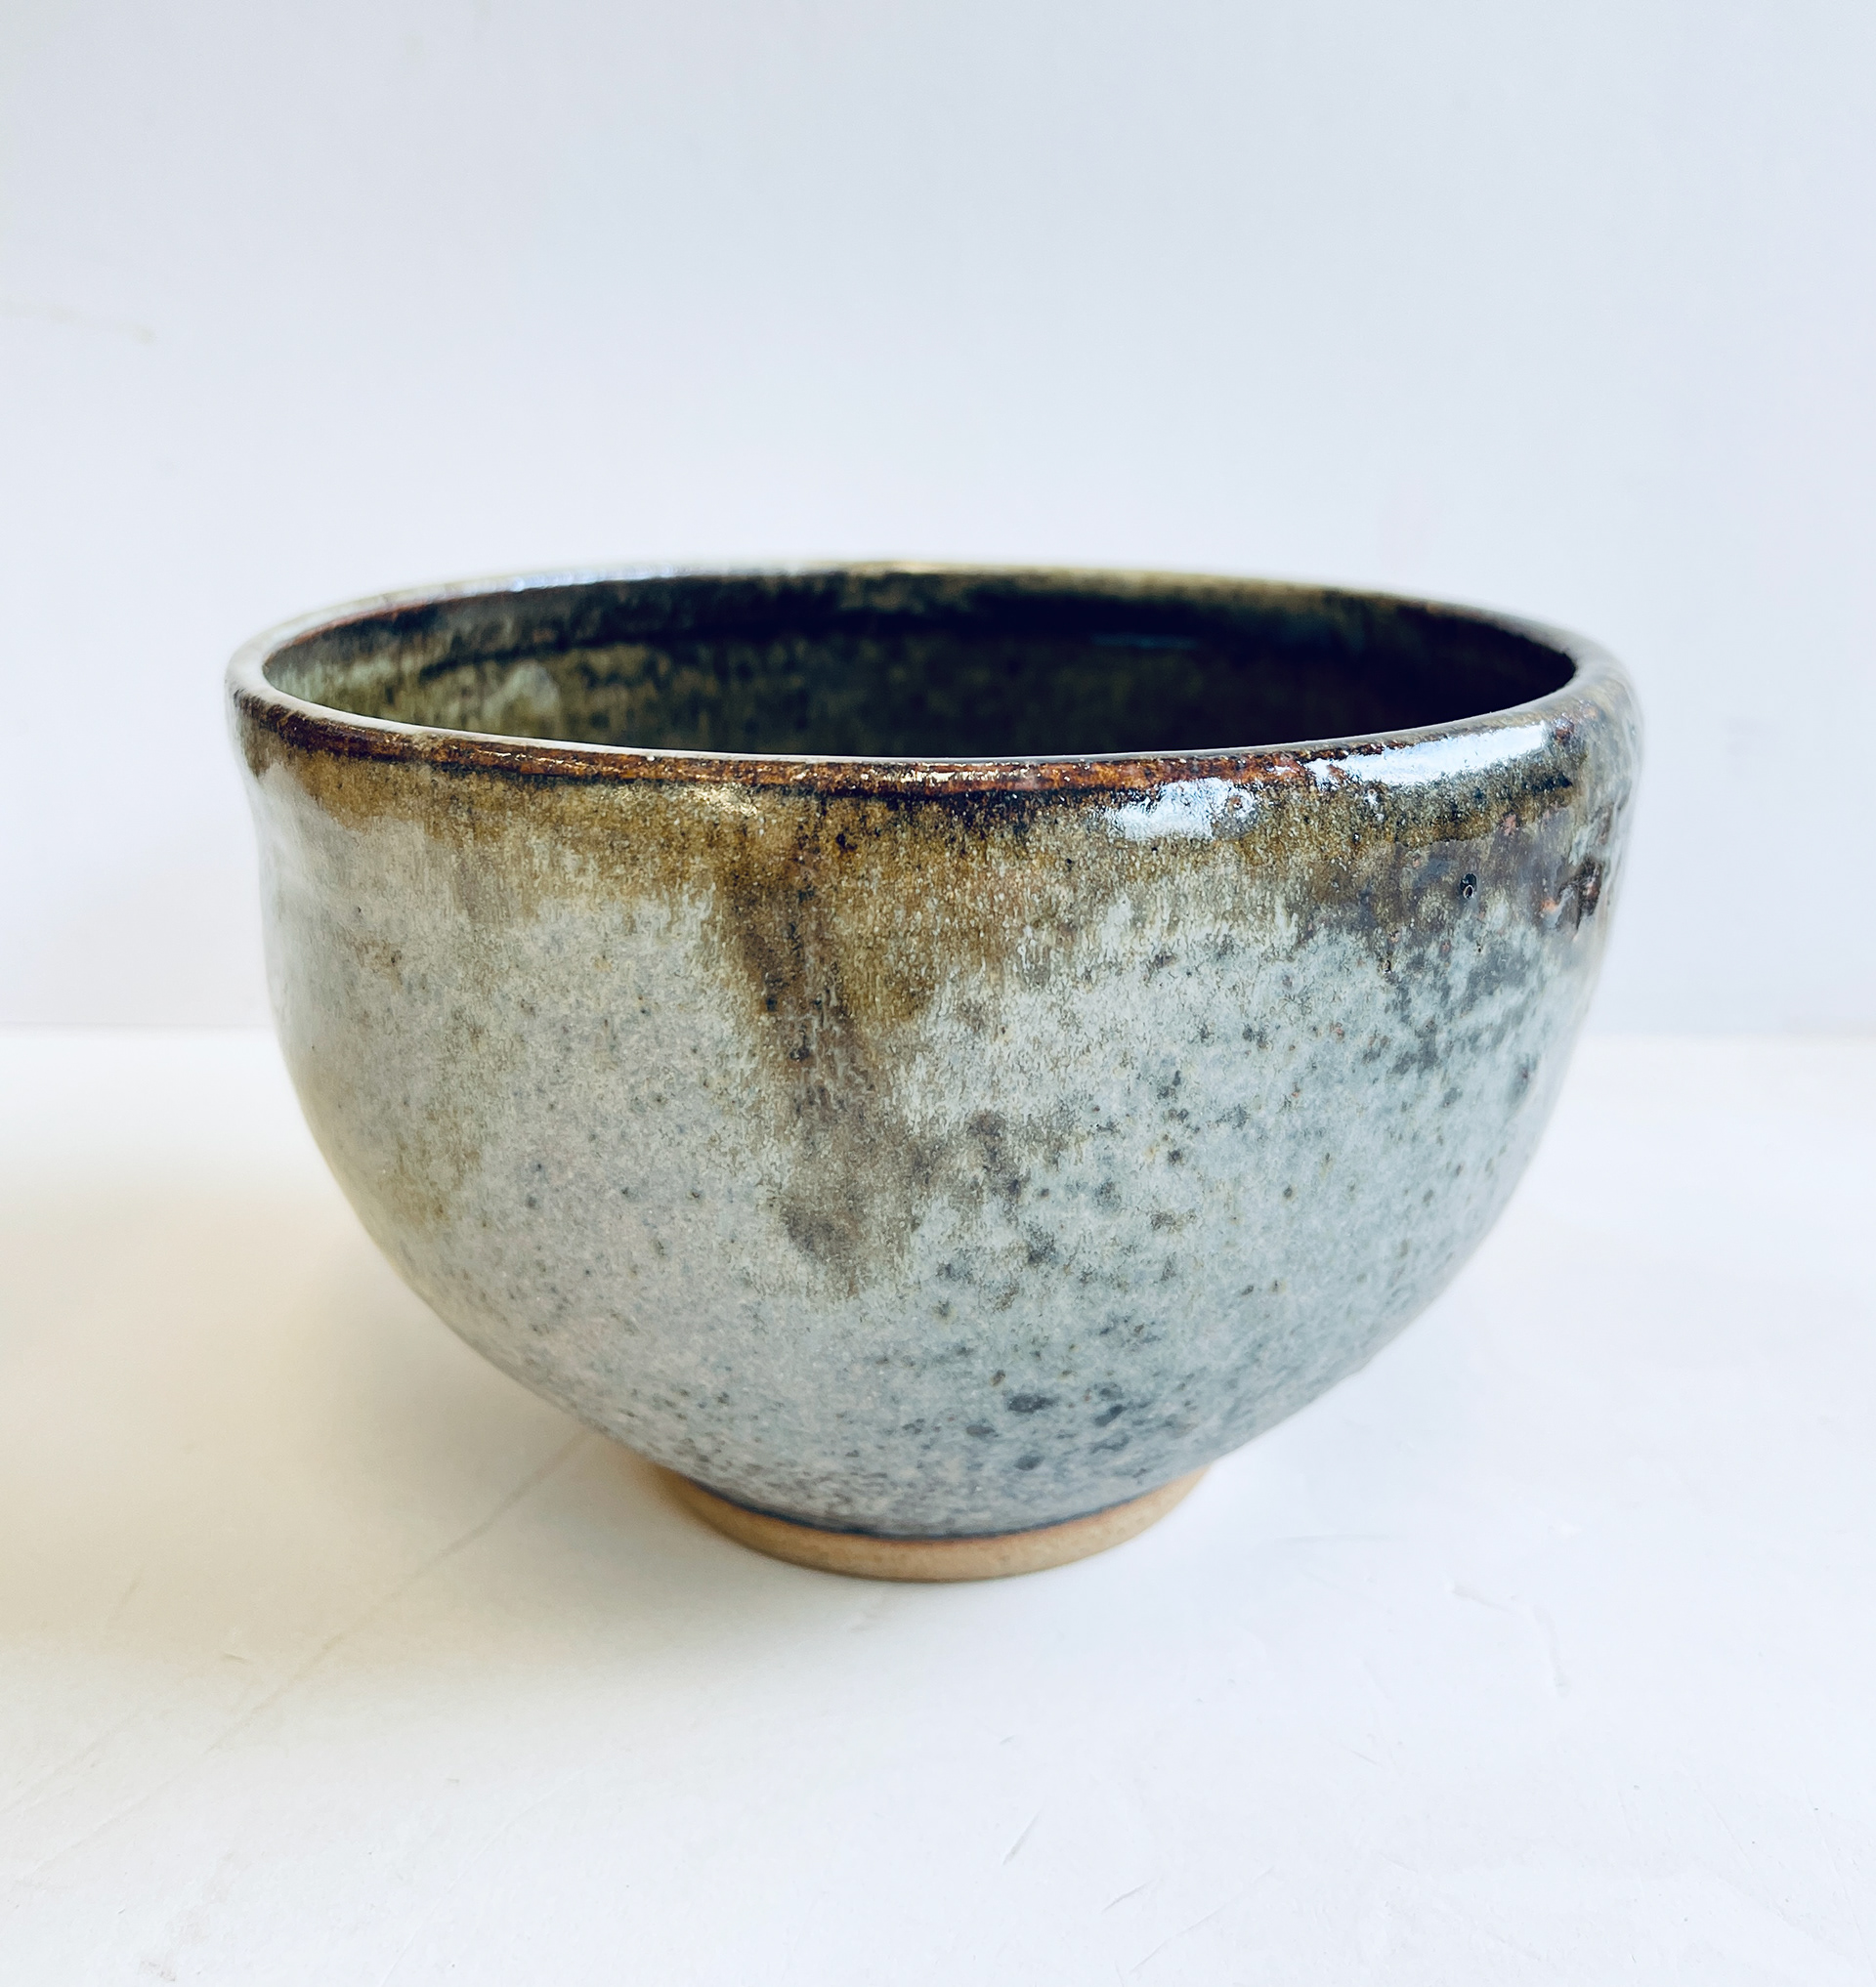
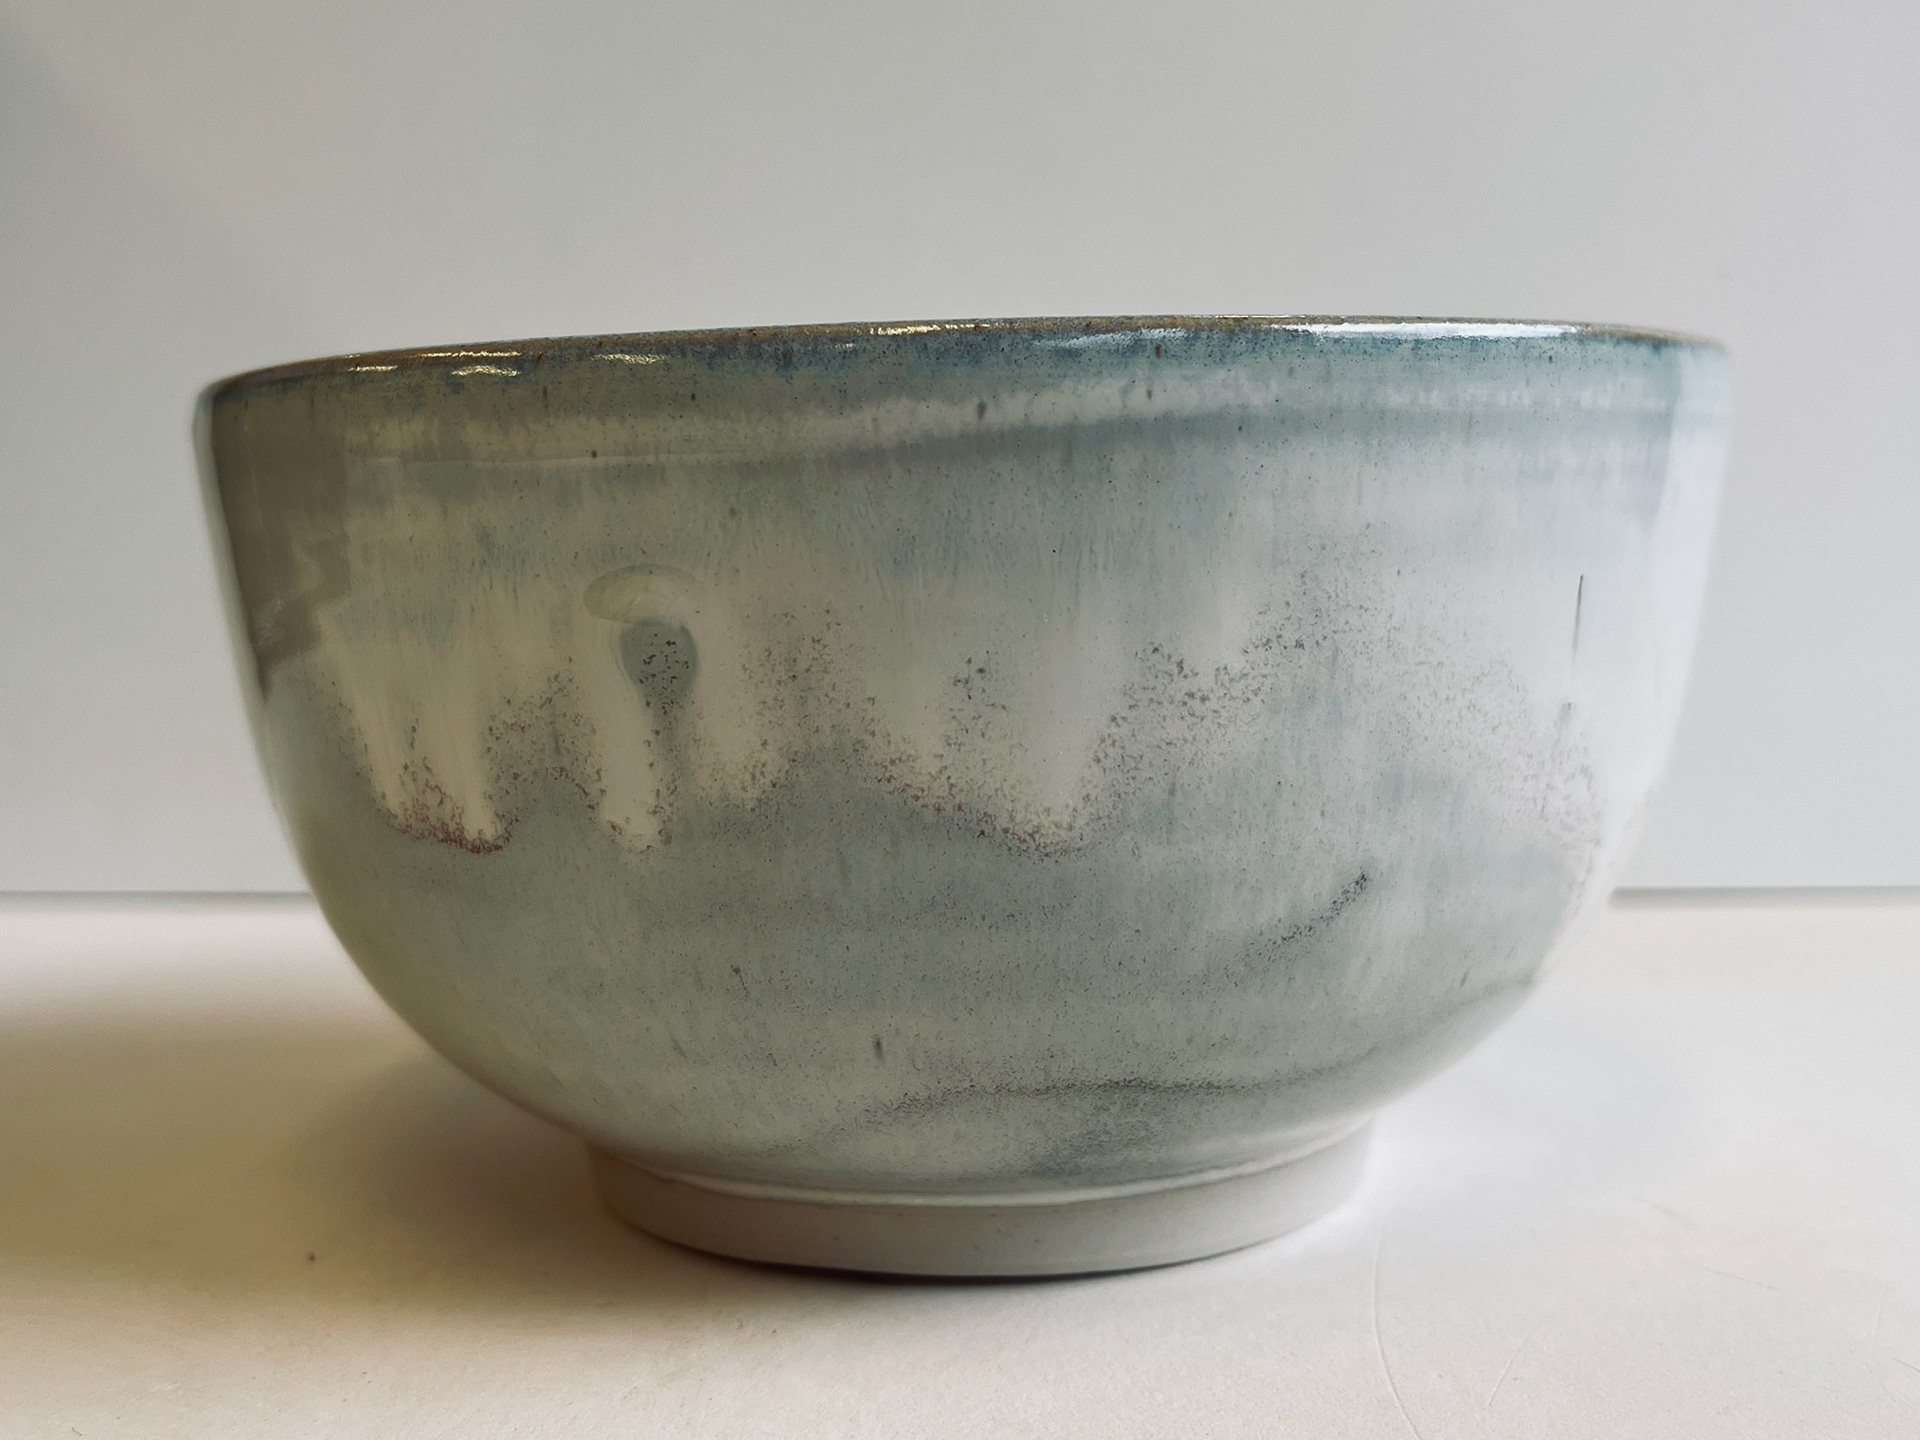
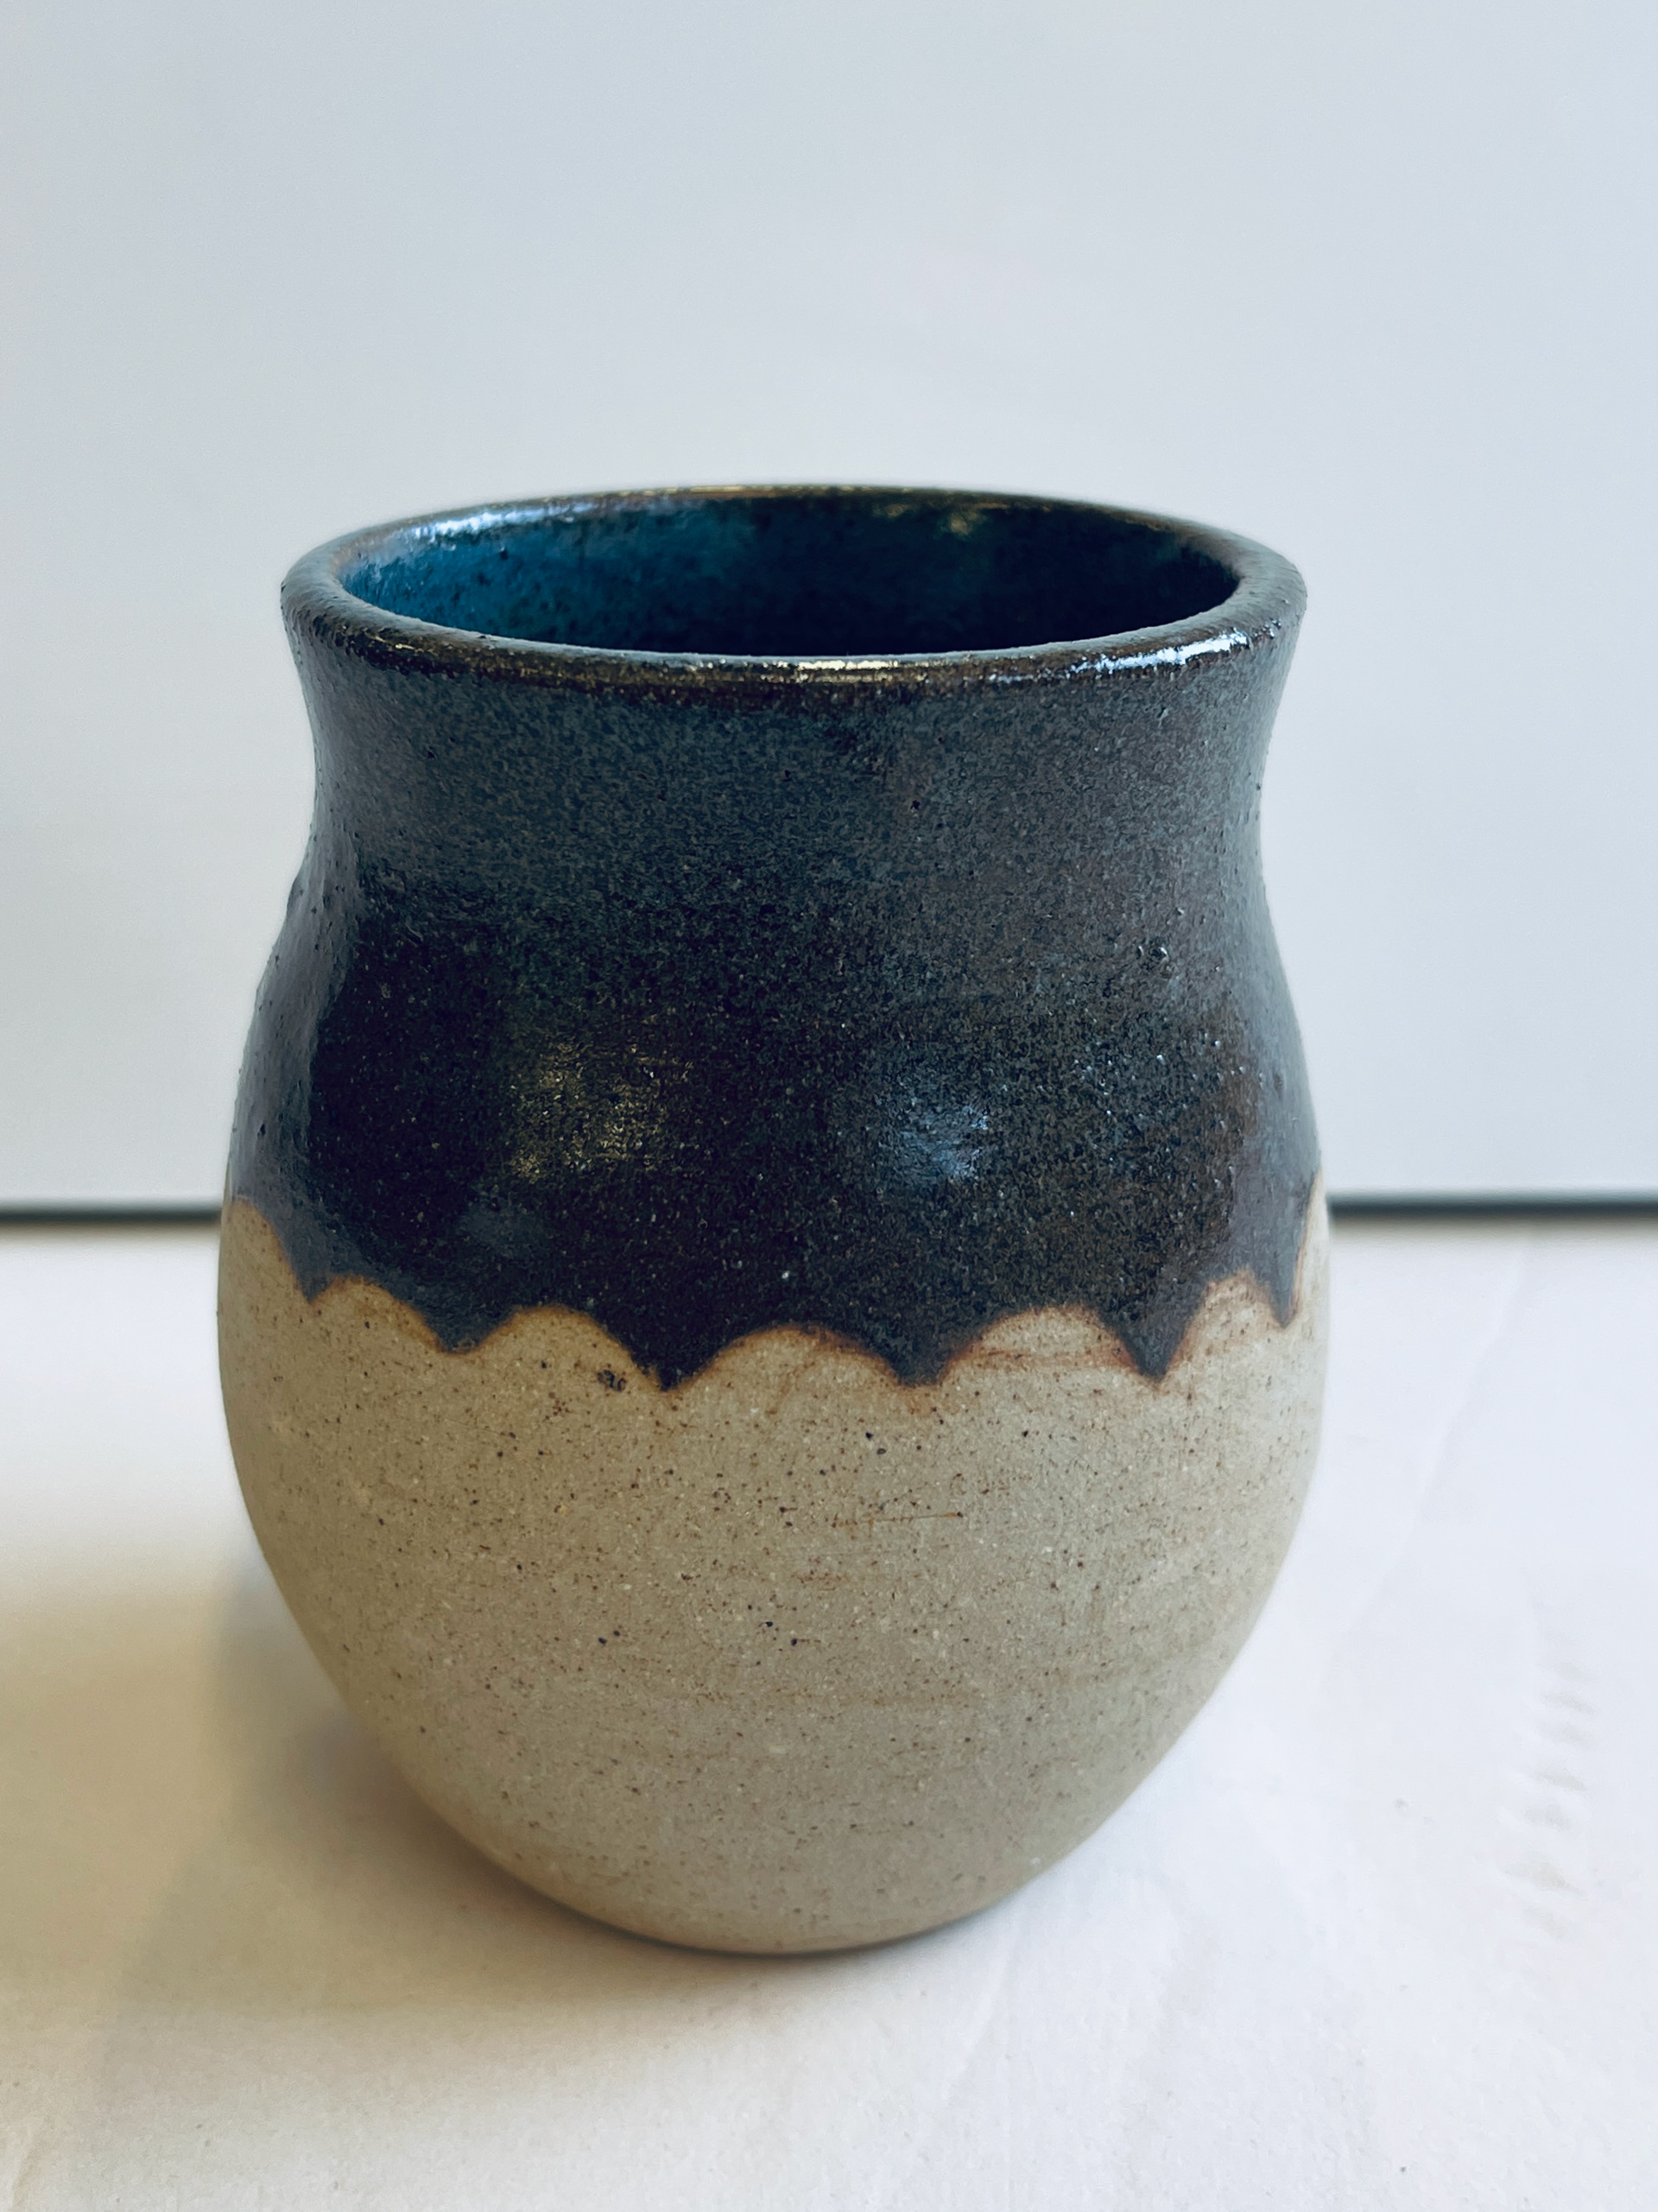
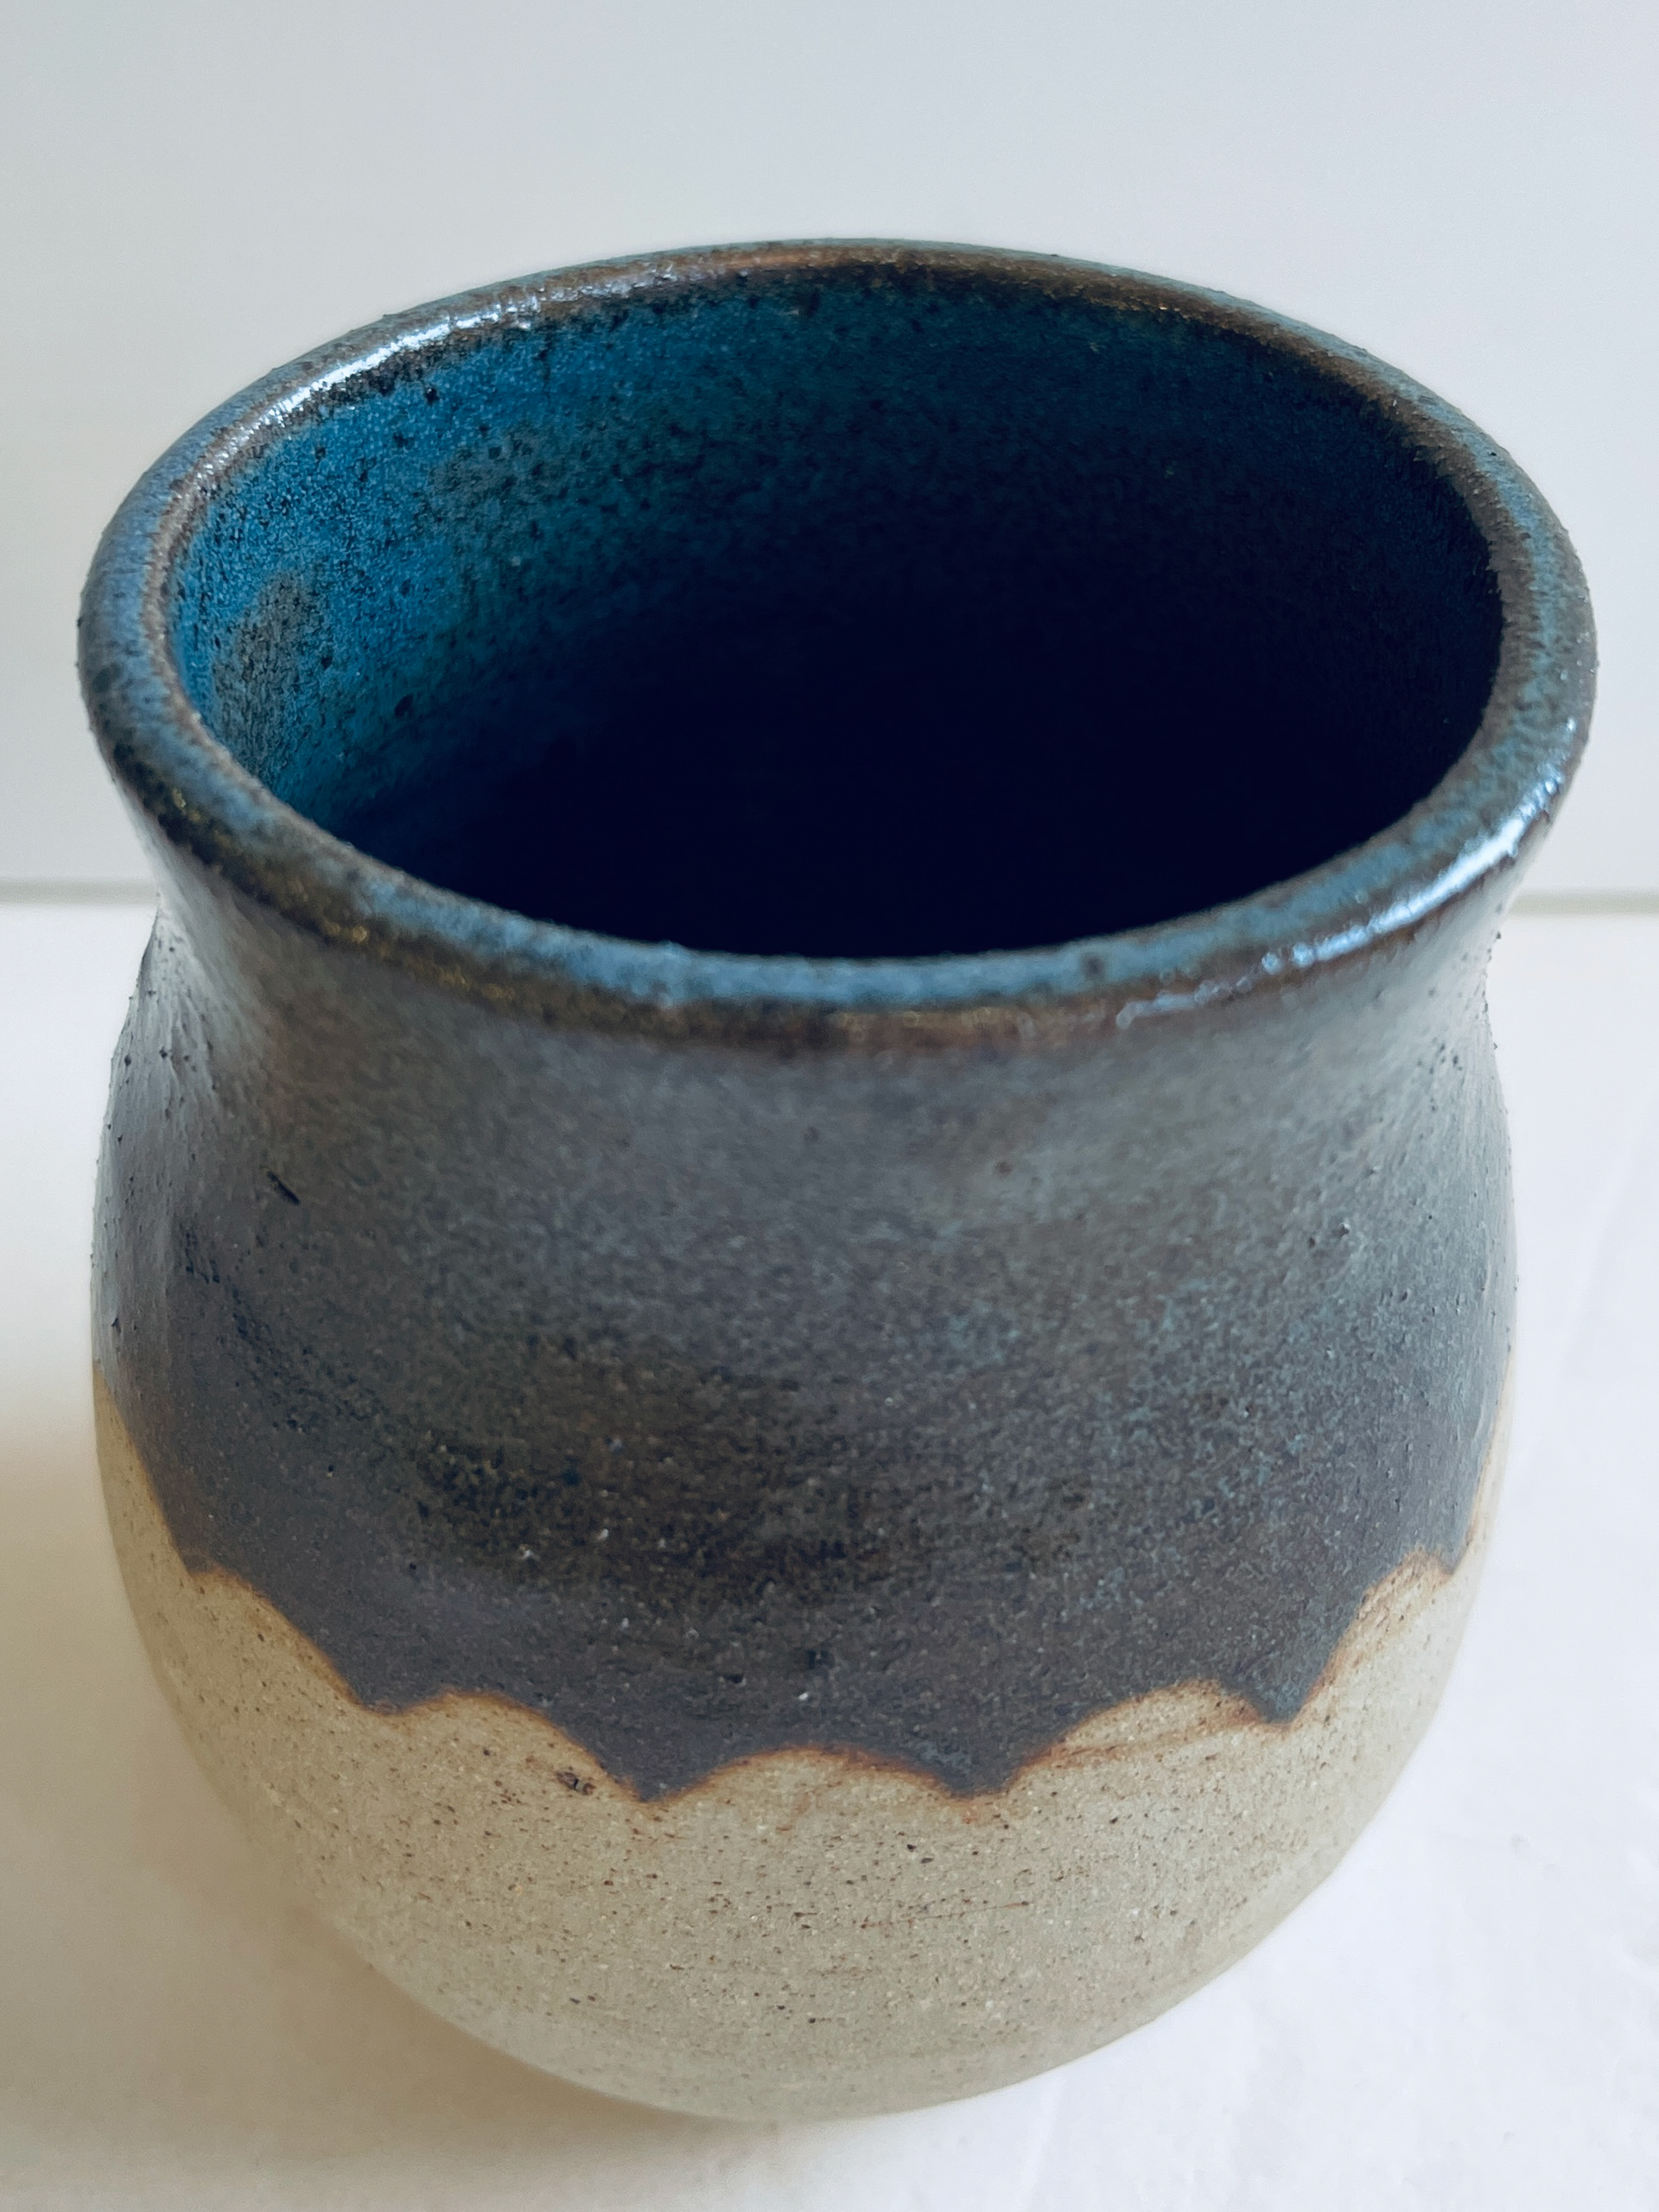
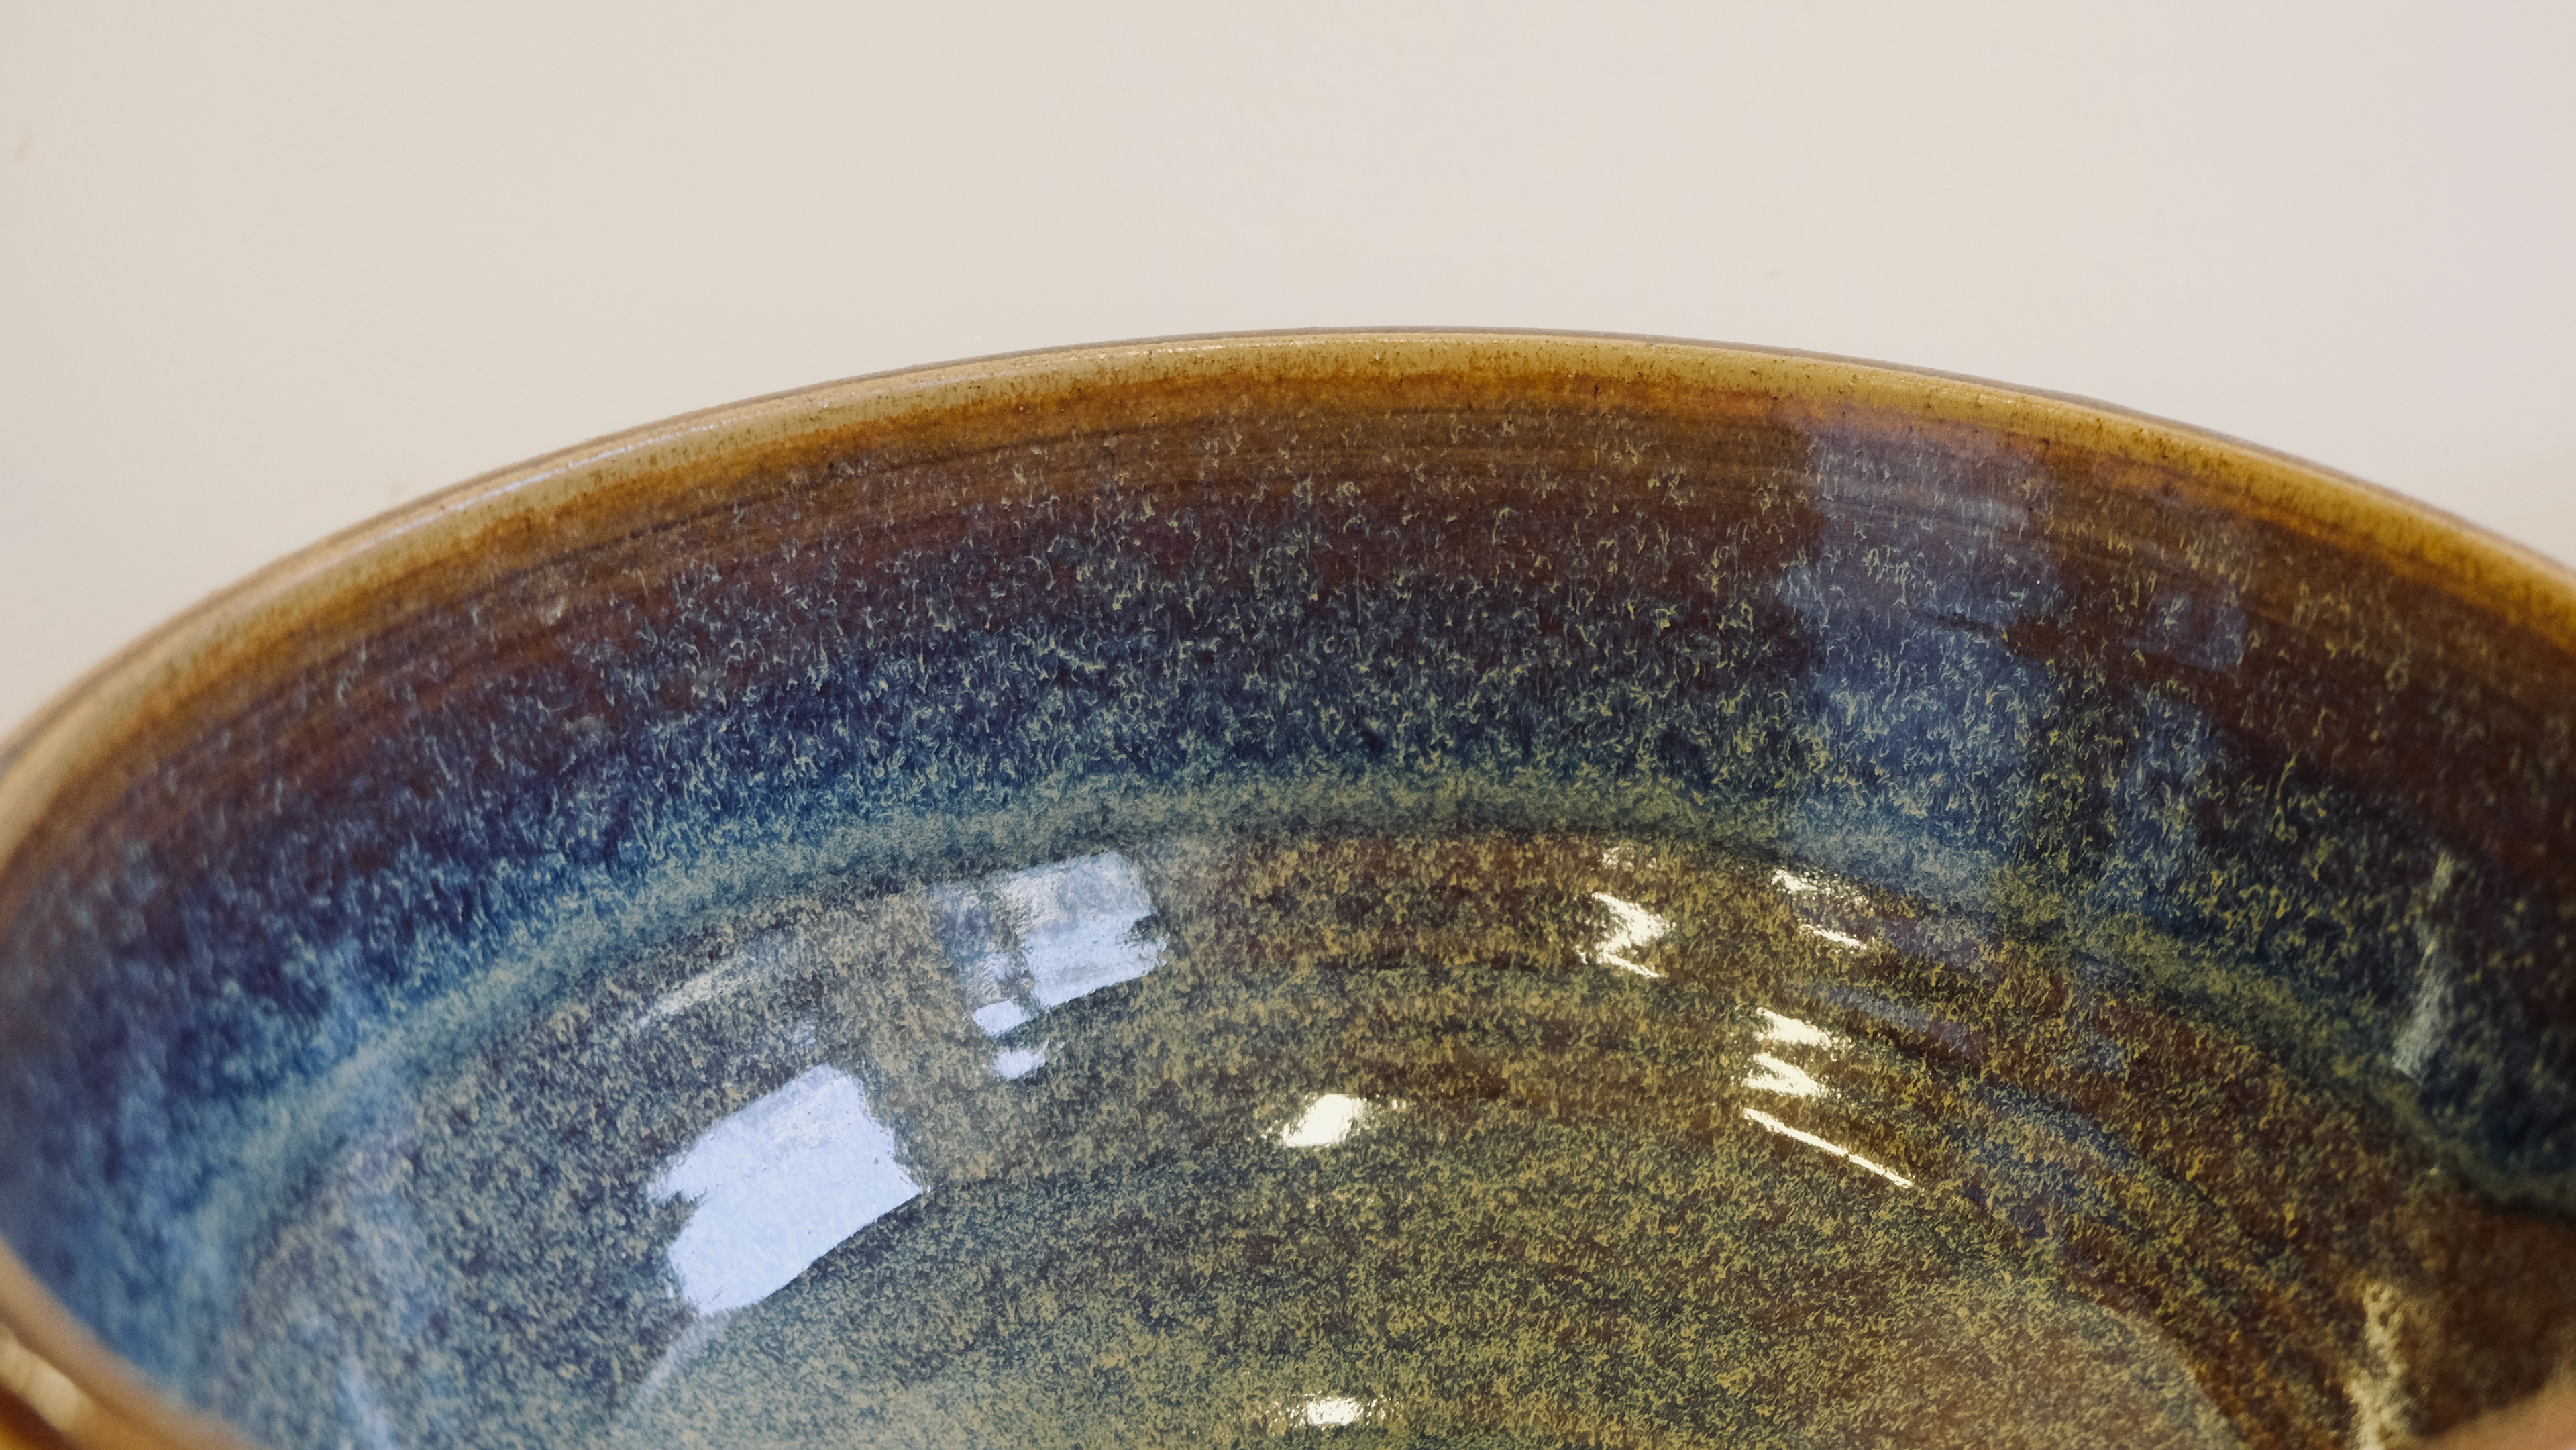
Grey-Blue glaze on ALM AND IVS clay.
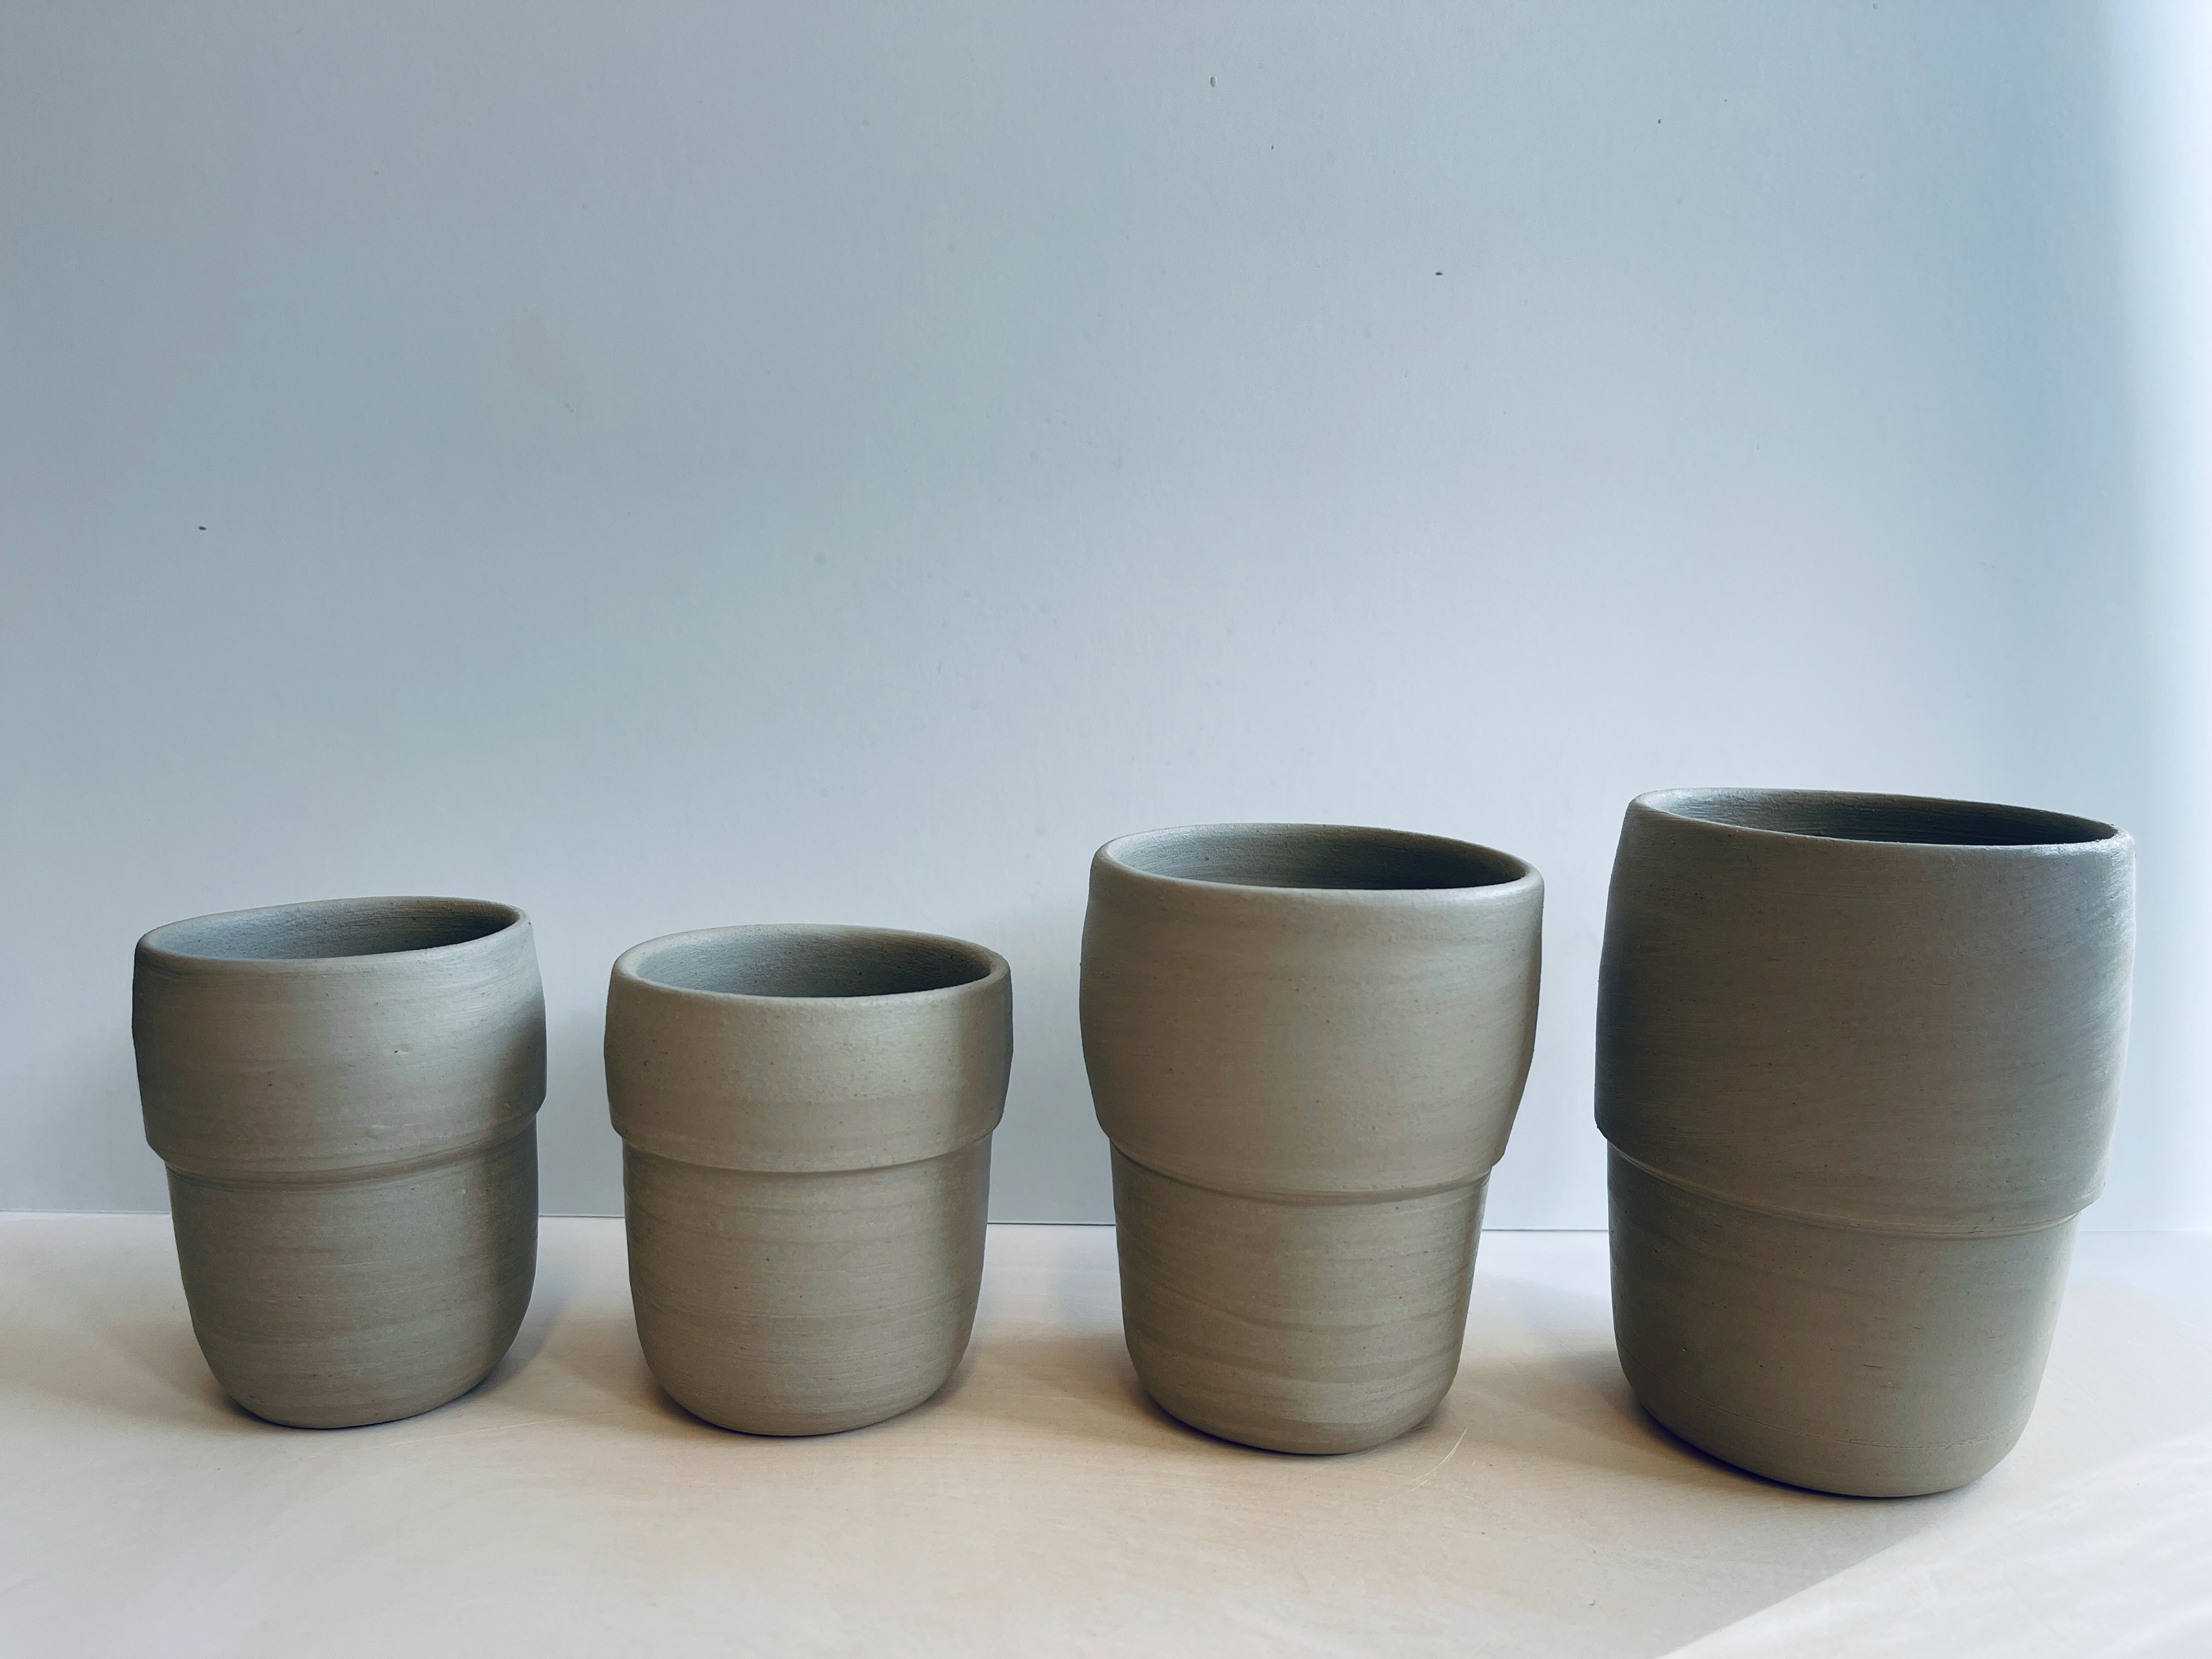

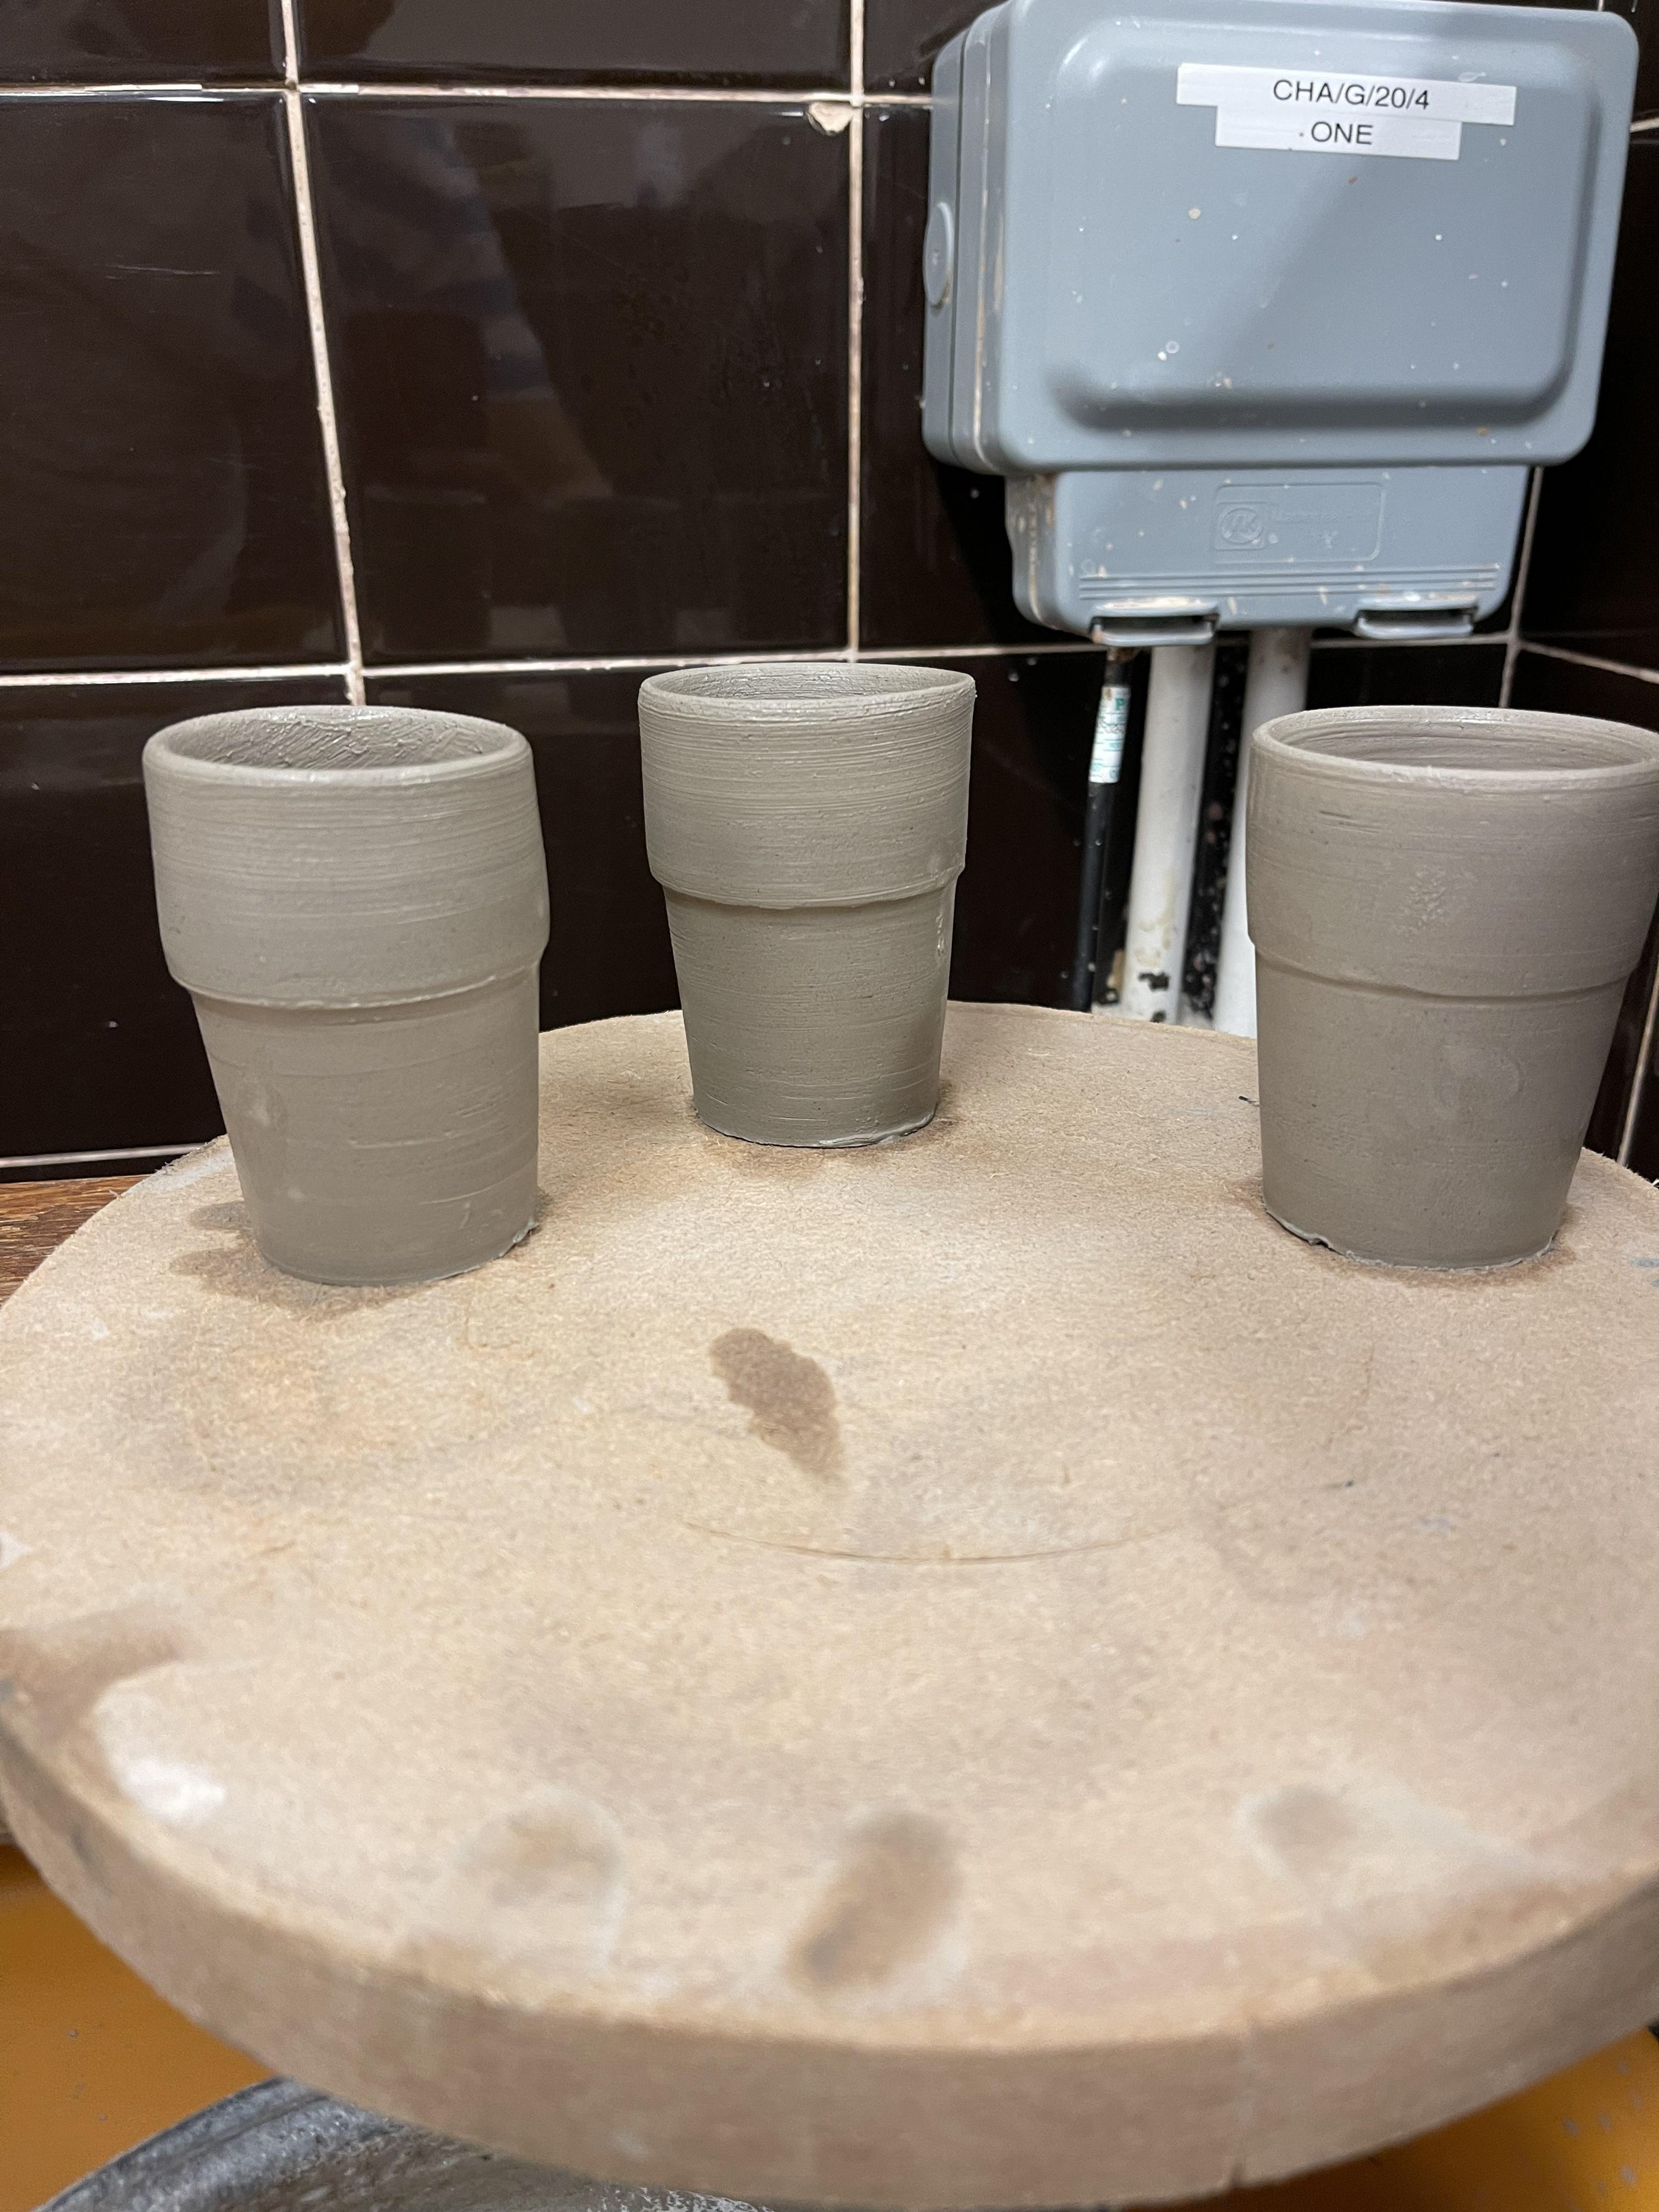
Bone dry stage. Colours are strong and vibrant.
Left- fine grounded pieces into tin shiny.
Right- fine grounded pieces into Cornish stone (Matt finish).

Glaze pieces added into in ball mill, to ground into a fine powder which will be mixing up into a glaze.
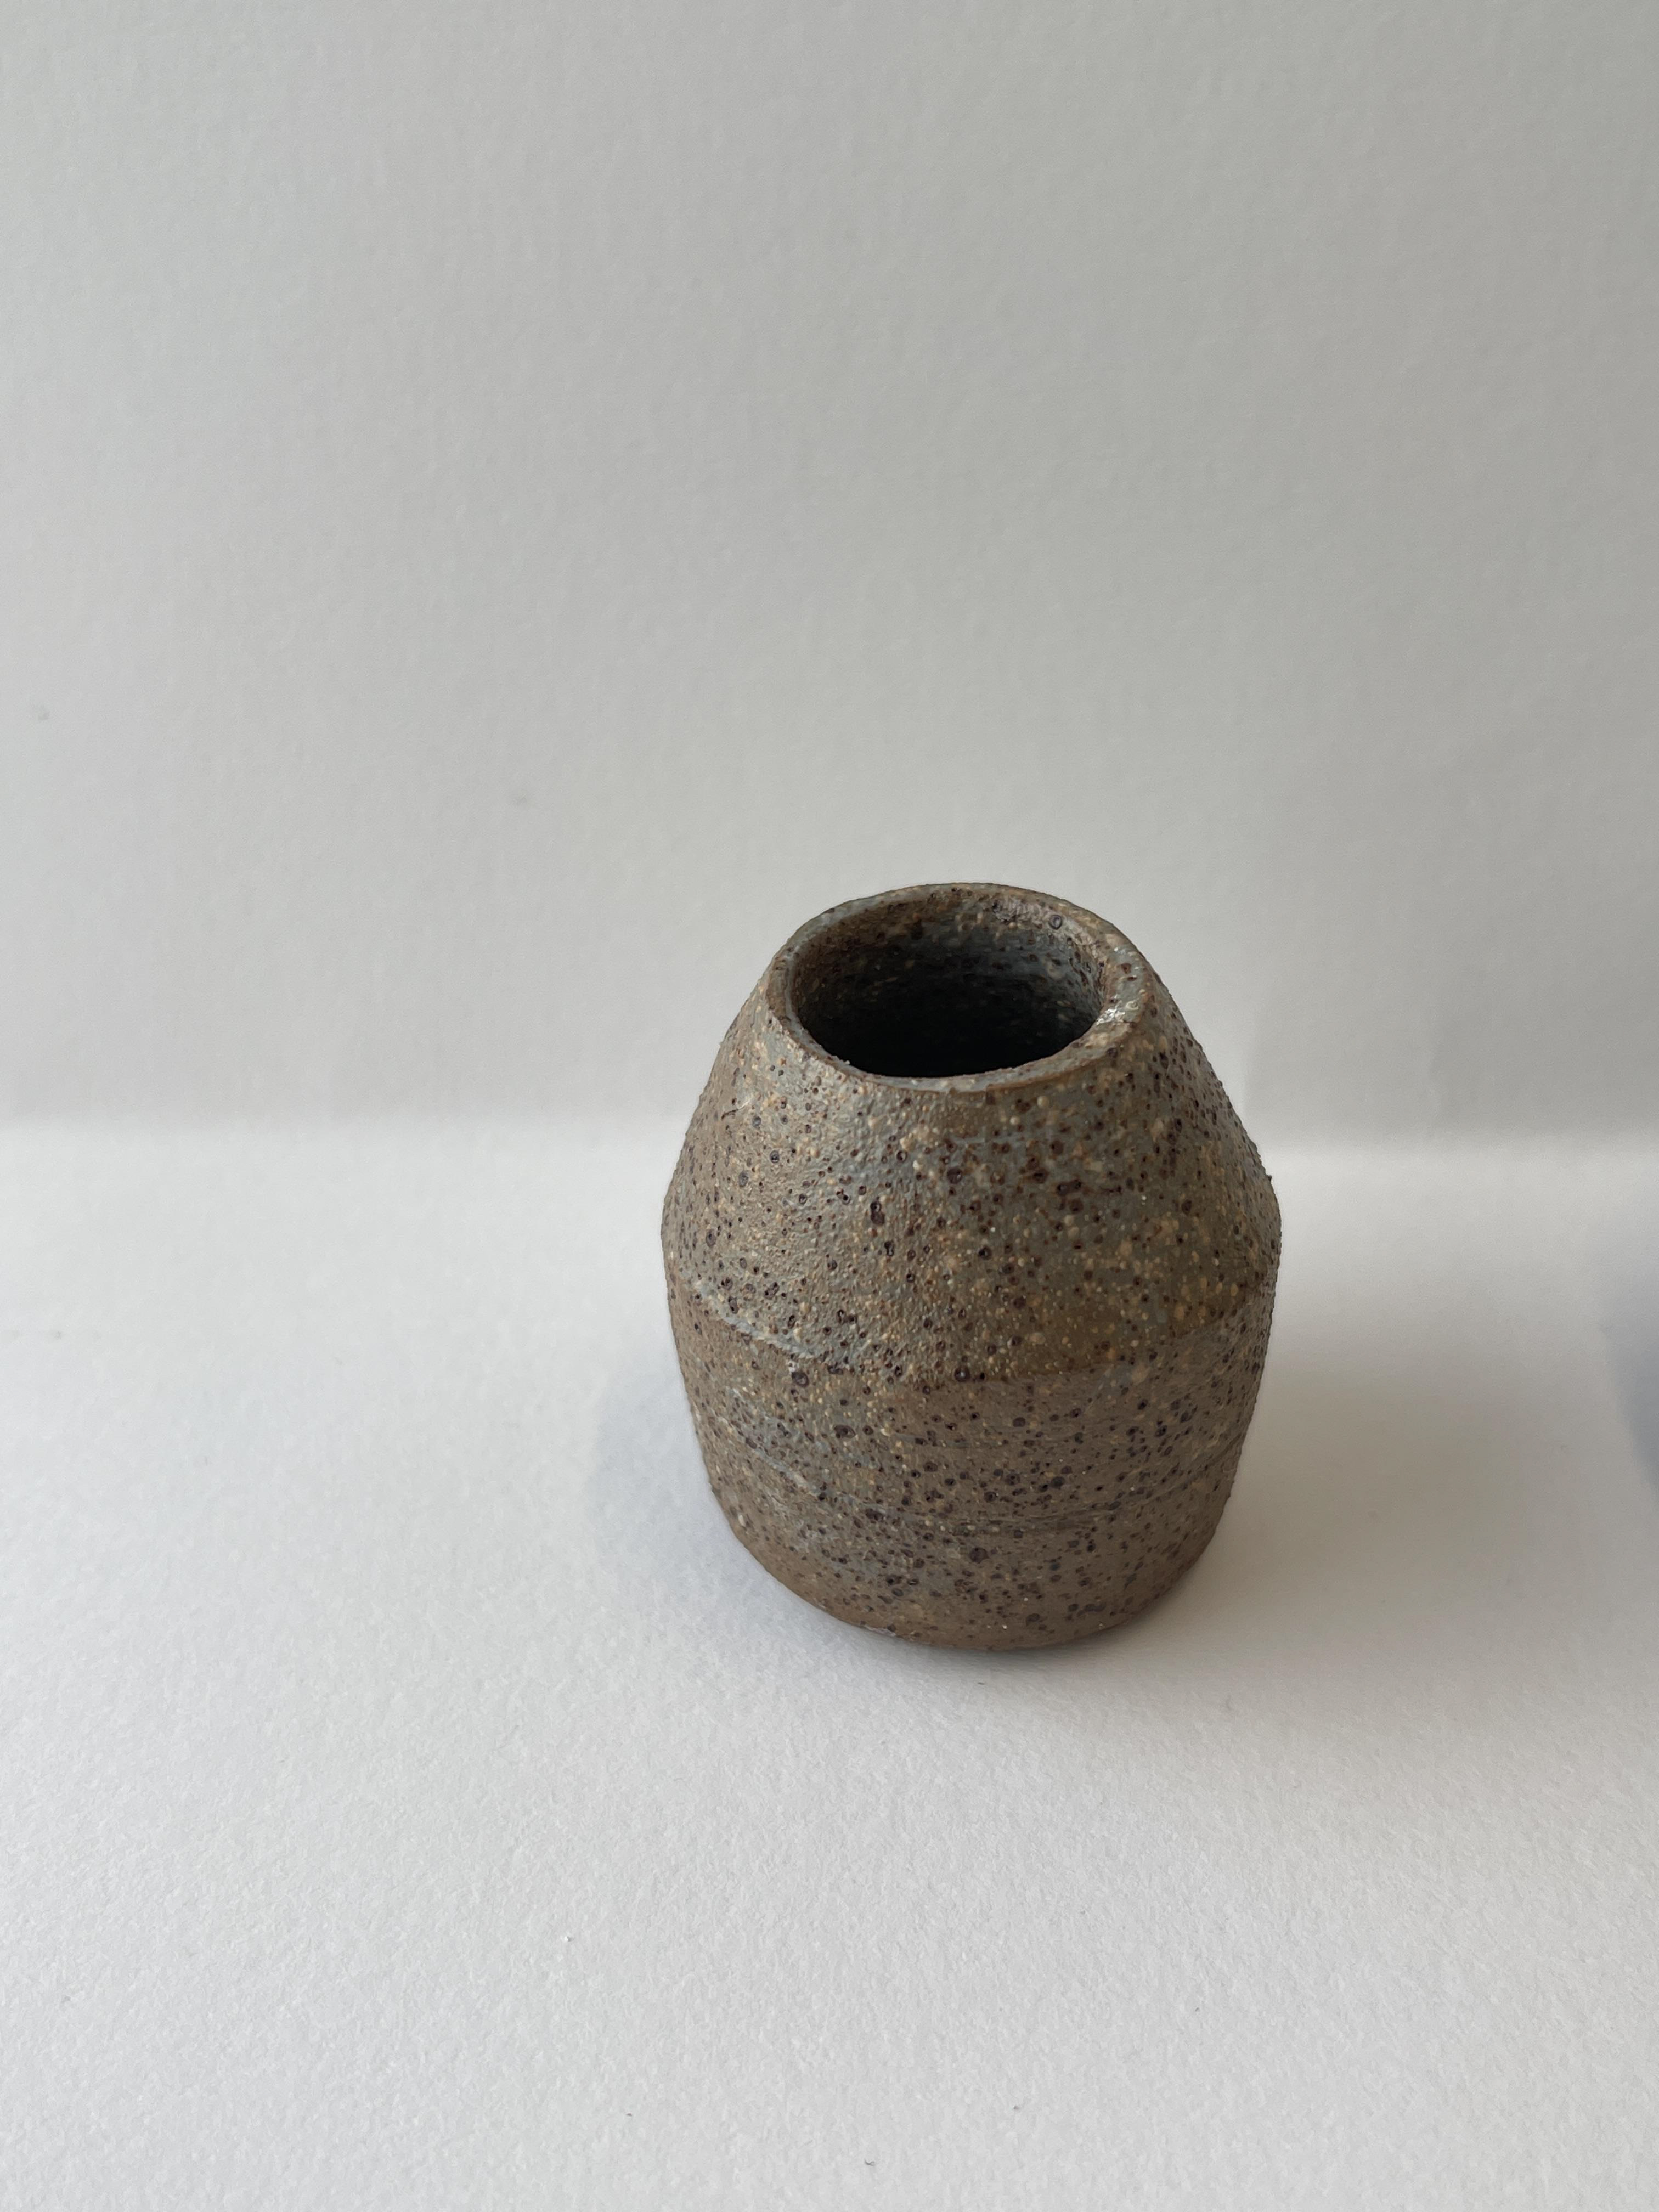
Tin shiny + glazed shards. On both almington and ivorystoneware bodies.
Much to my disappointment, no hints or speckles of the crushed glazed pieces were showing through. The surface is textured with fine particles of the clay but no colour. Possibly for the colours to show through there has to me more glaze or Chucky pieces should be added rather then powder form.
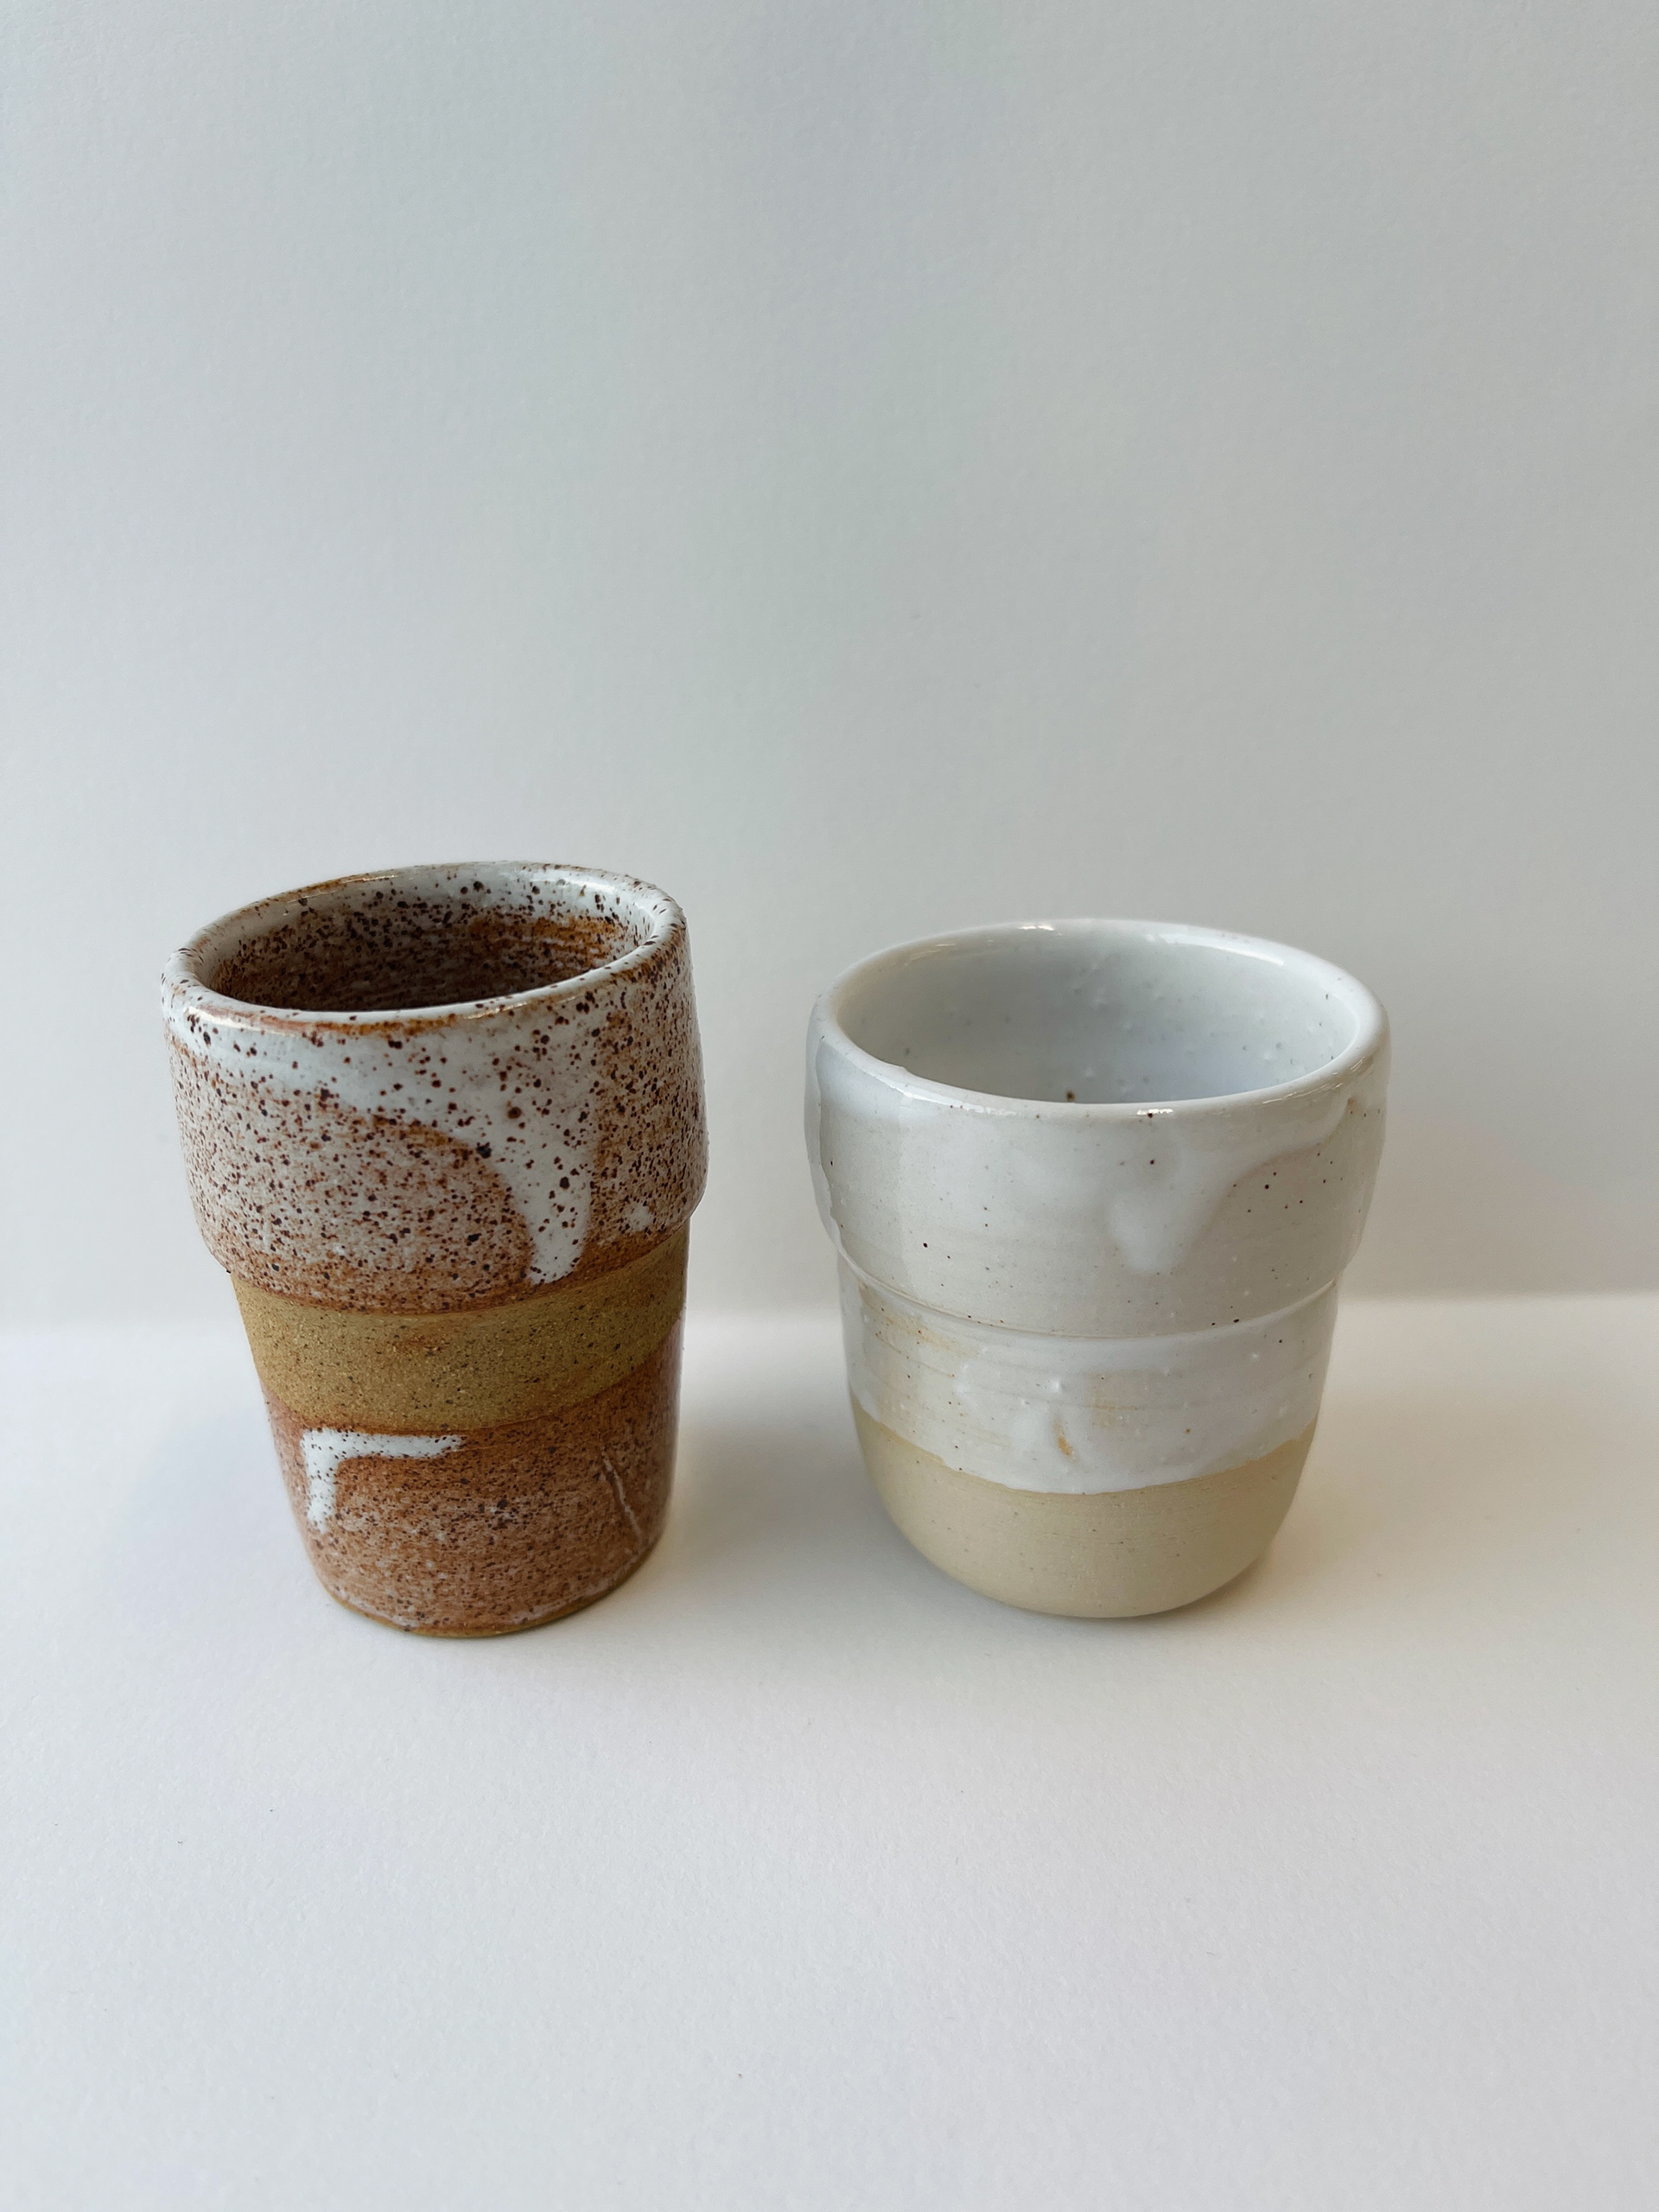
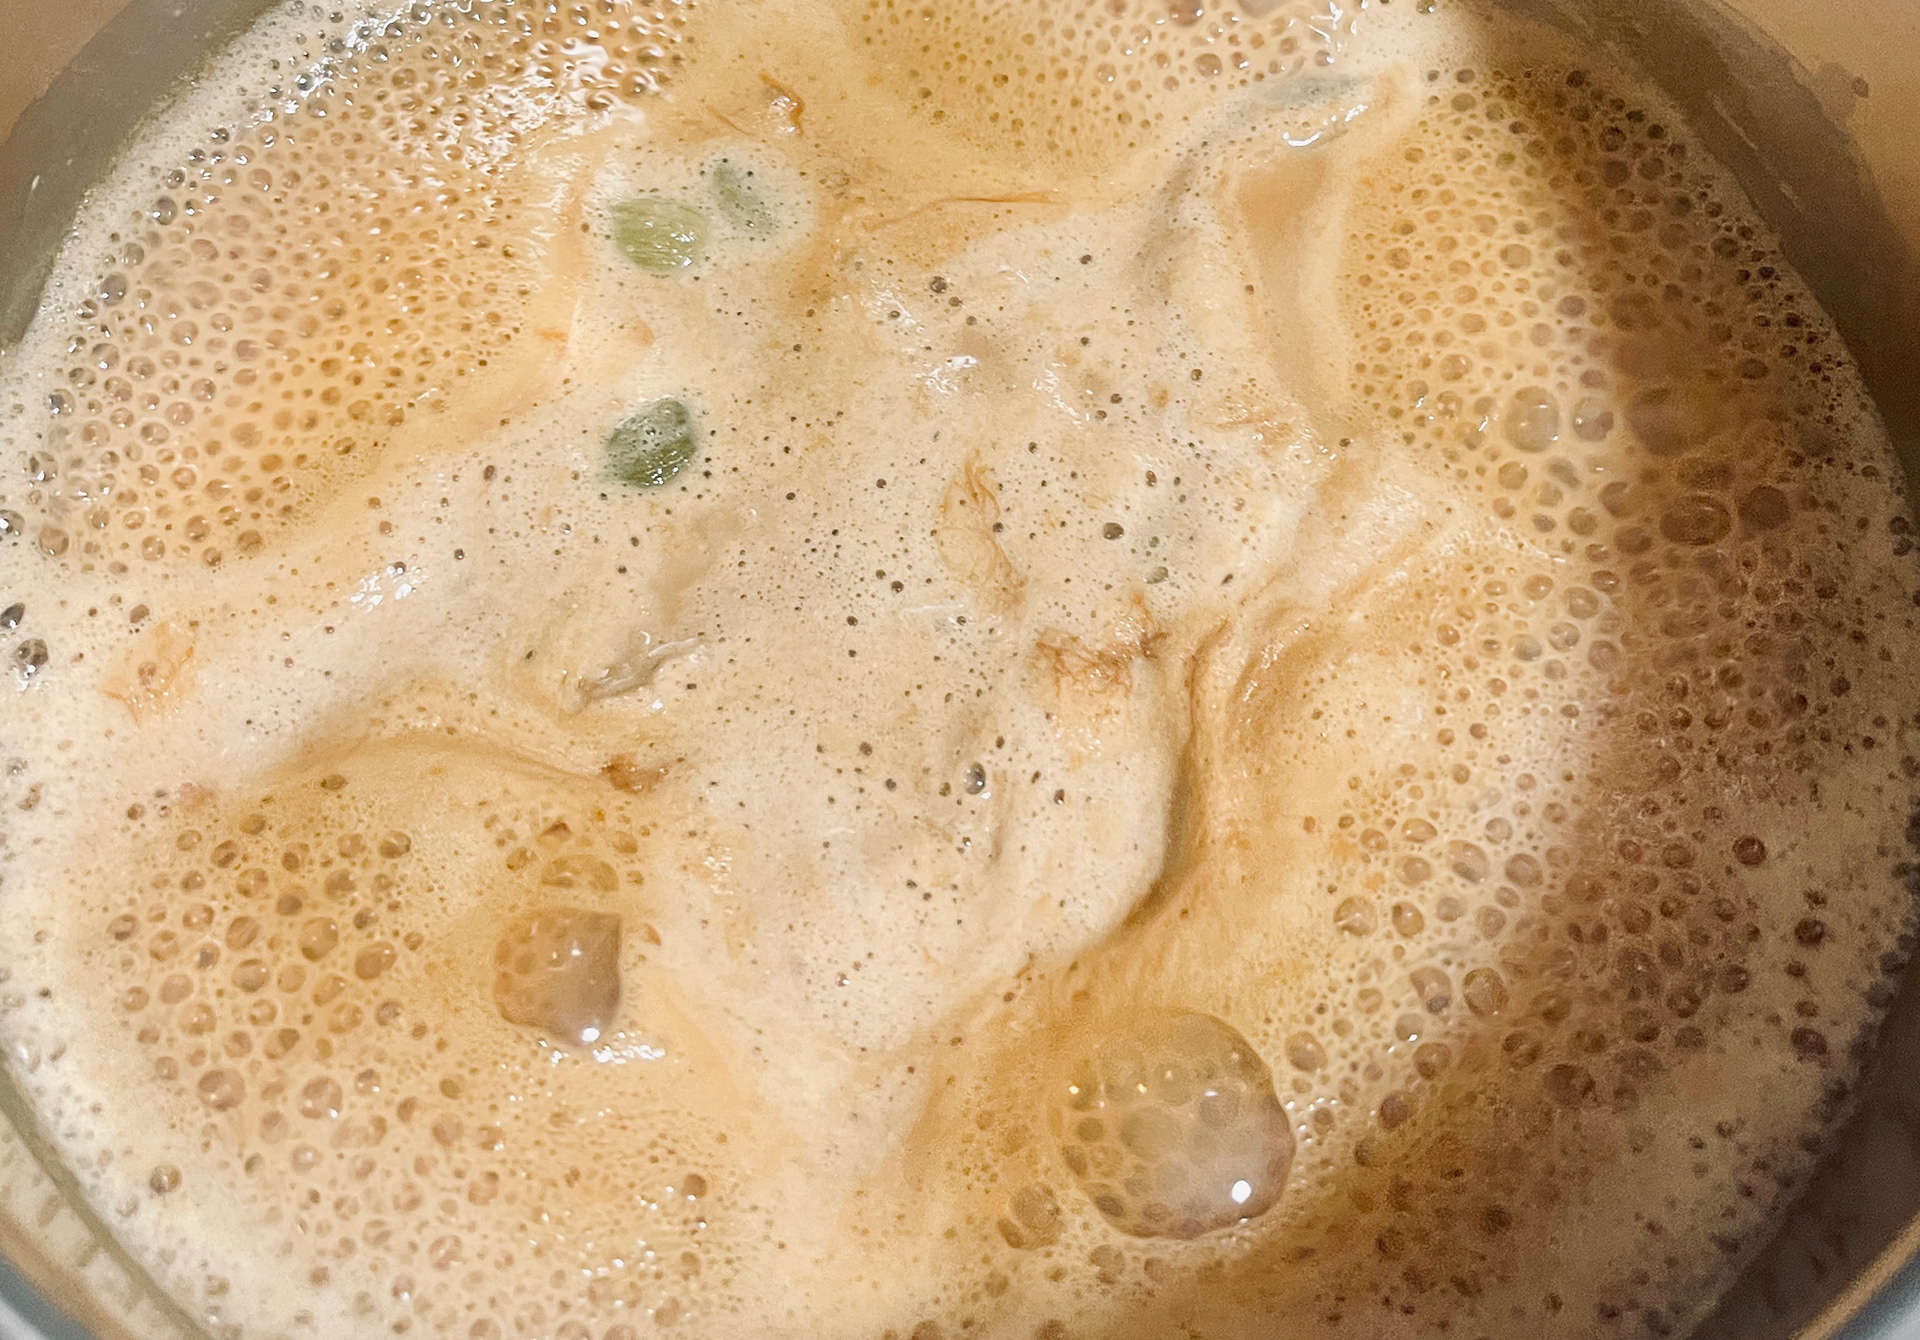
Semi skimmed milk used as a glaze- before.
Left 1min,5min+10mins.
After- stoneware fired.
Whole Milk- before
After- stoneware fired.

Left- with sugar chai. Right- without sugar( brown colour from drying out)
Left-with sugar samples. Right- without sugar.

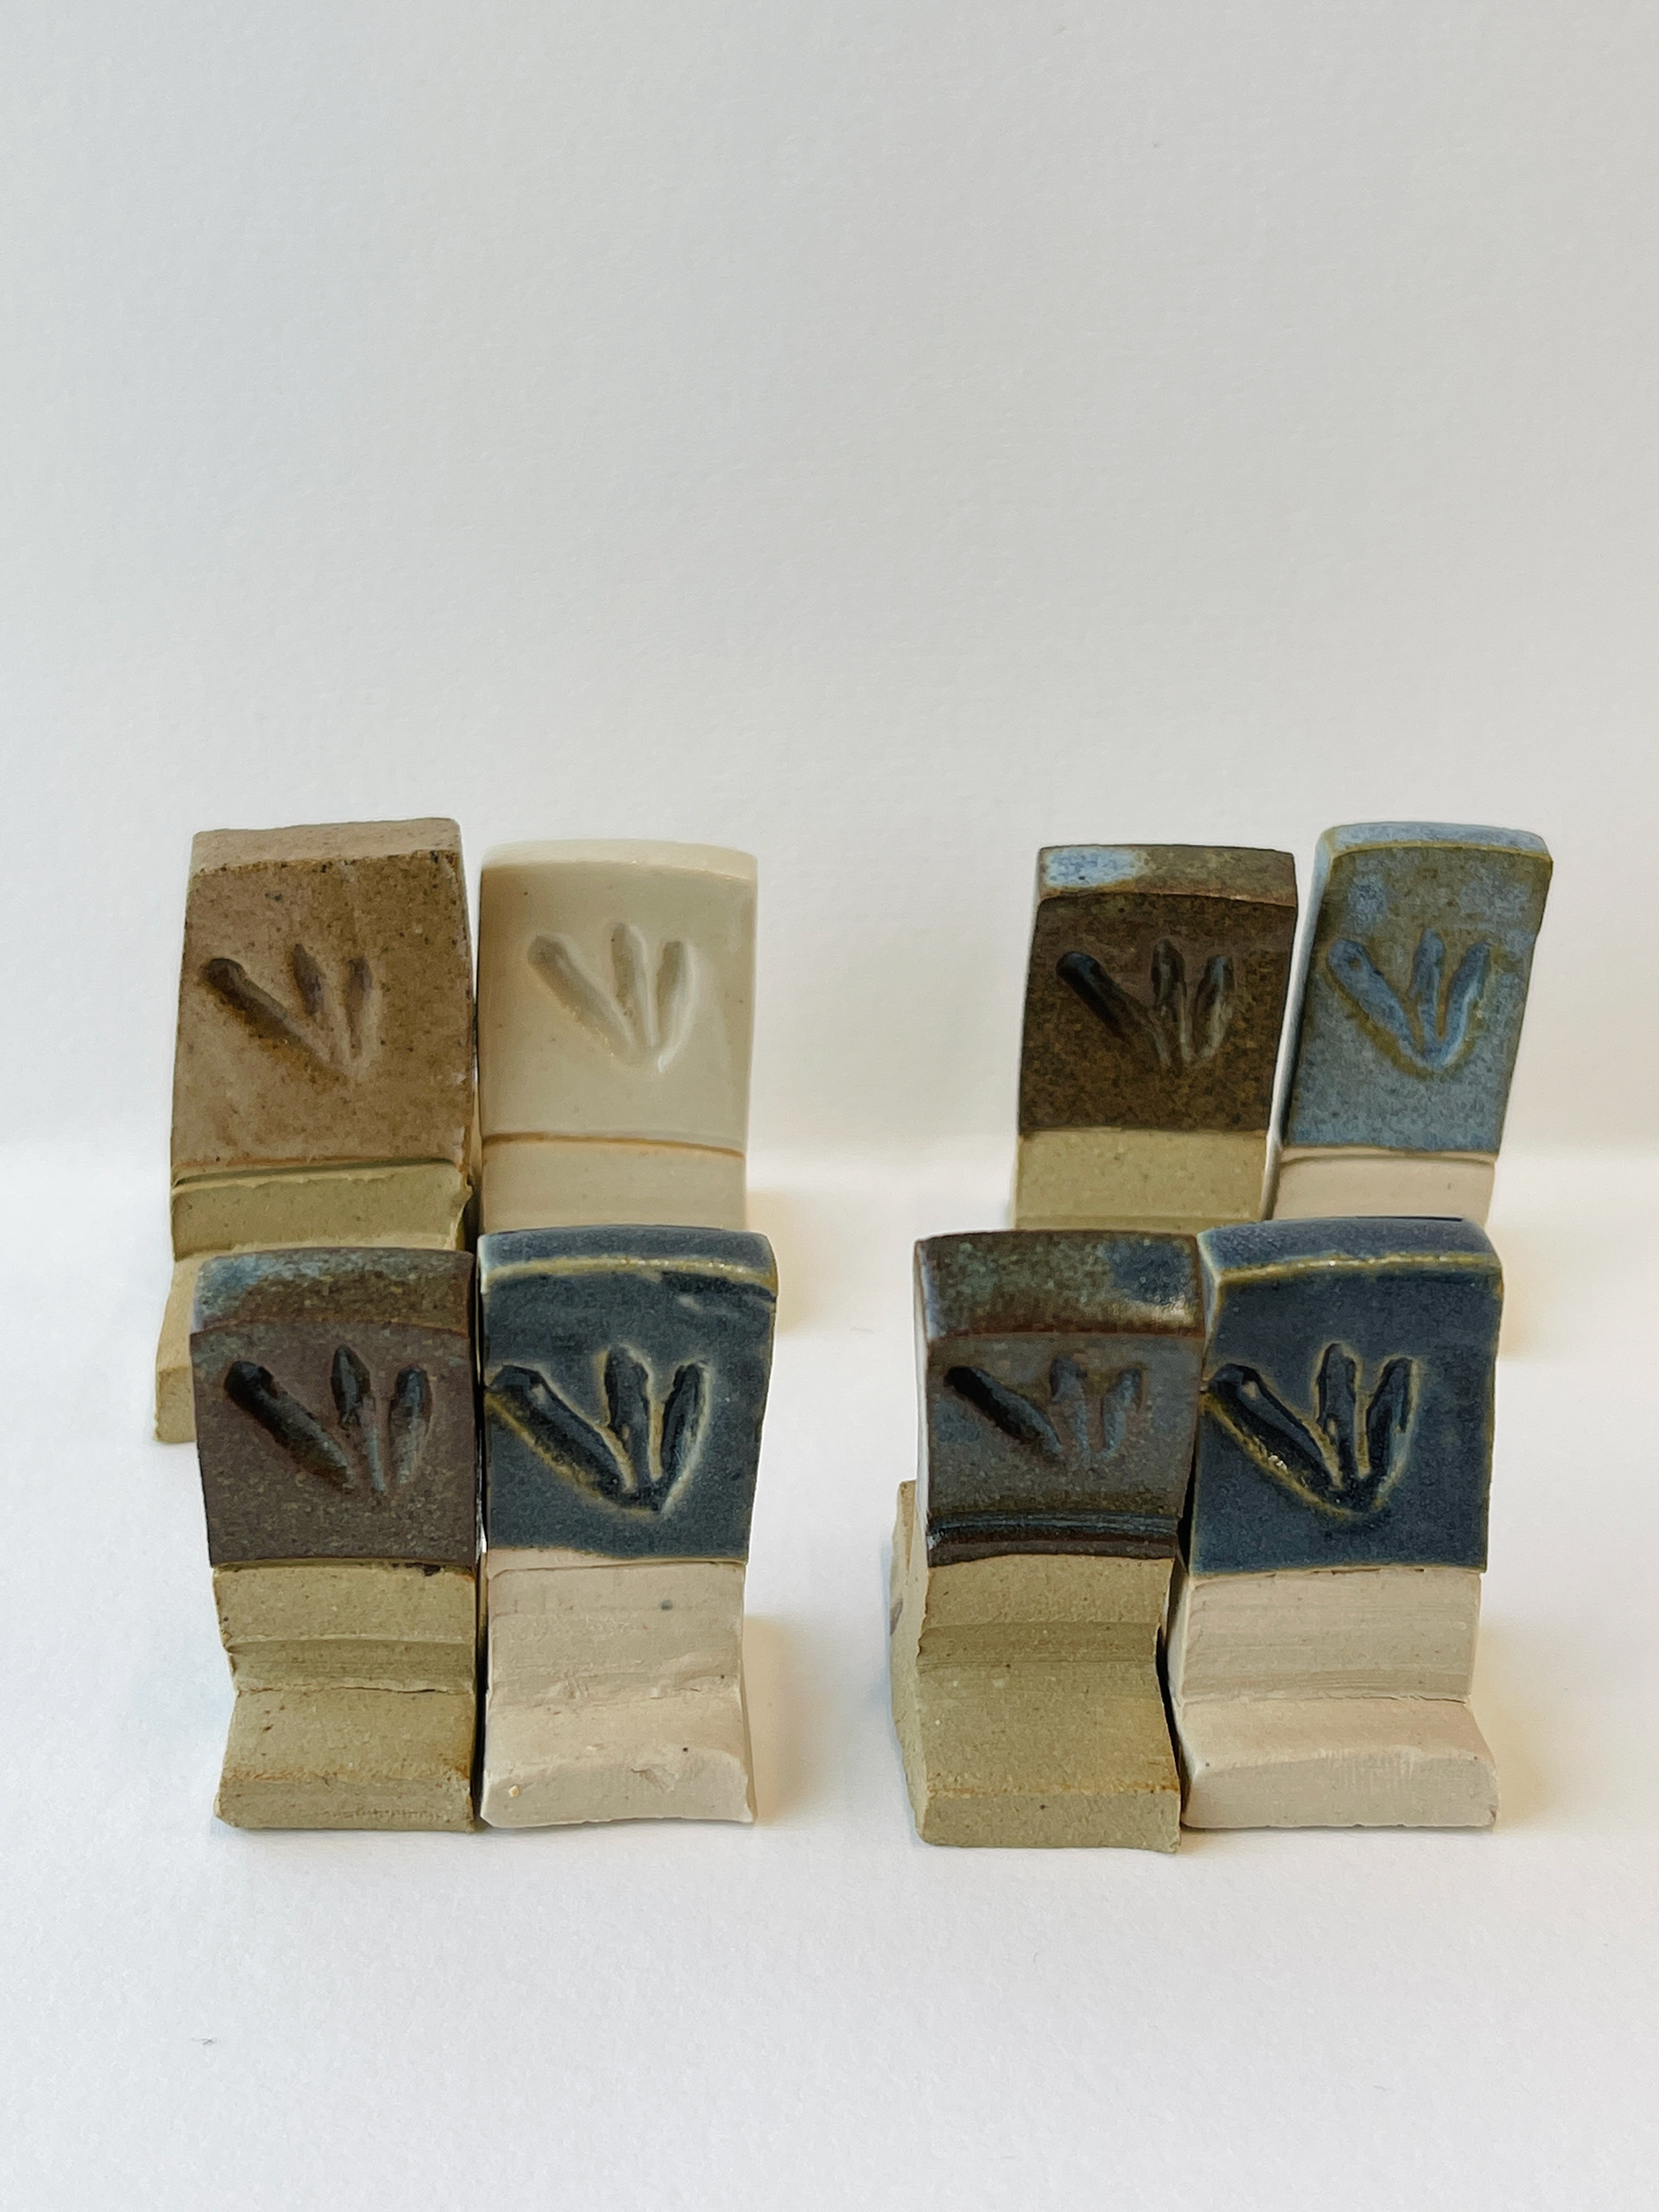


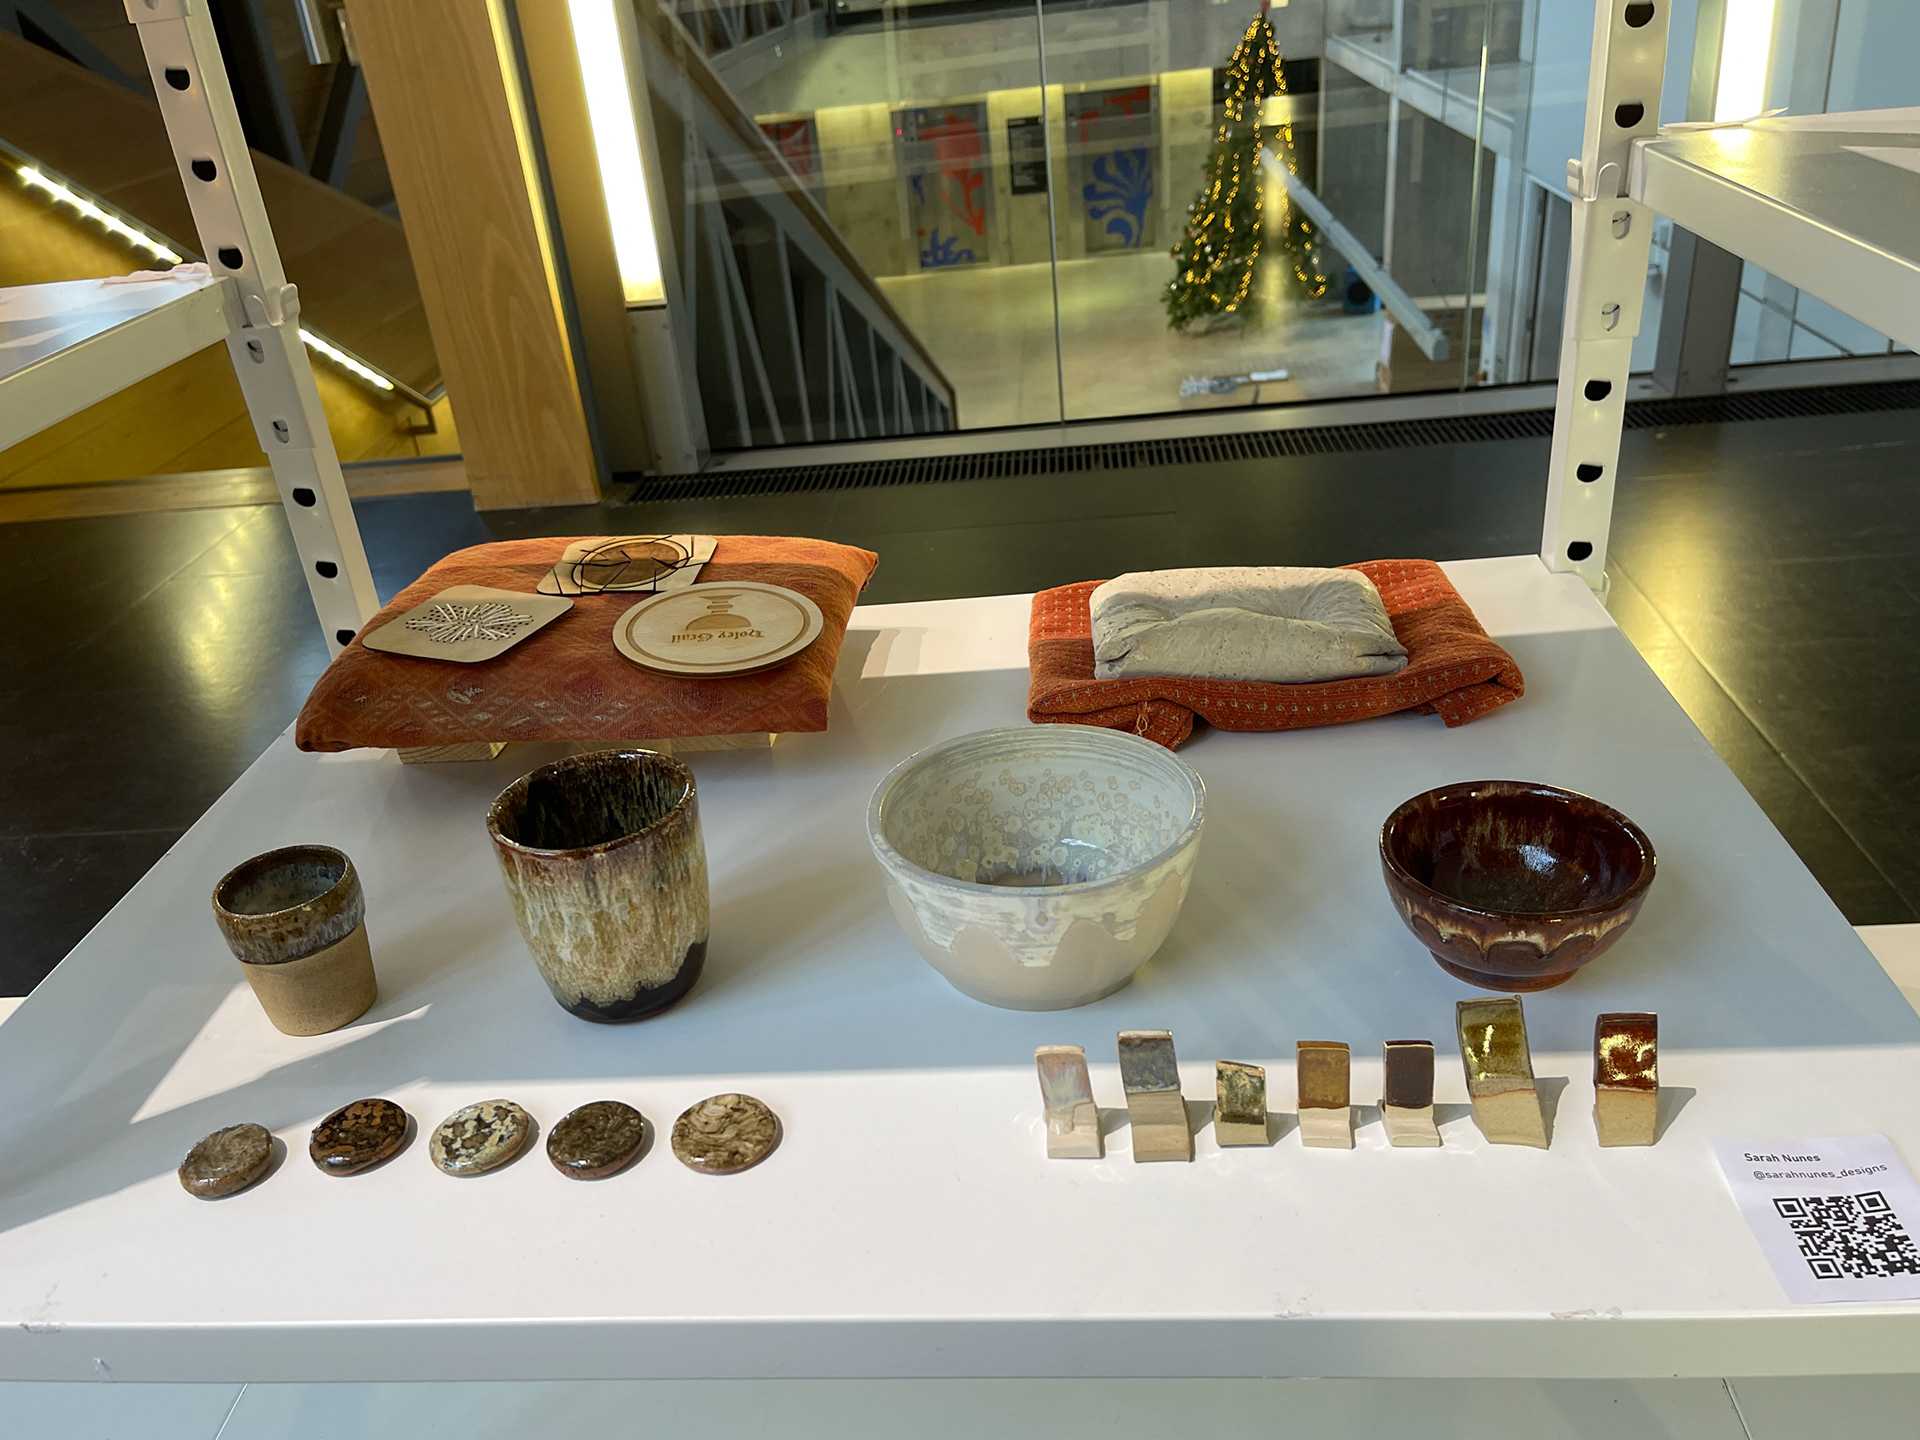

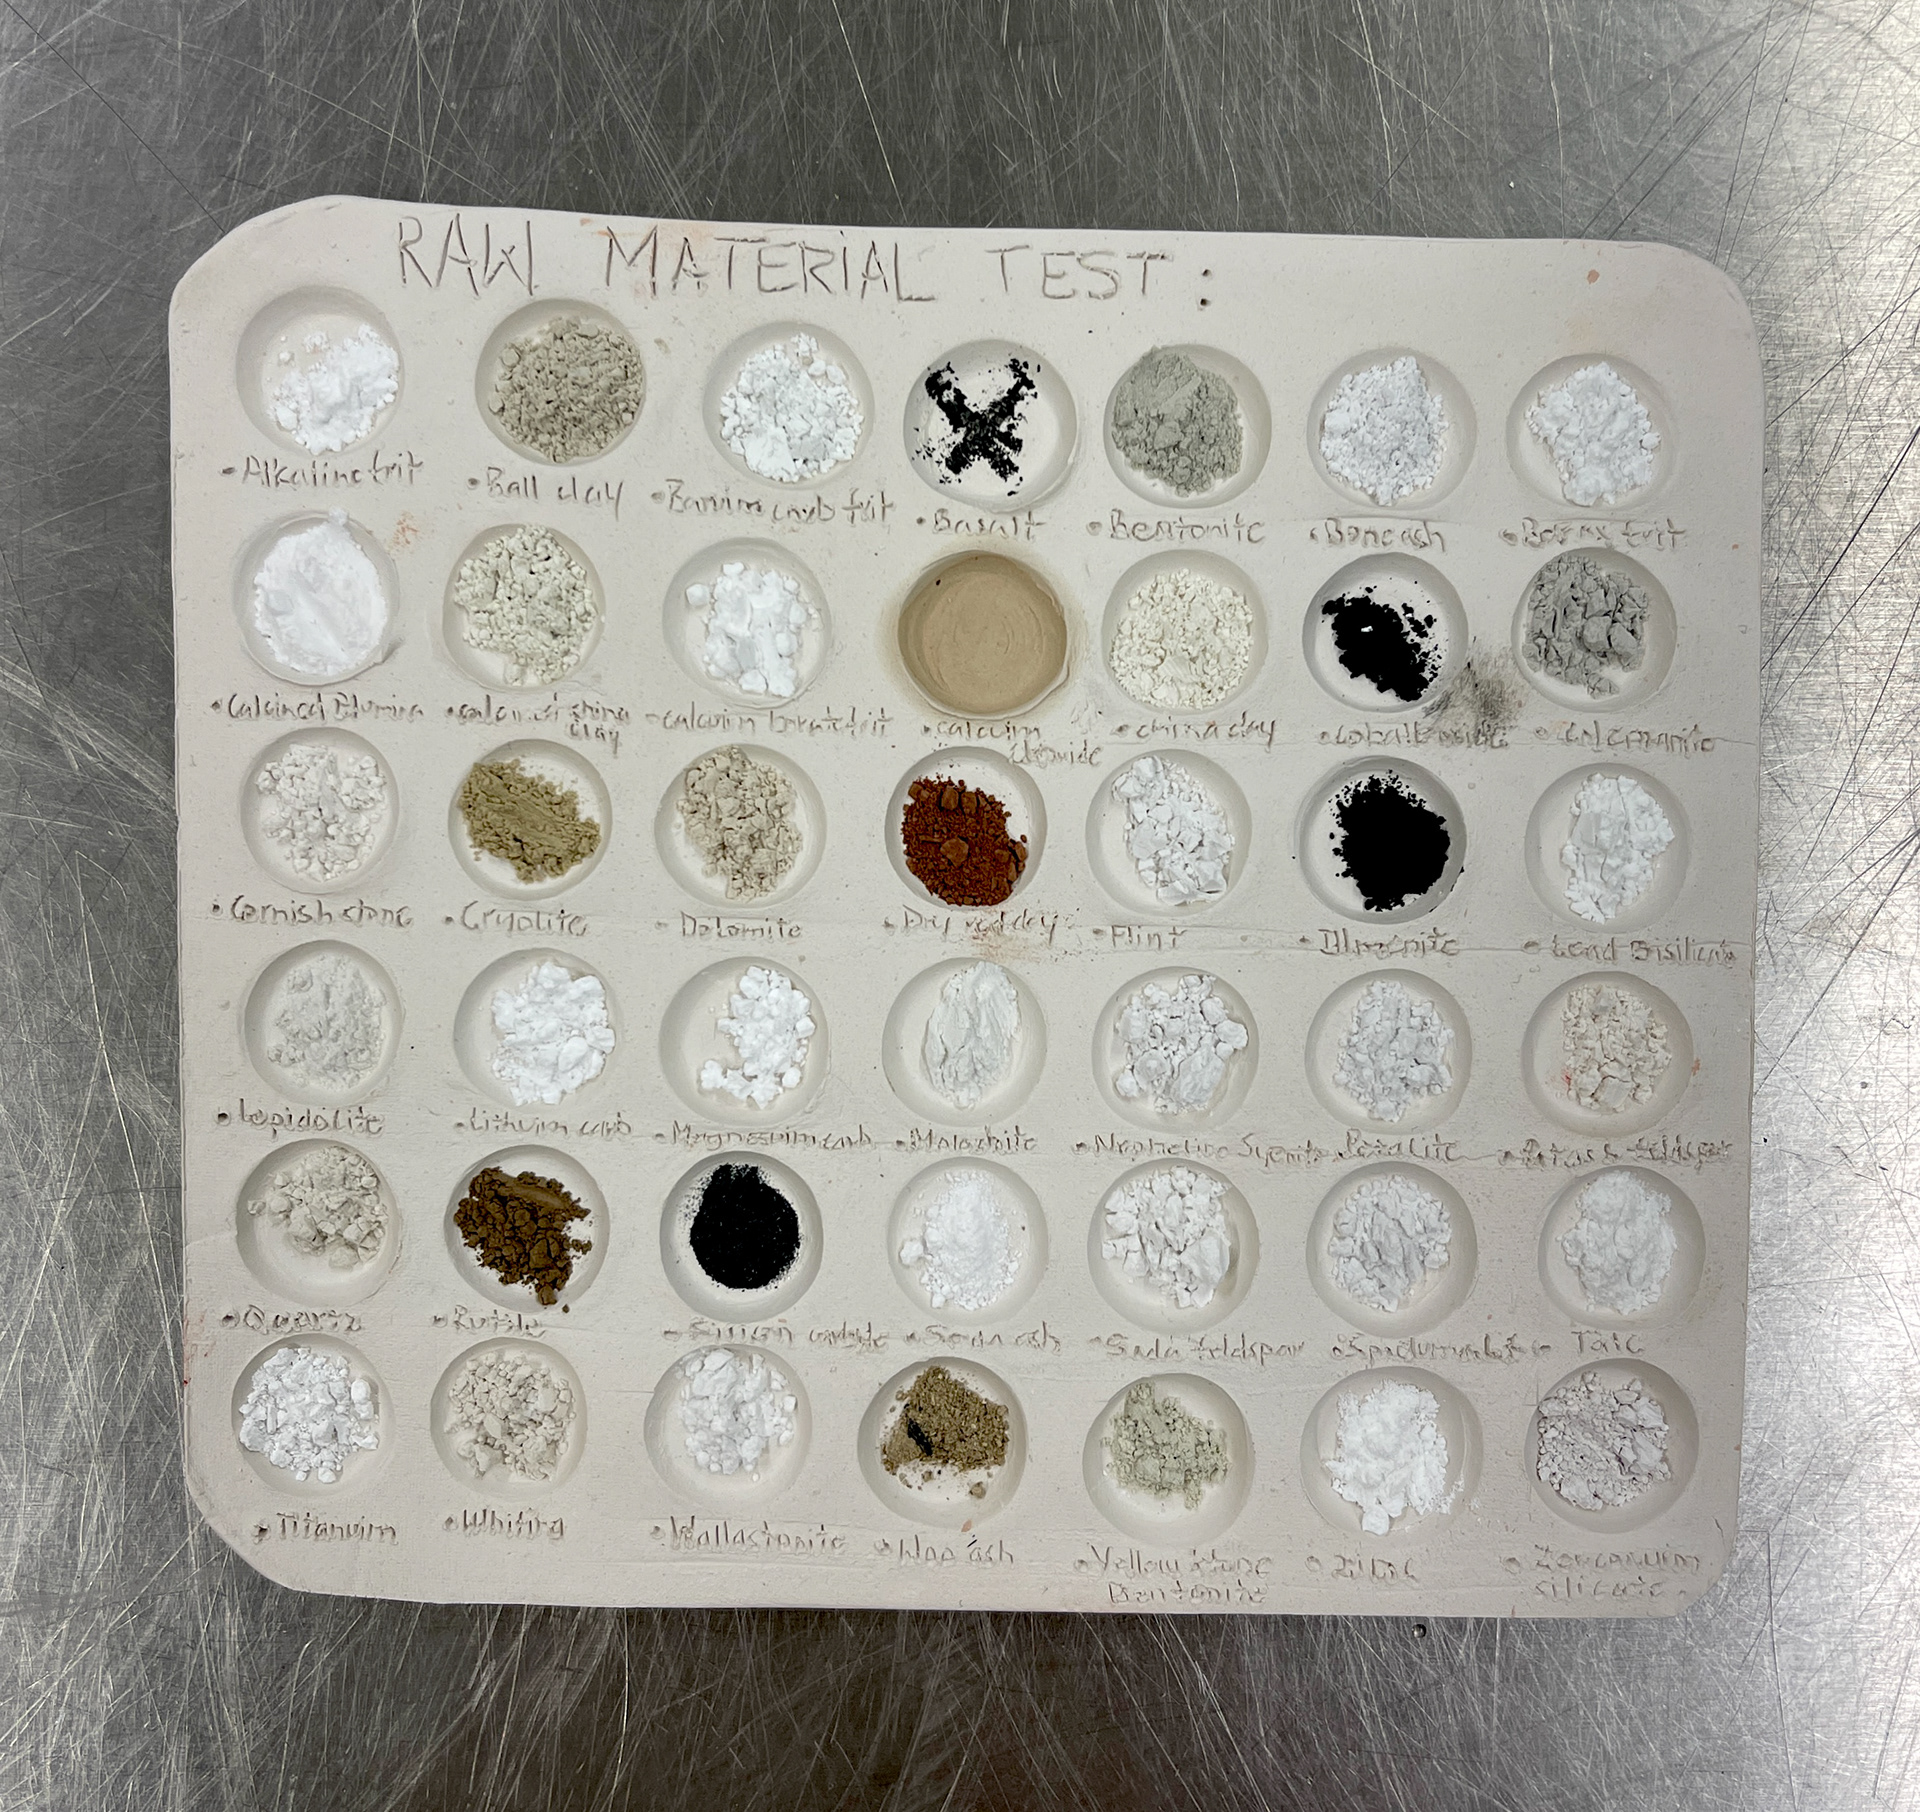
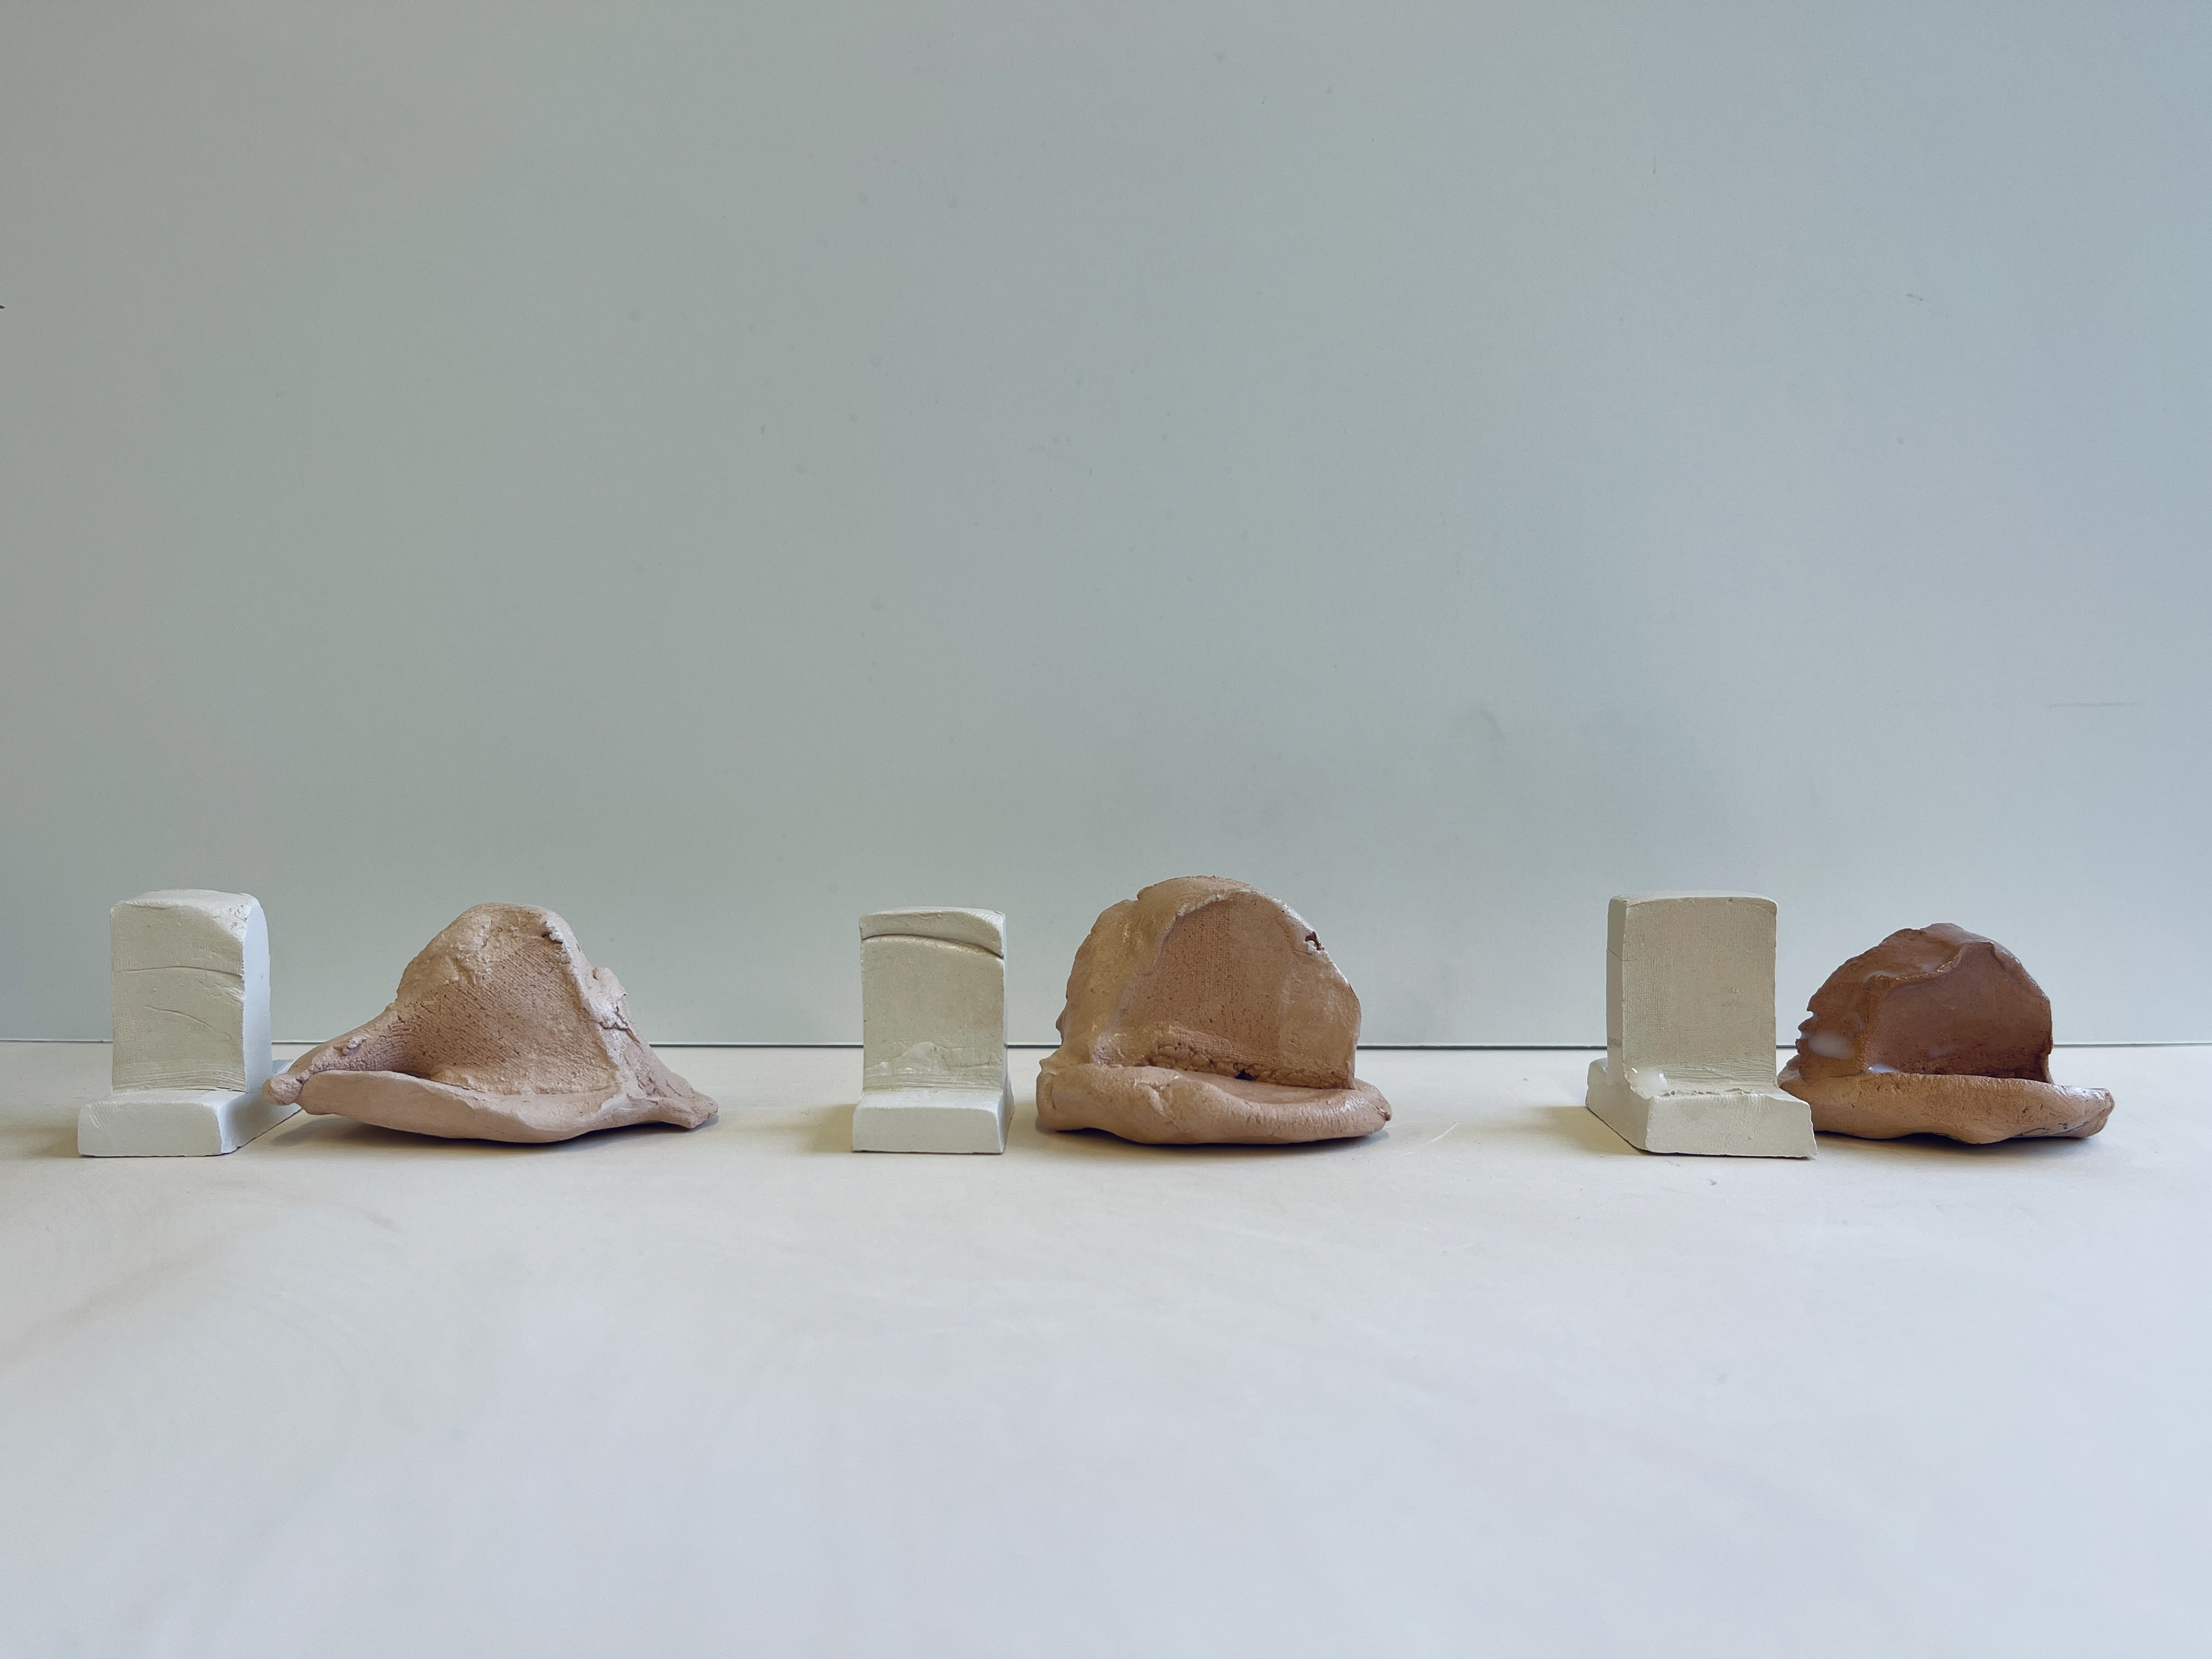
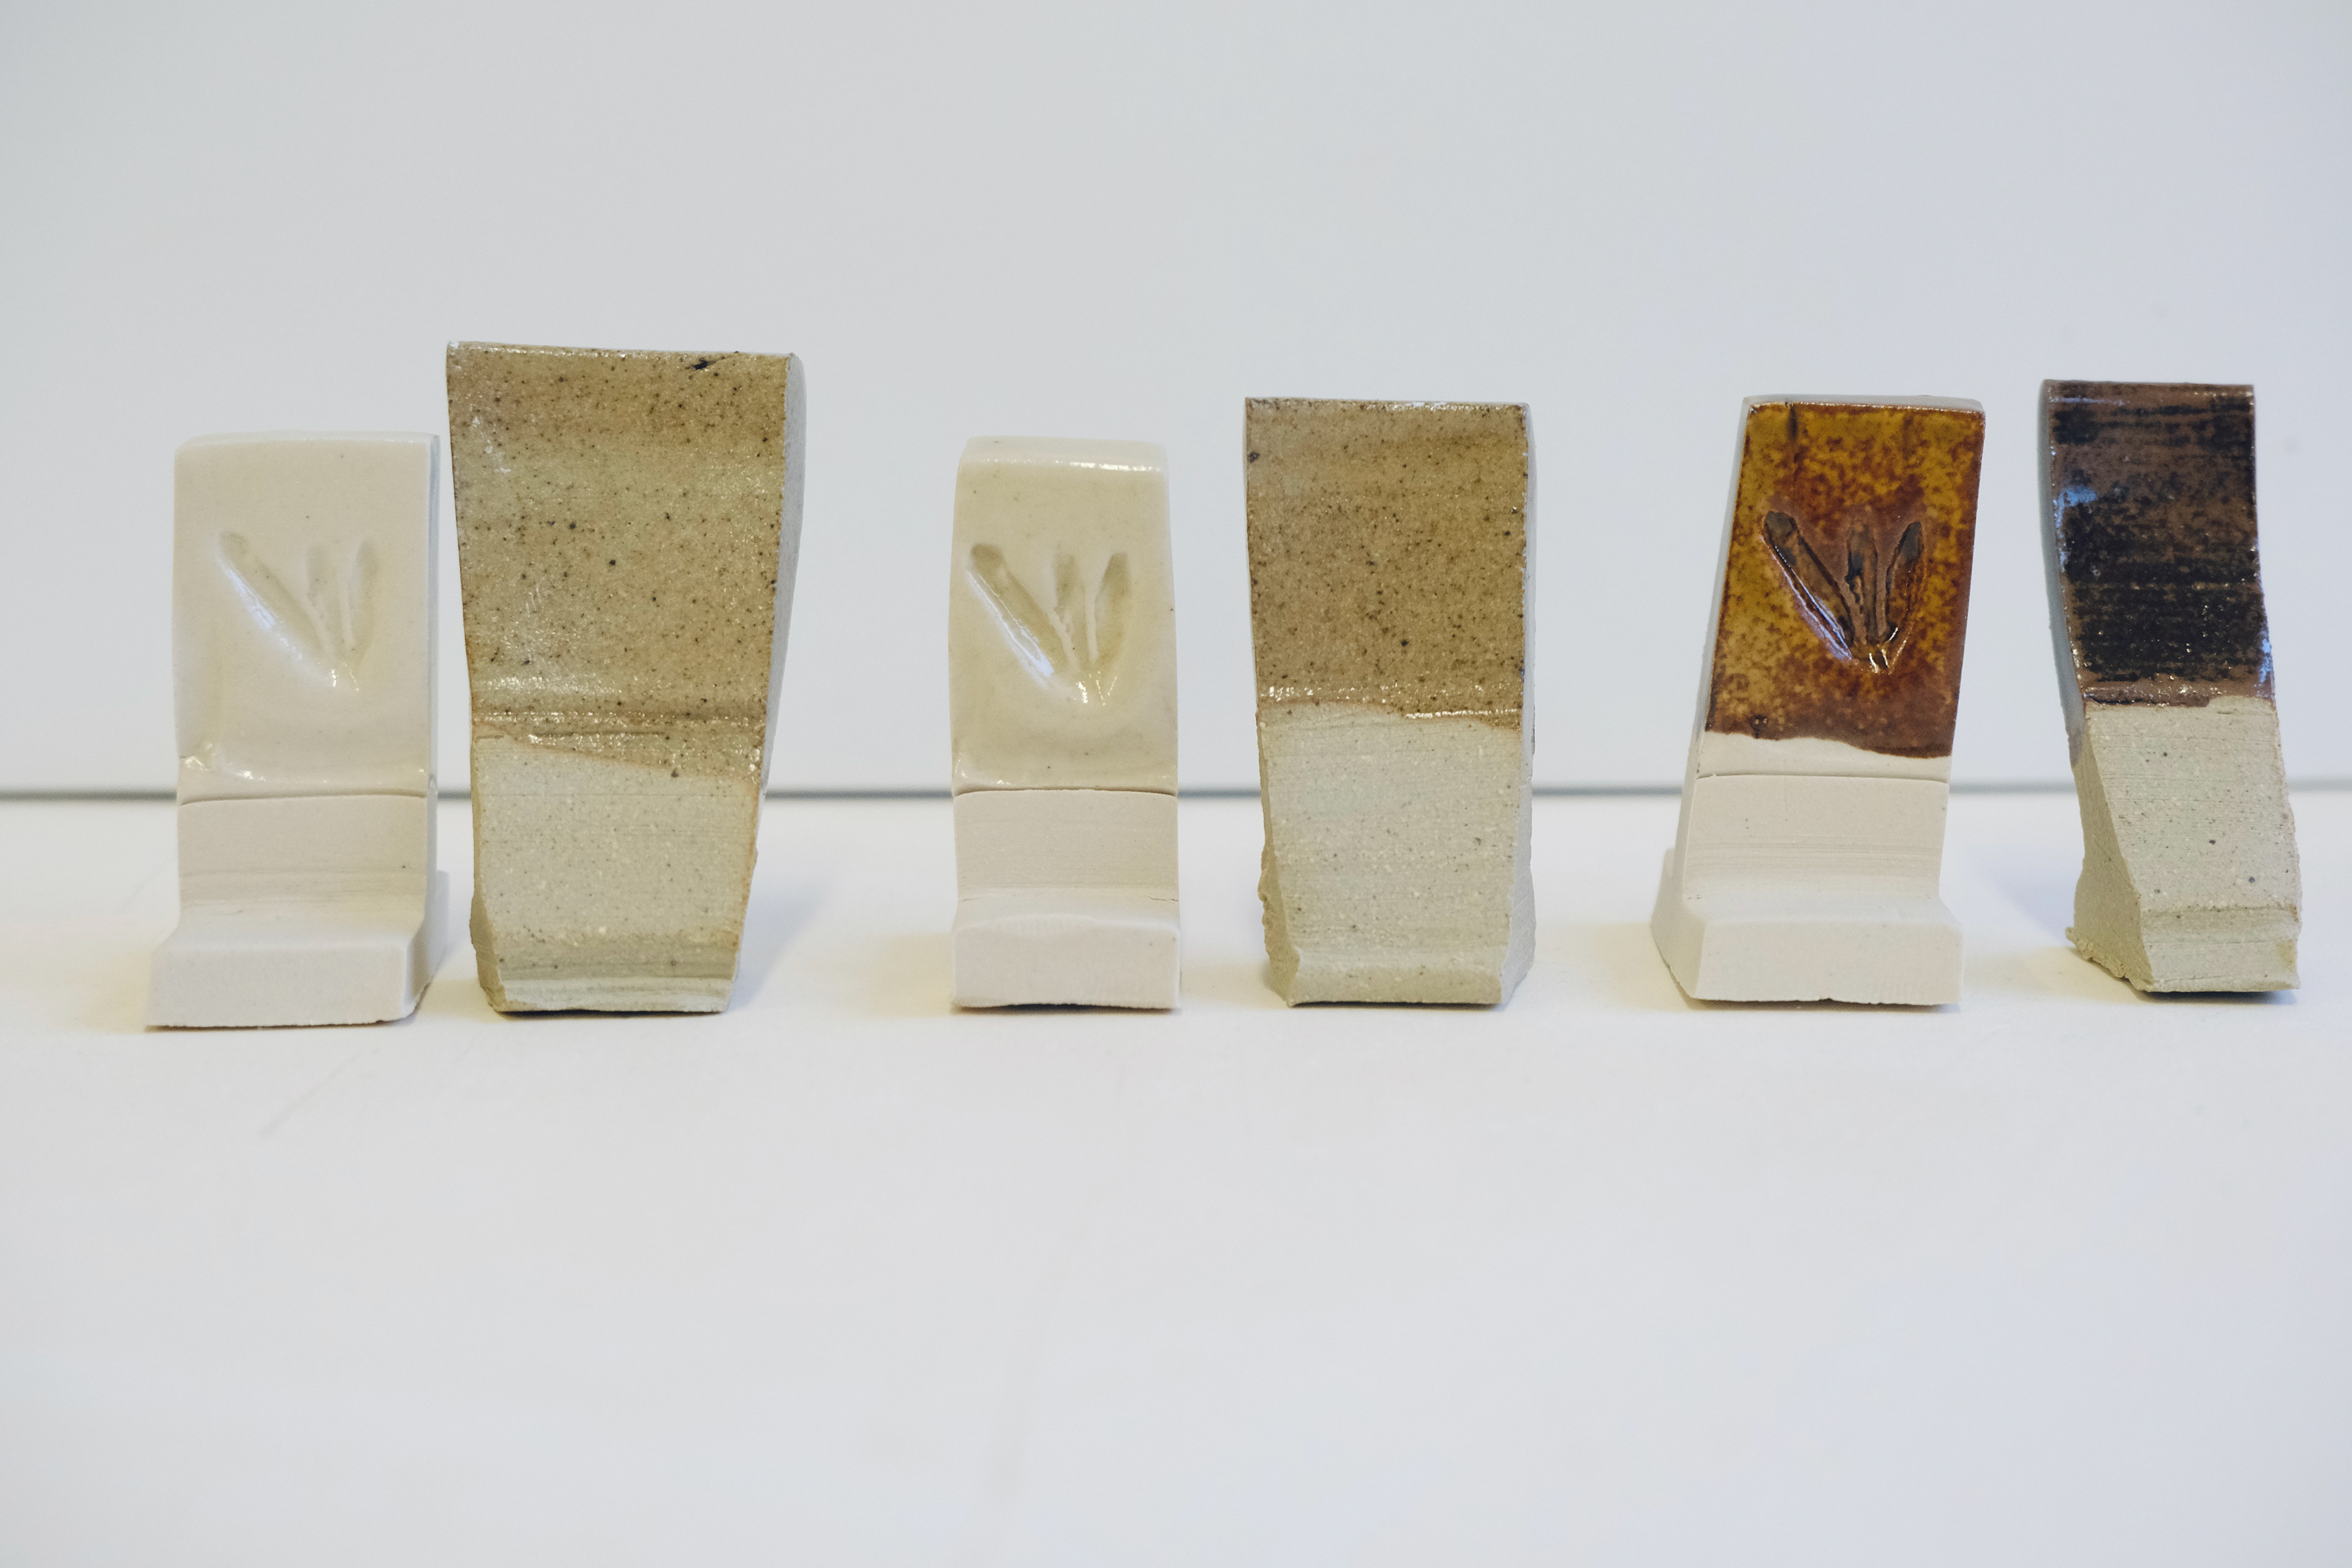
BEFORE: test of individual glaze materiel.
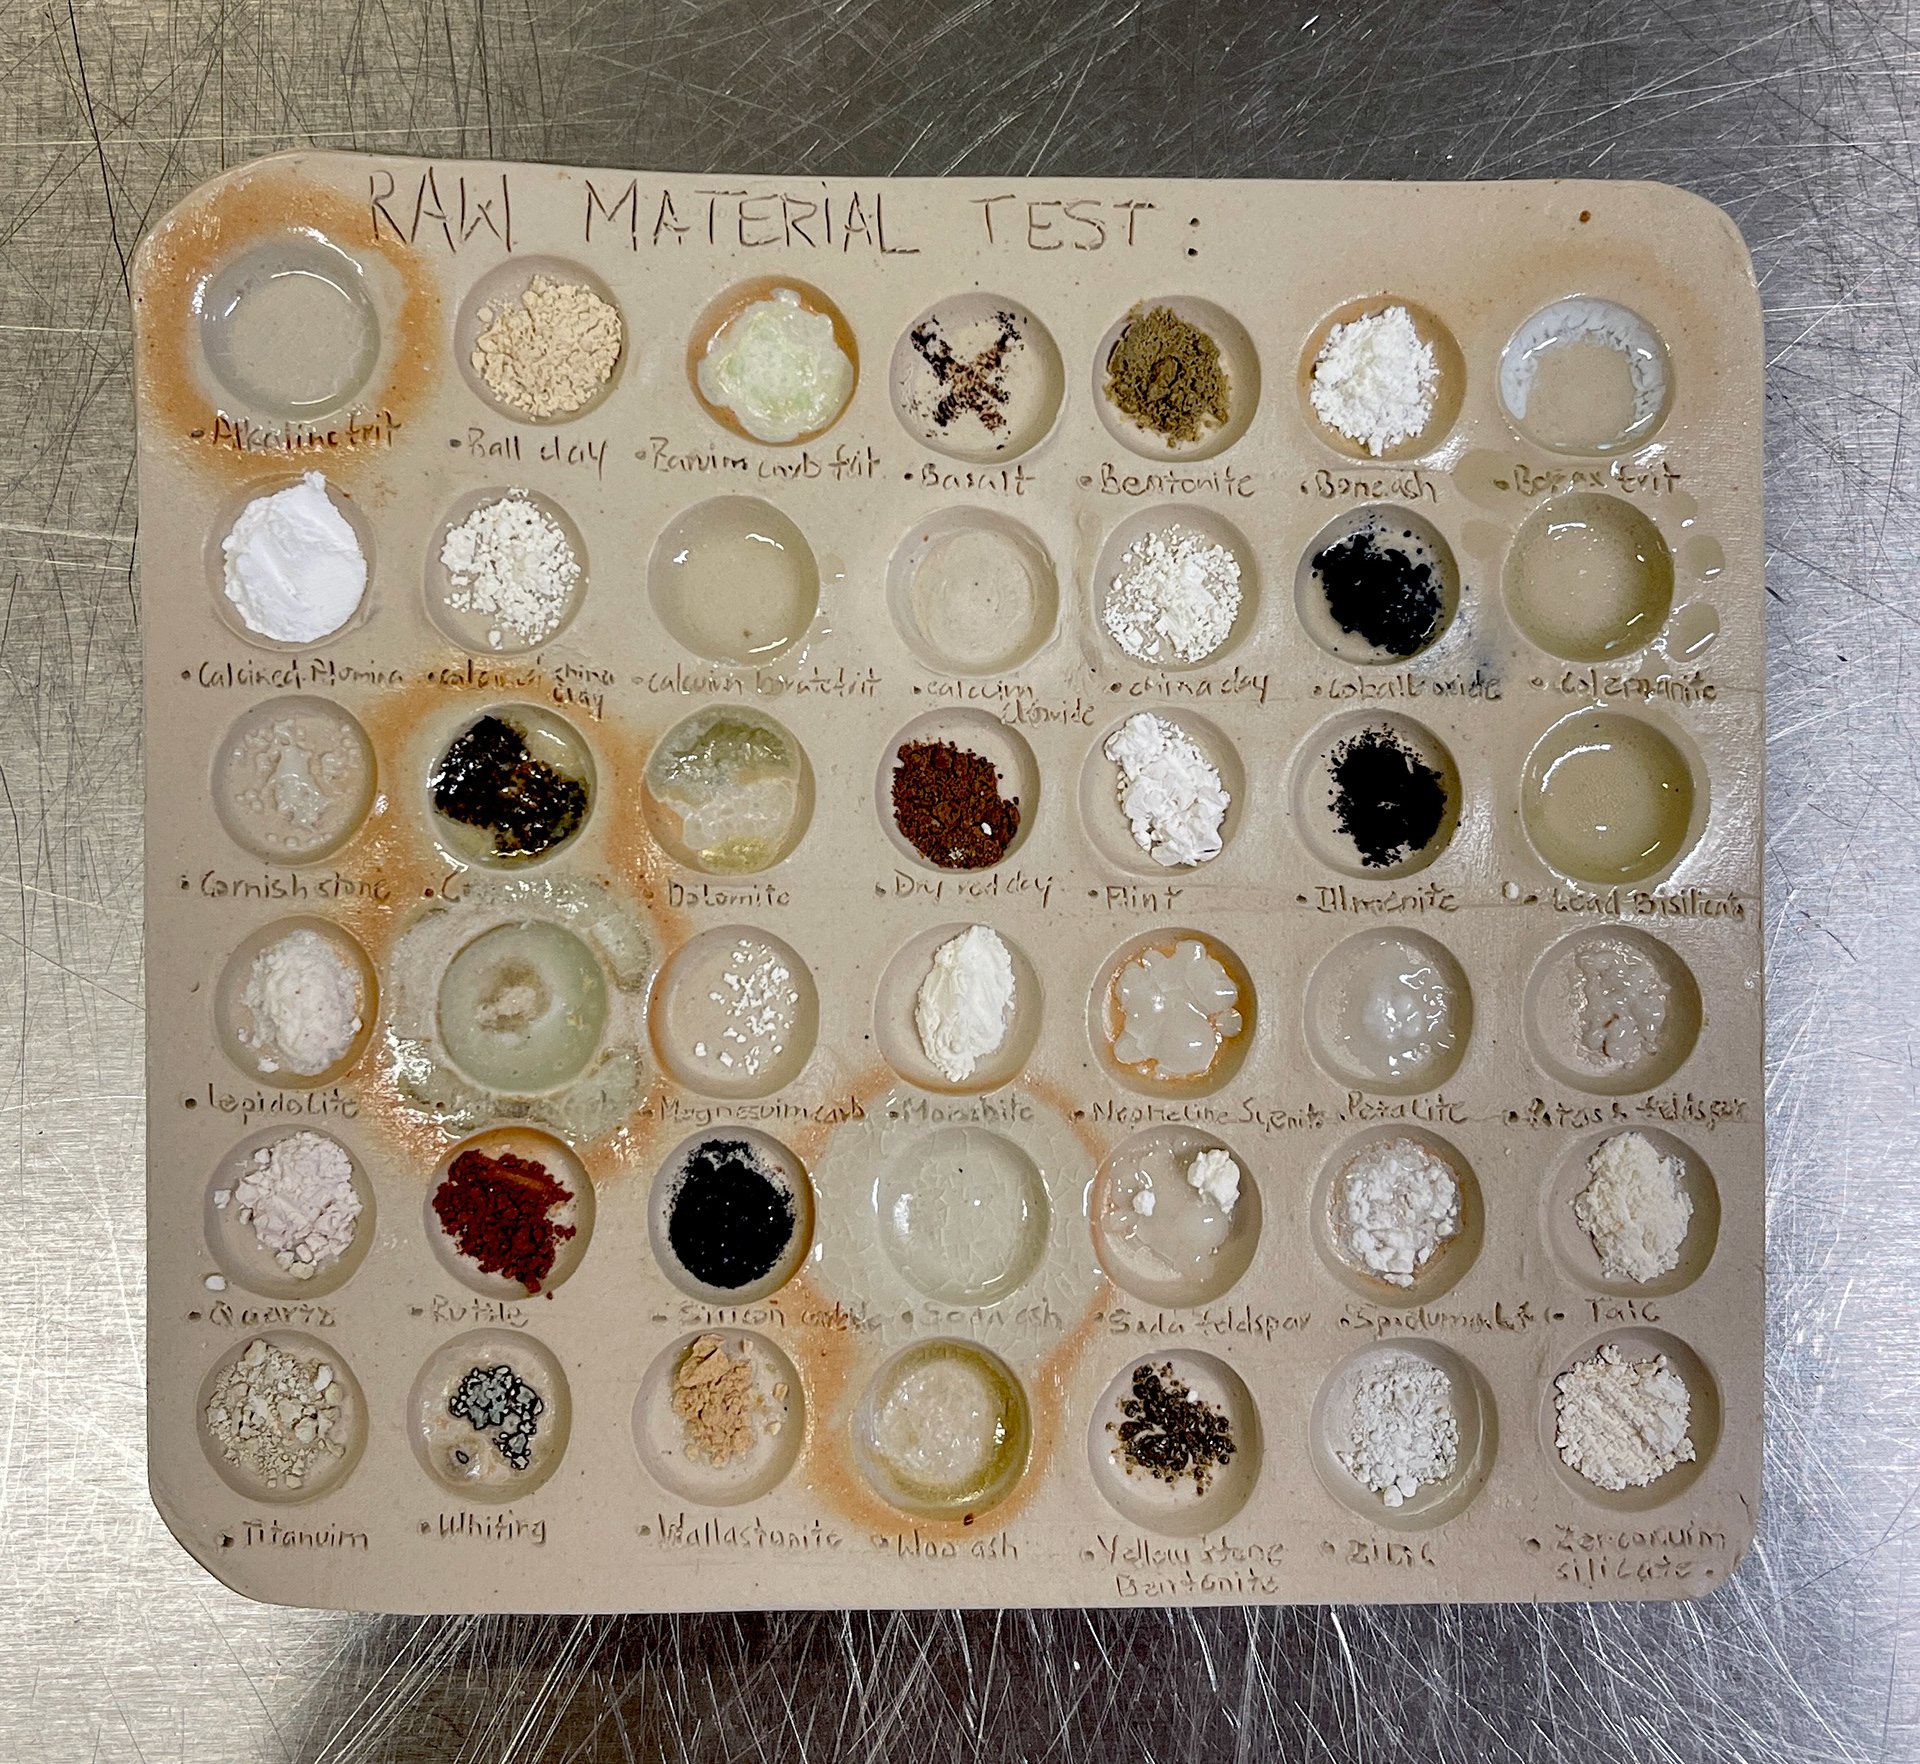
AFTER: fired @1260c/ cone 9/10.
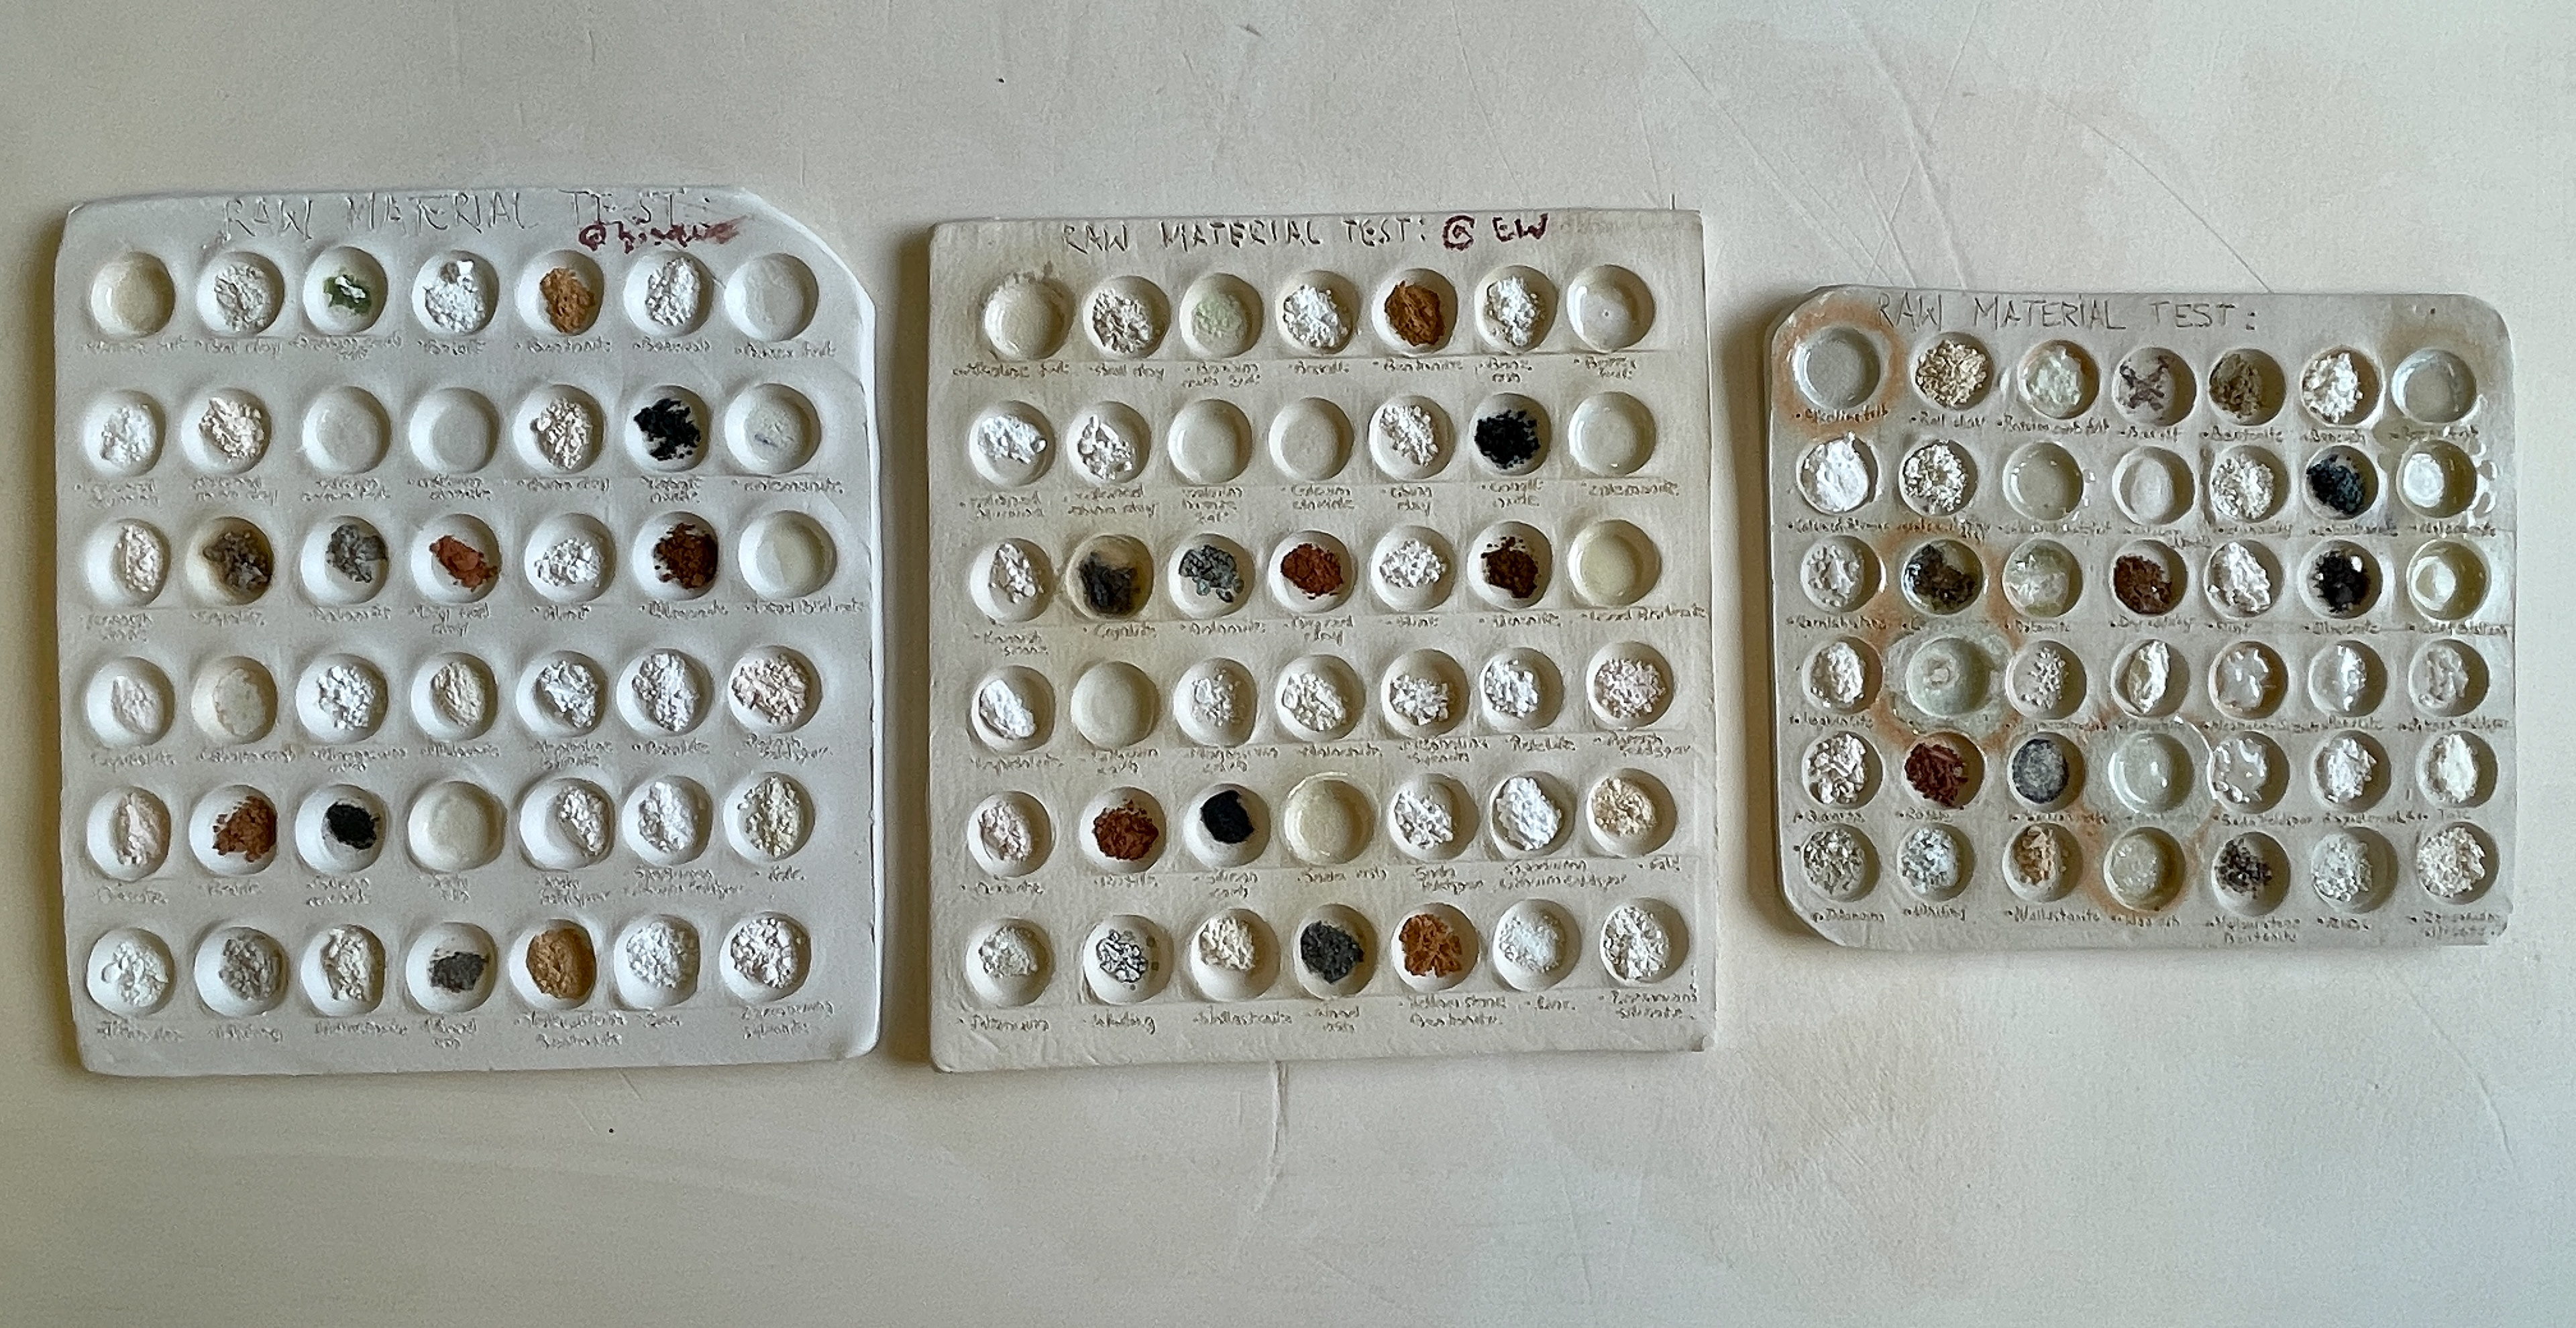
Testing the materials at bisque/ 1000c, Earthenware/ 1140c and Stoneware/ 1280c.
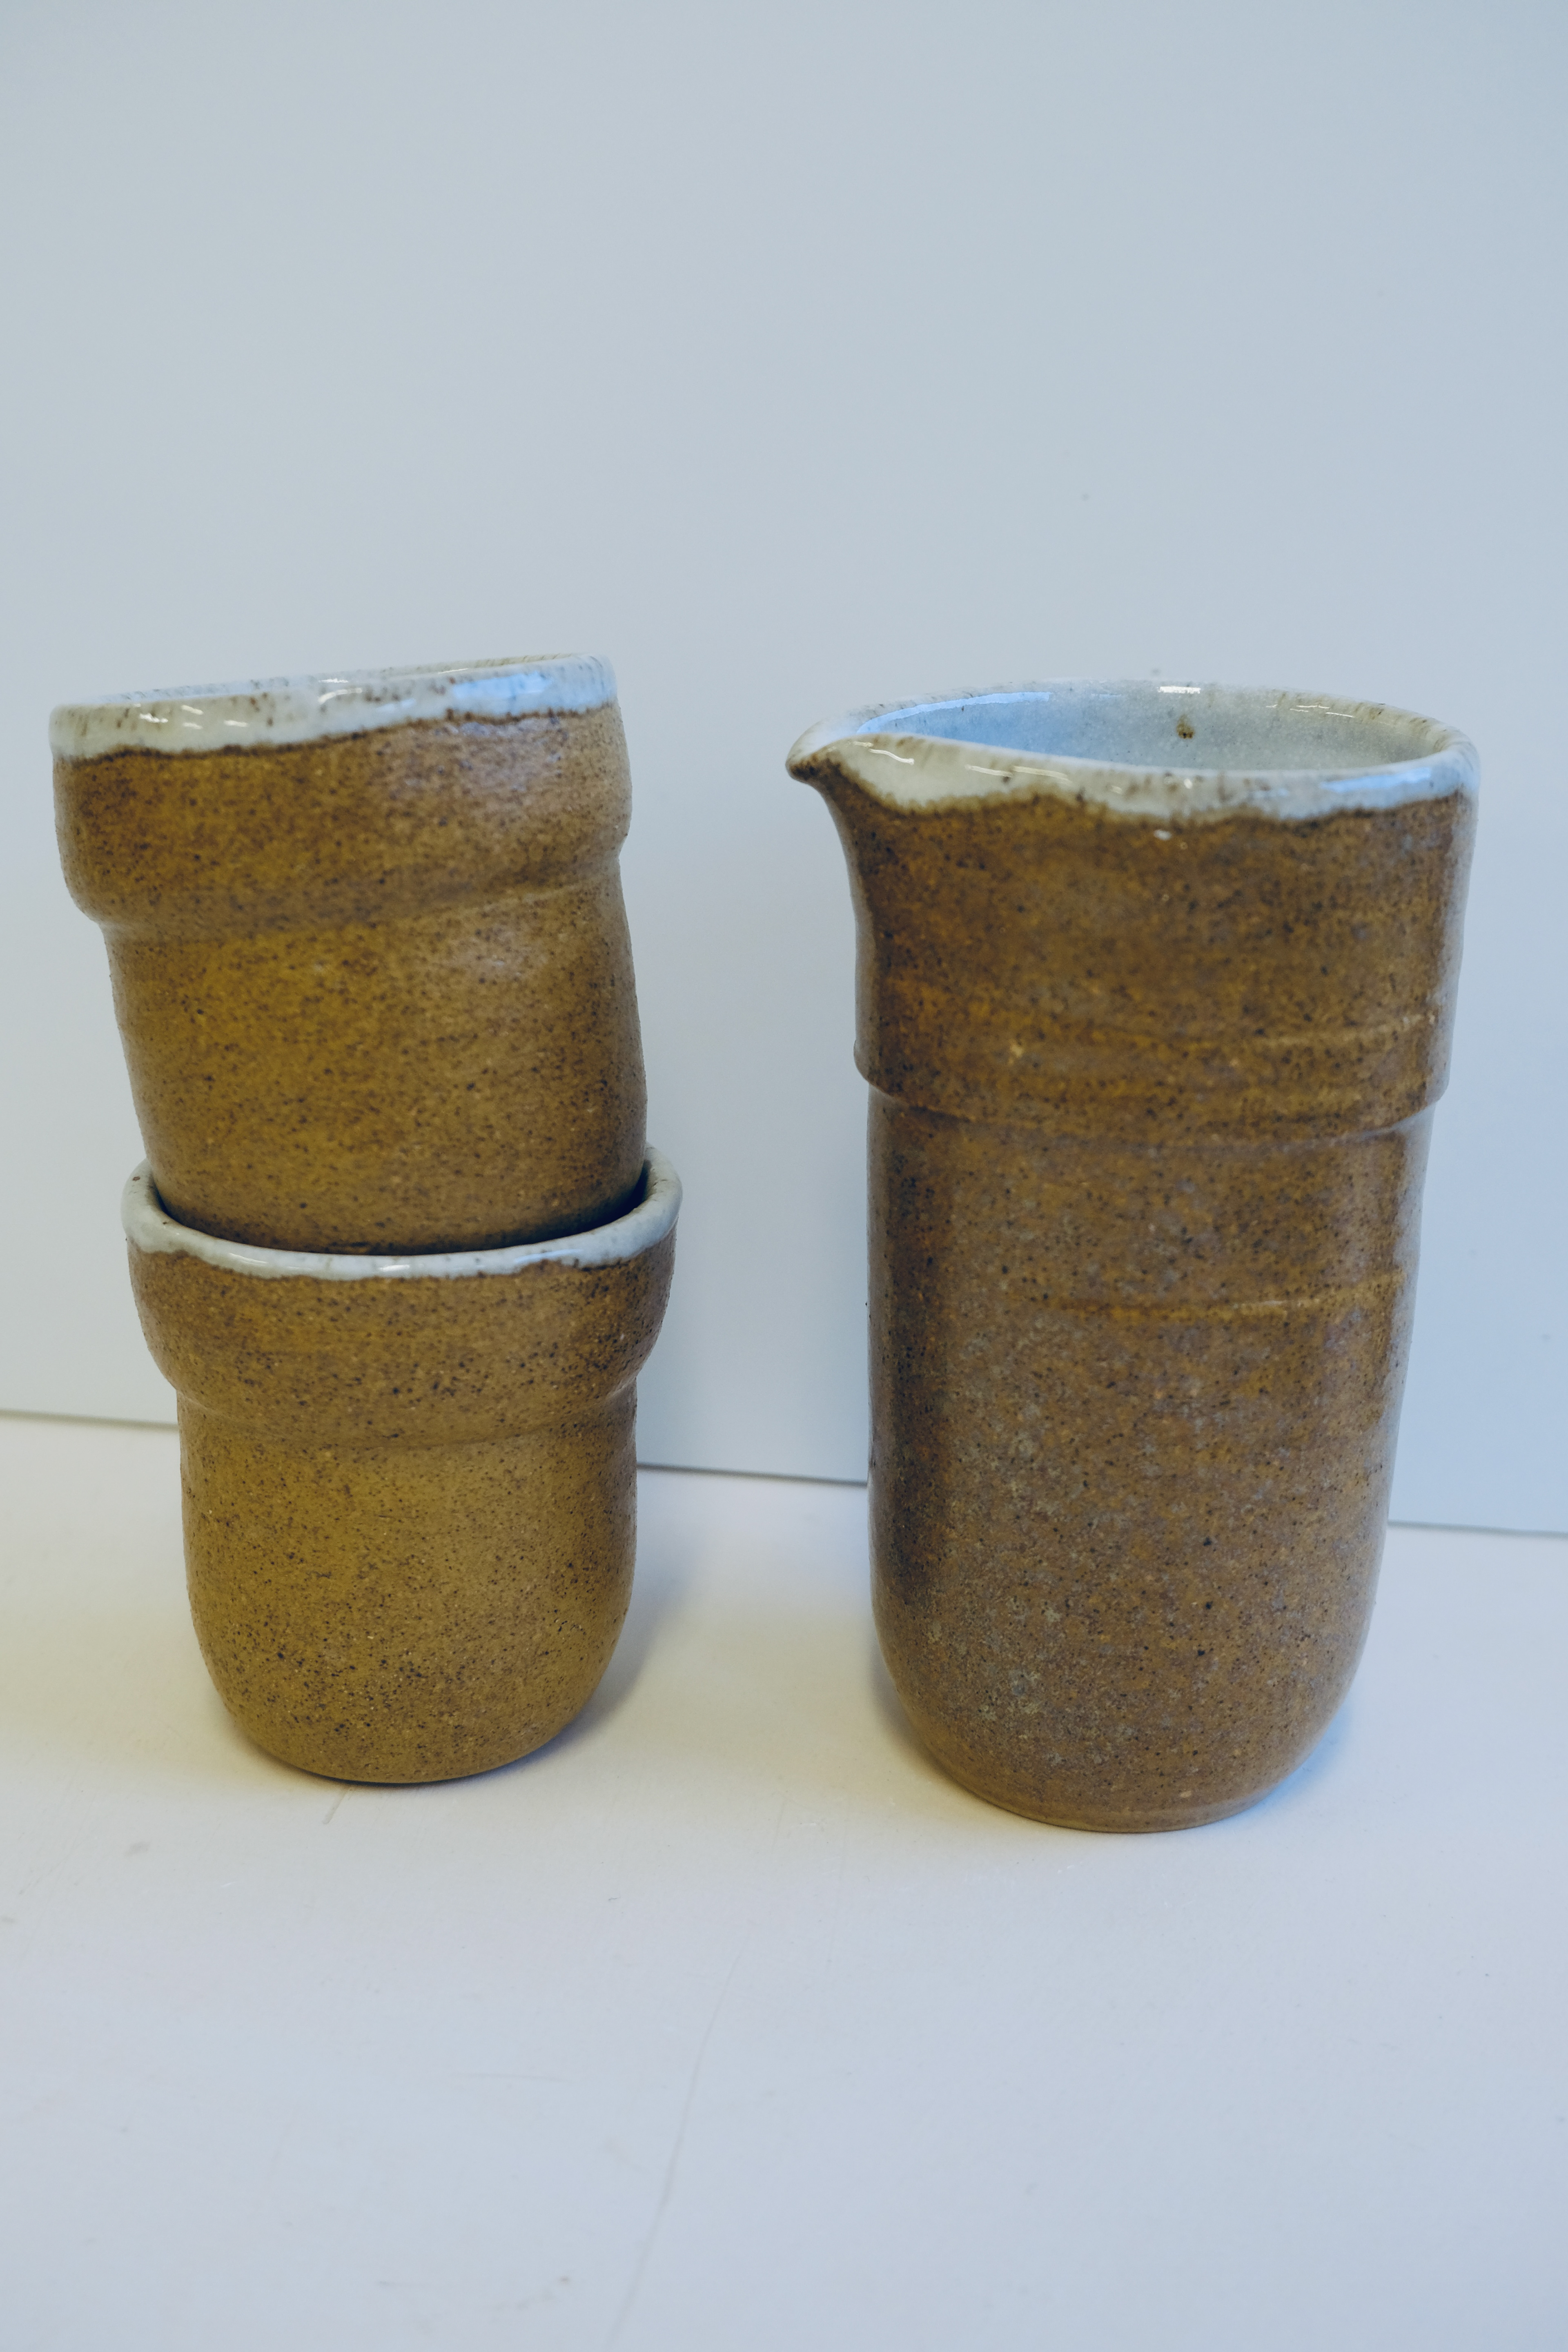
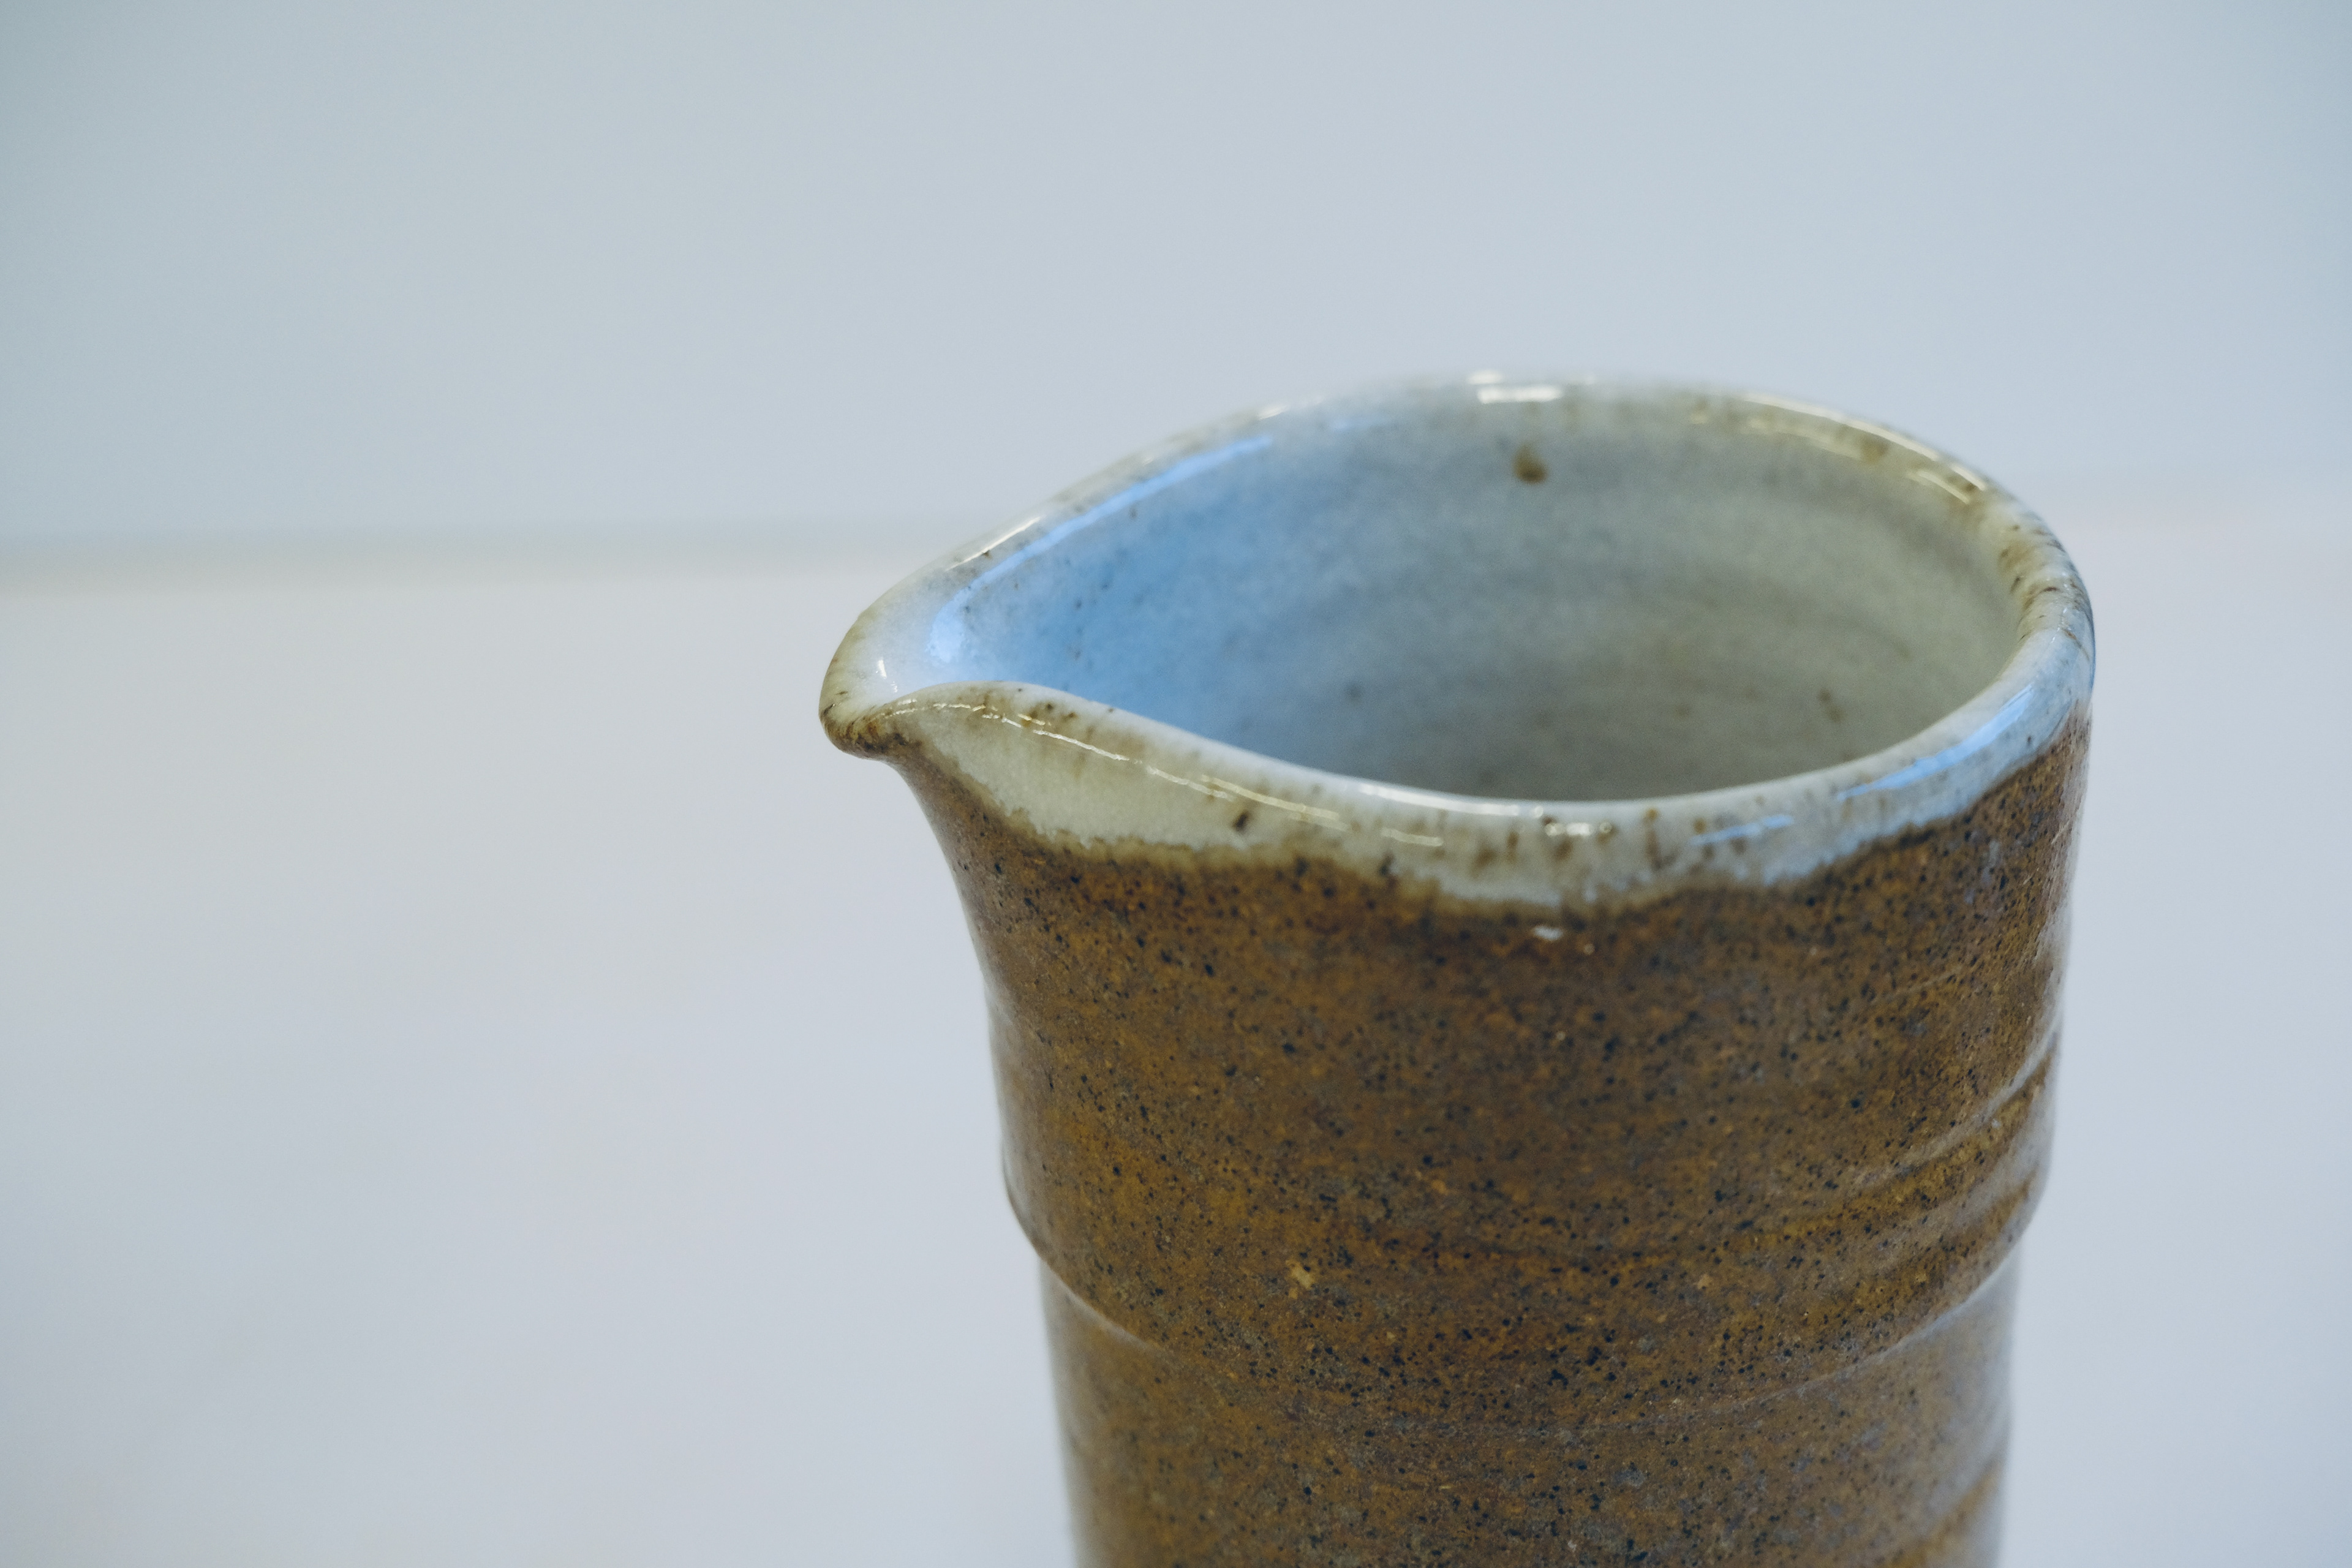
Pouring test:
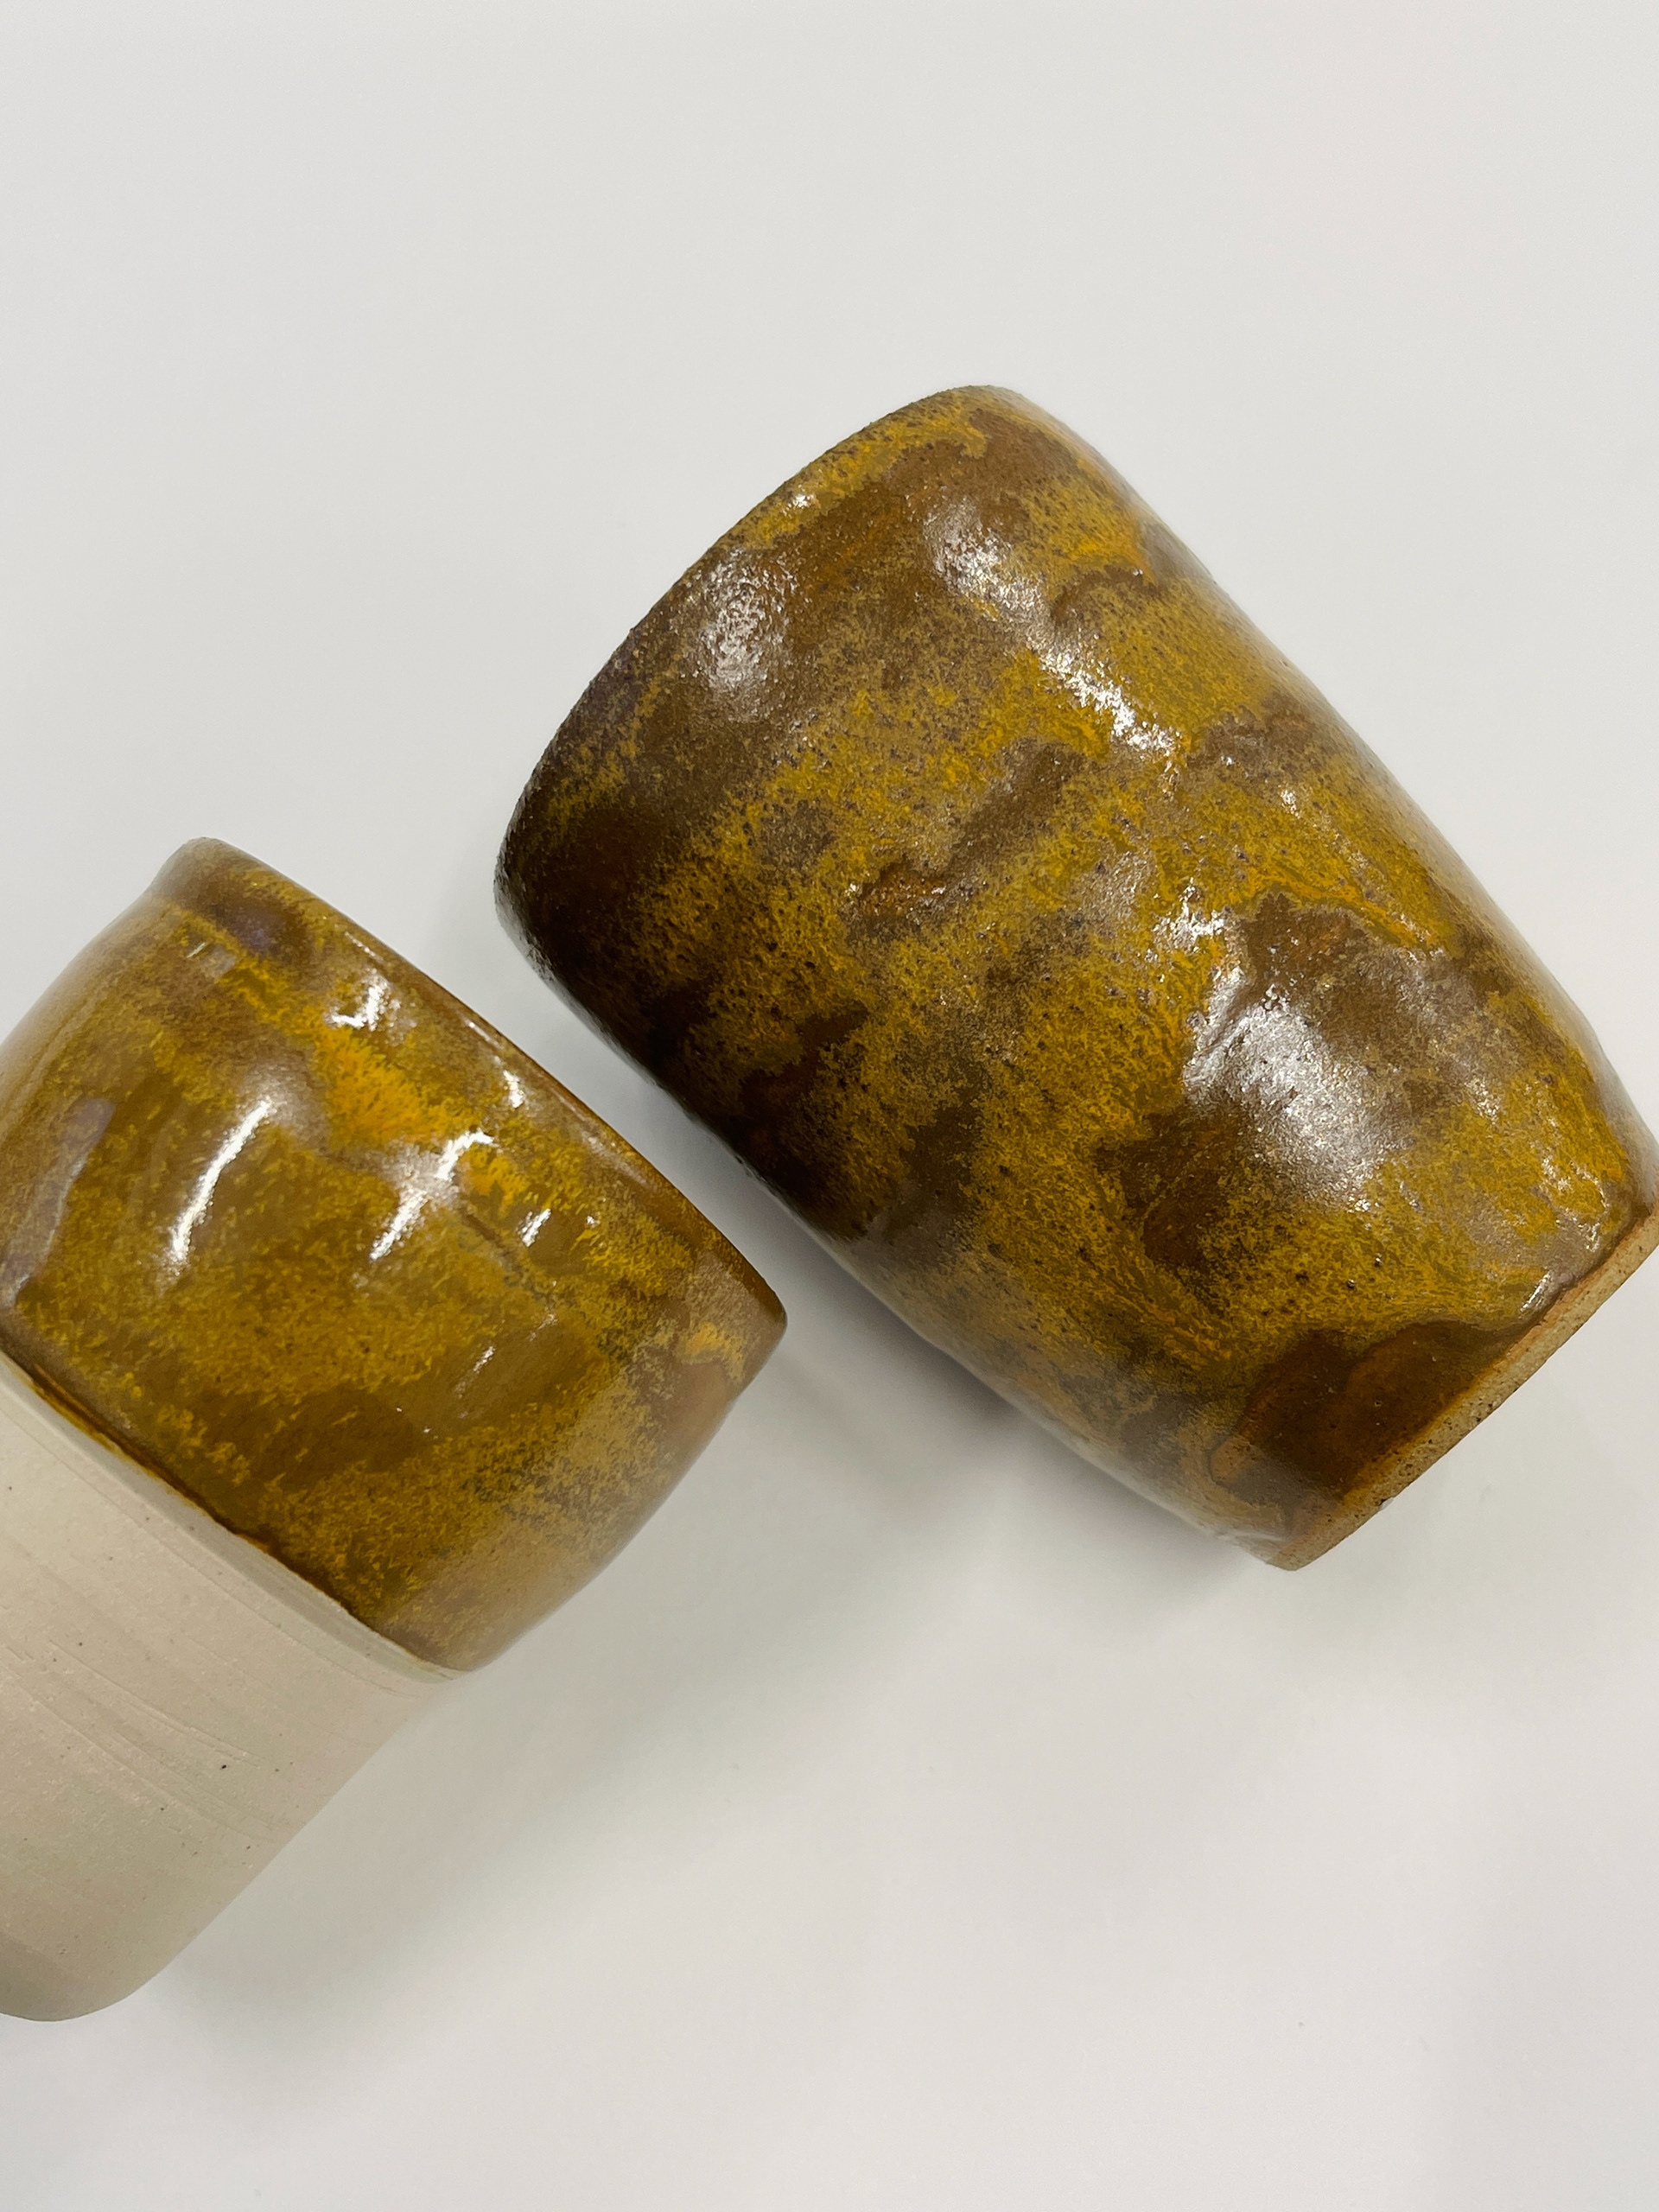
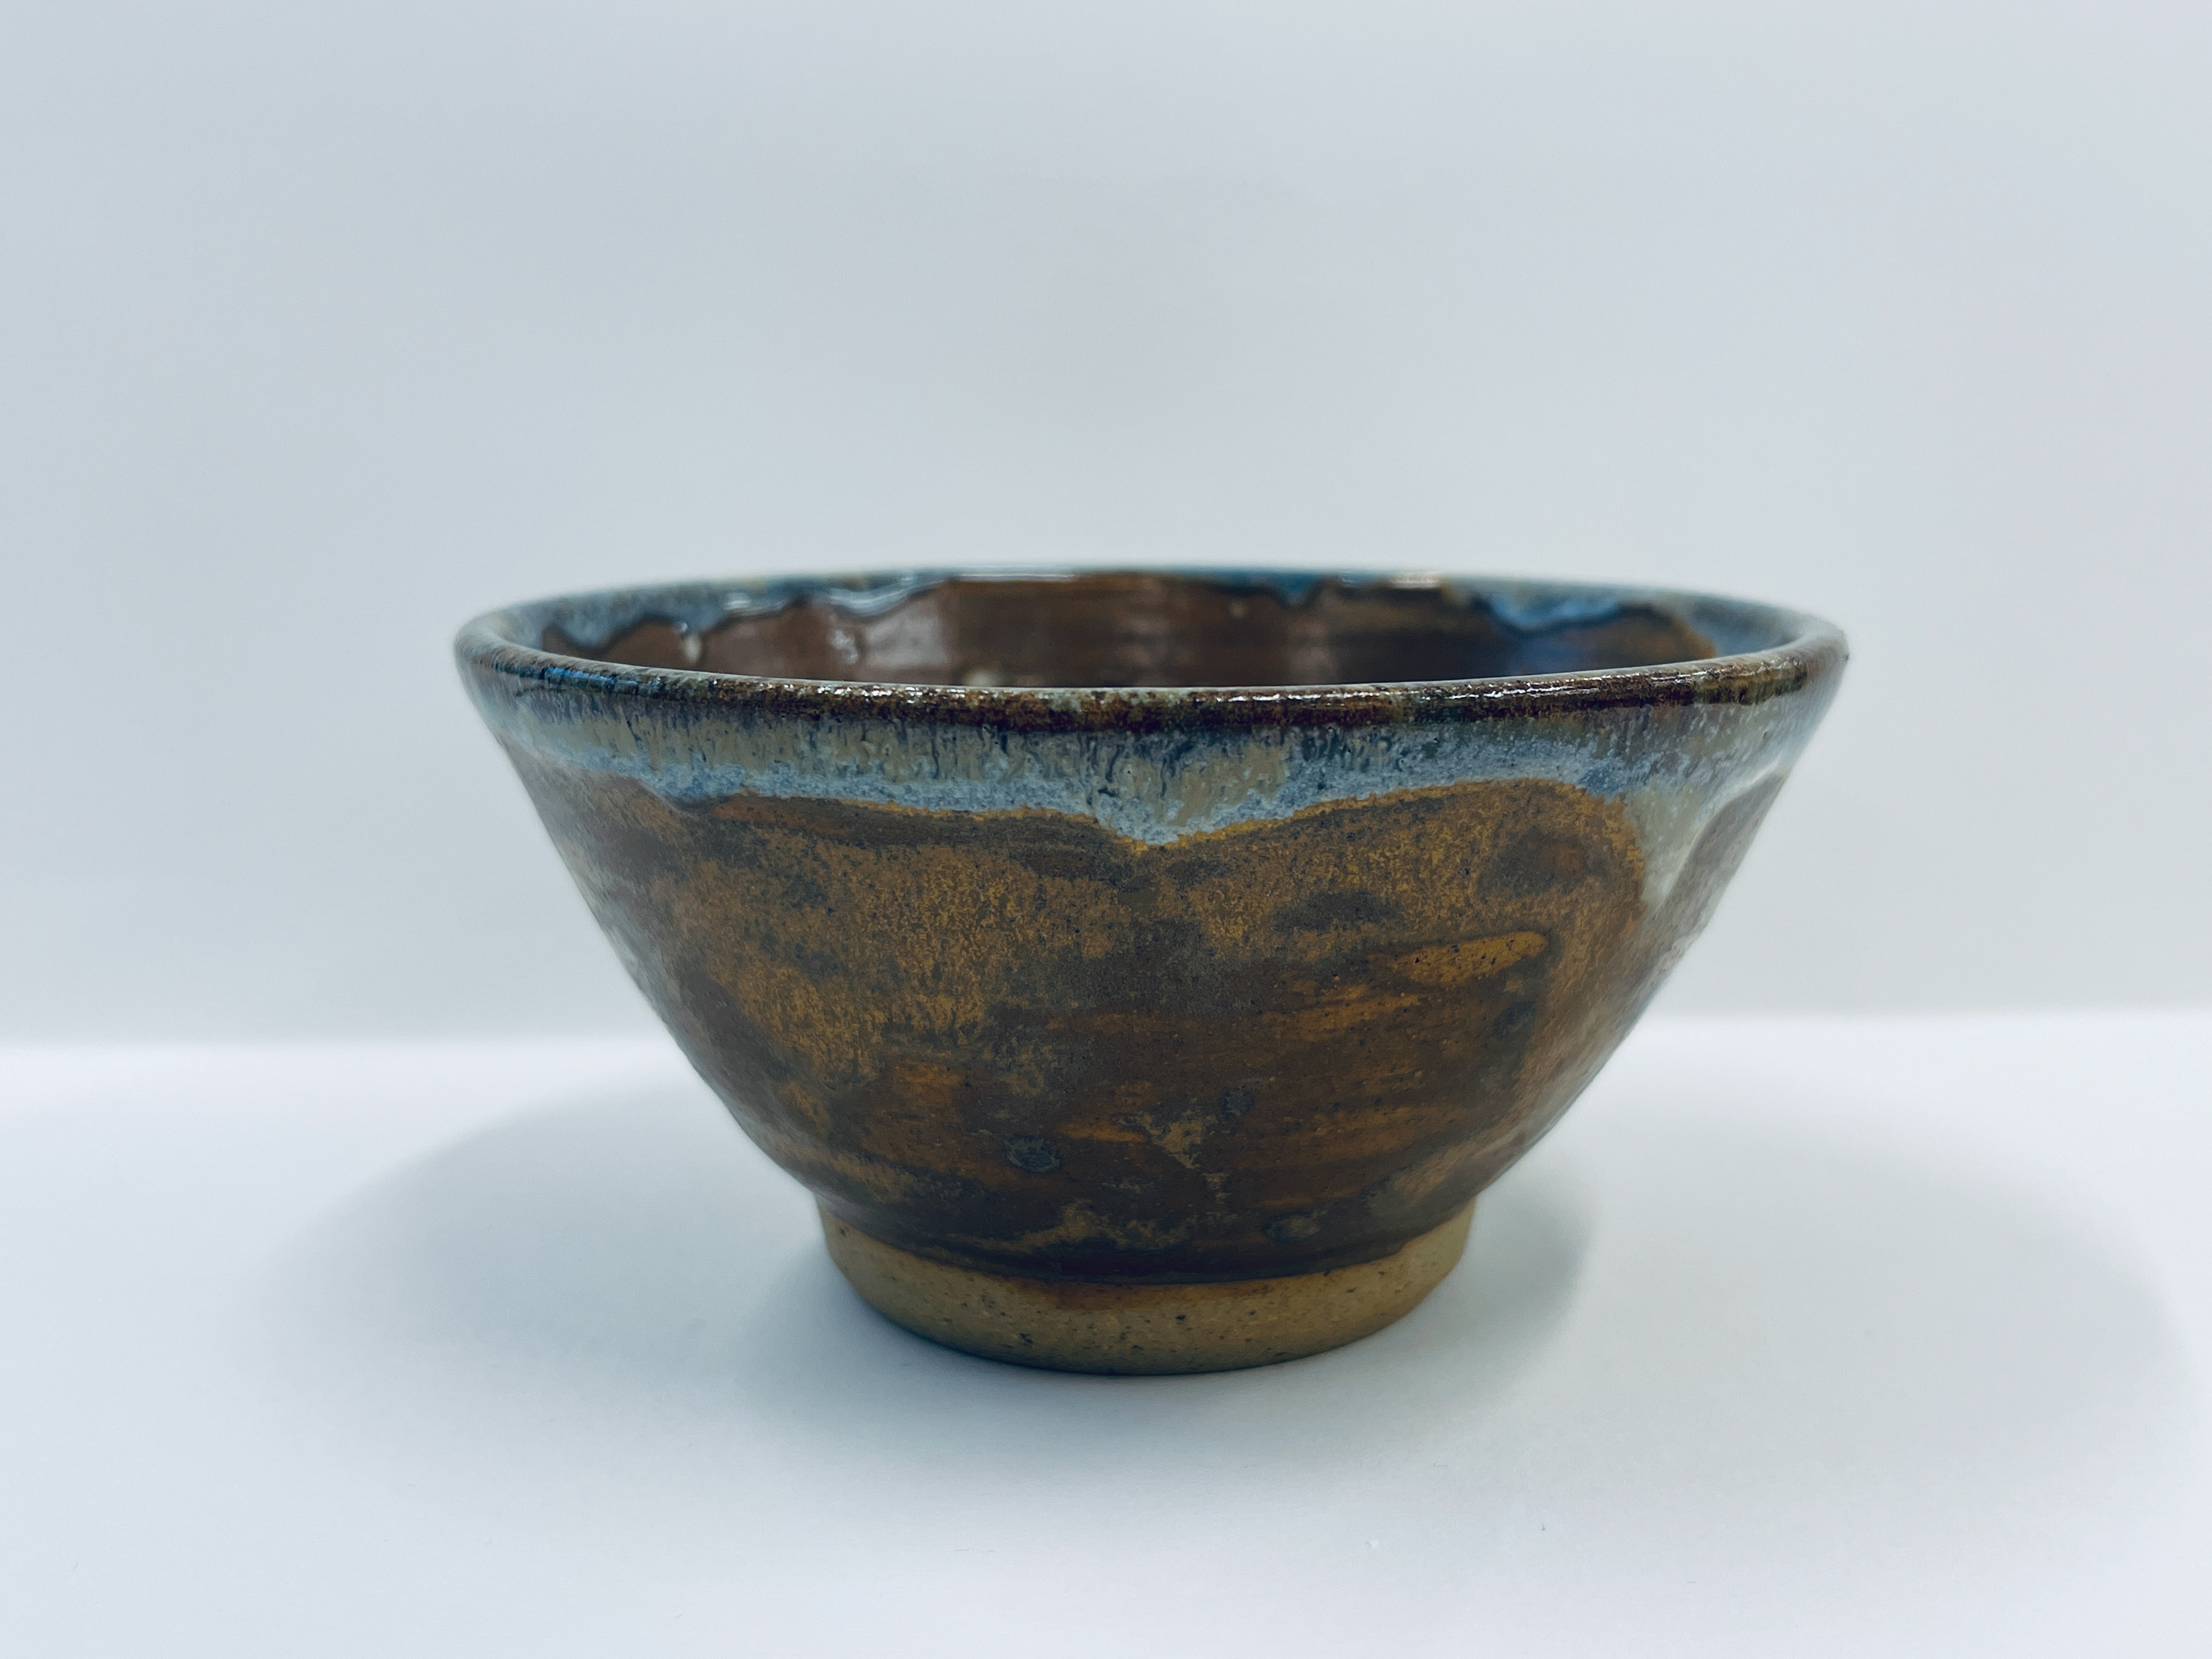
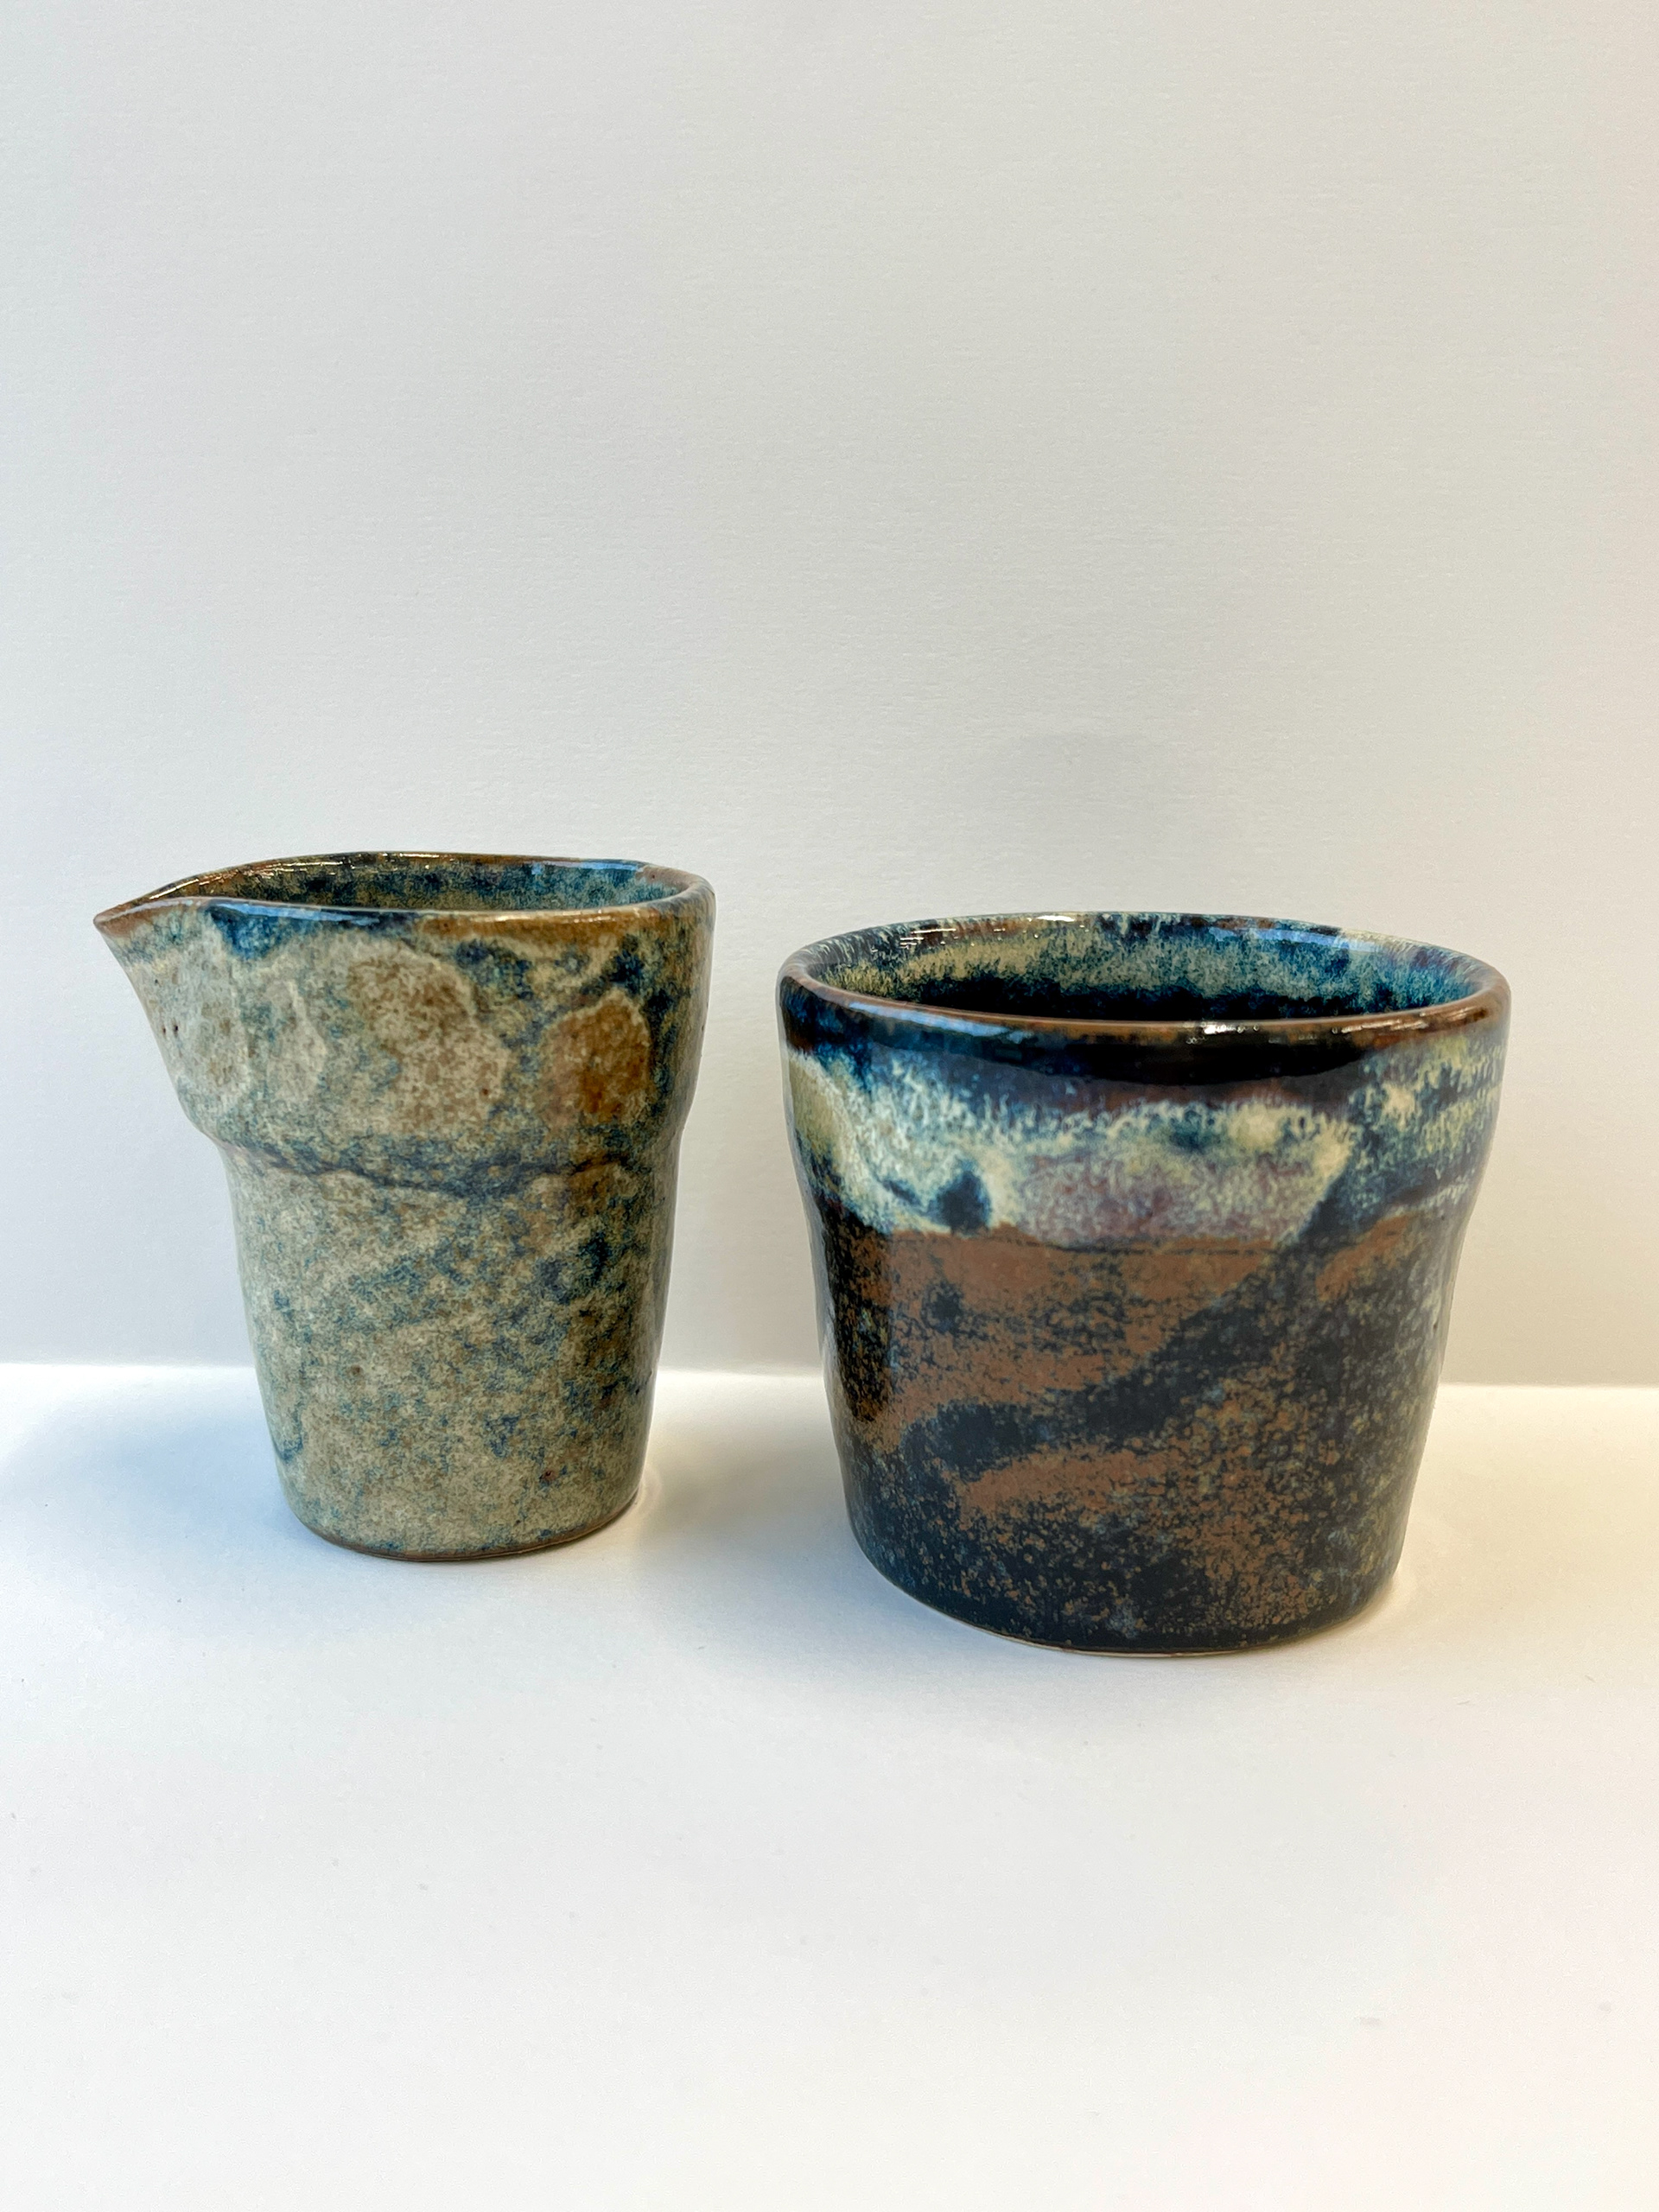
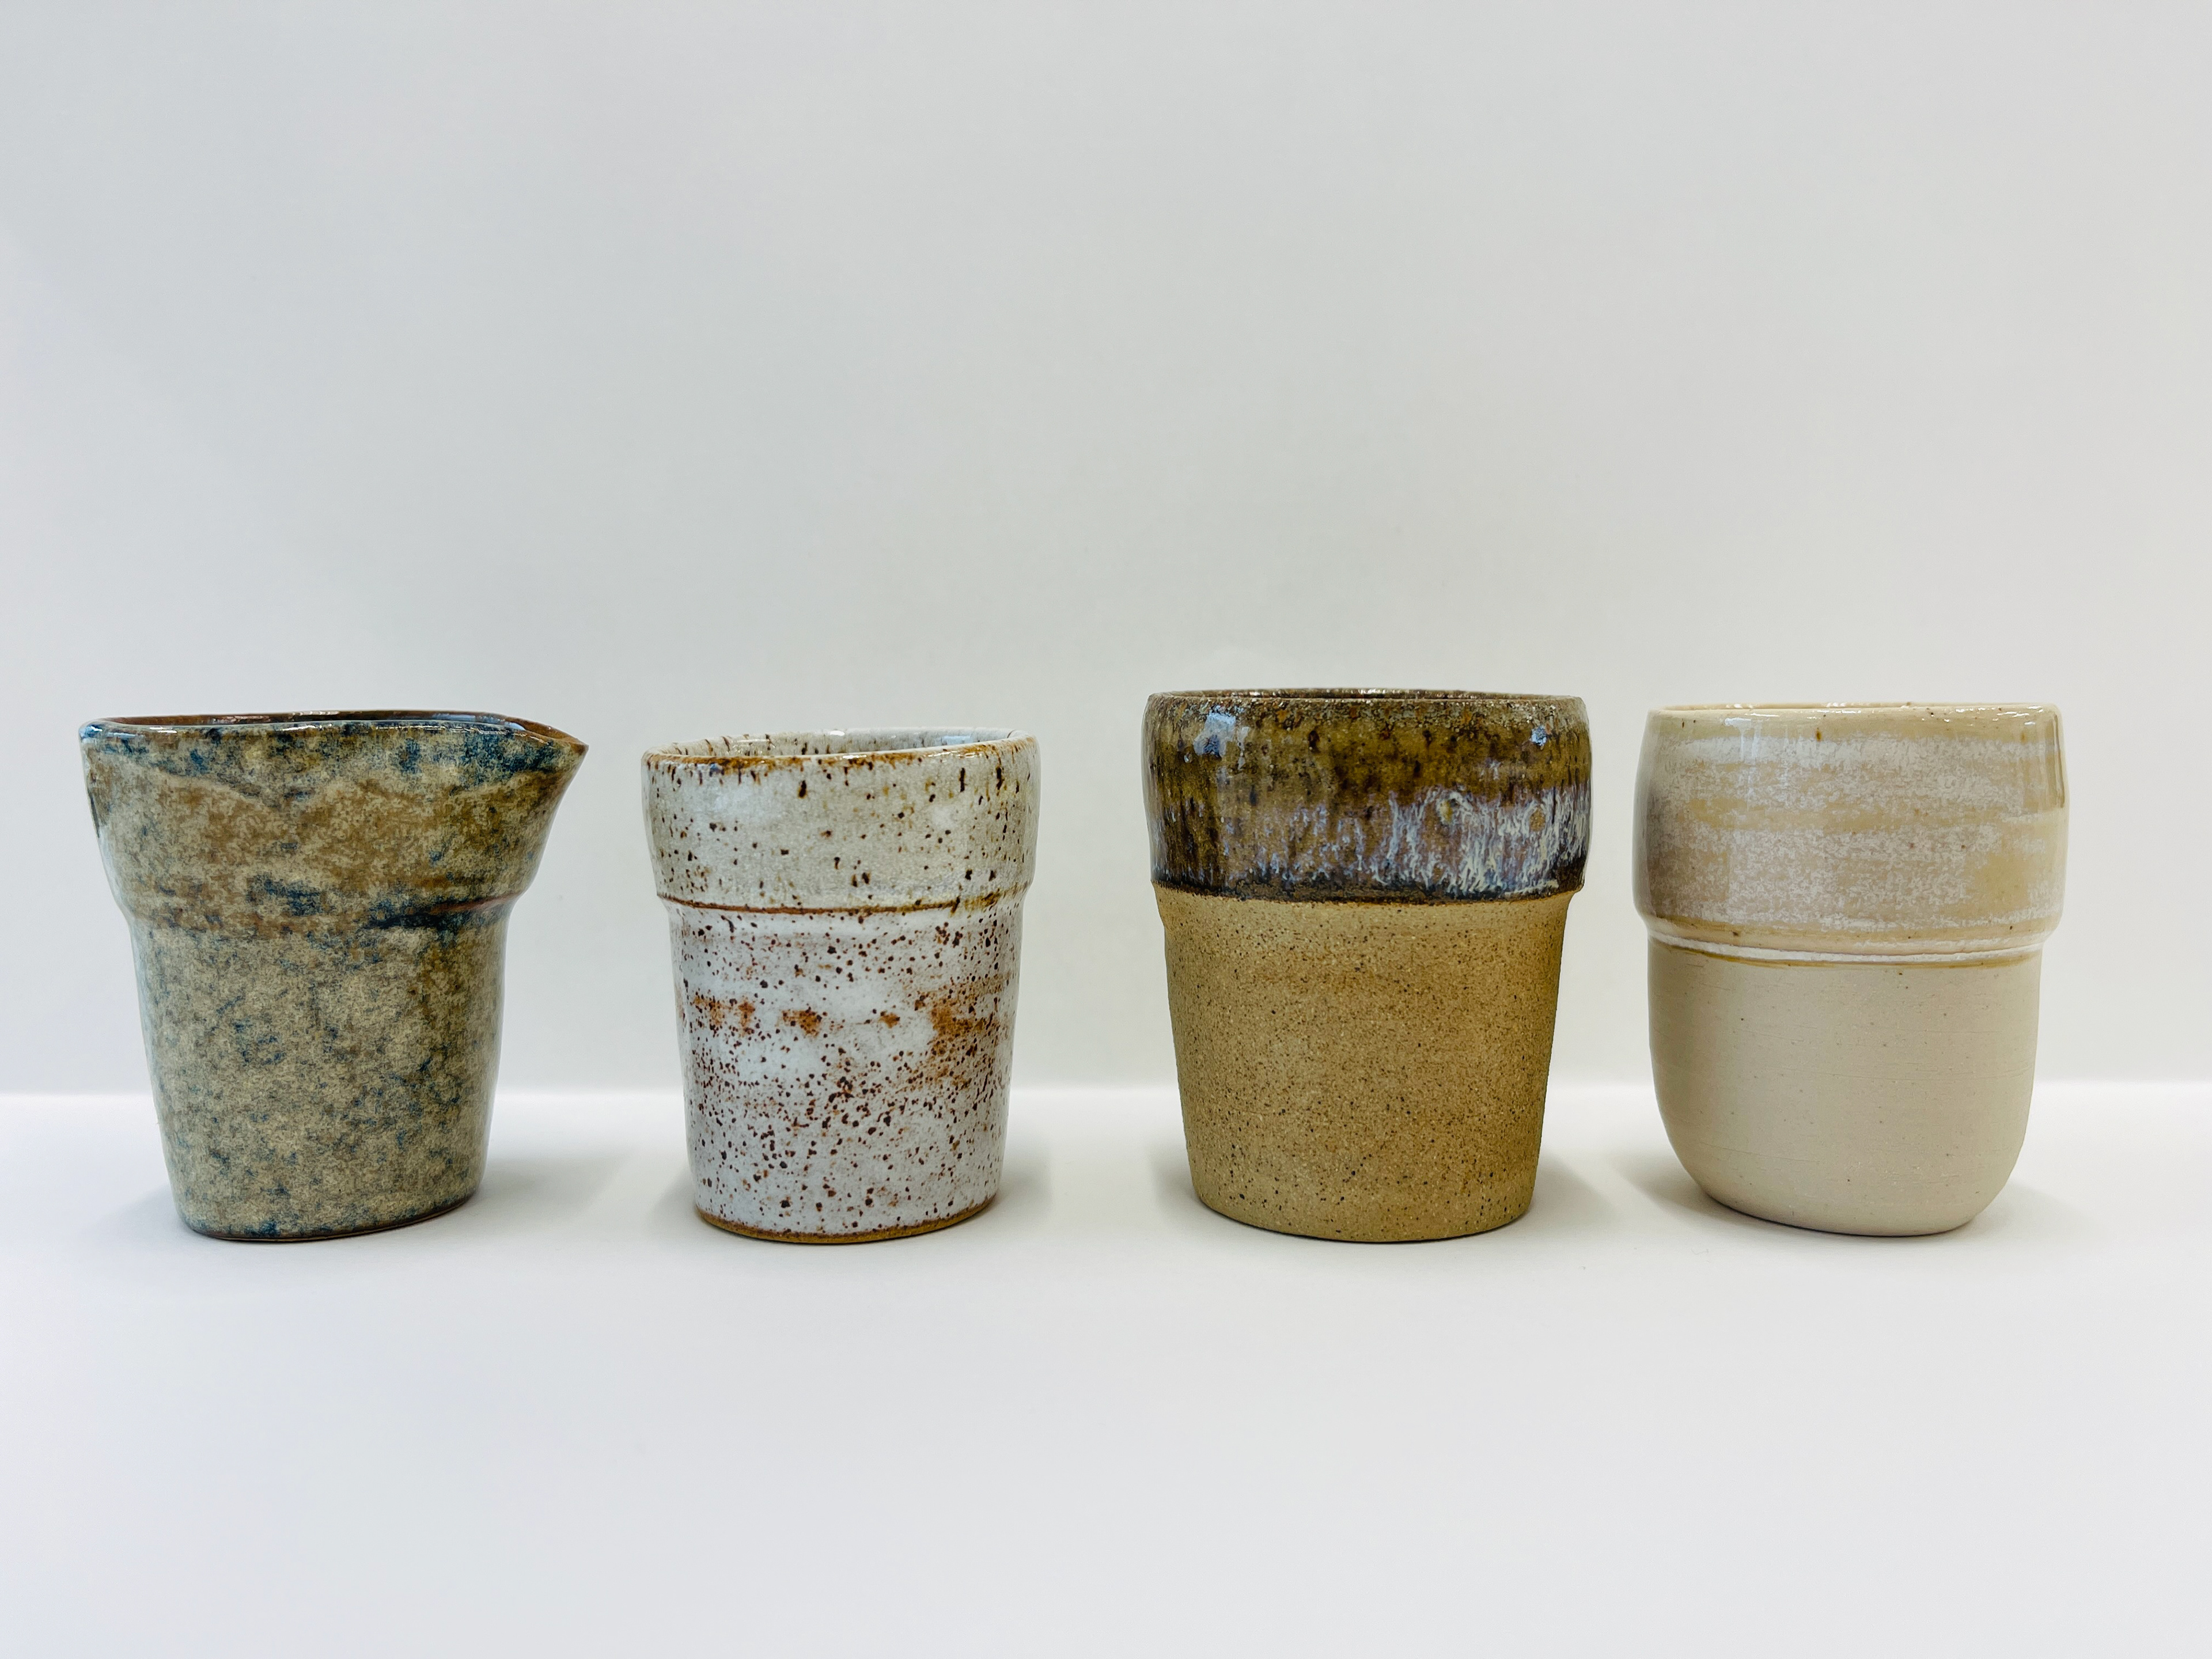
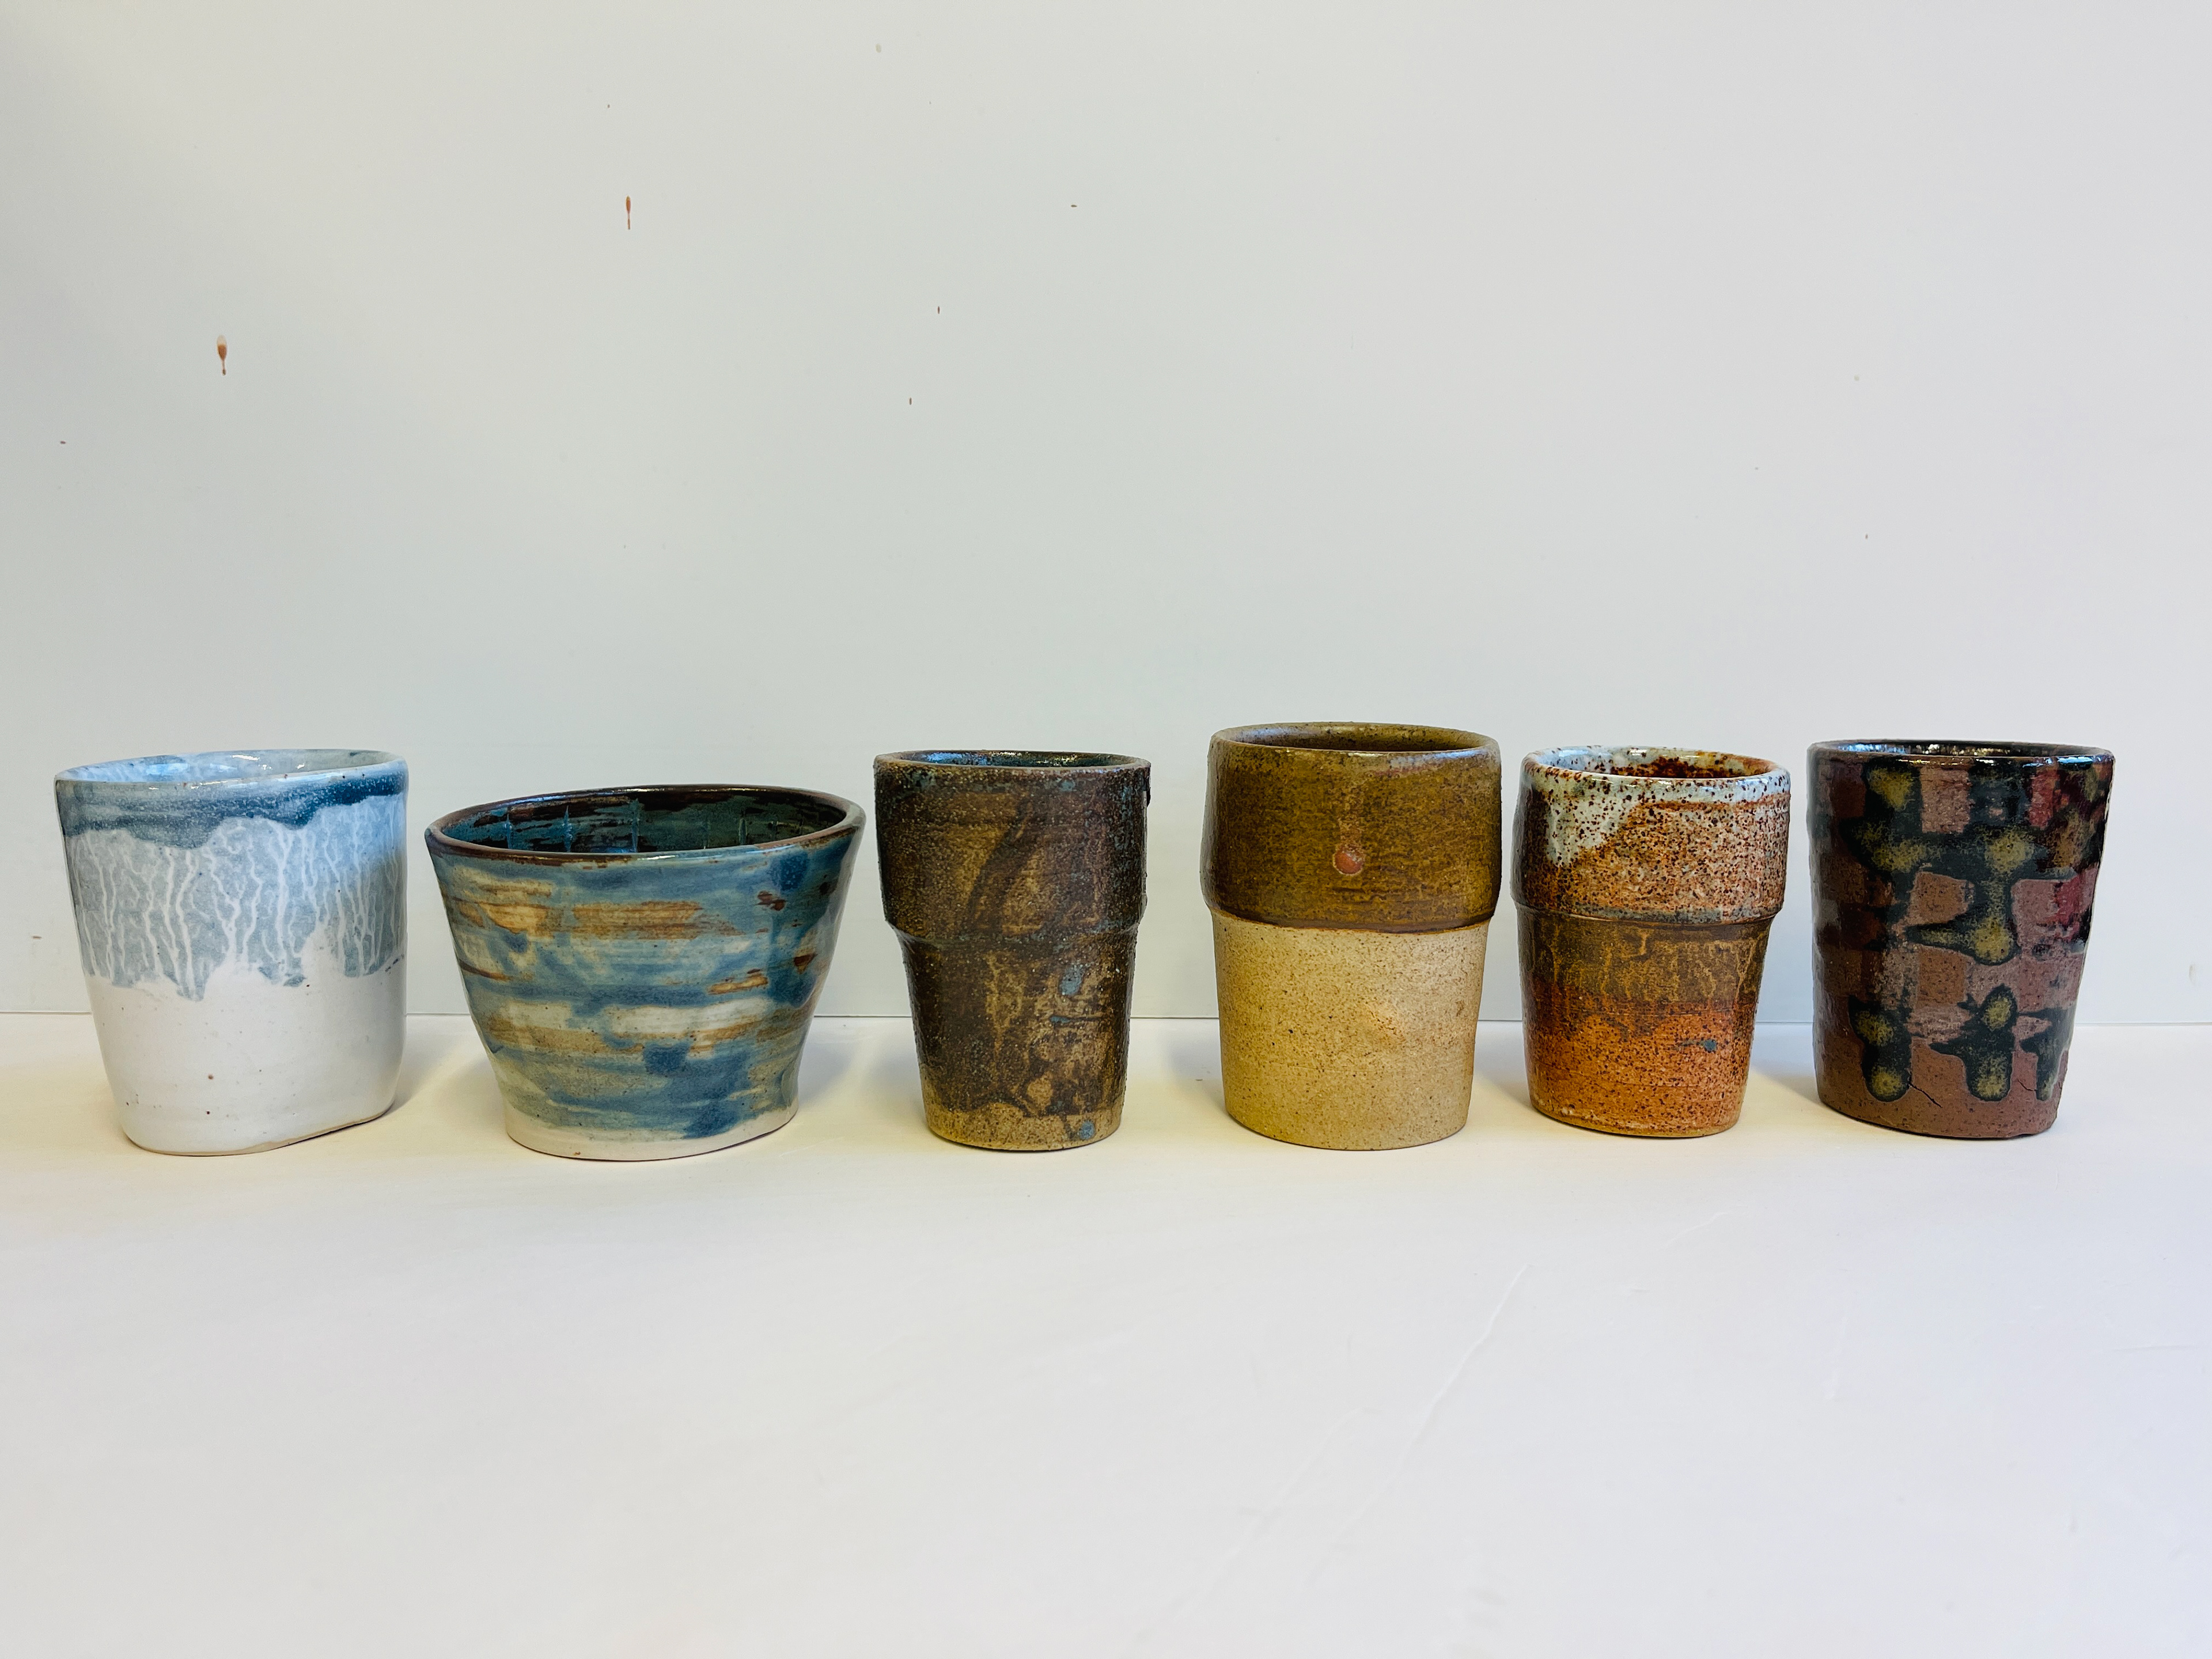
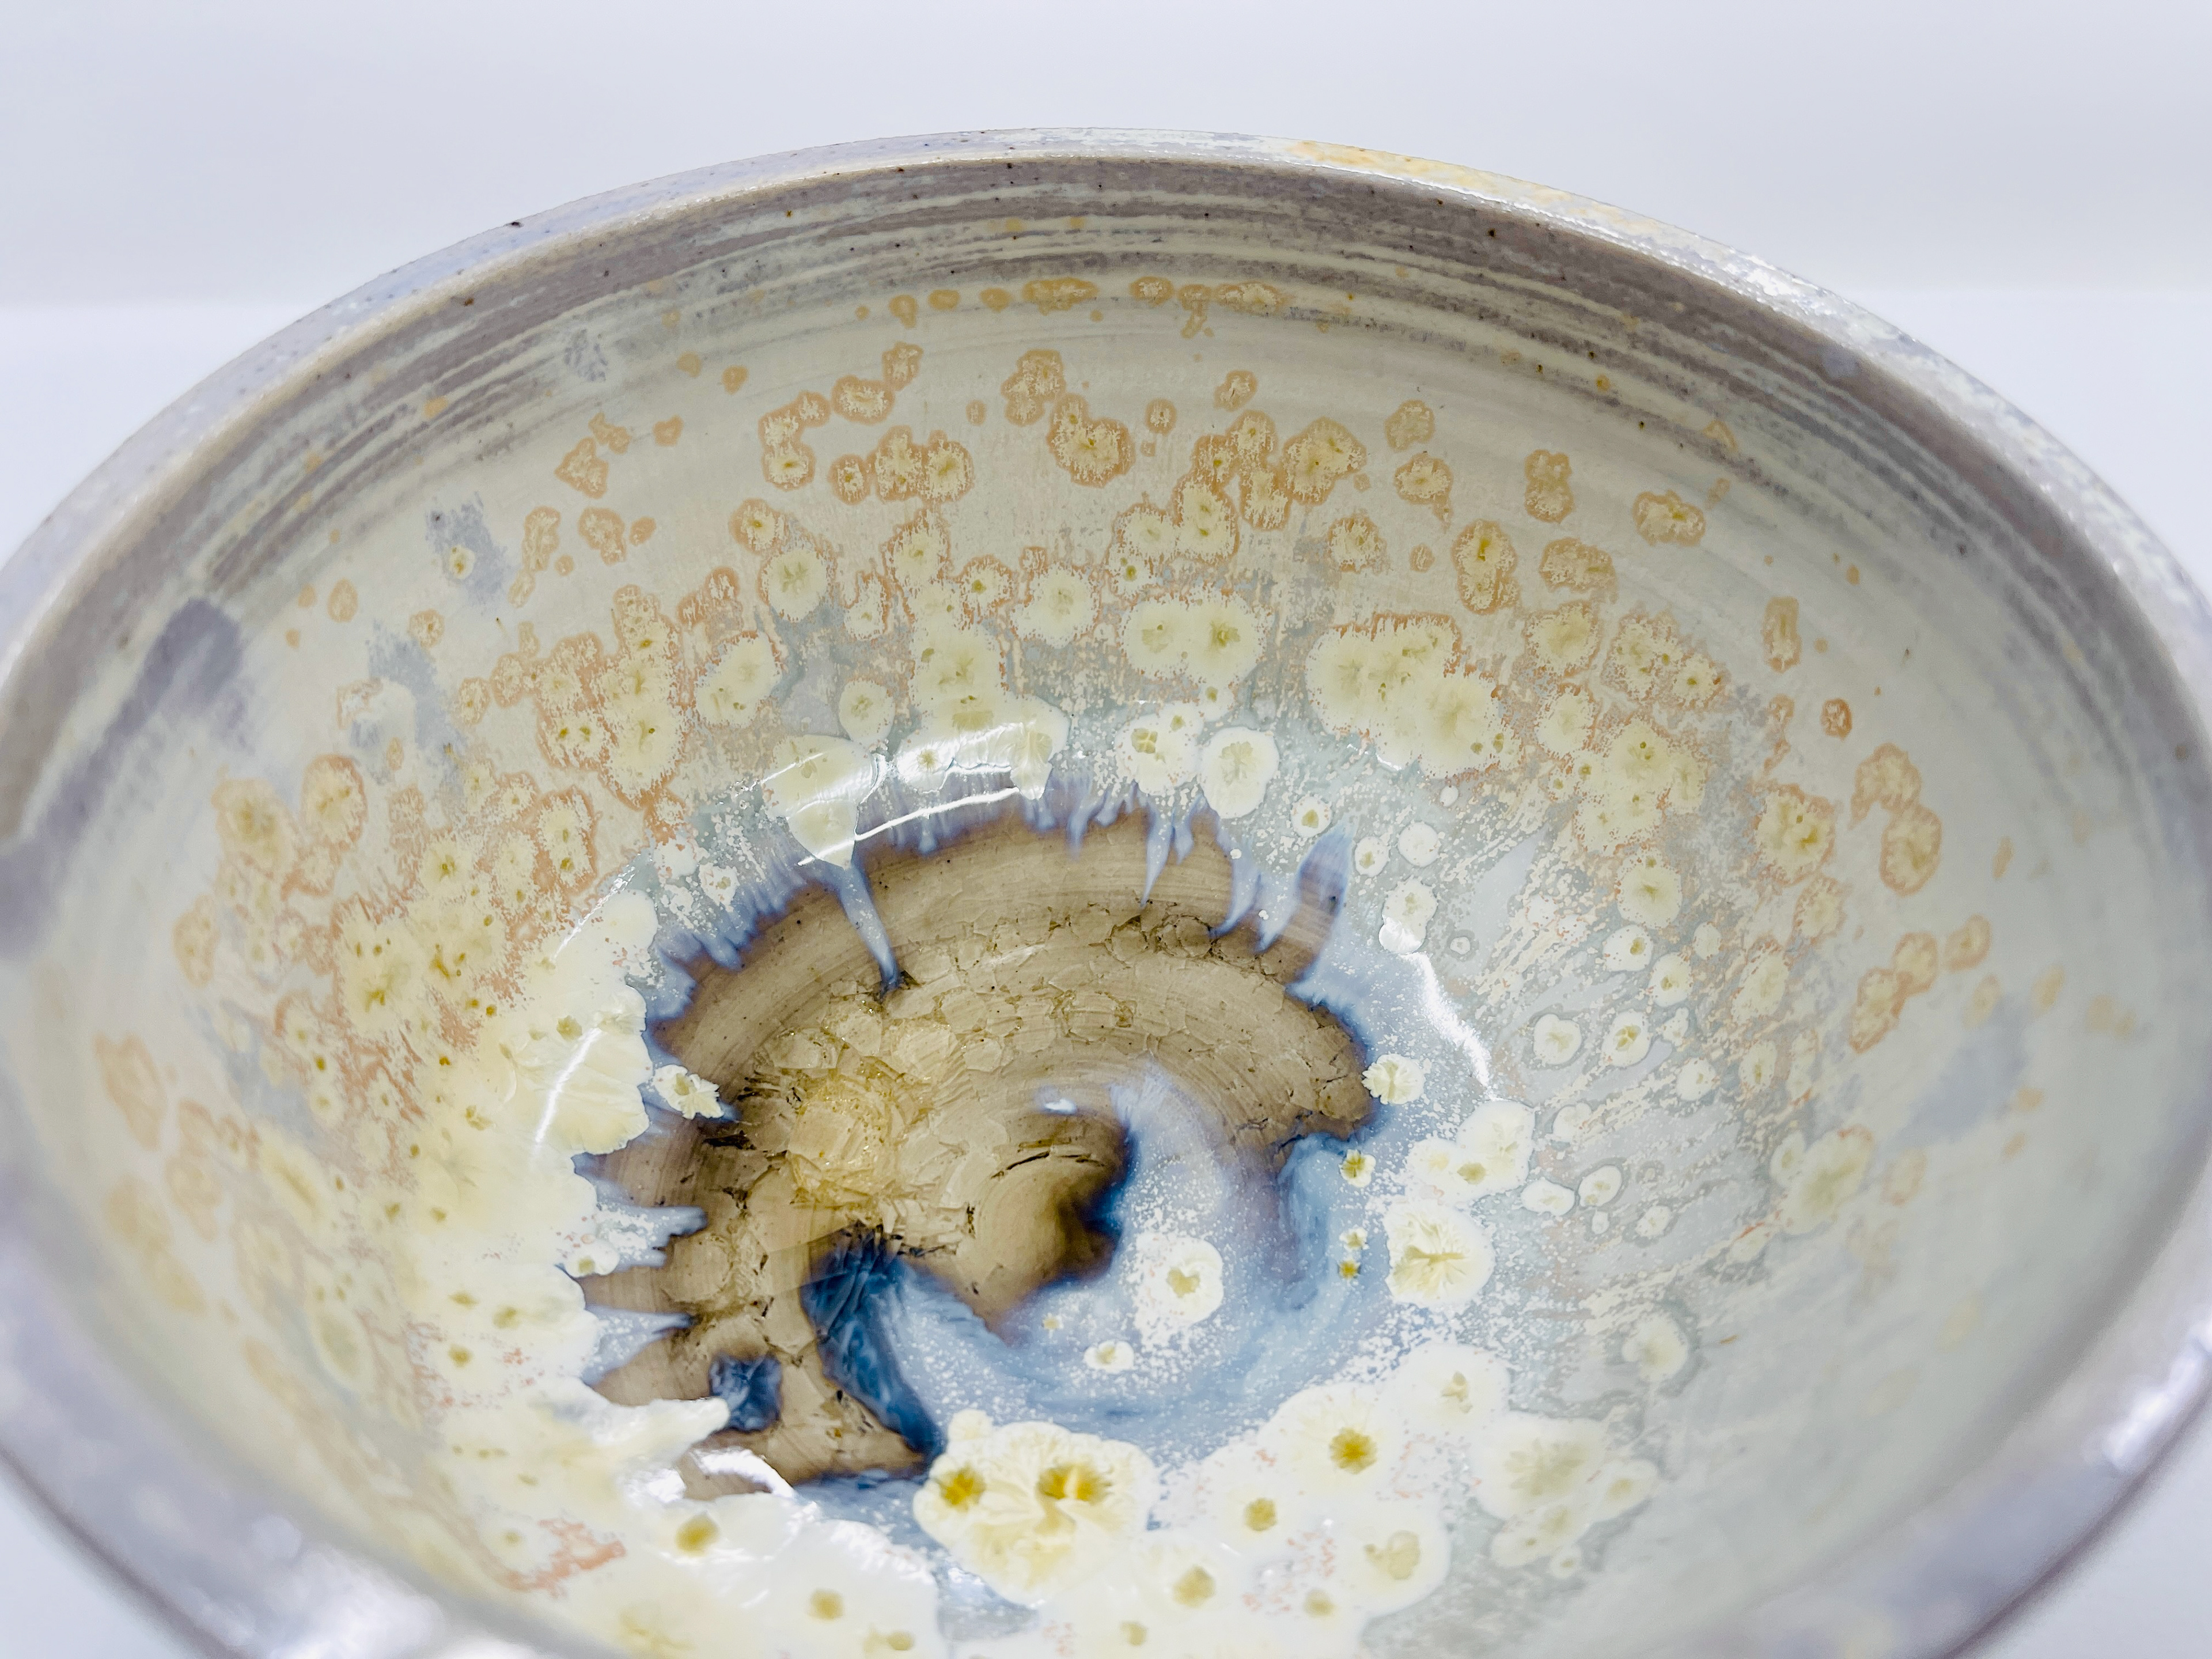
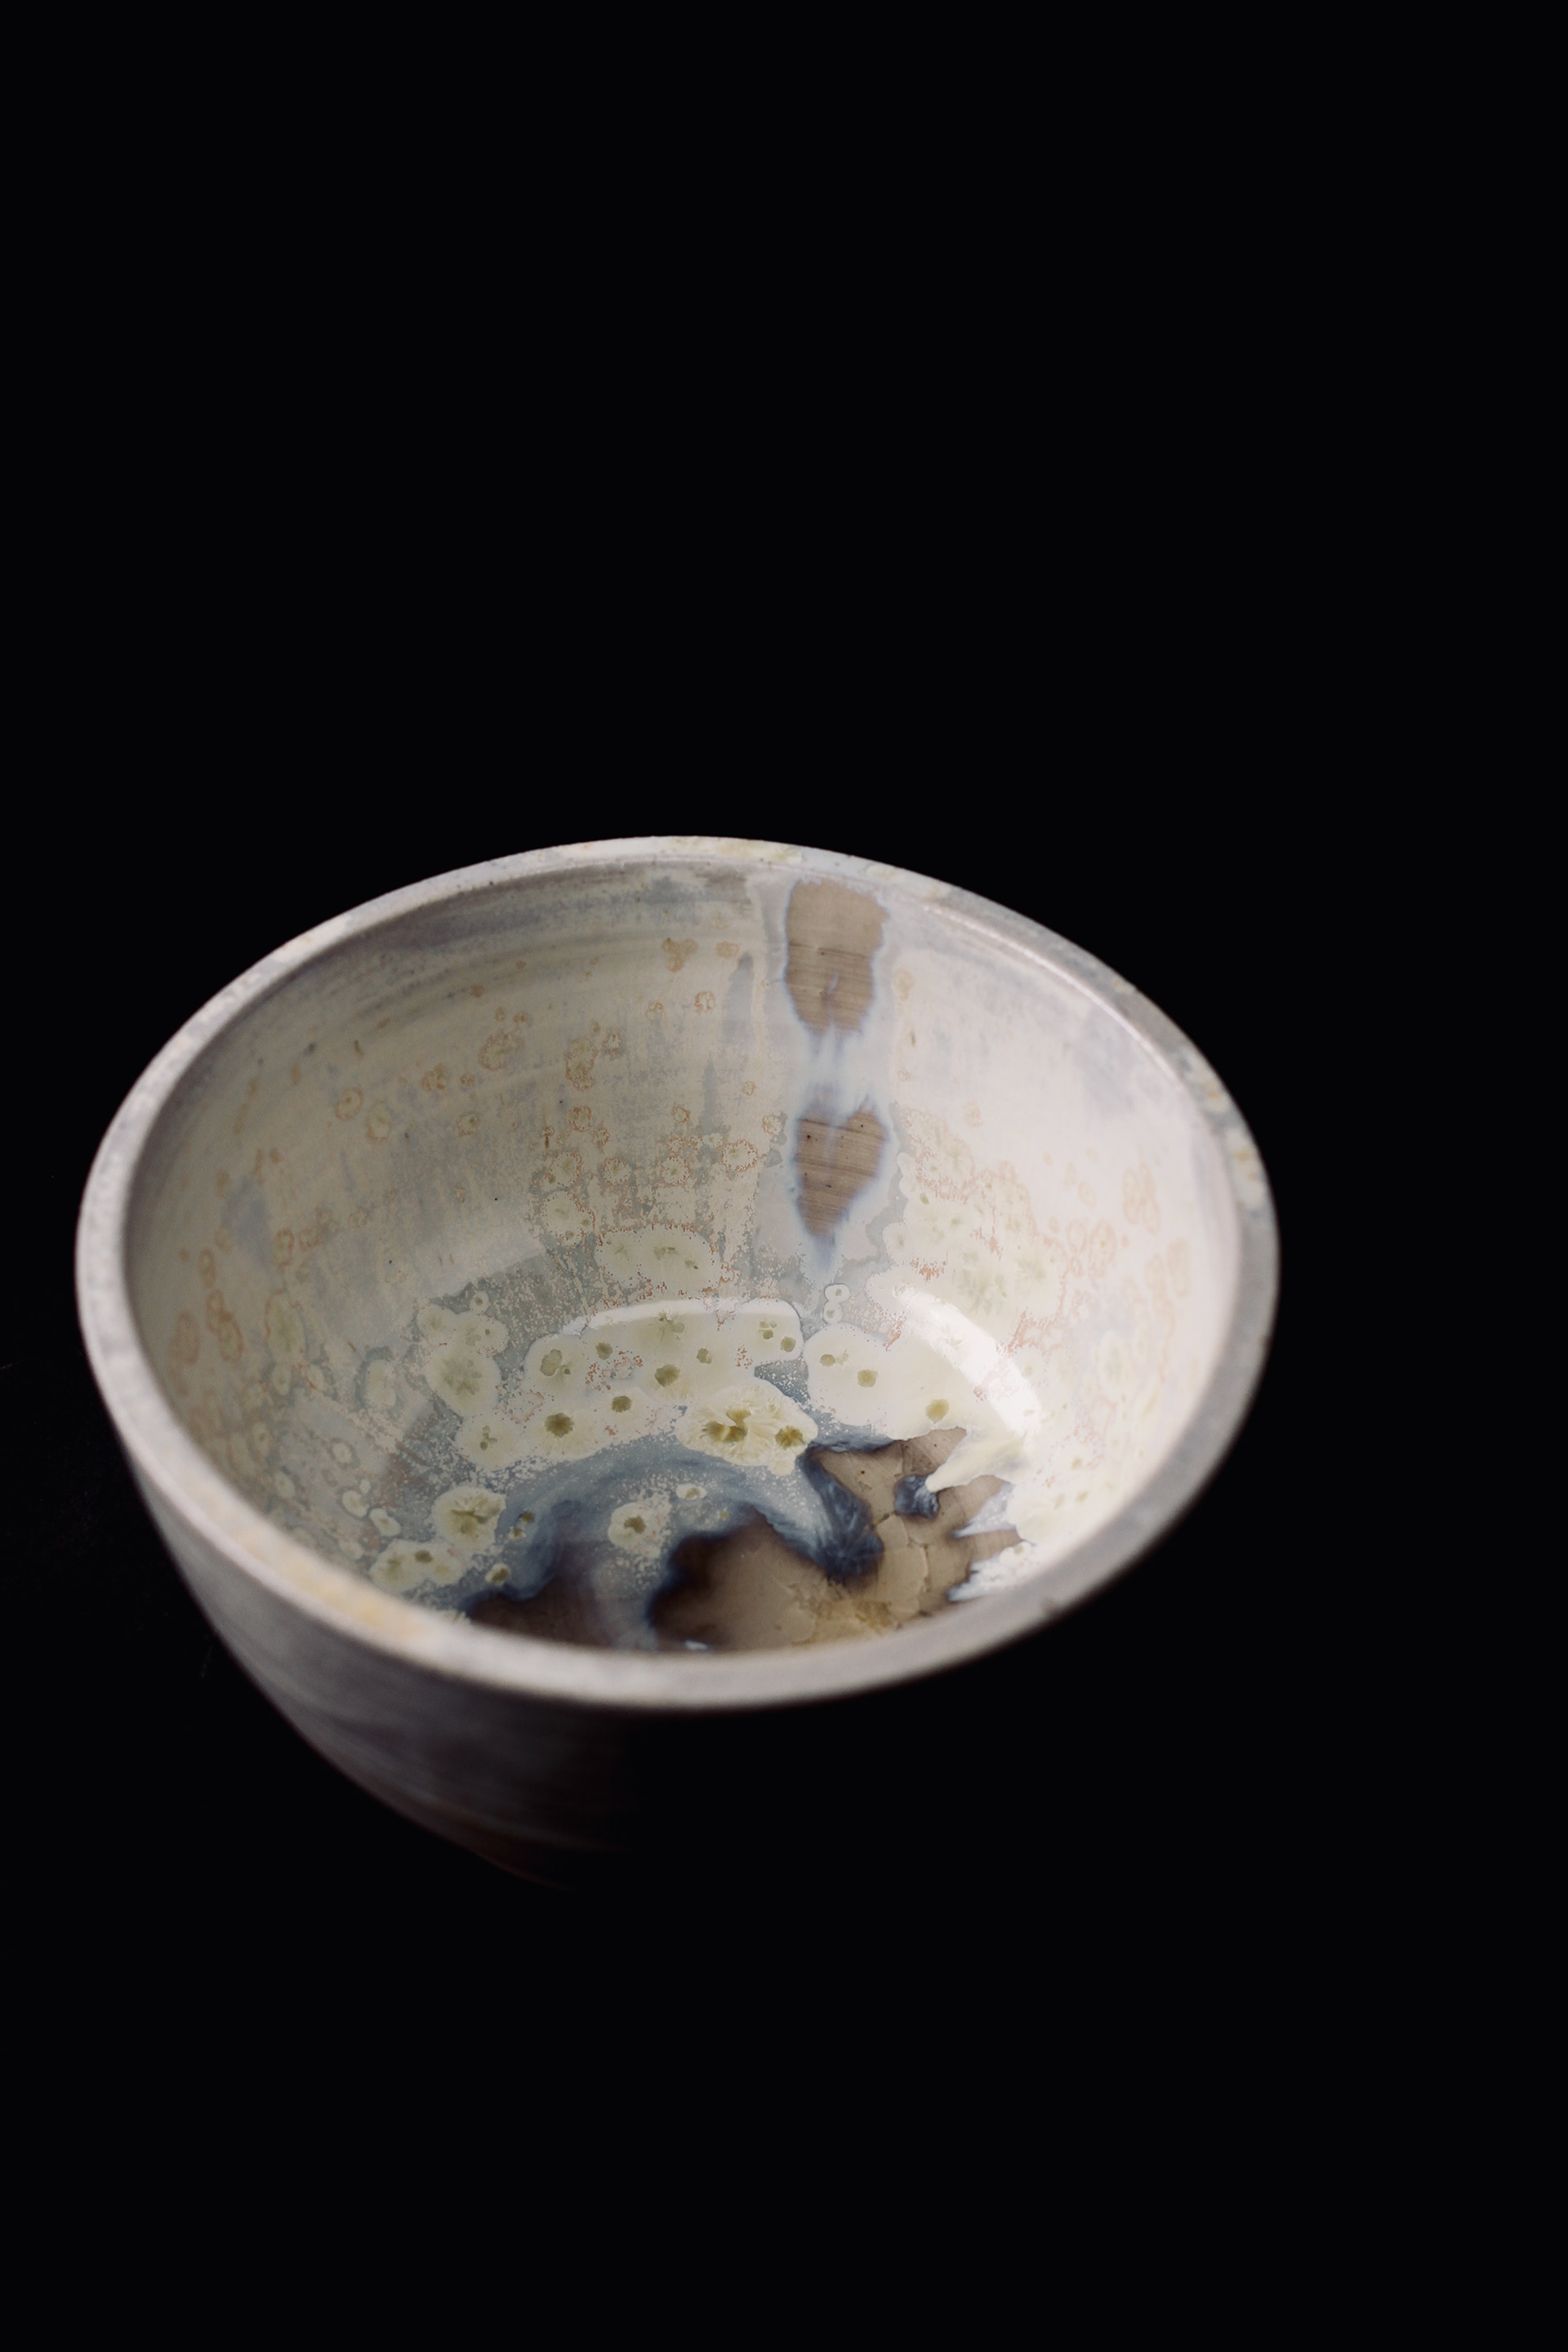
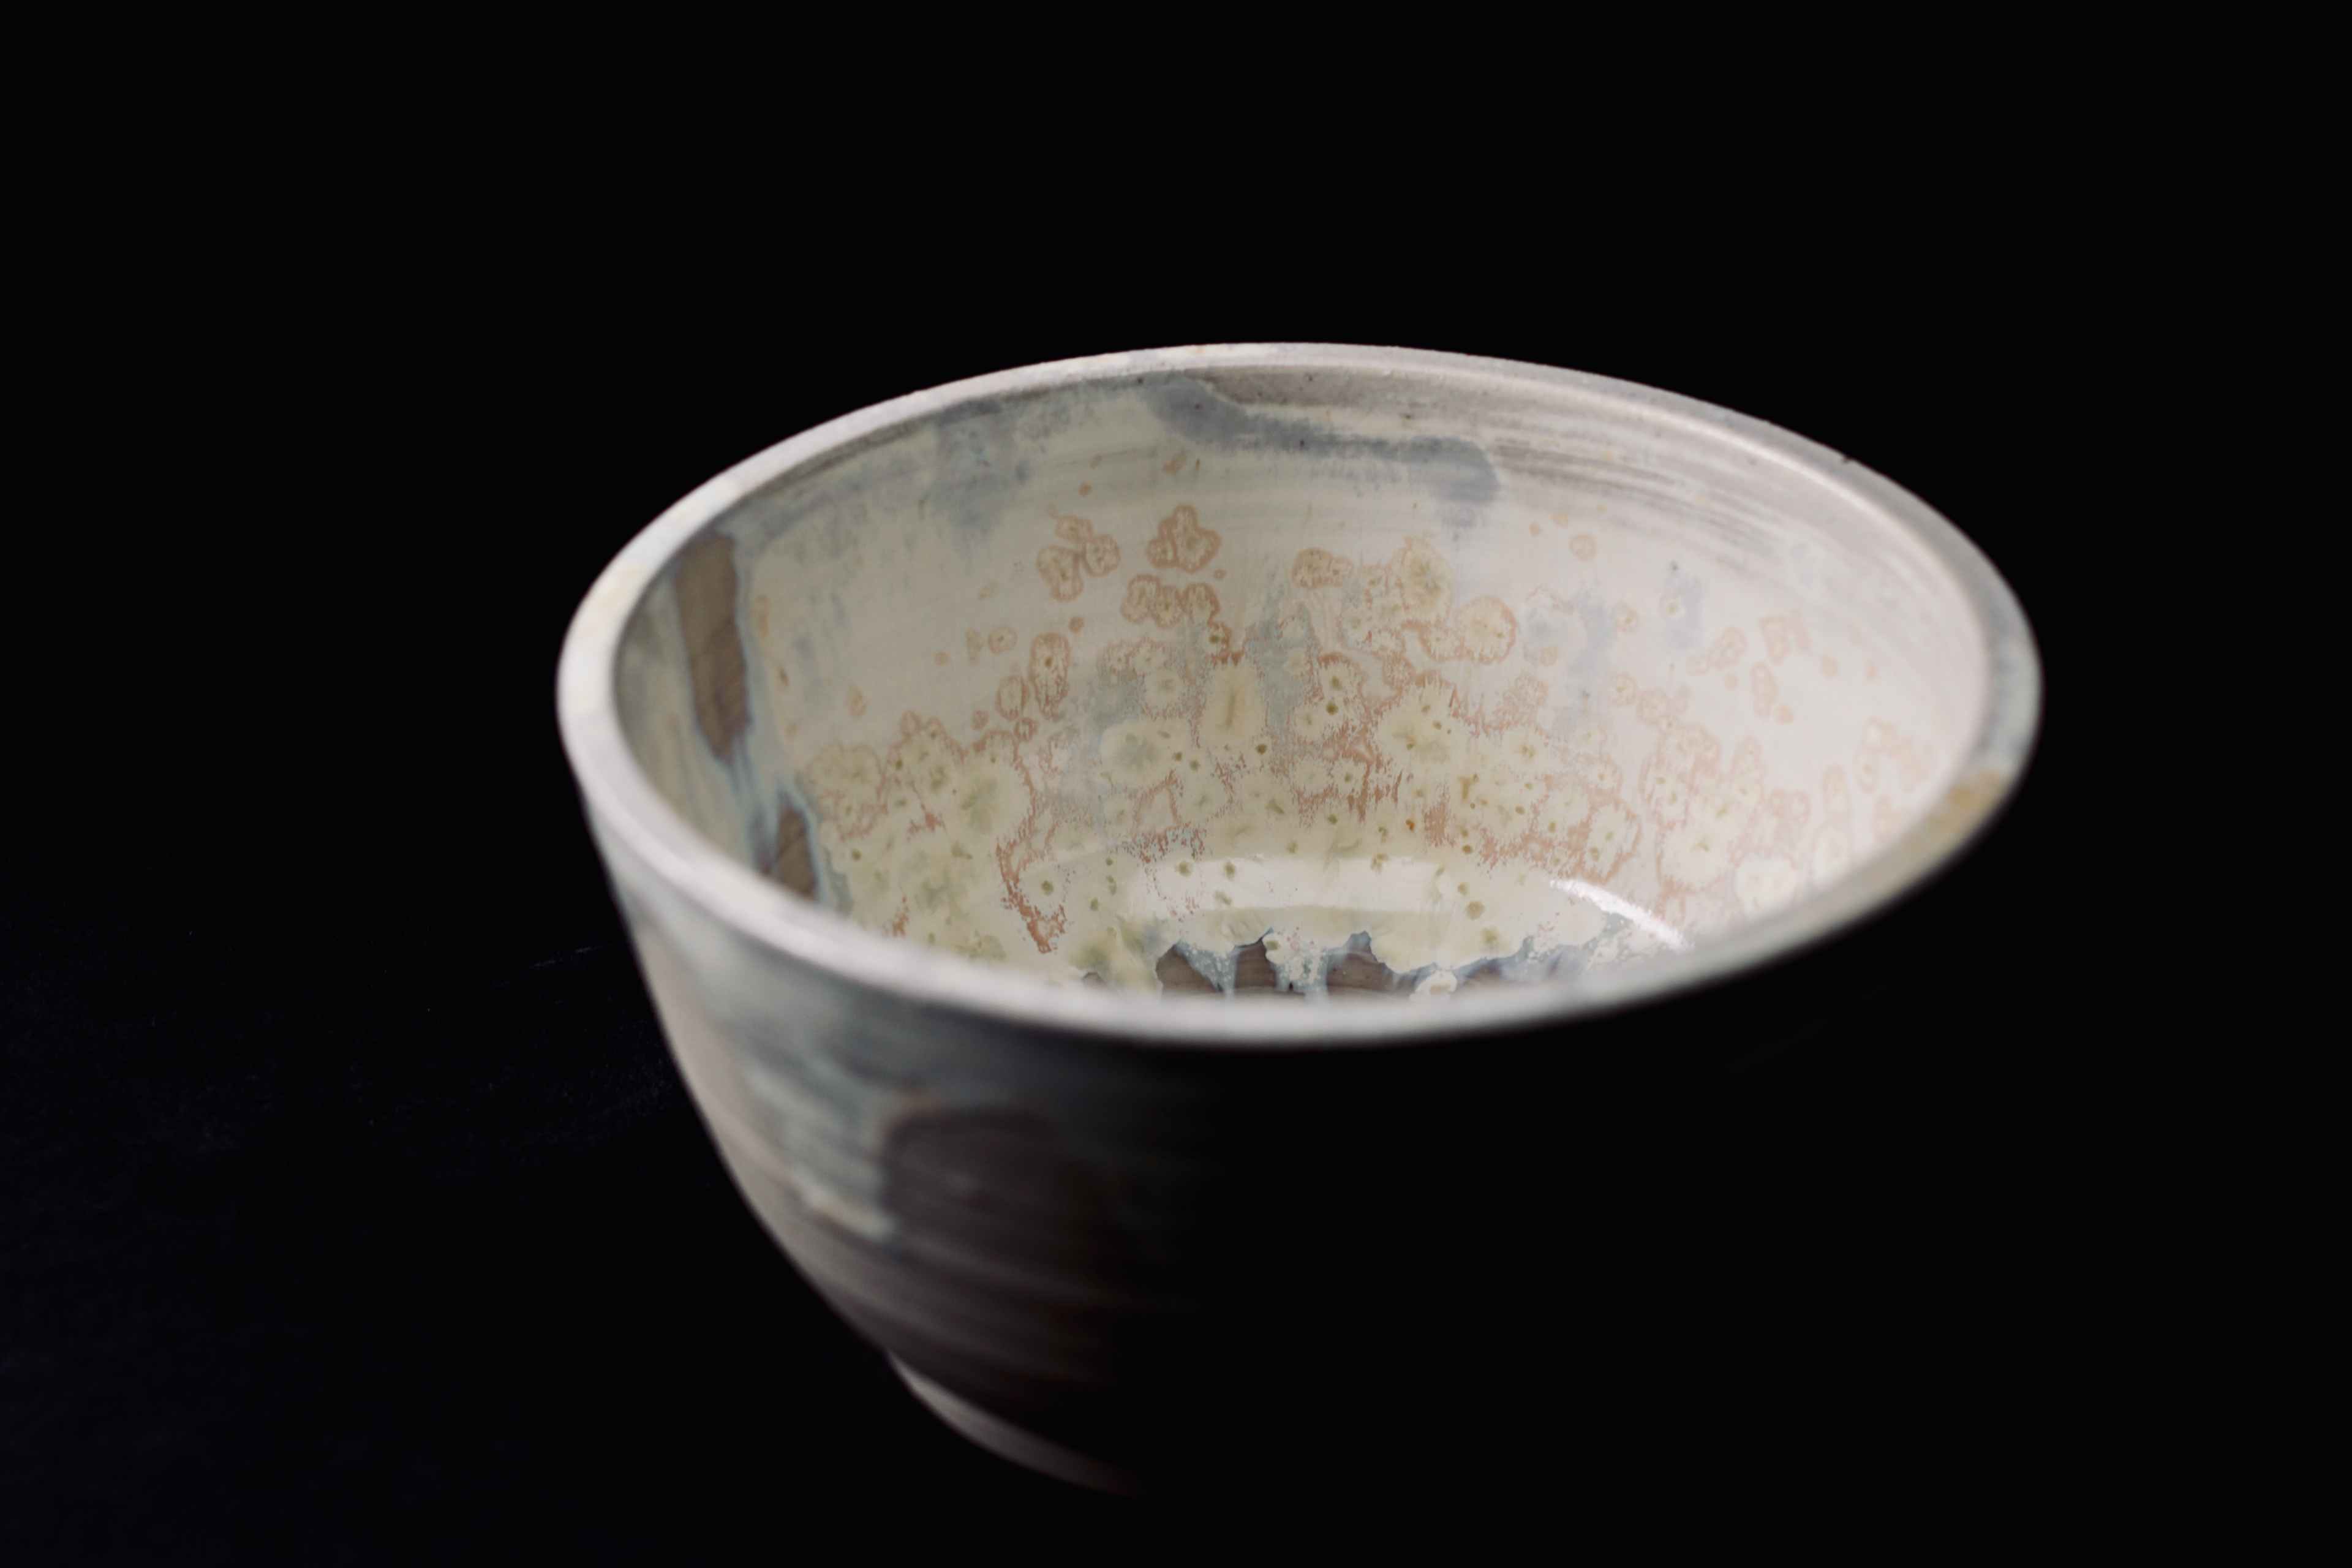
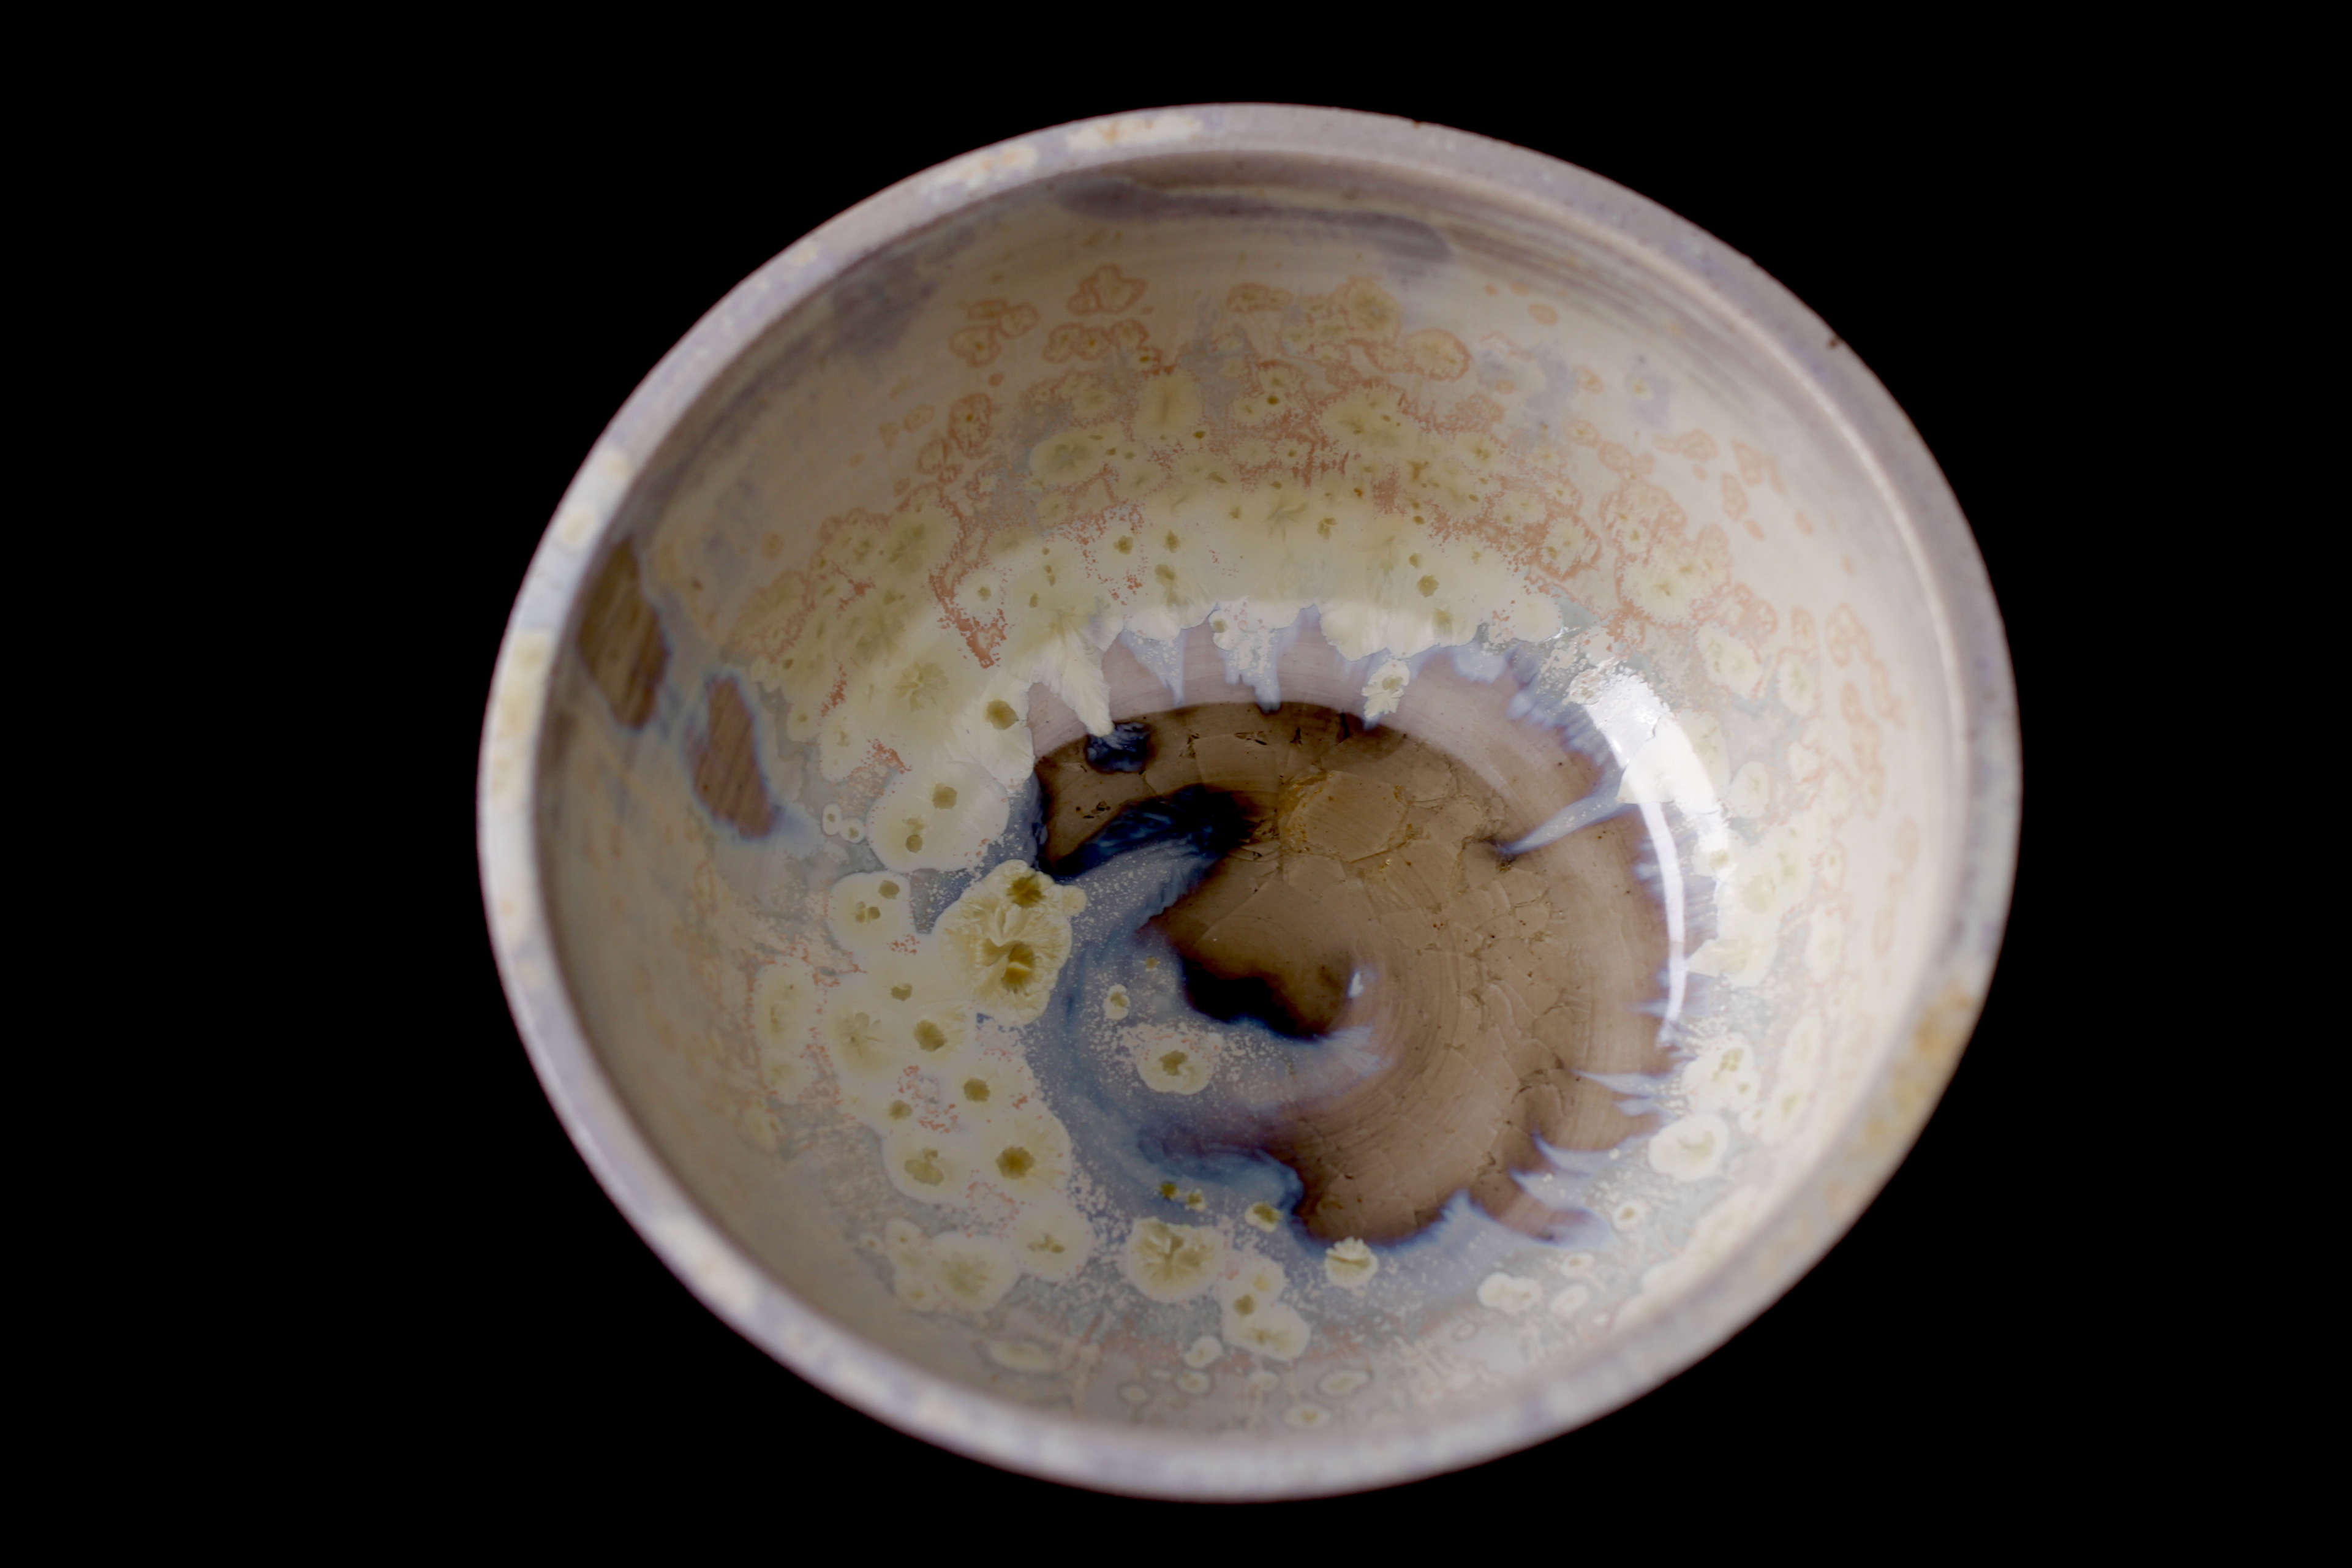
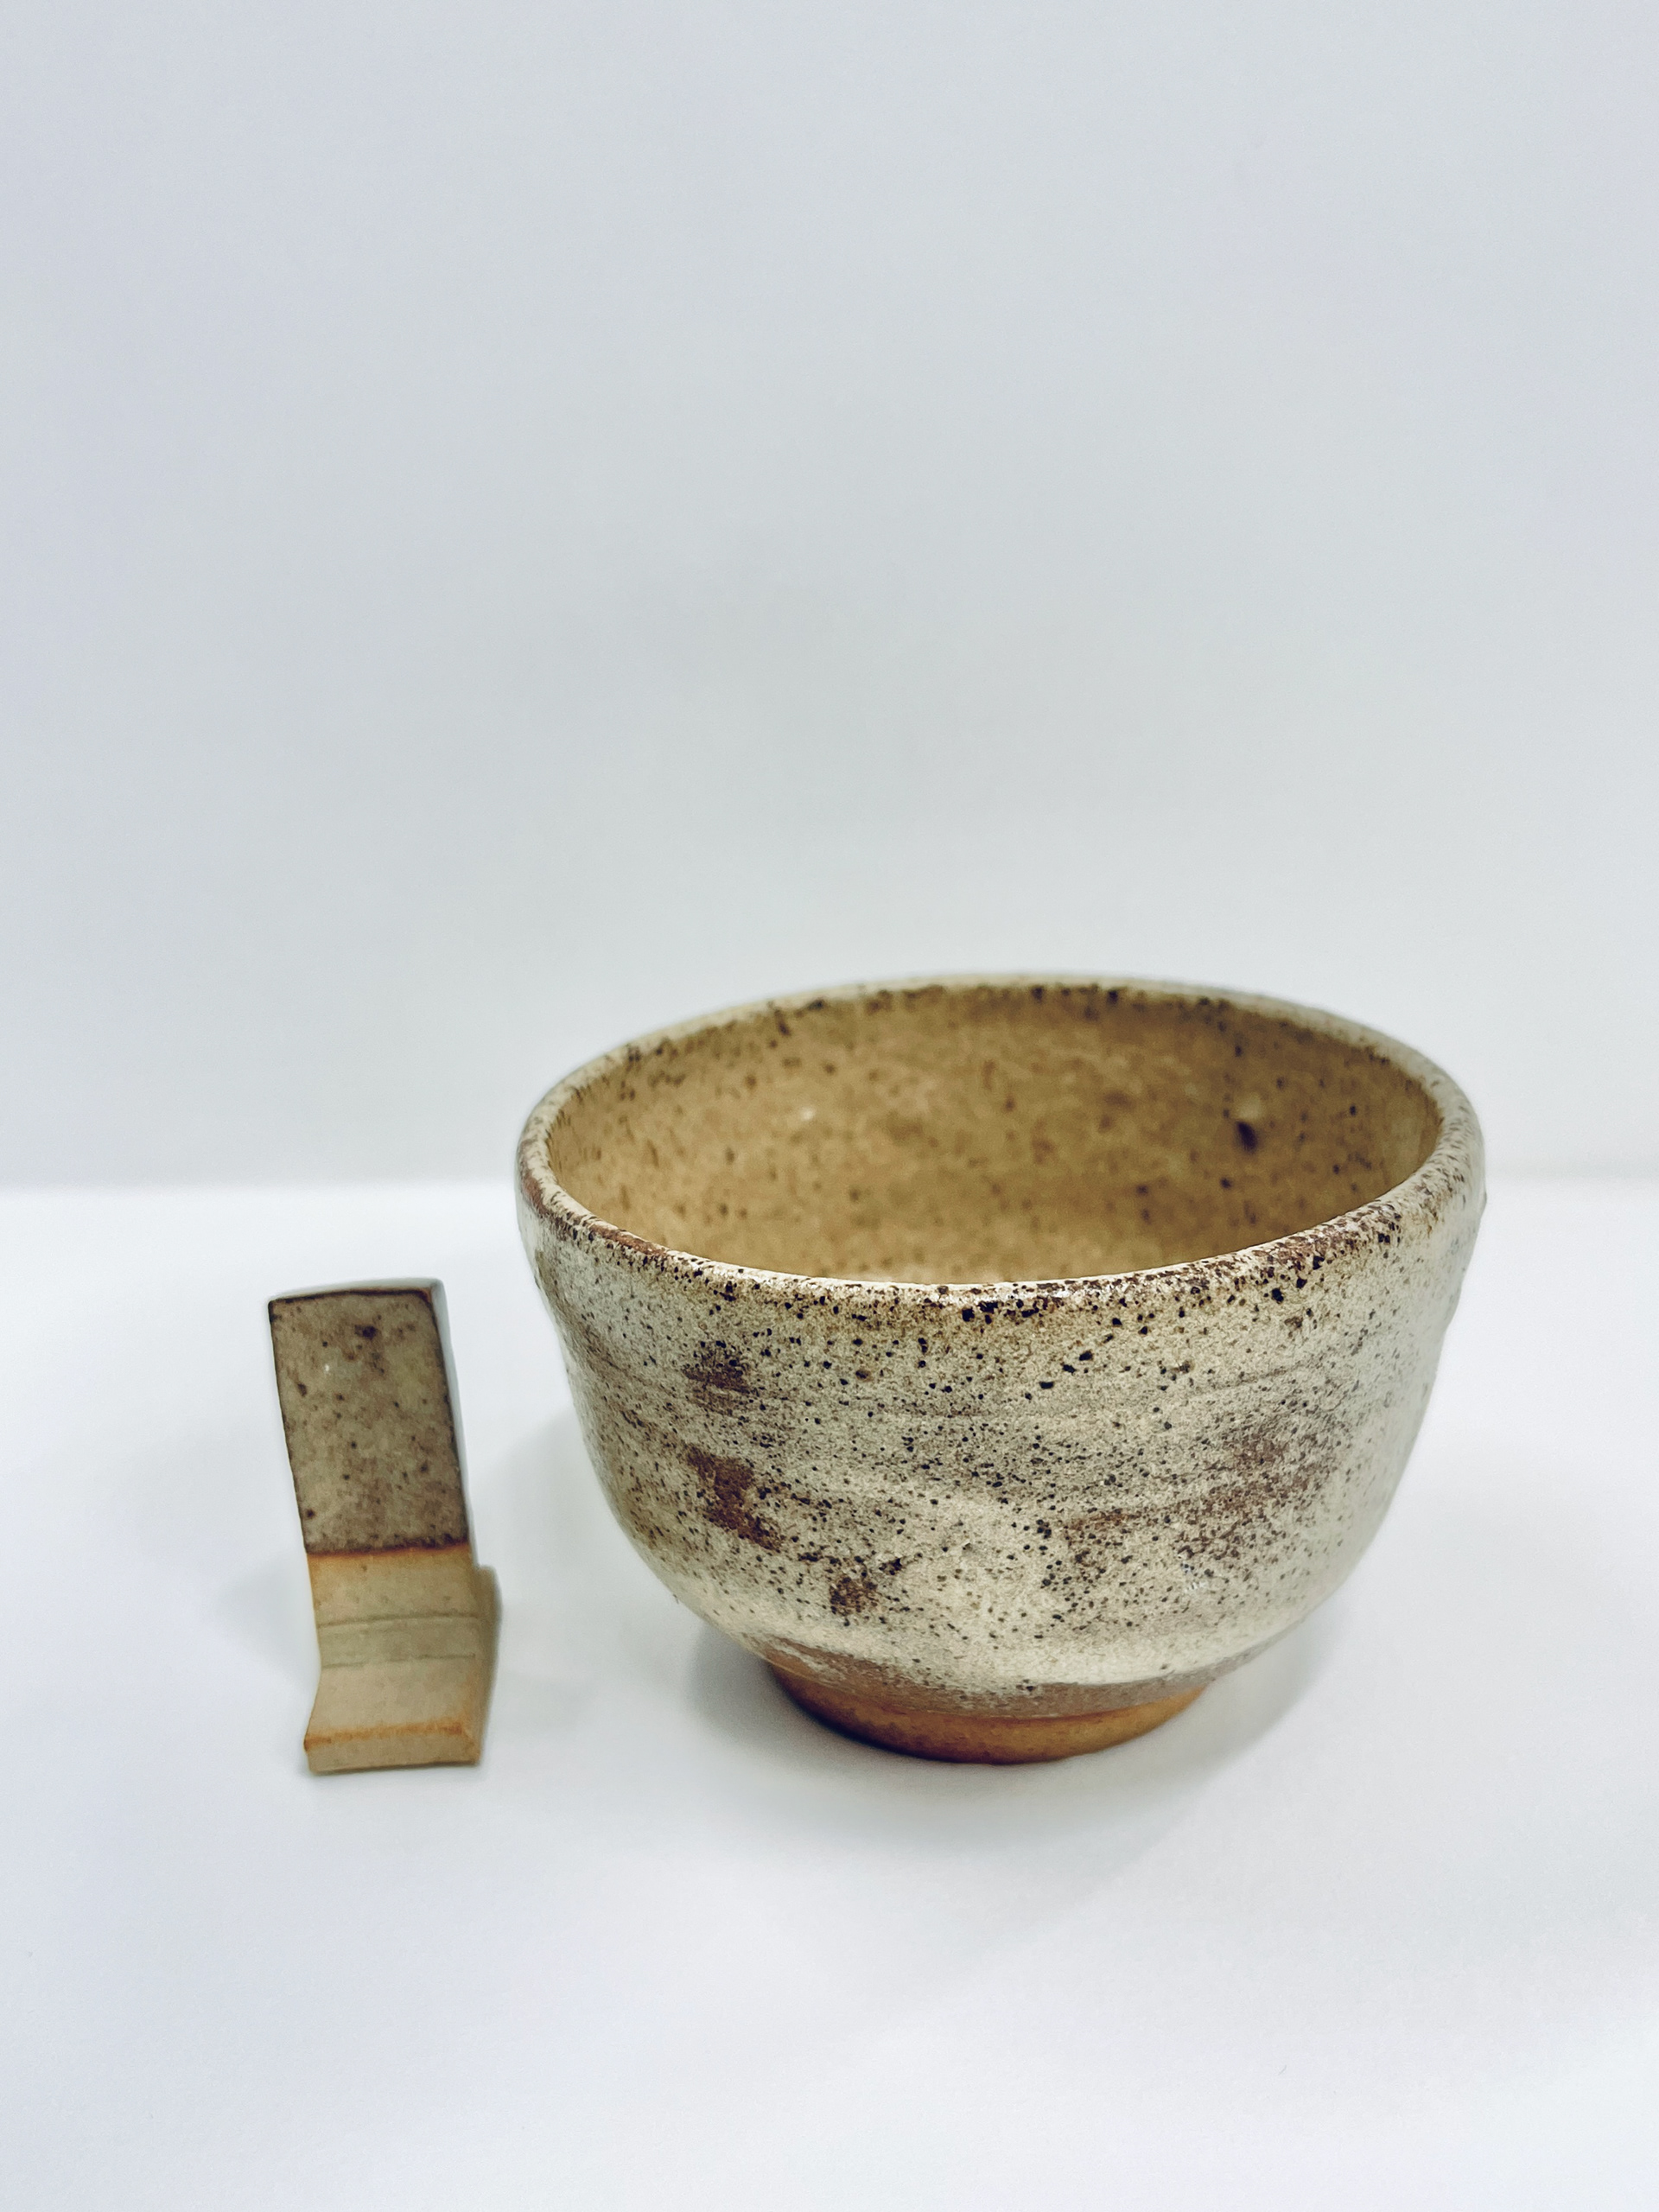
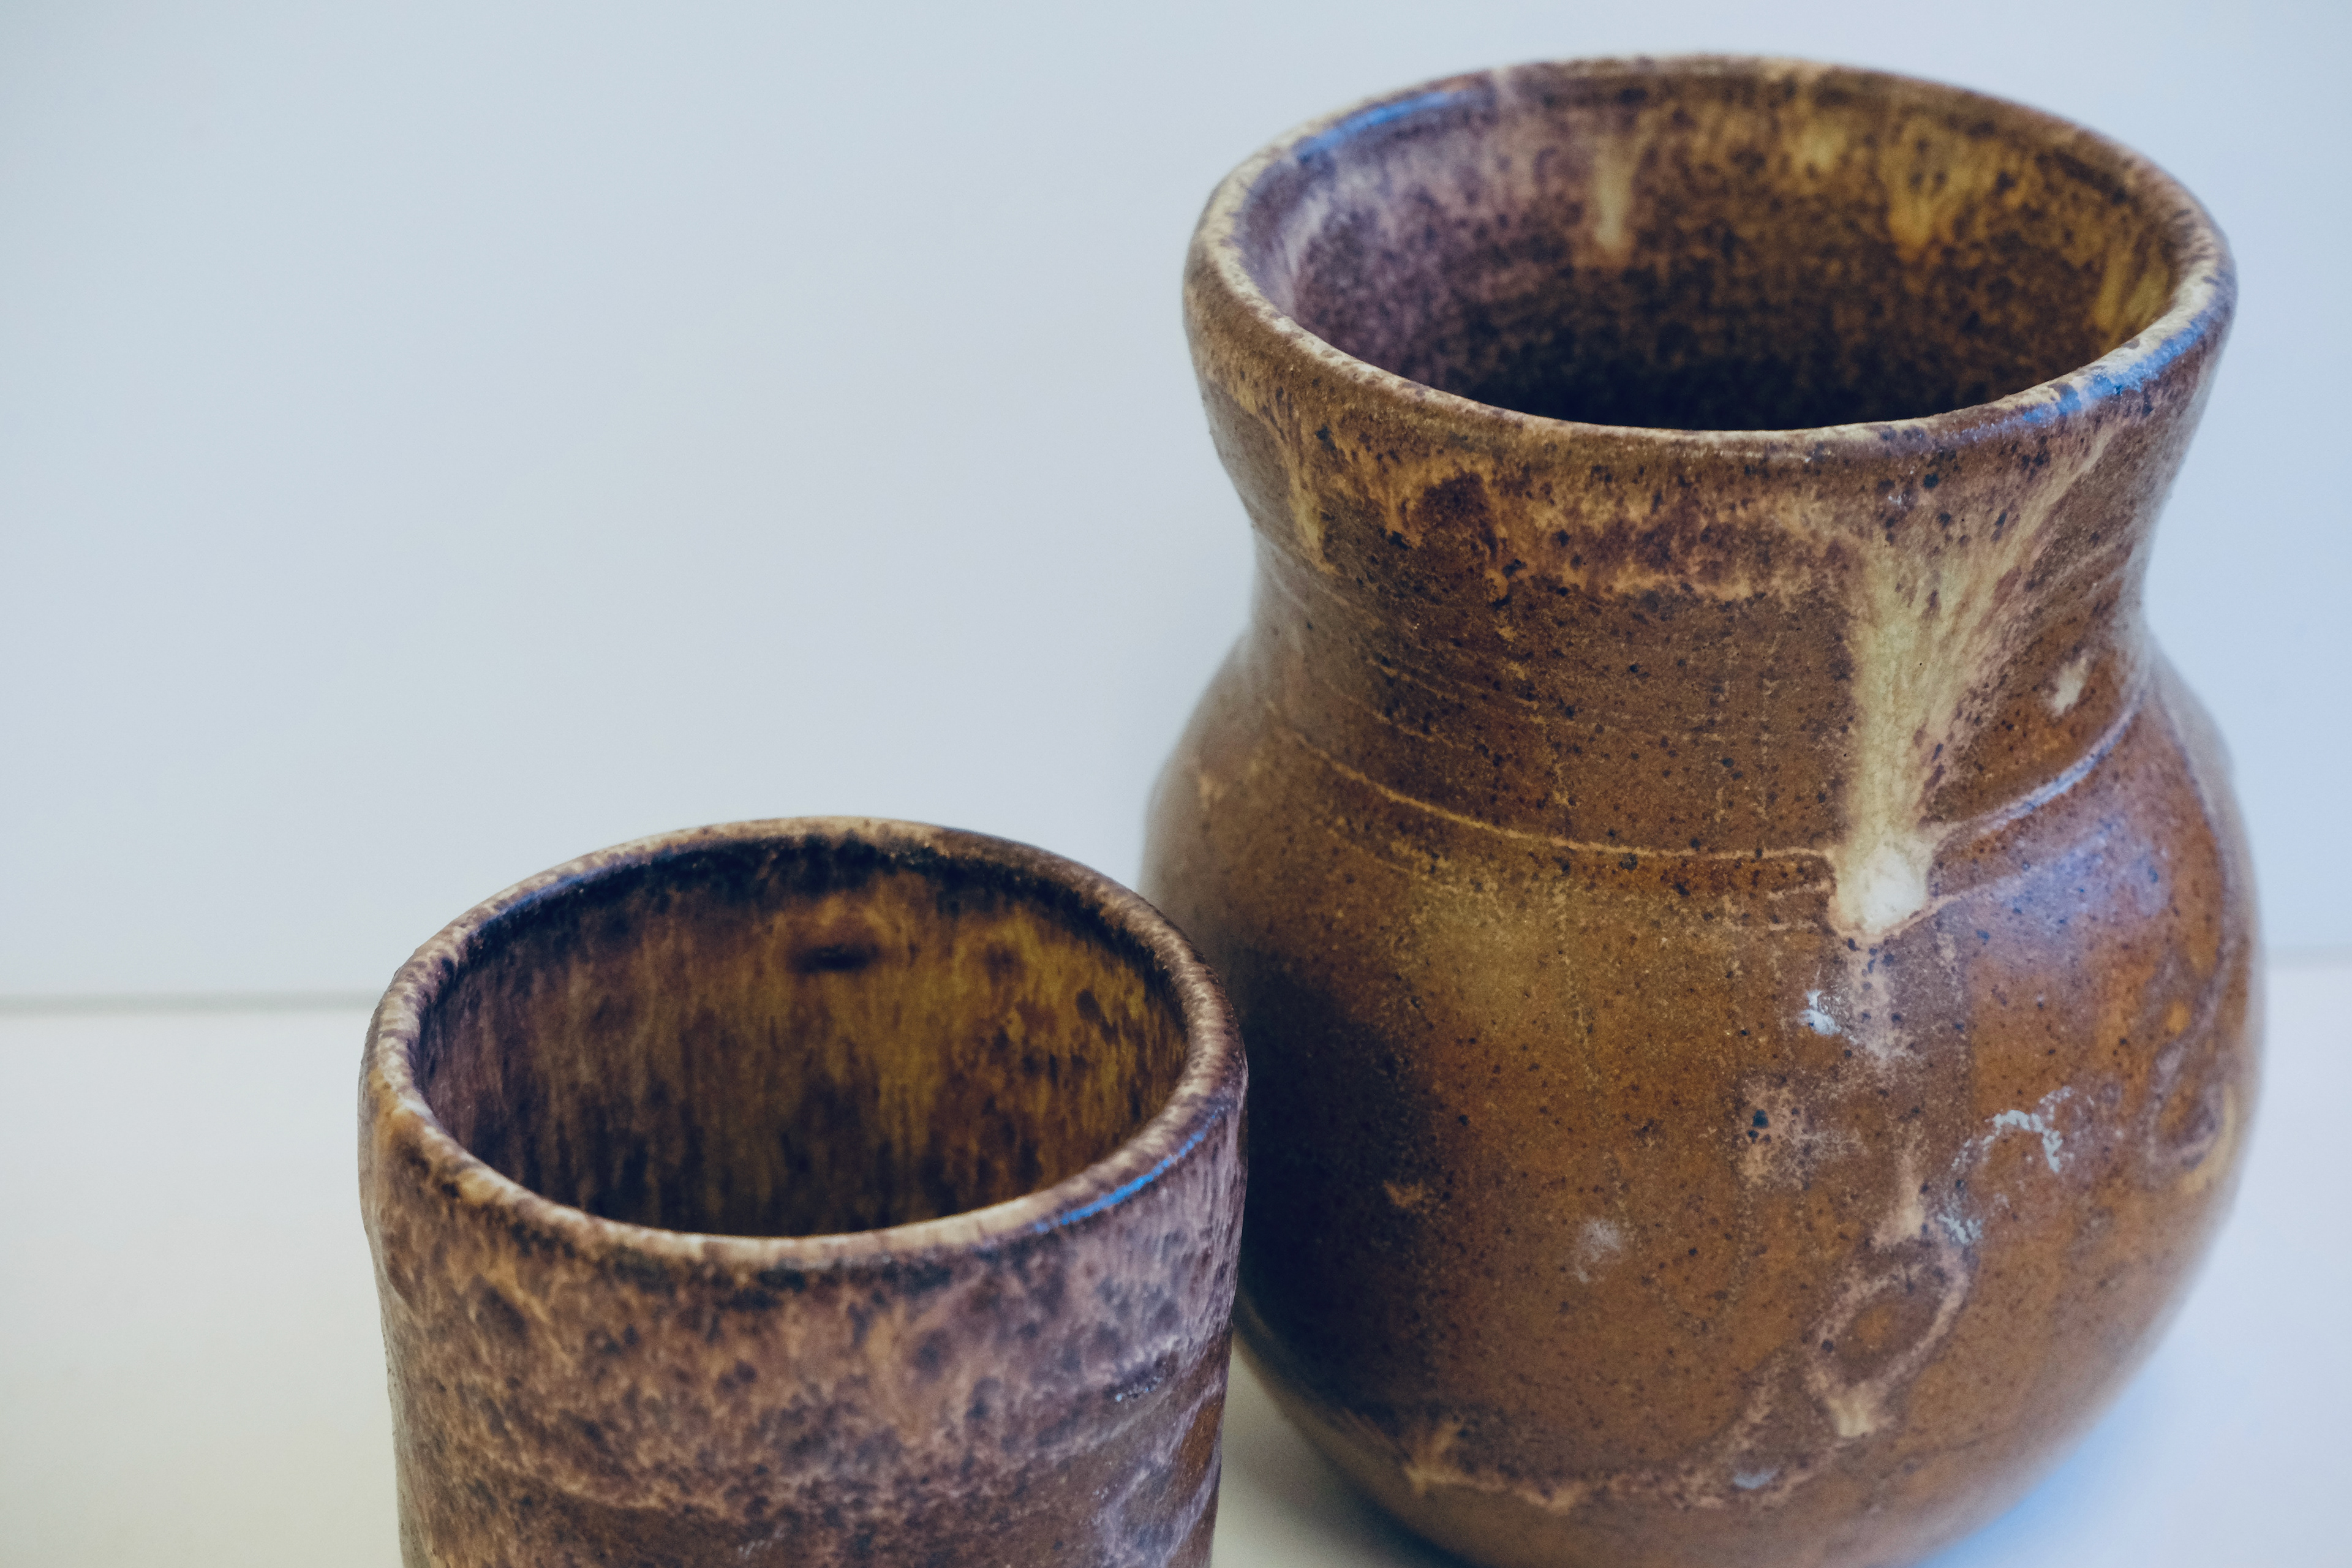
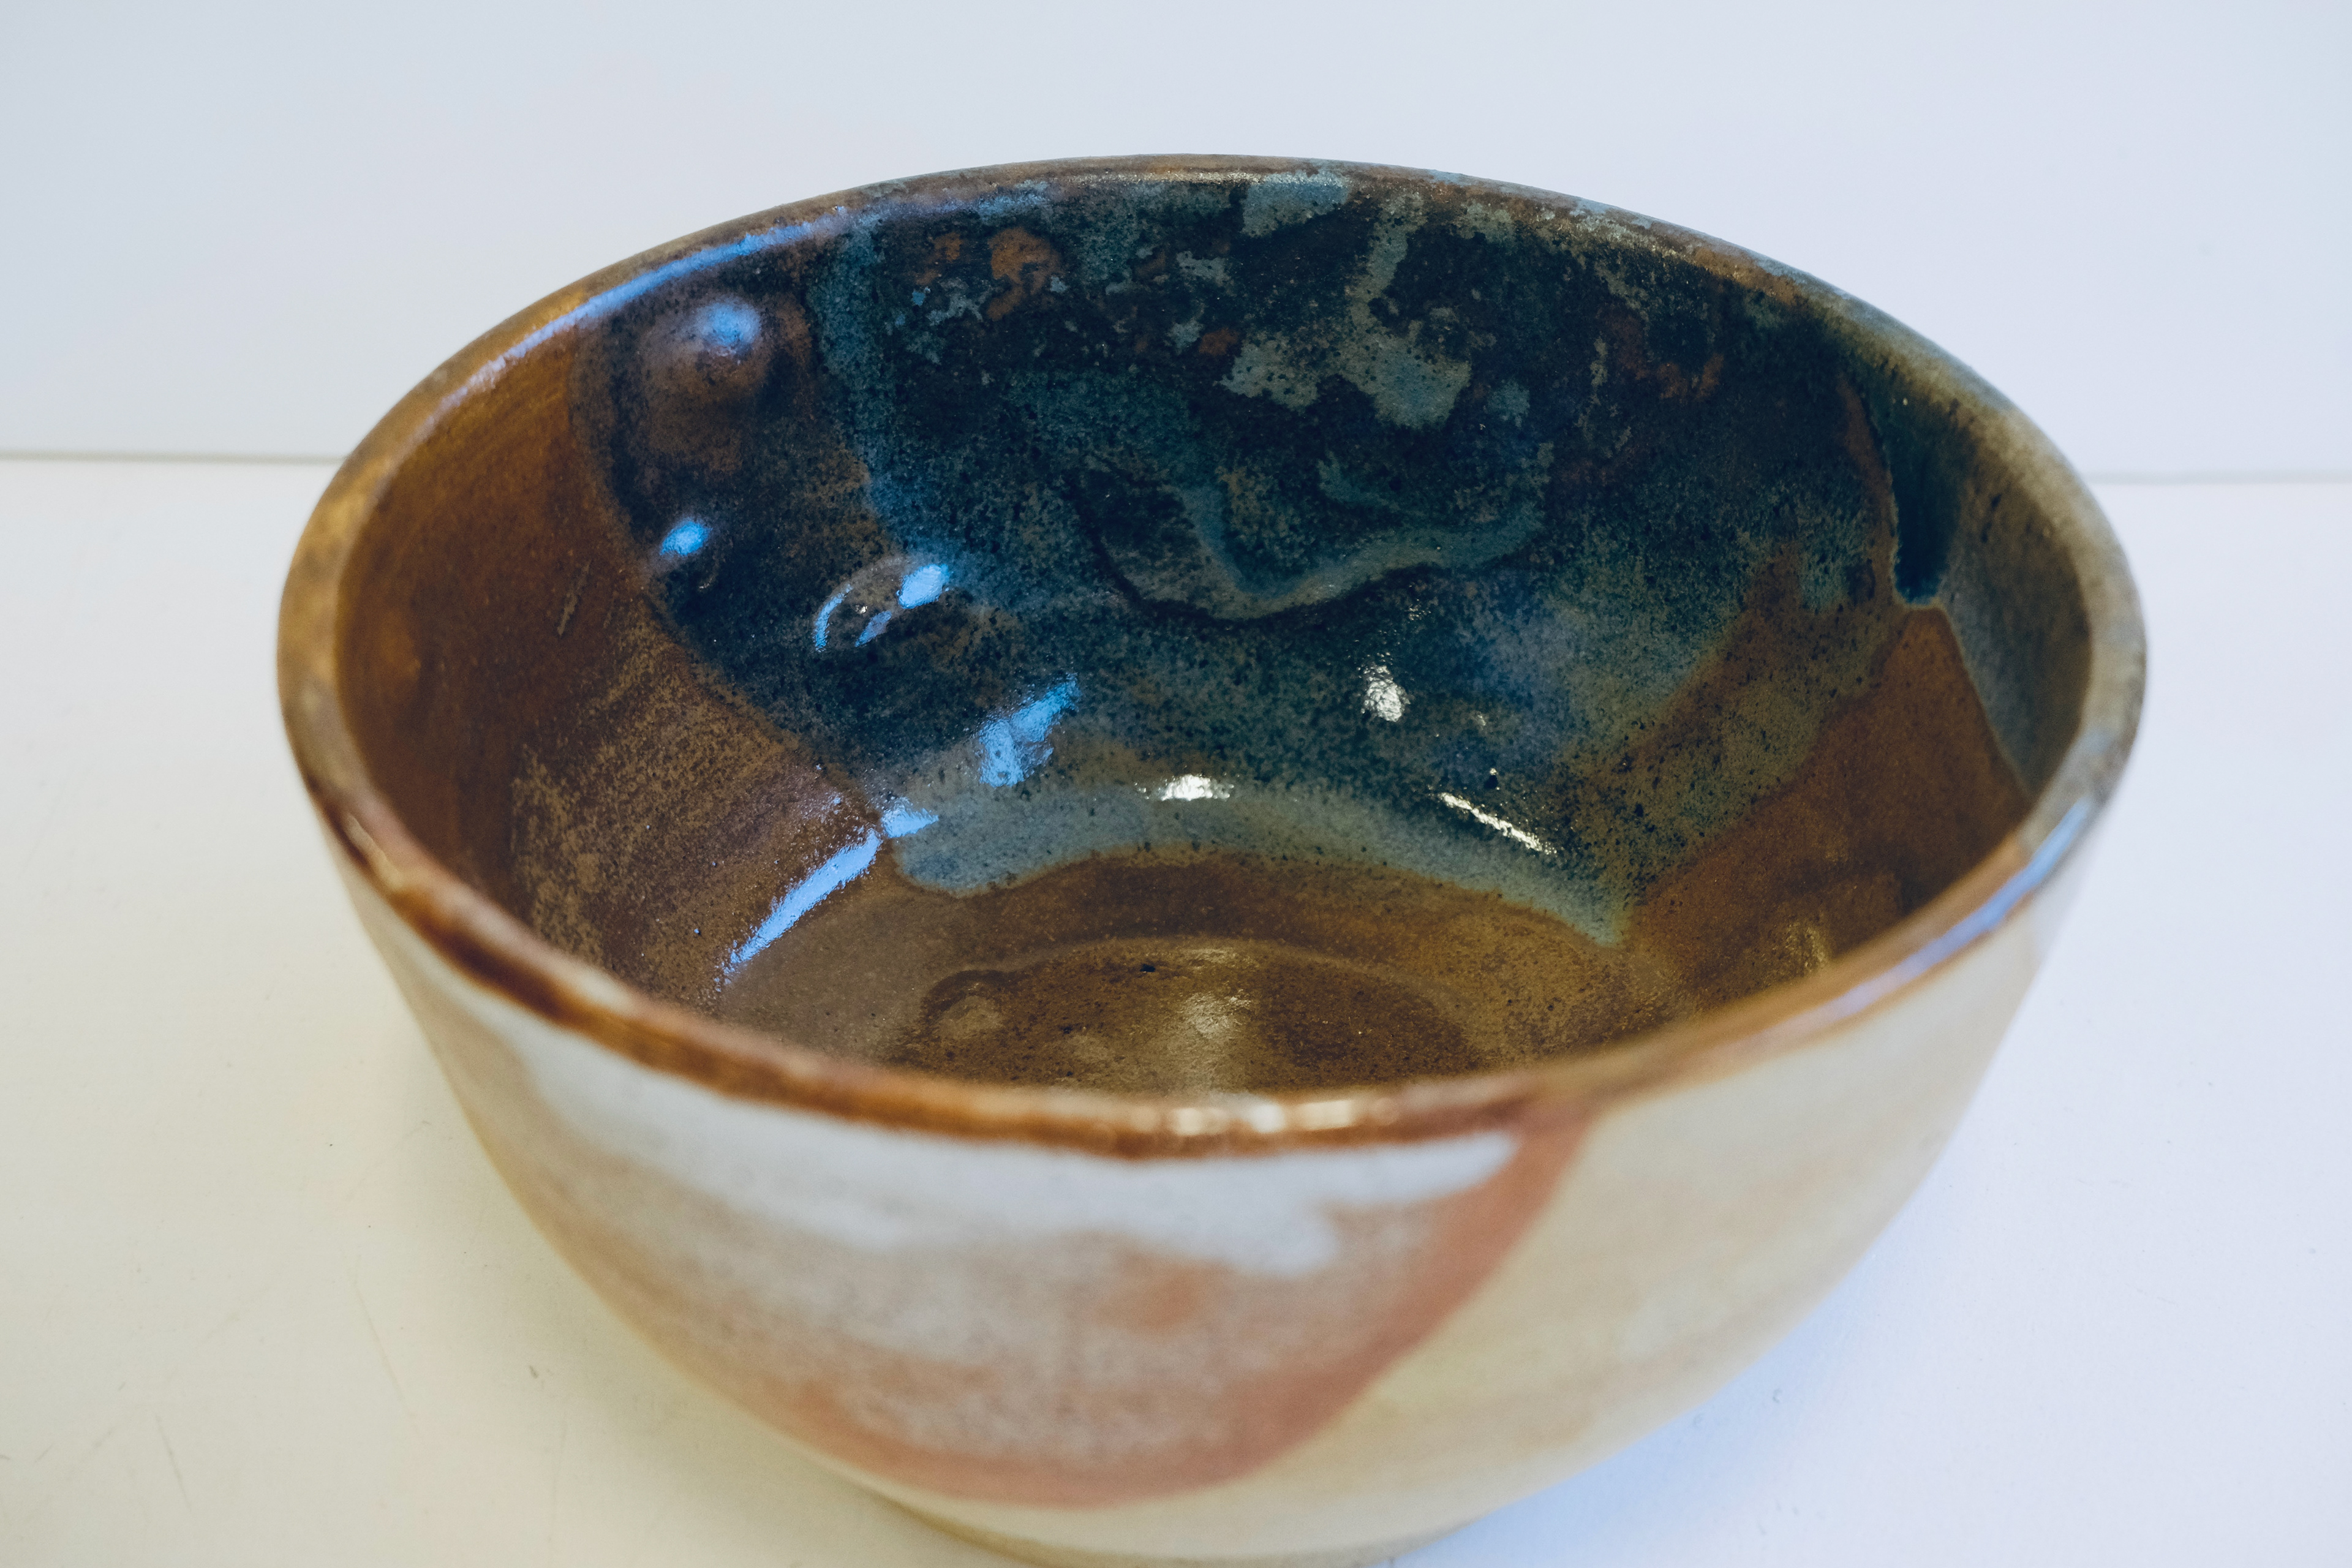
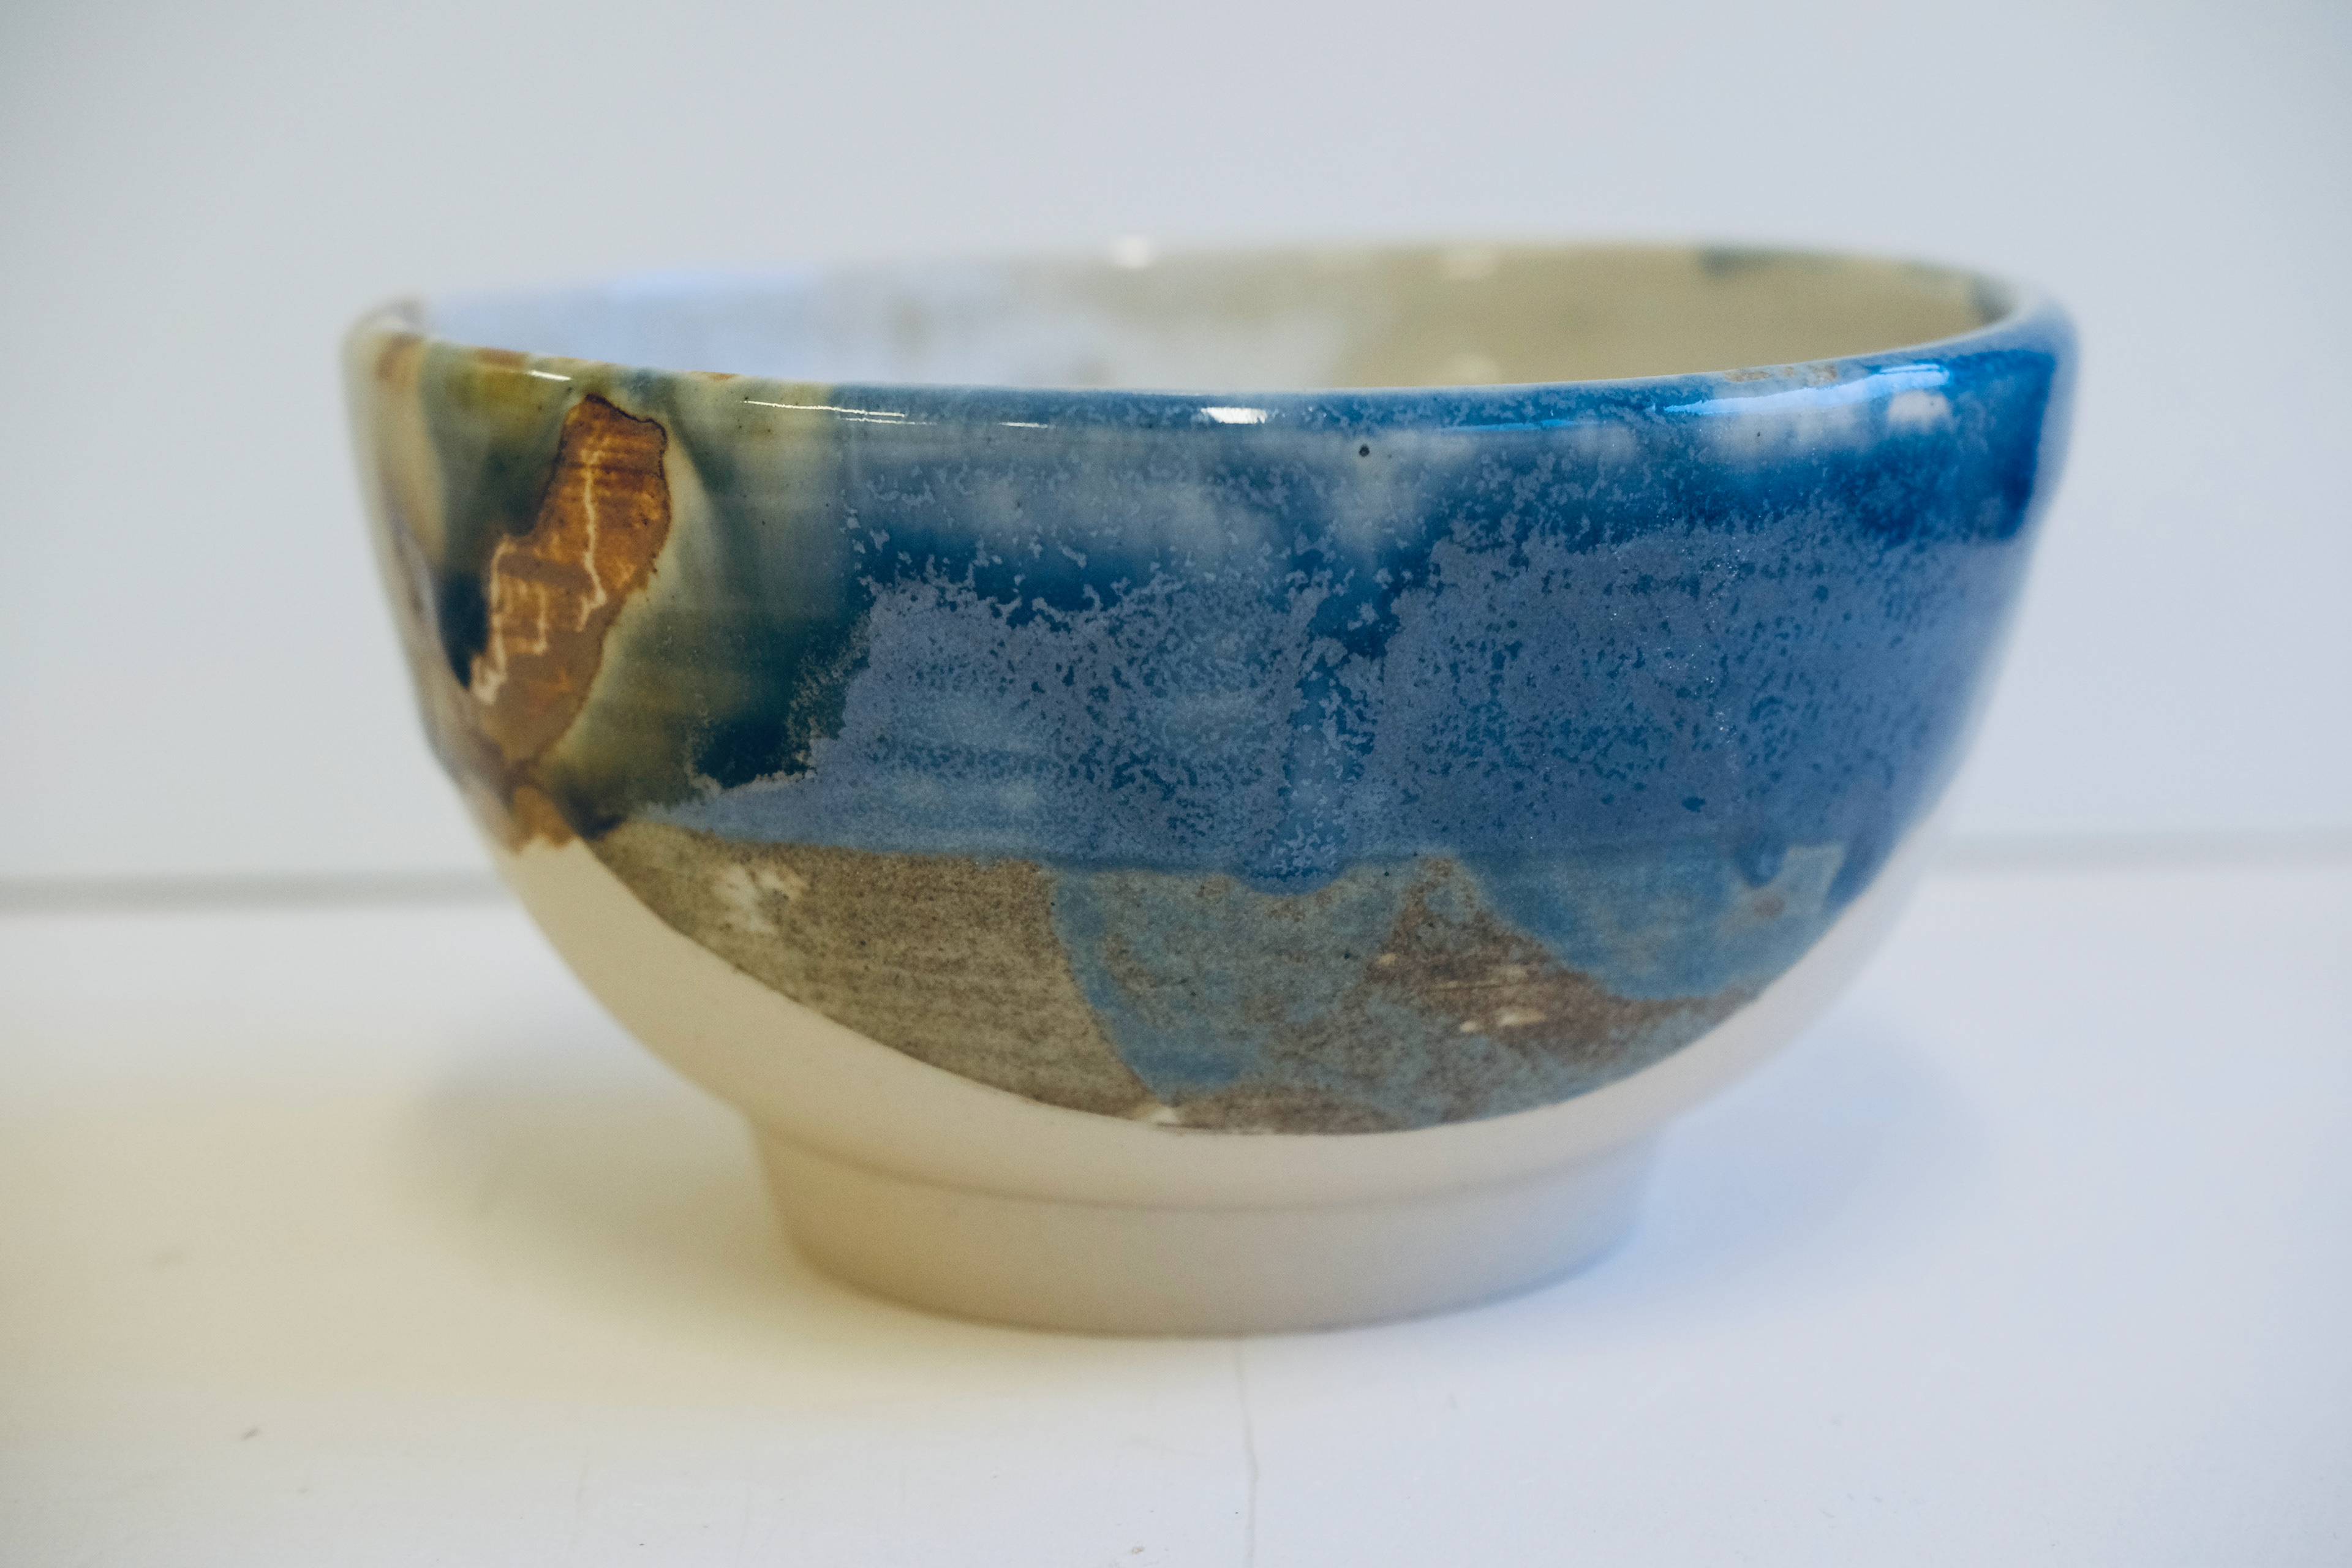
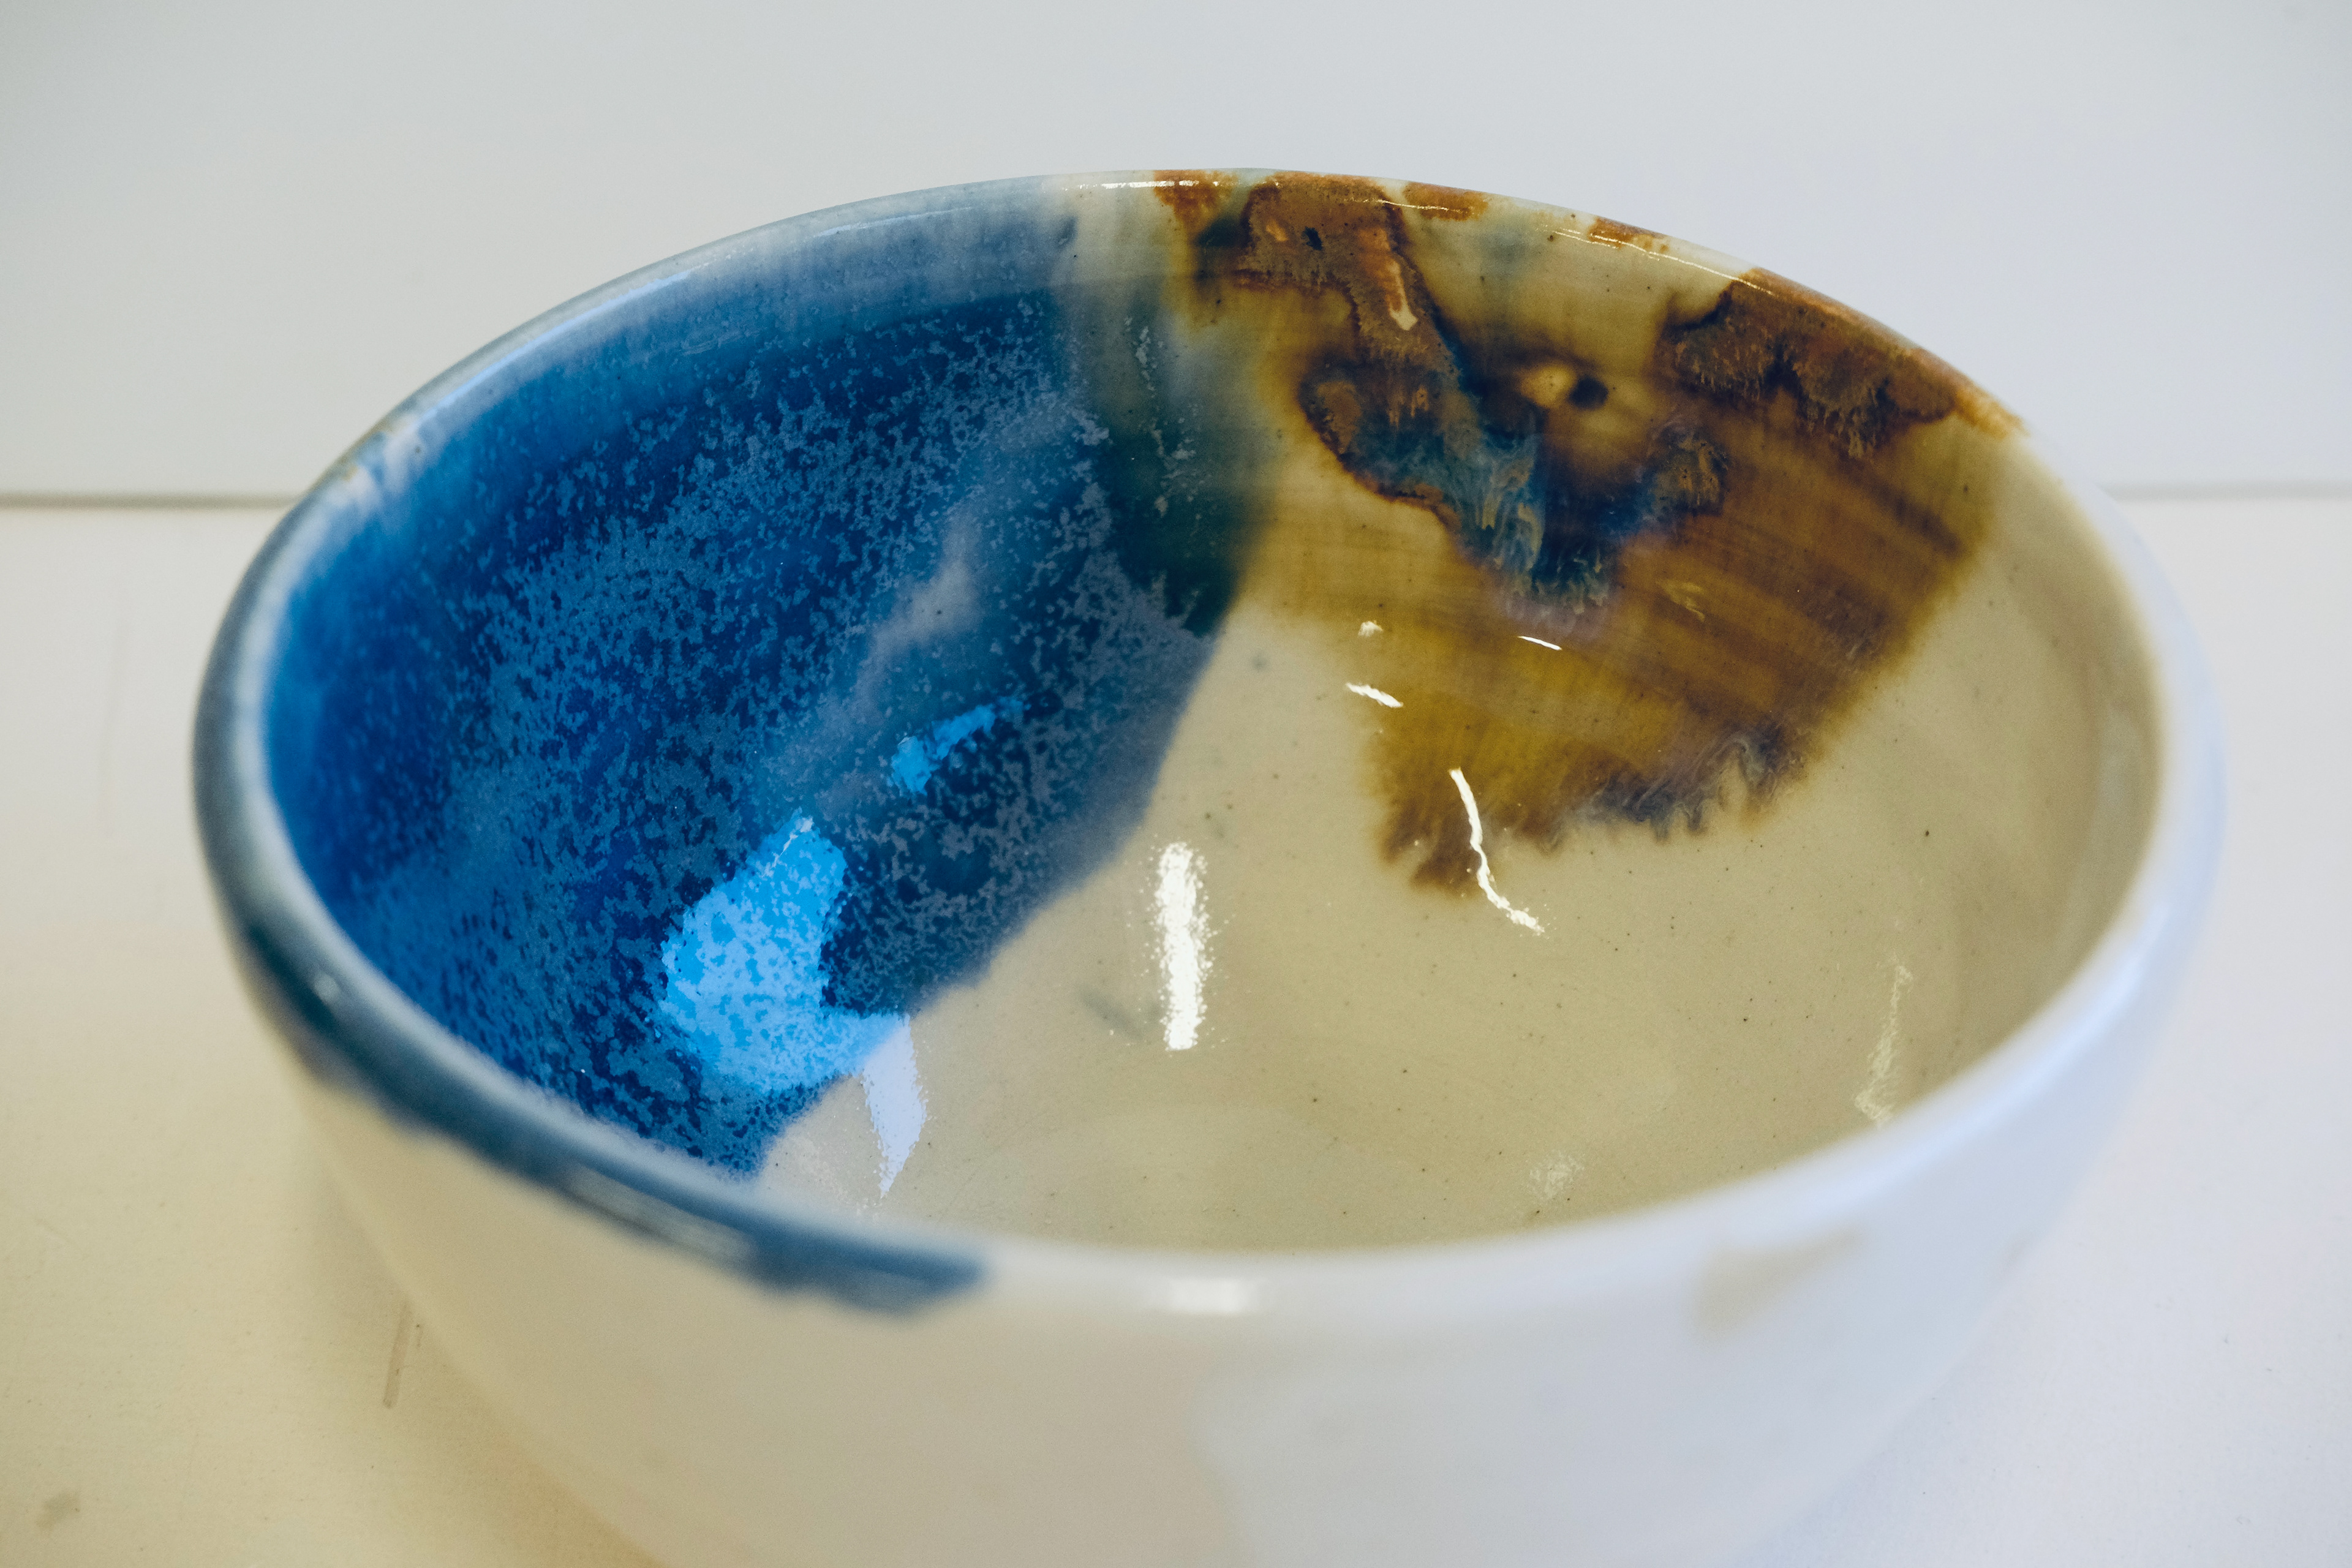
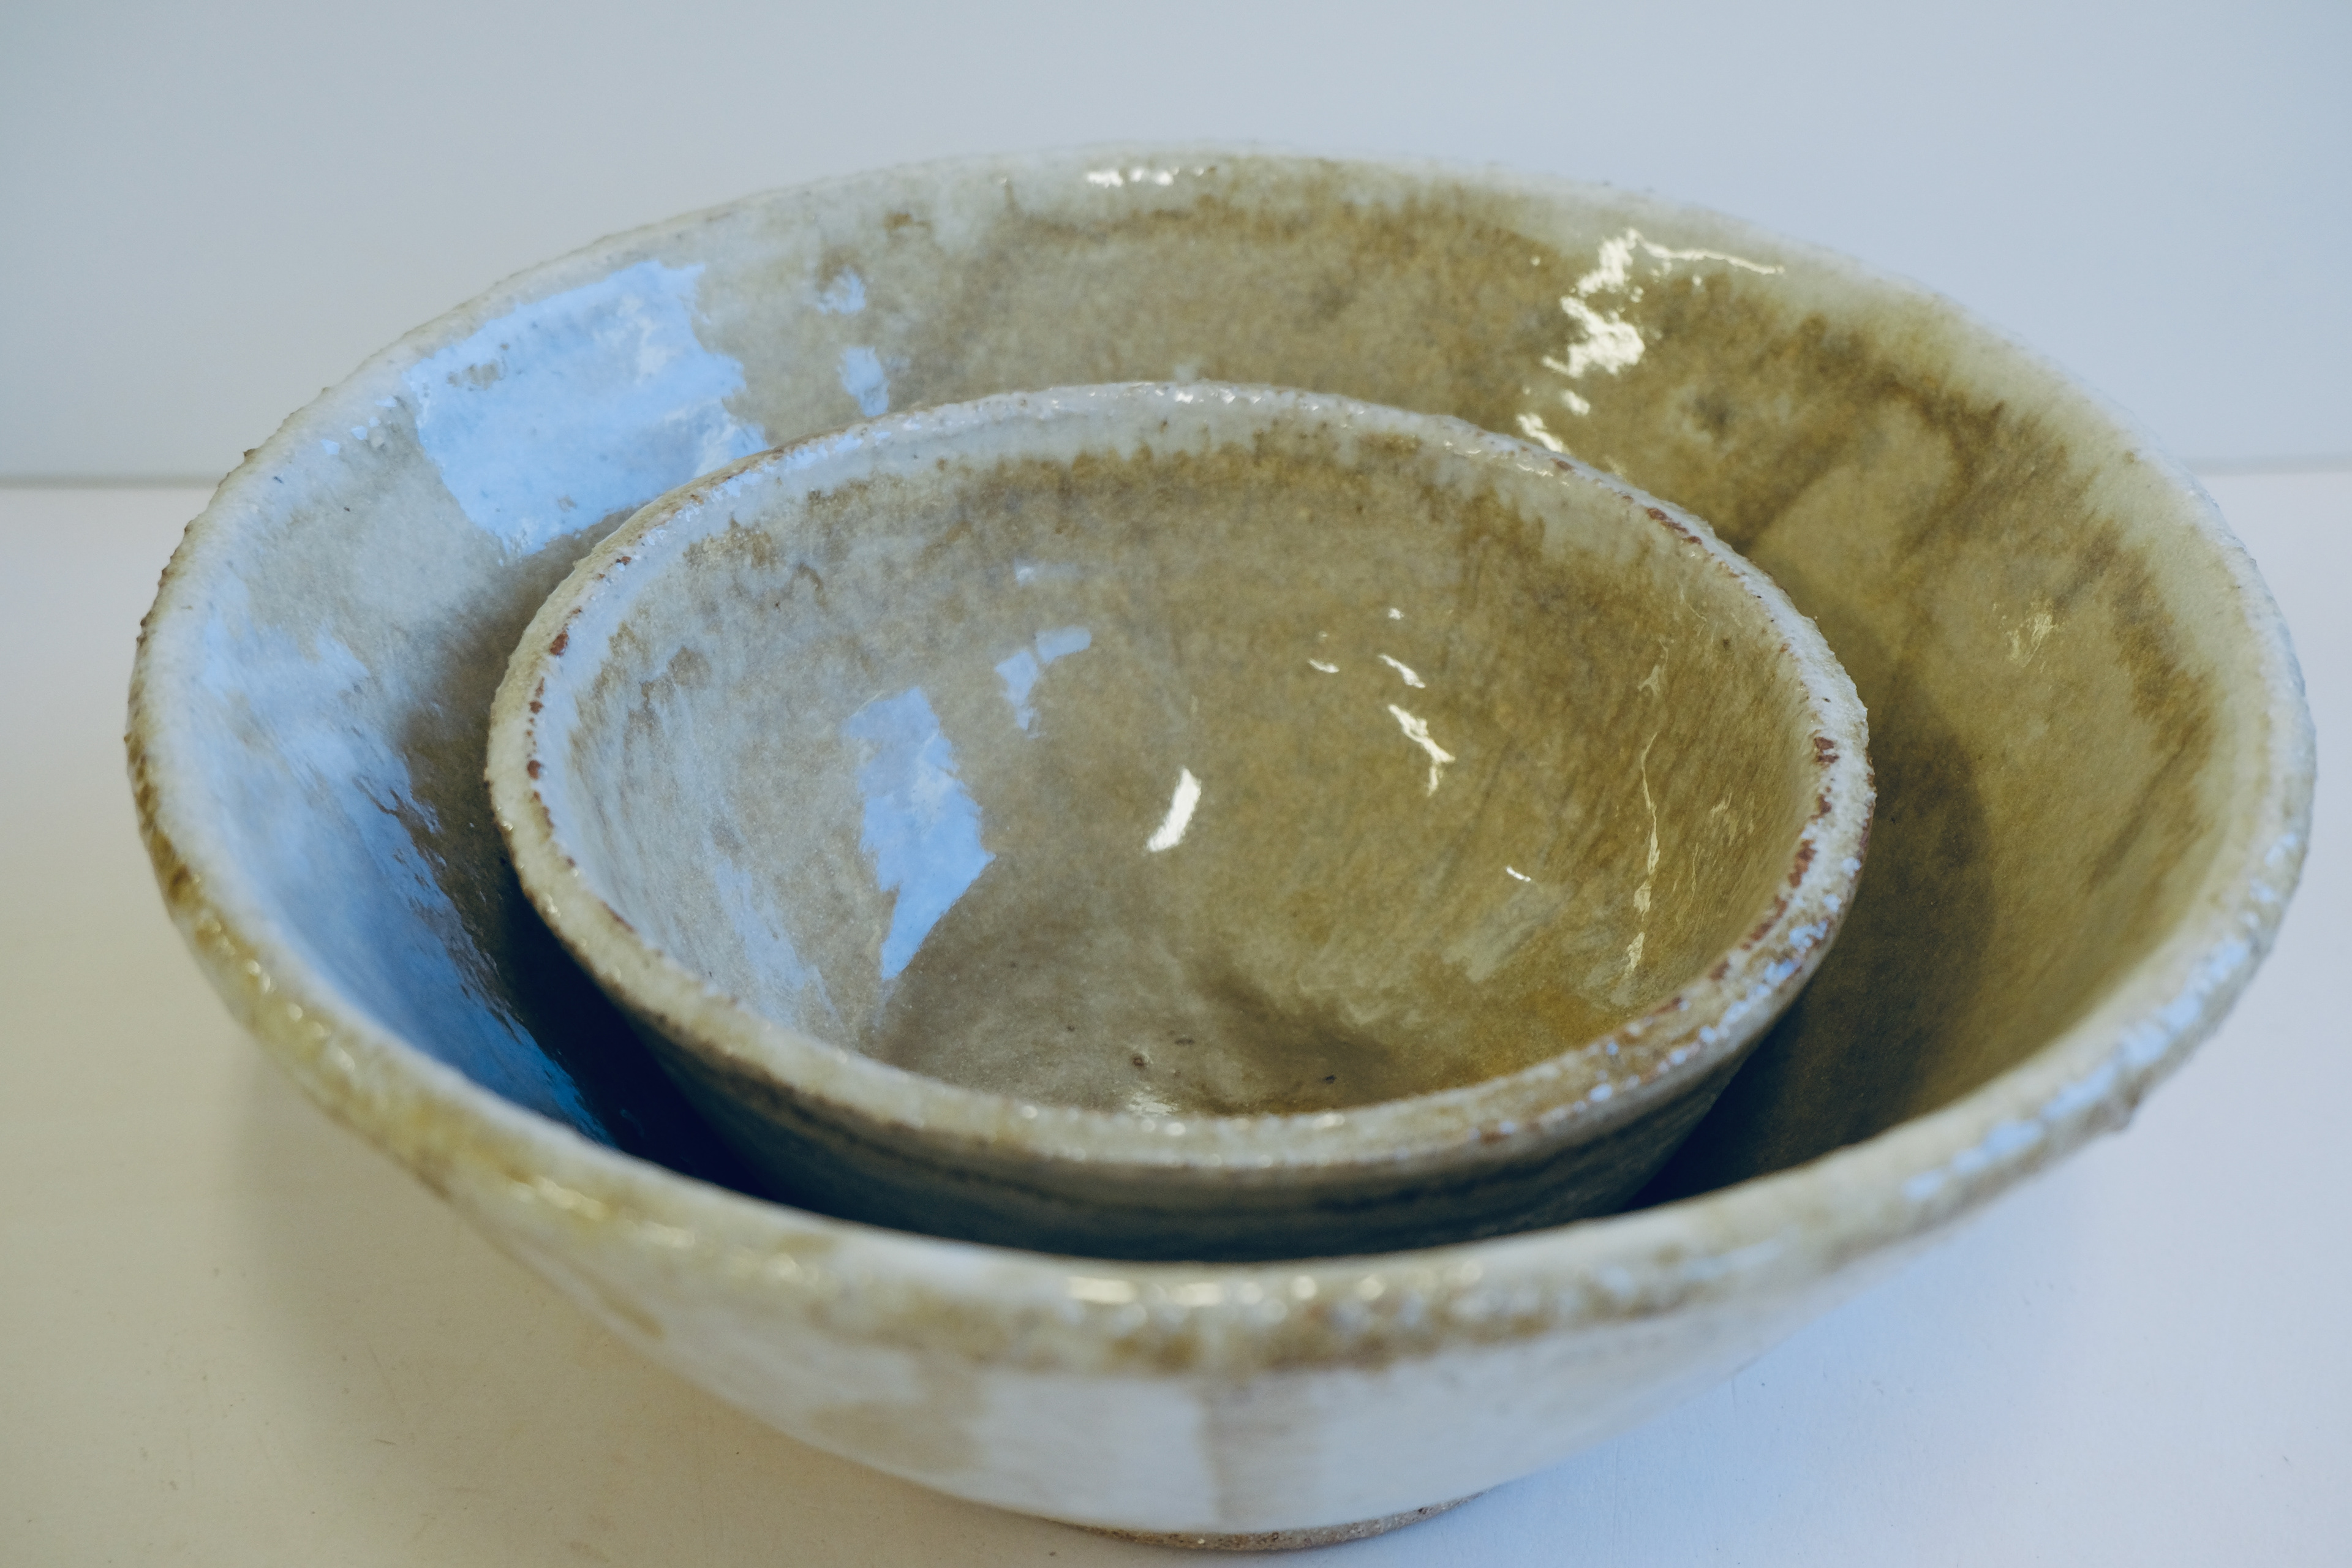
Yellow glaze and blue green glaze over the rim.

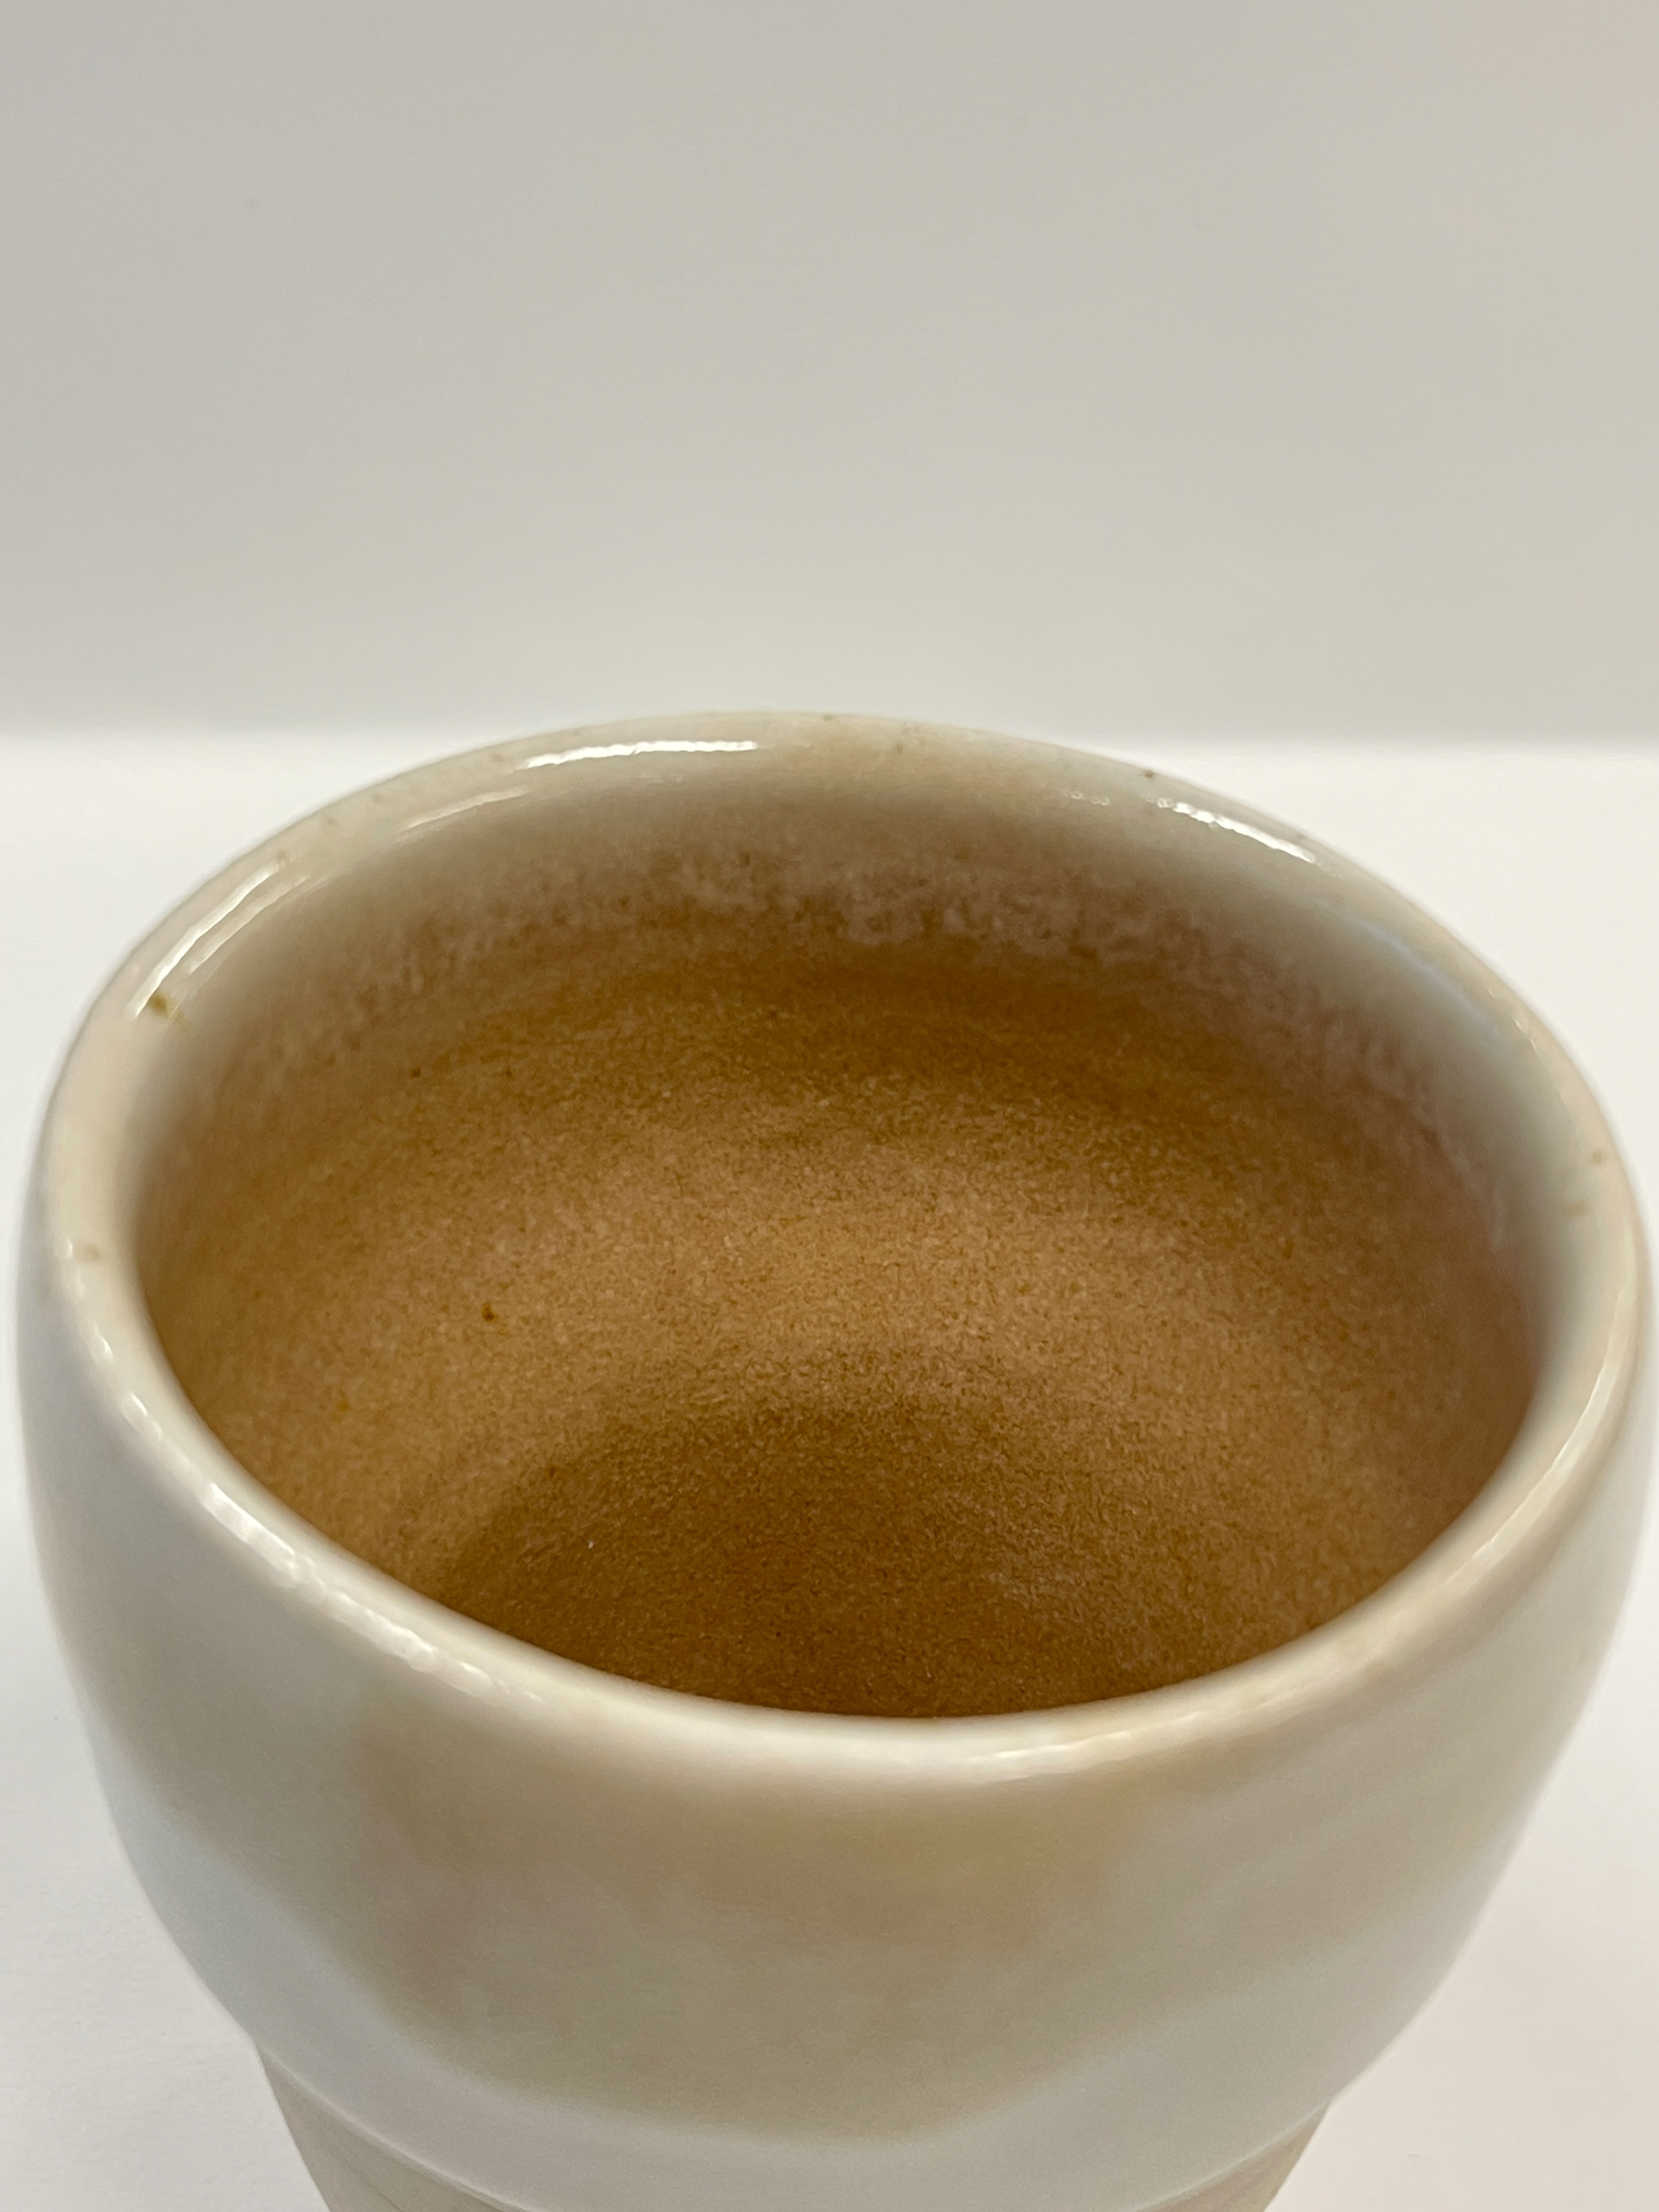
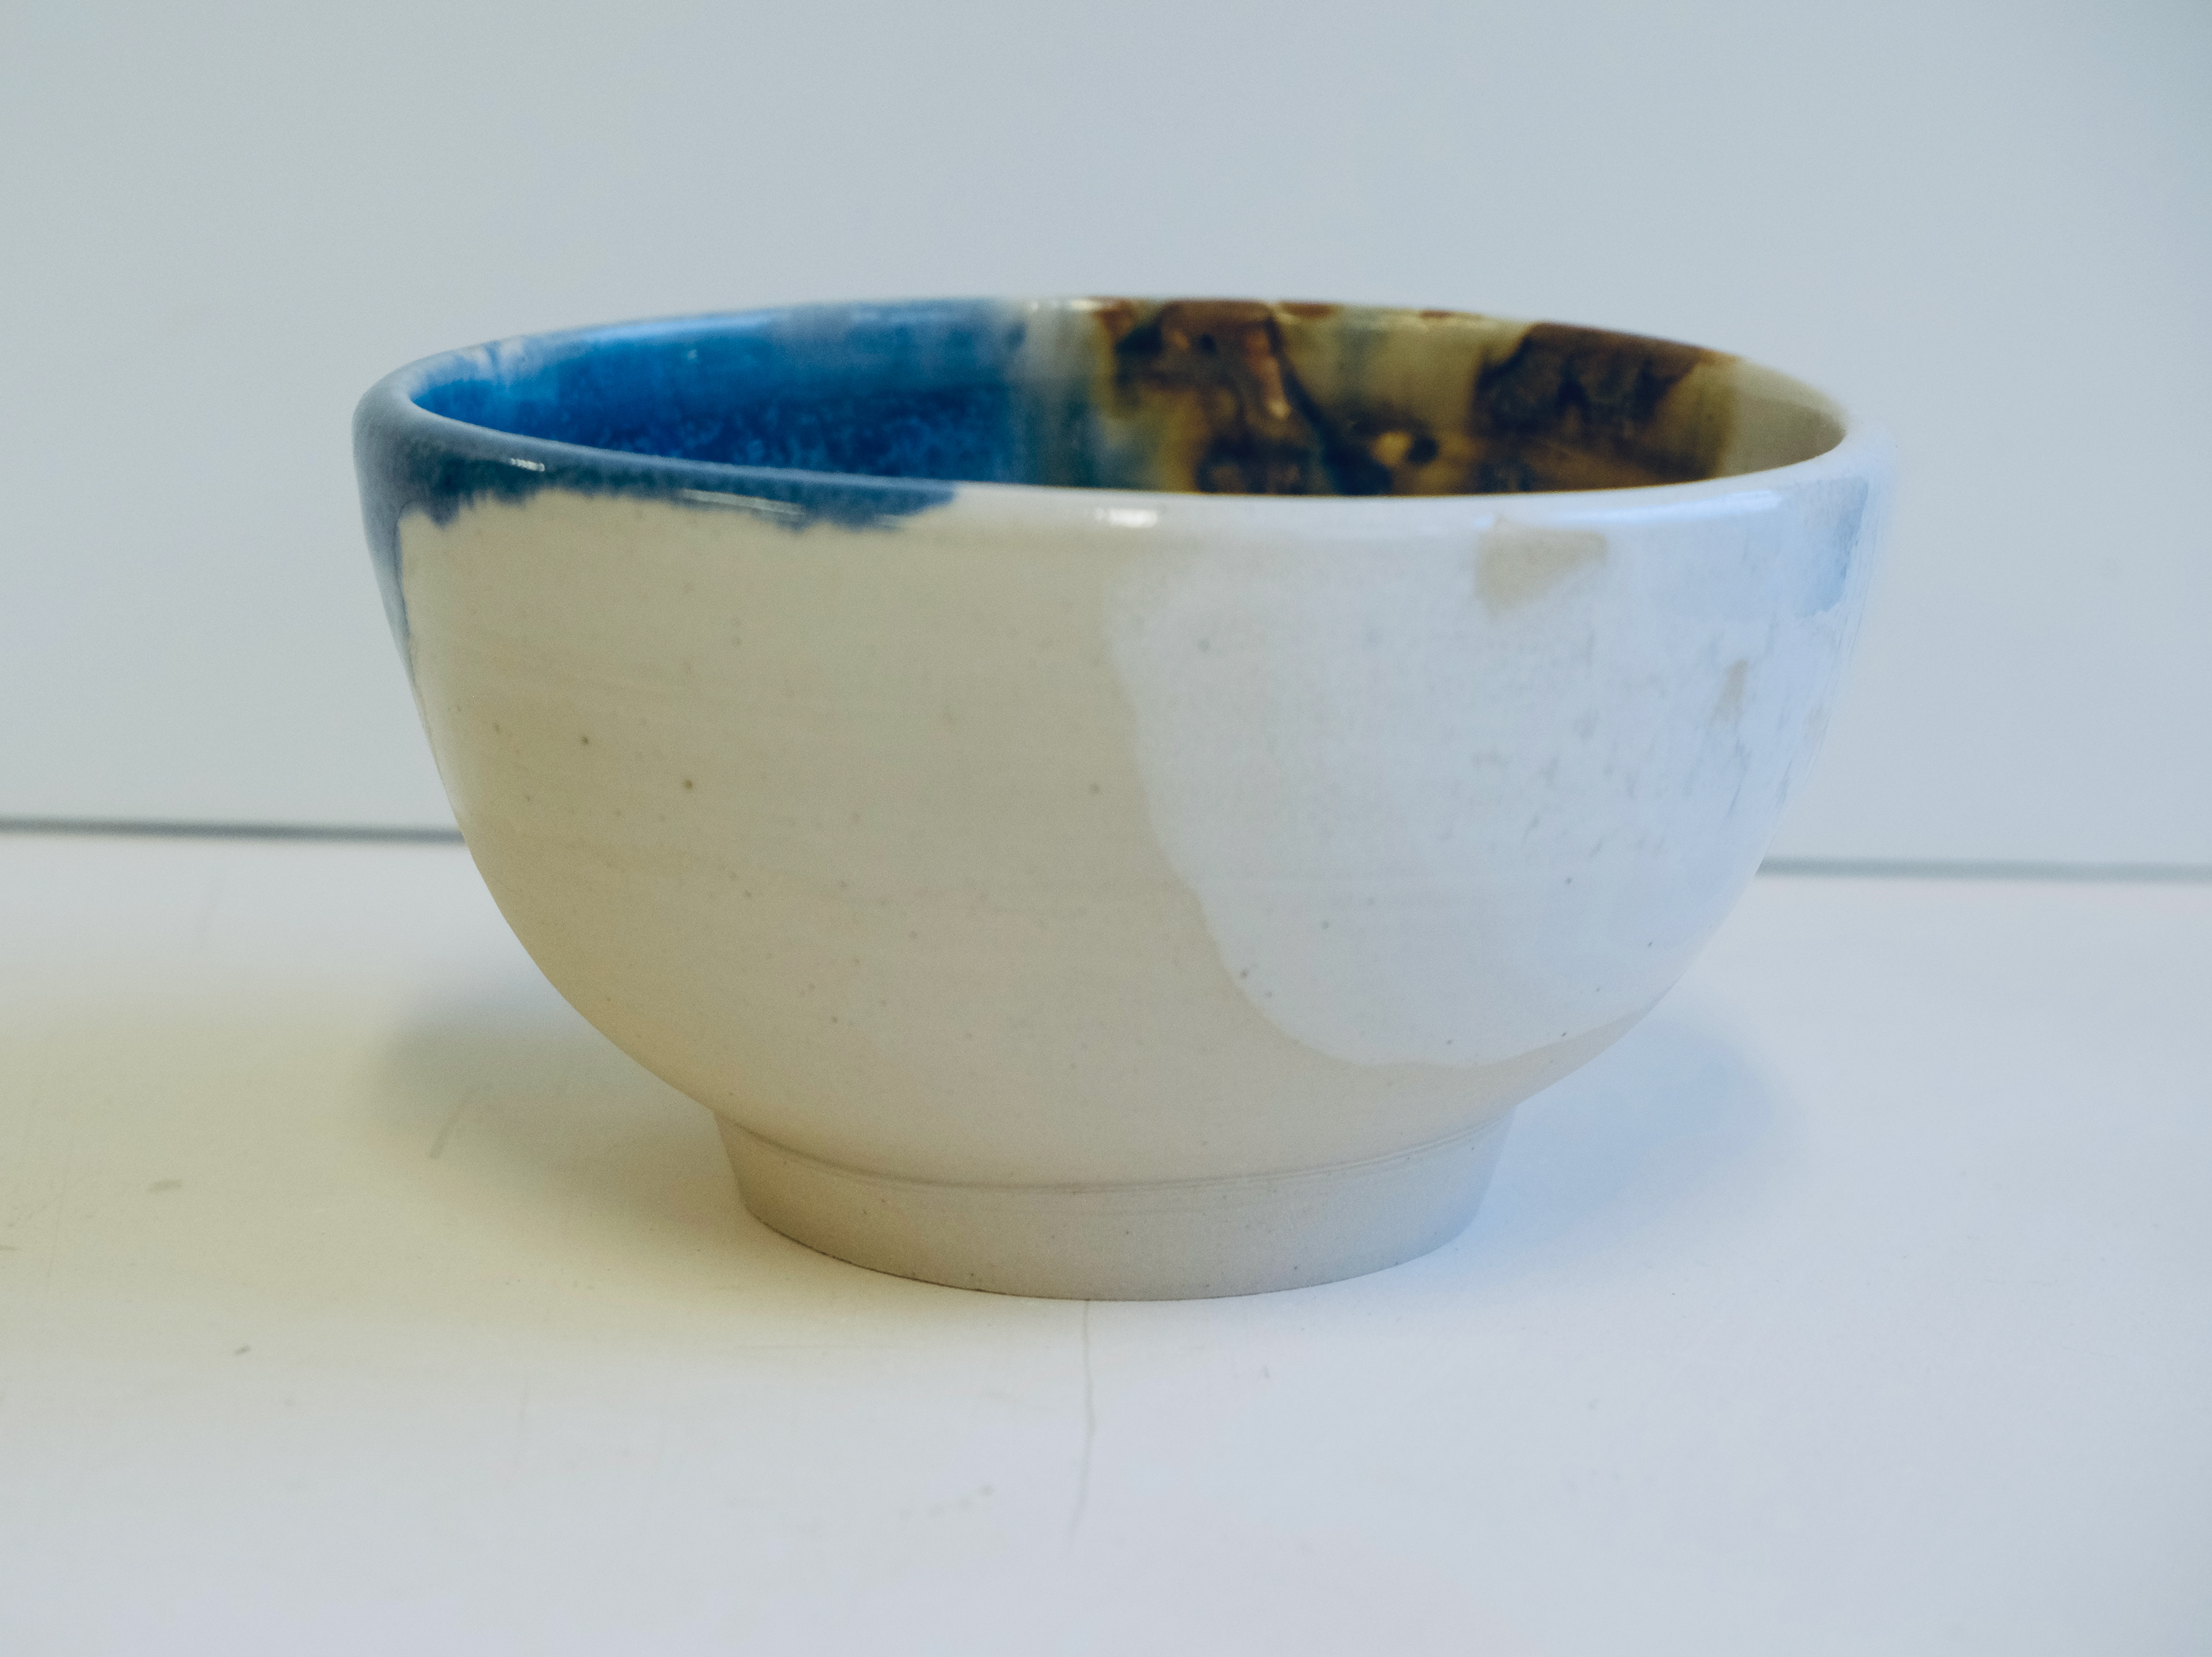
White/Zerconuim glaze splattered on the inside.

Yellow glaze over the top of zerconuim.


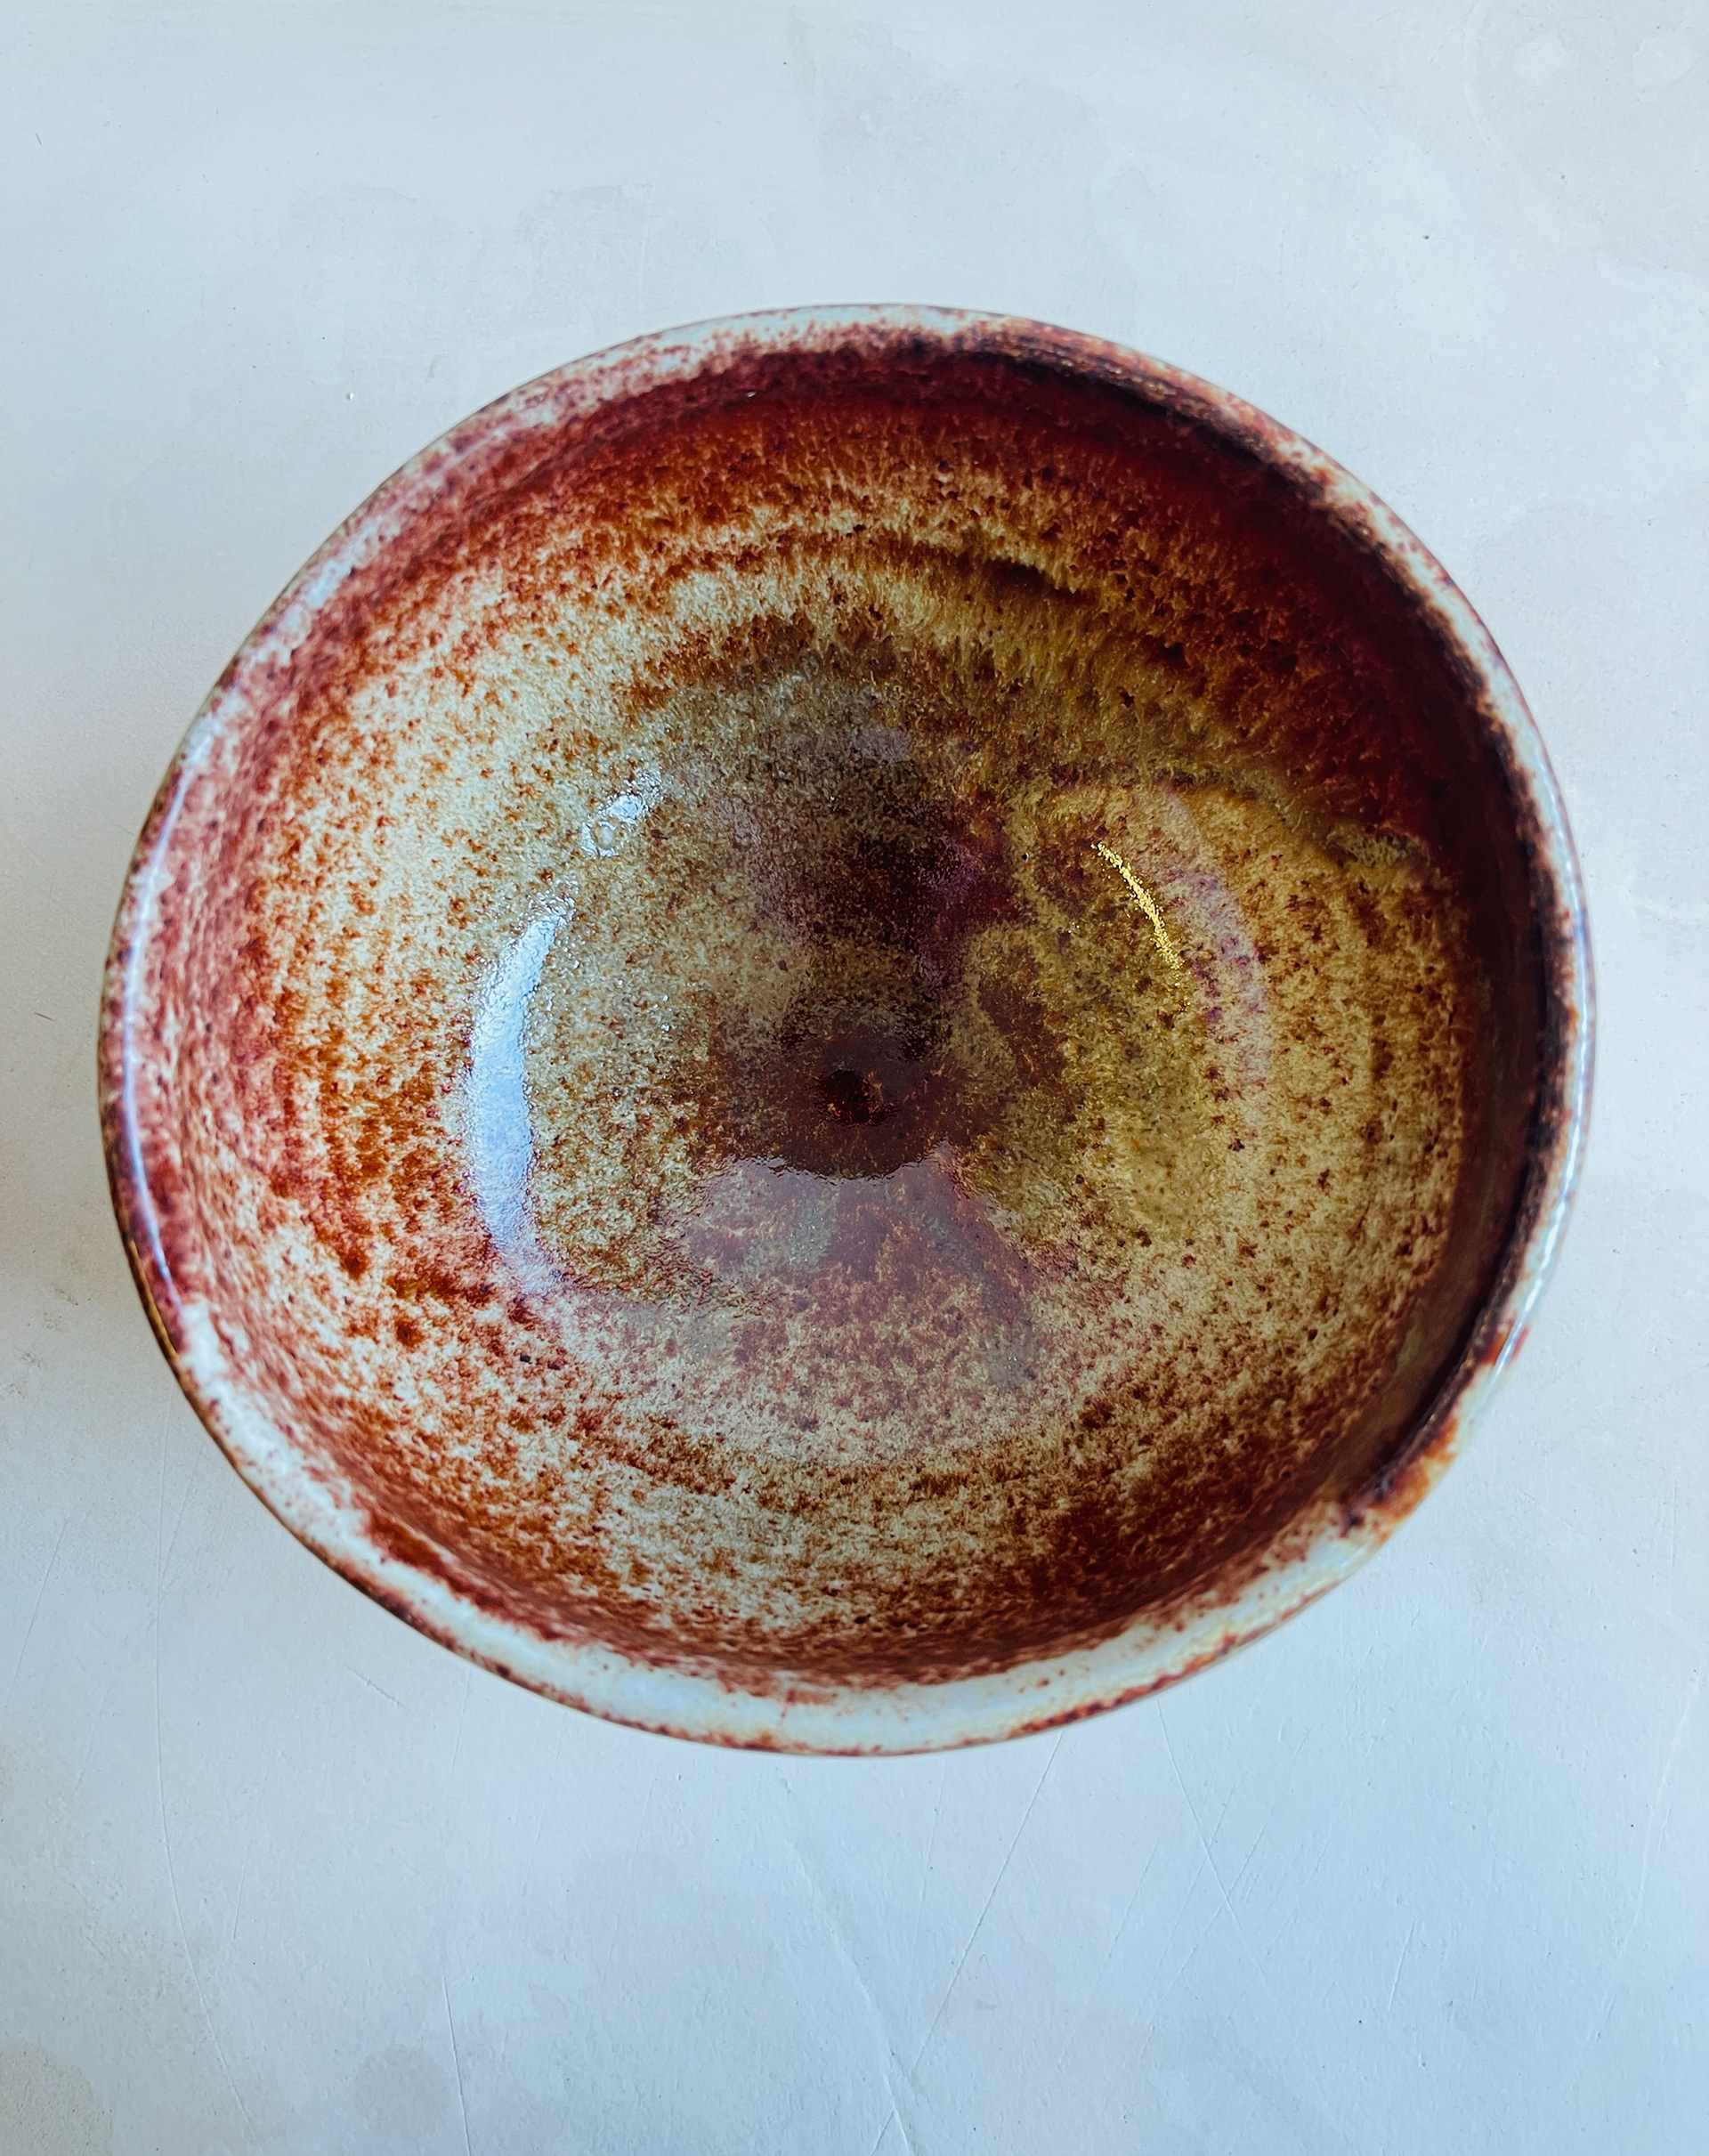
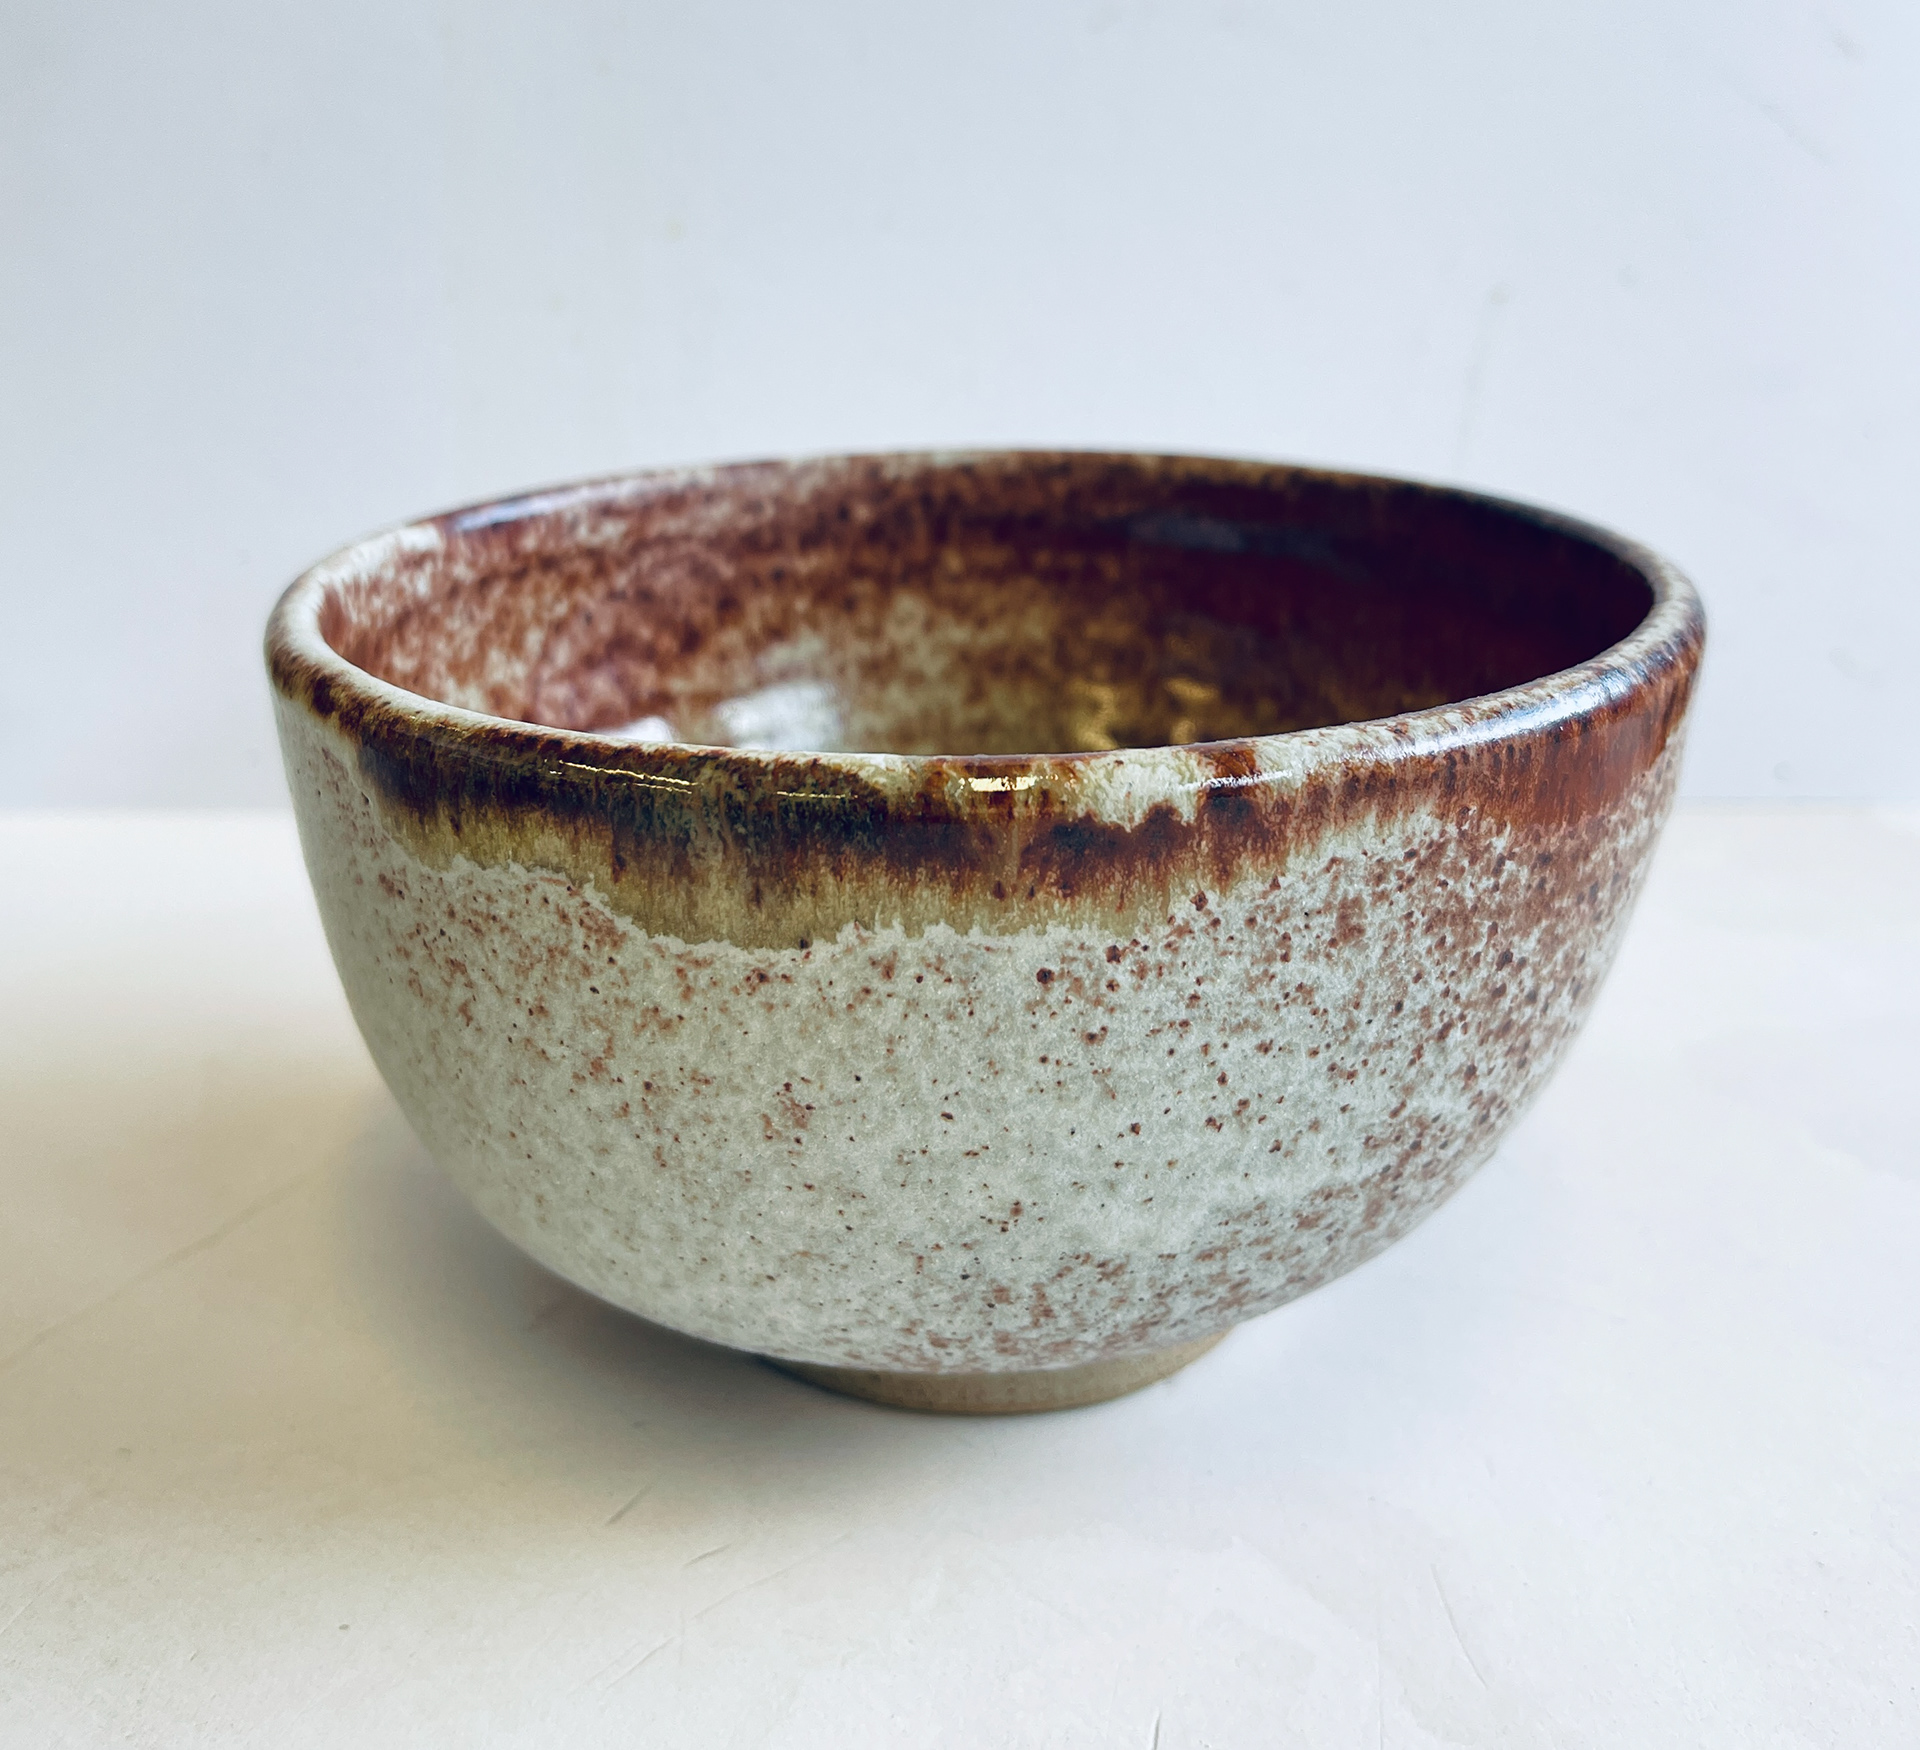


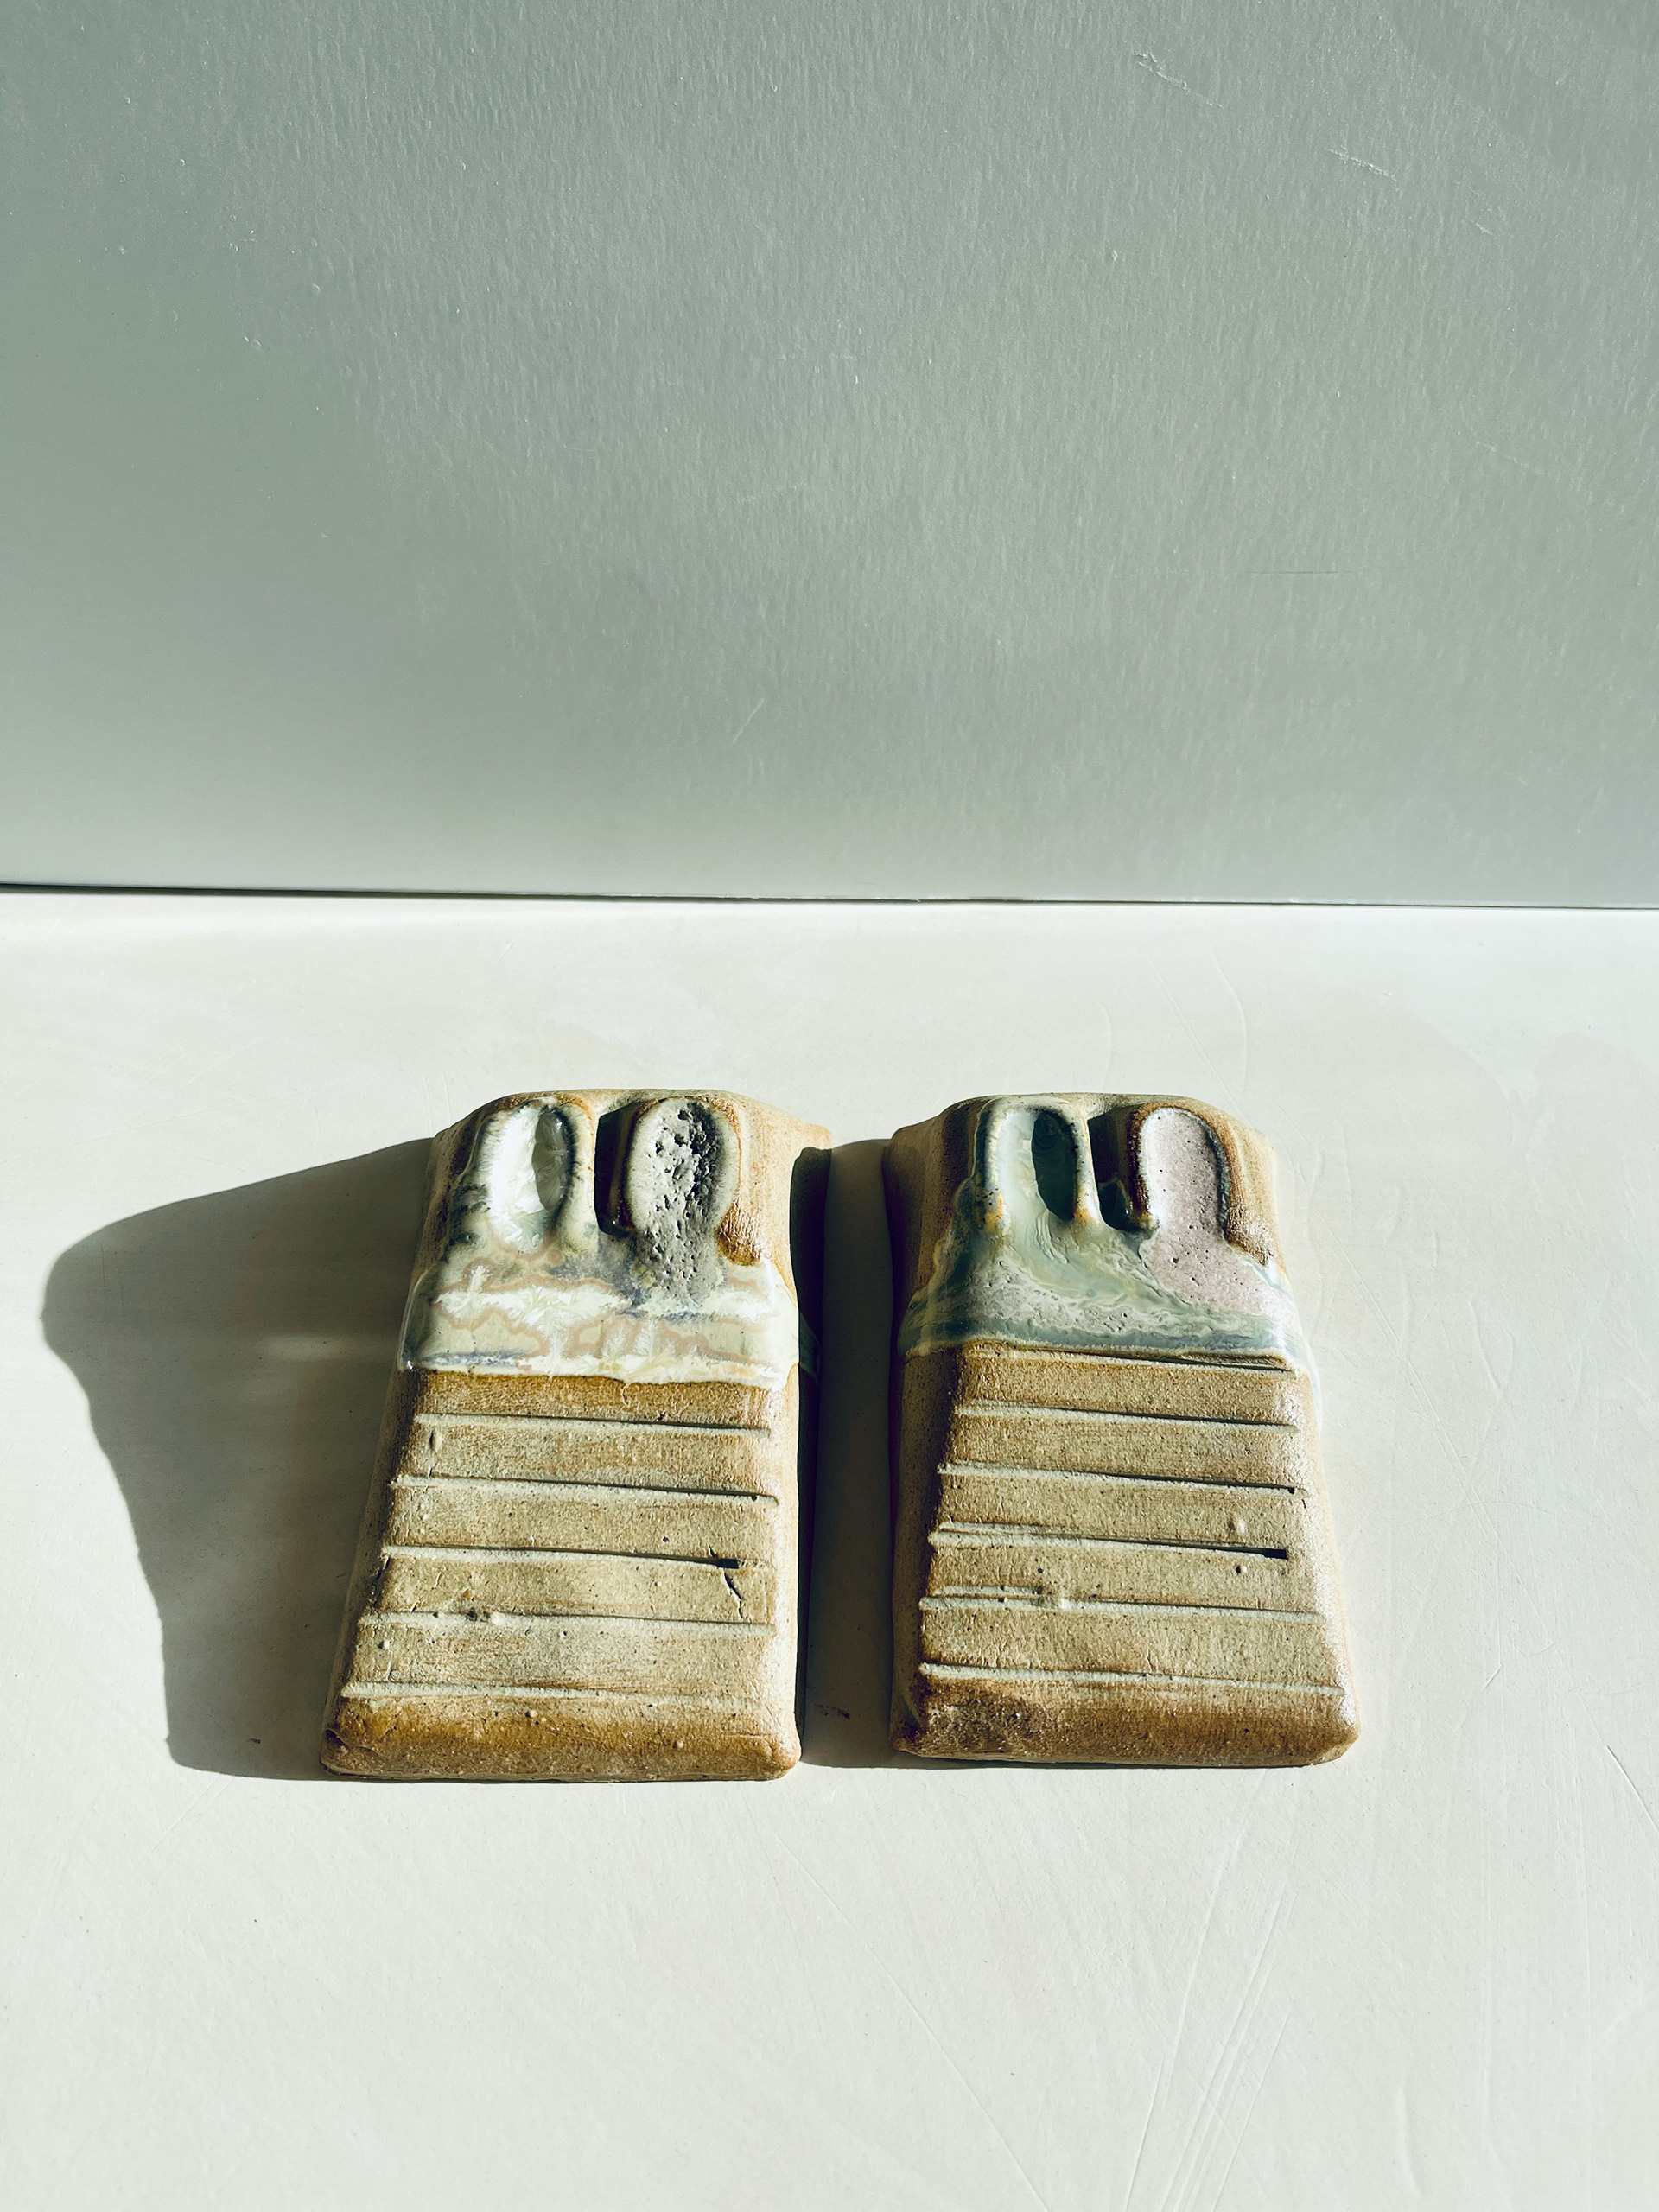
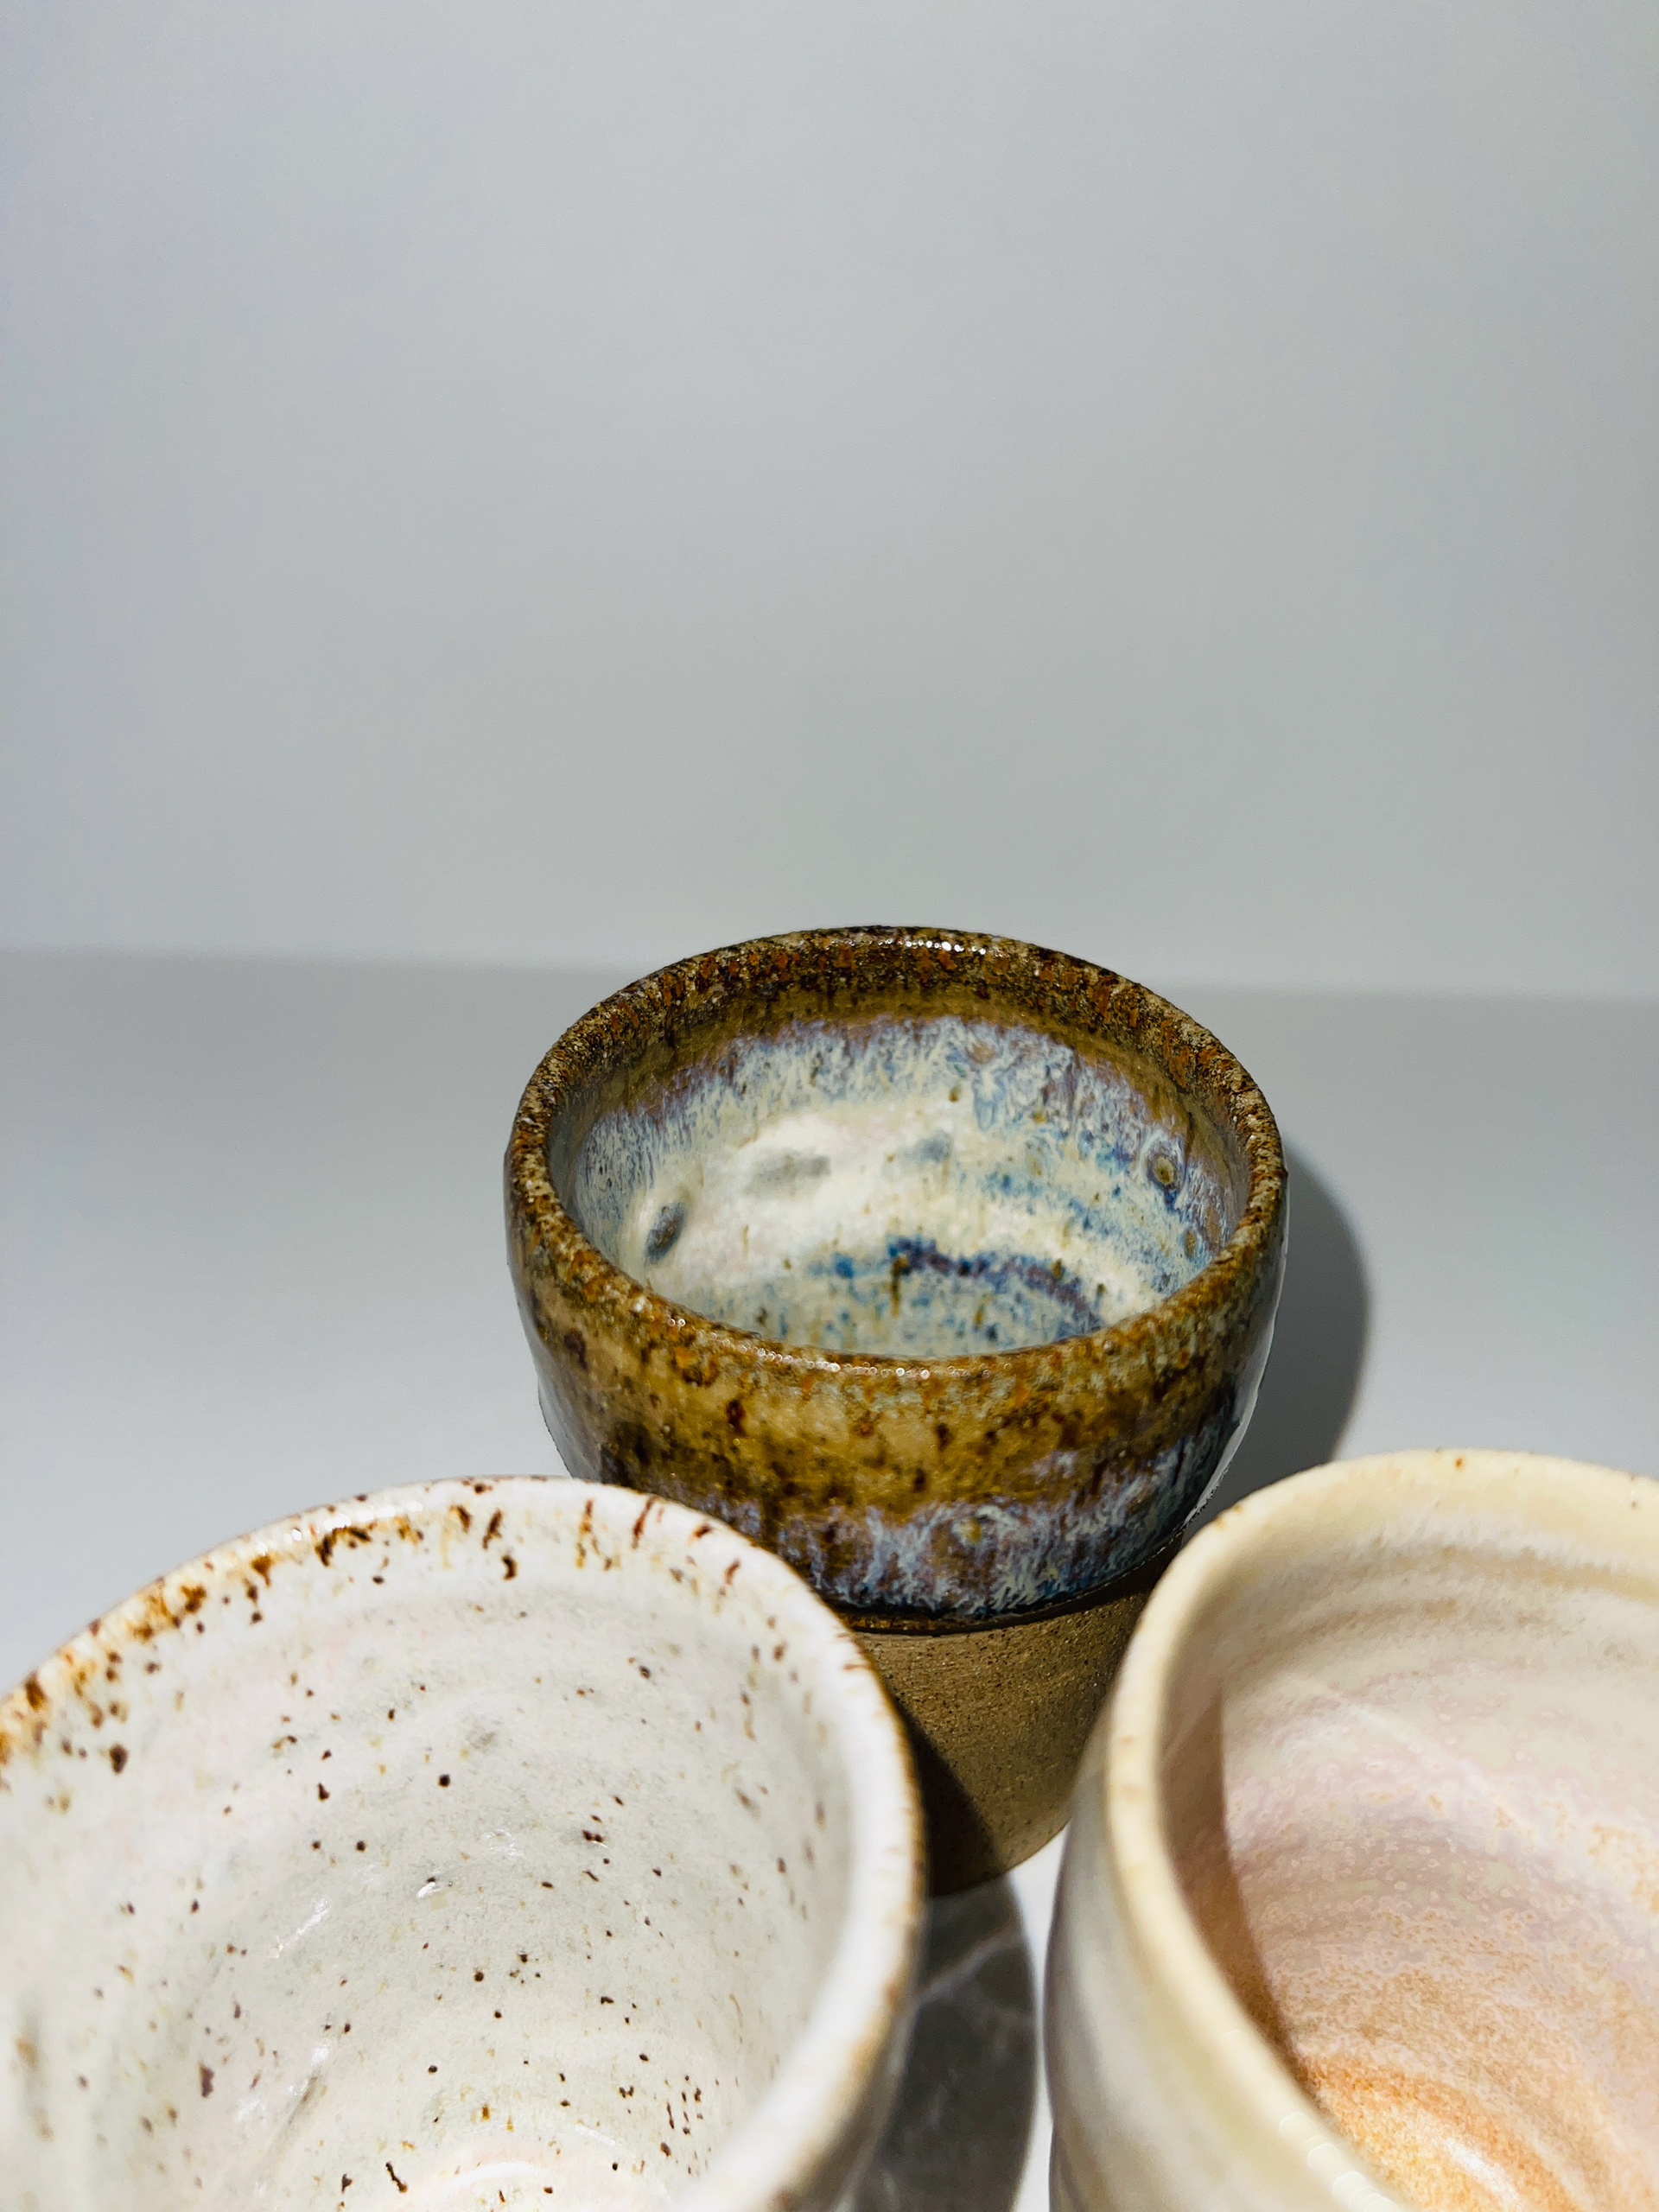
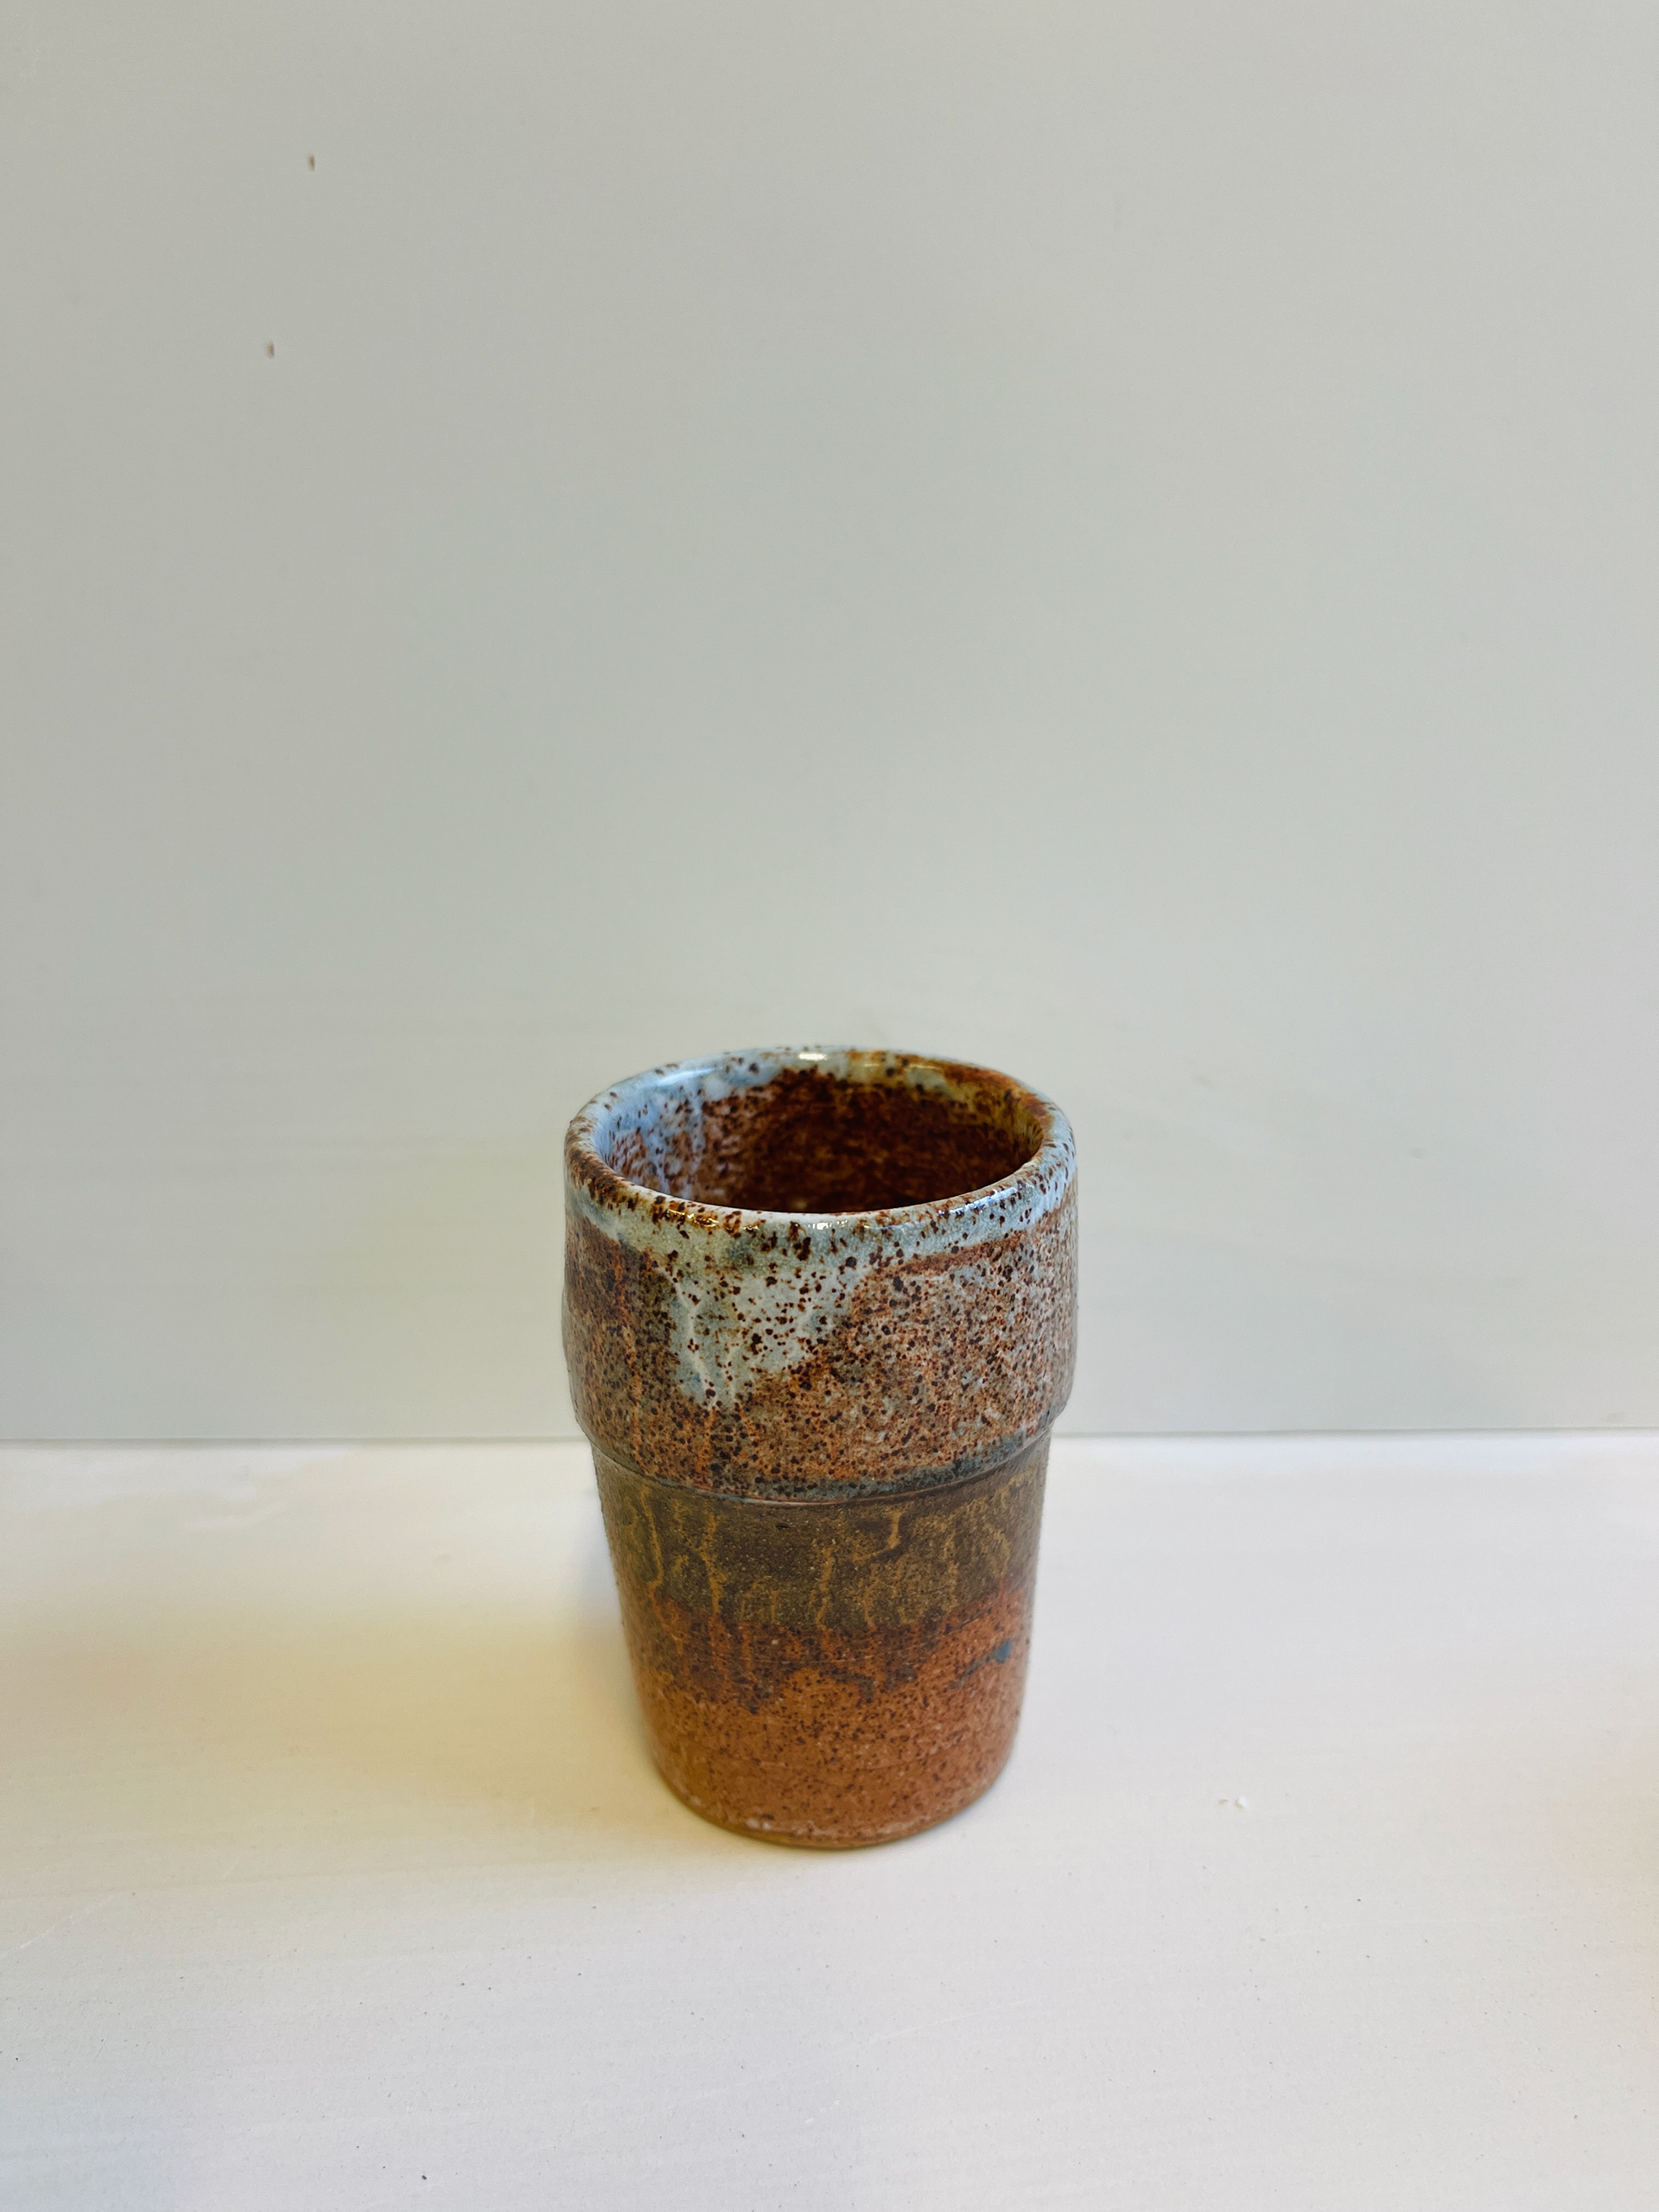
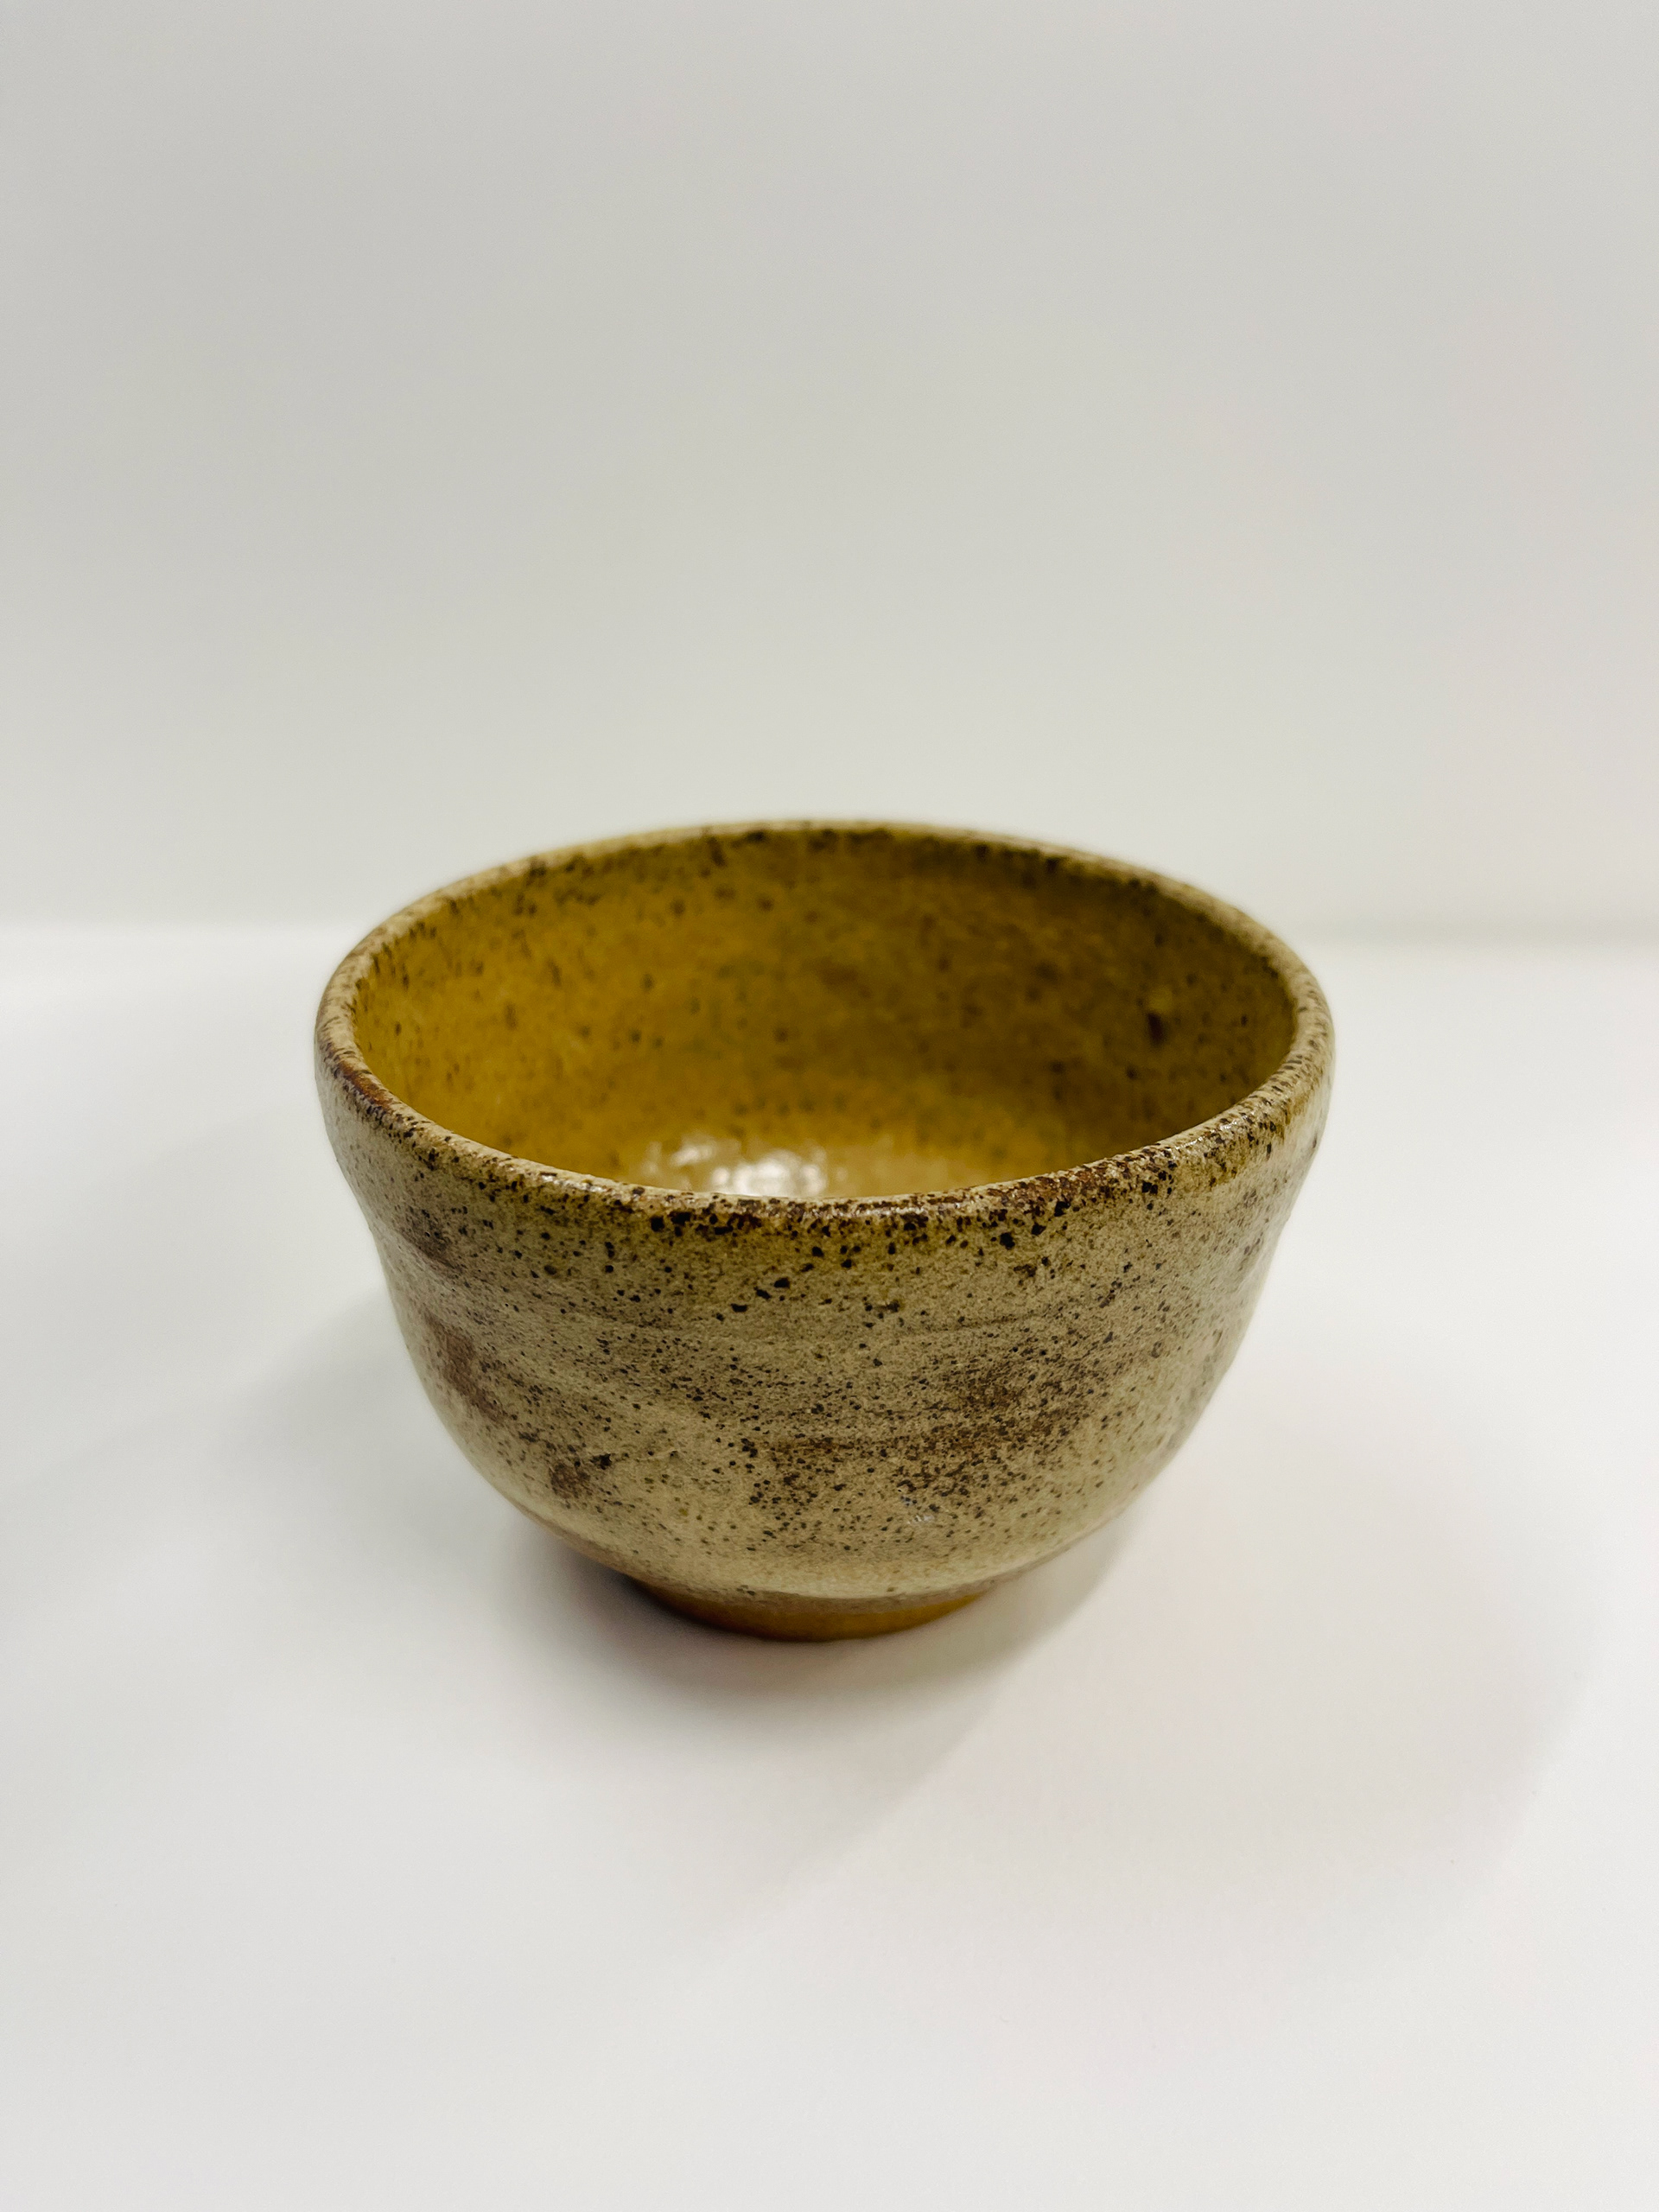
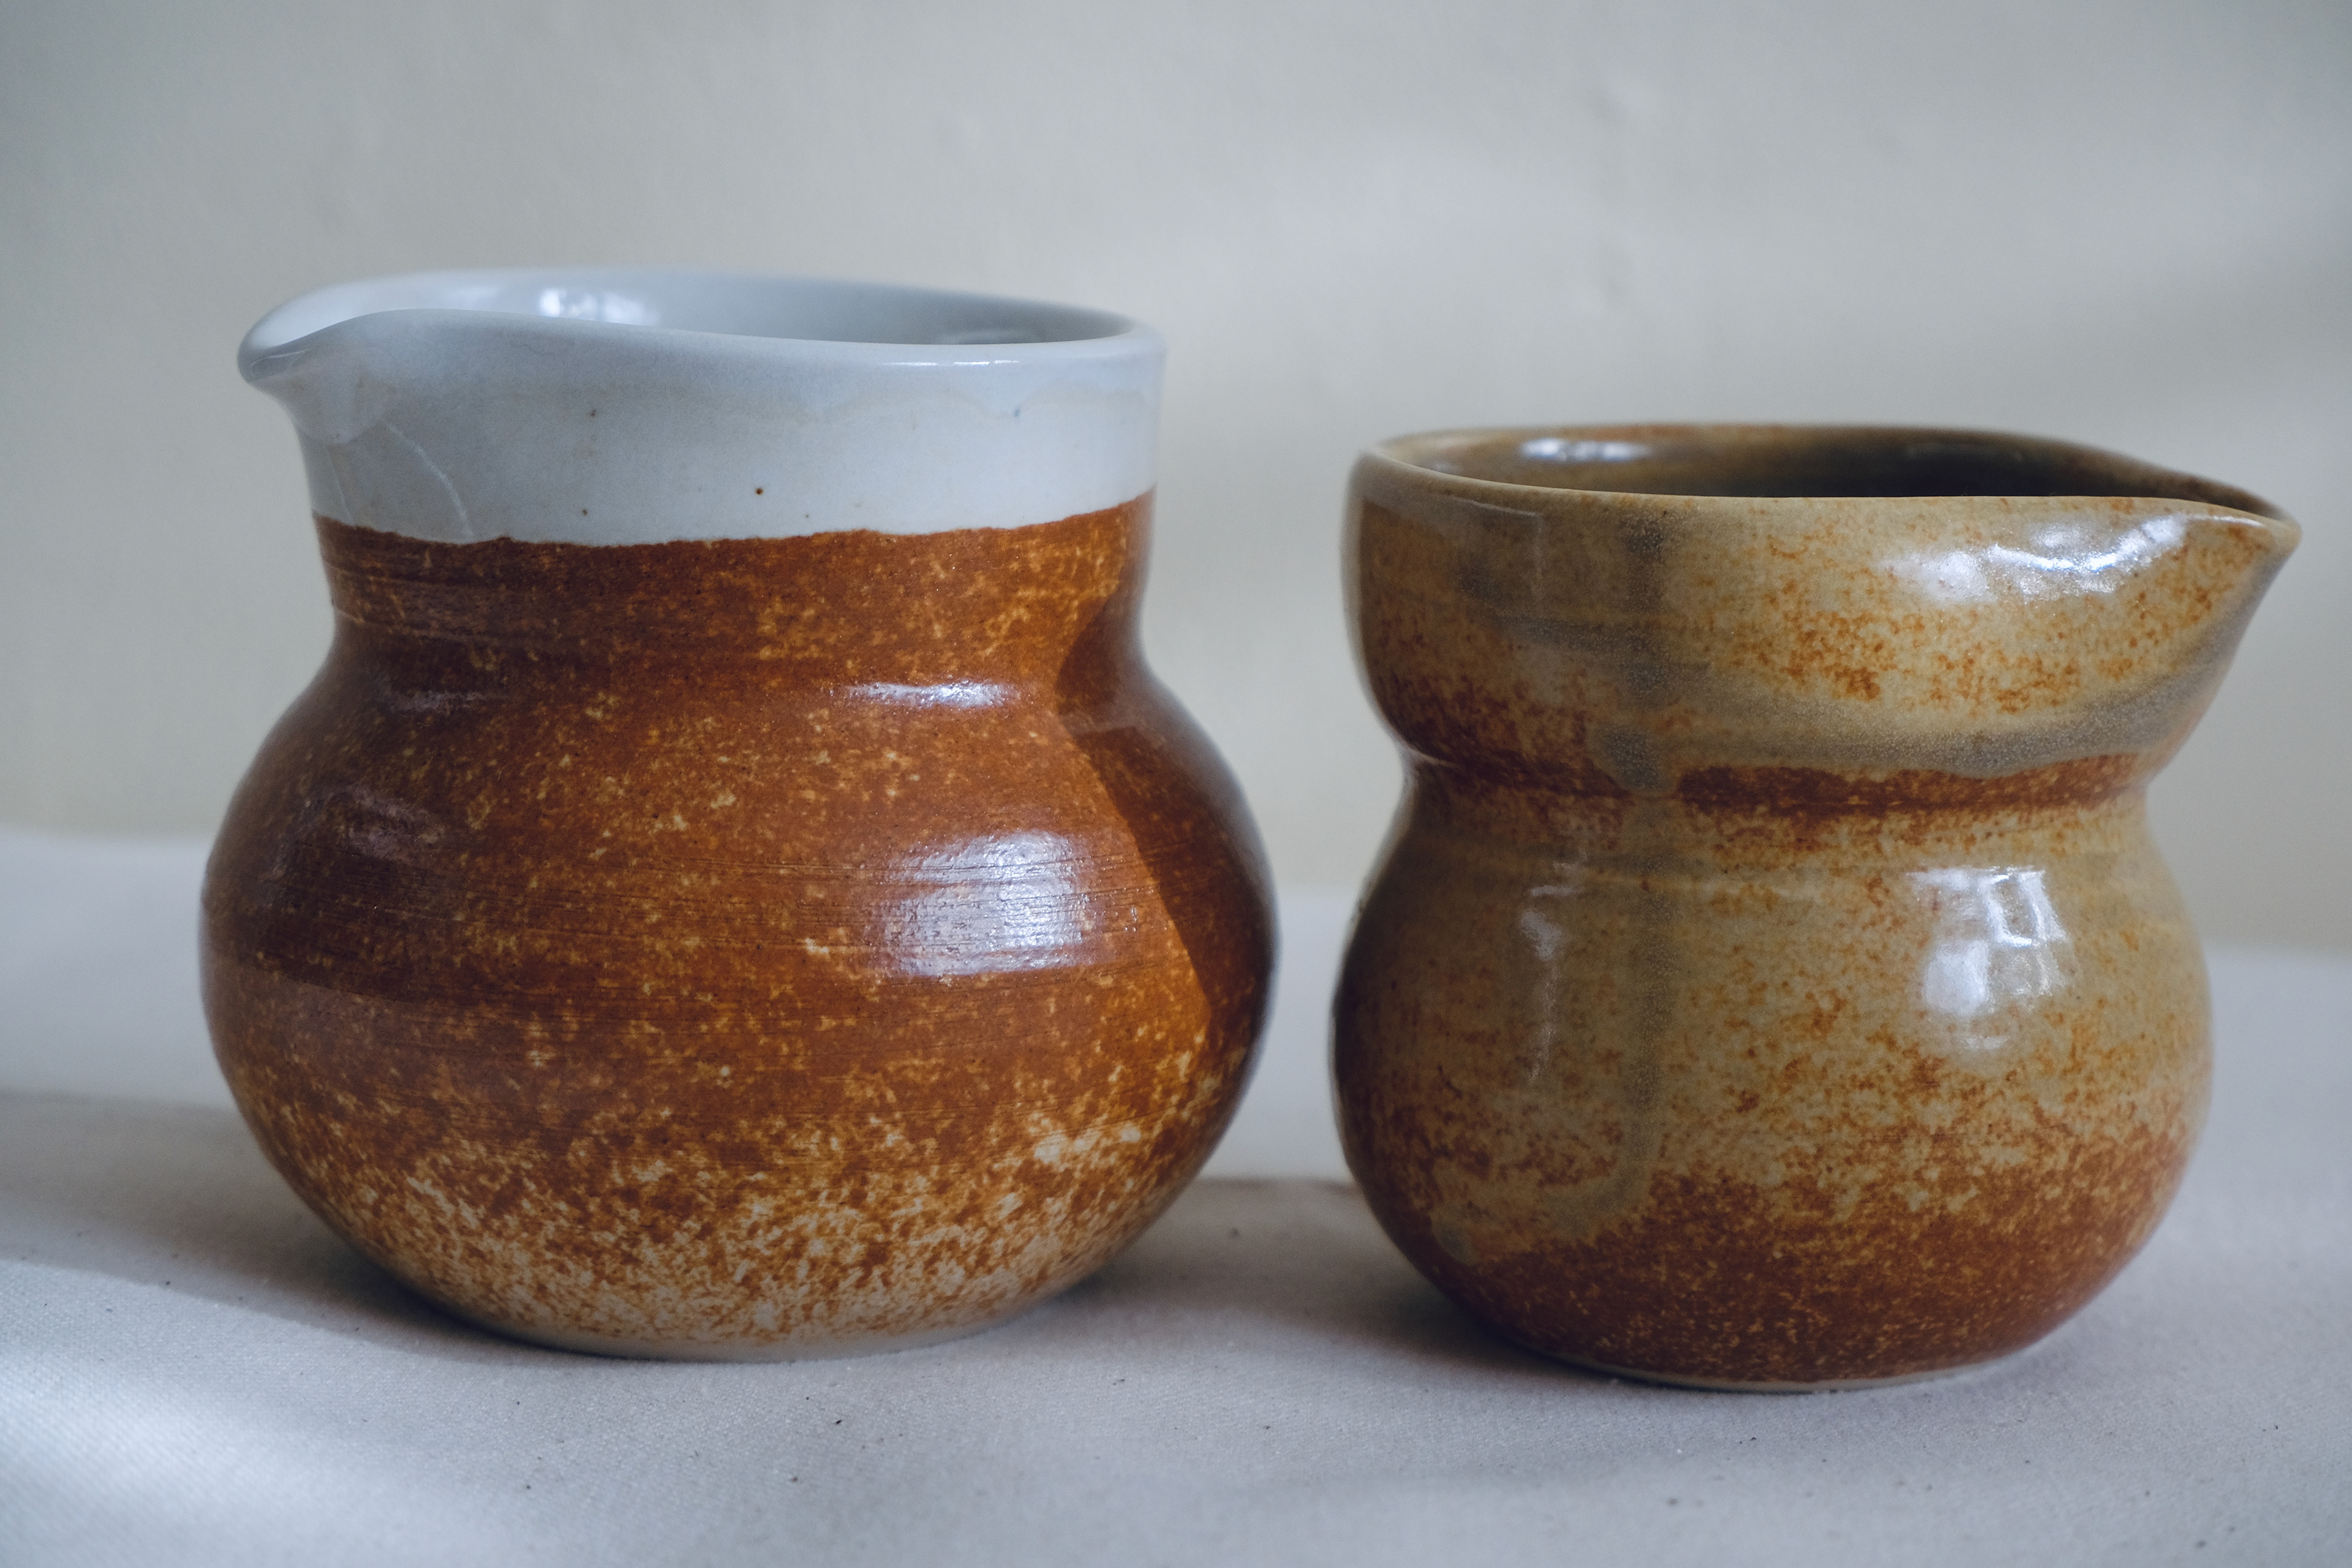
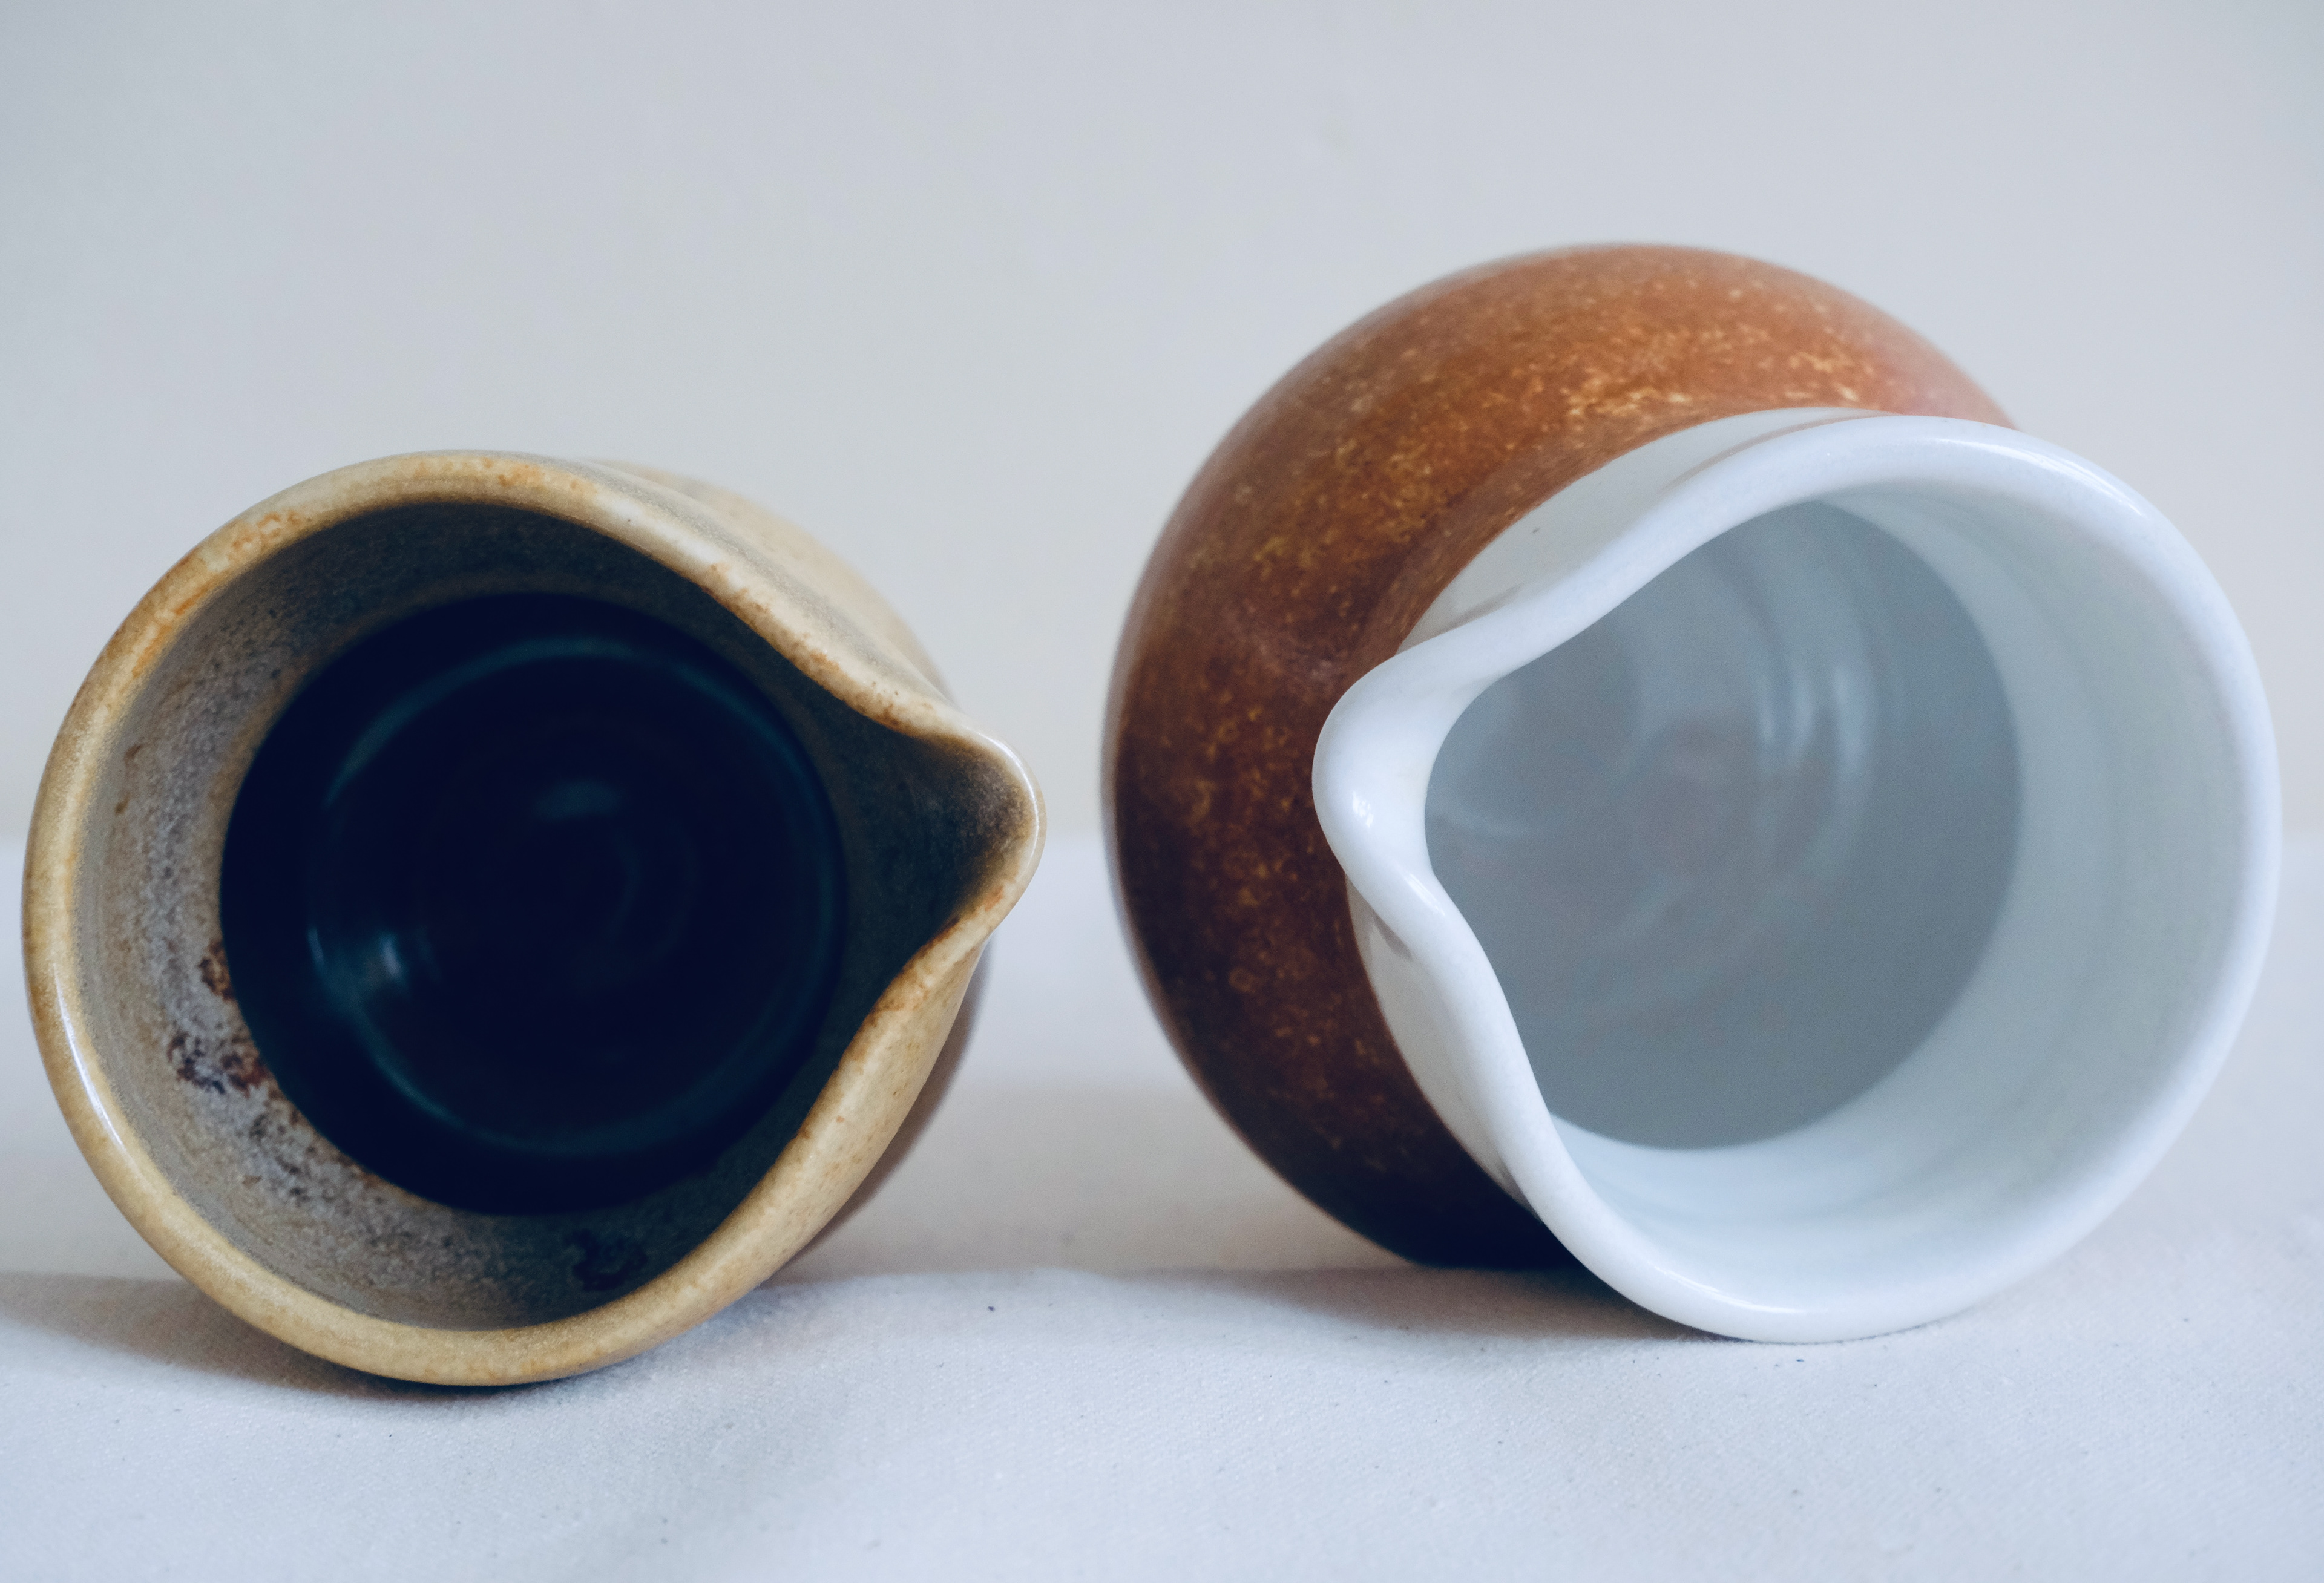
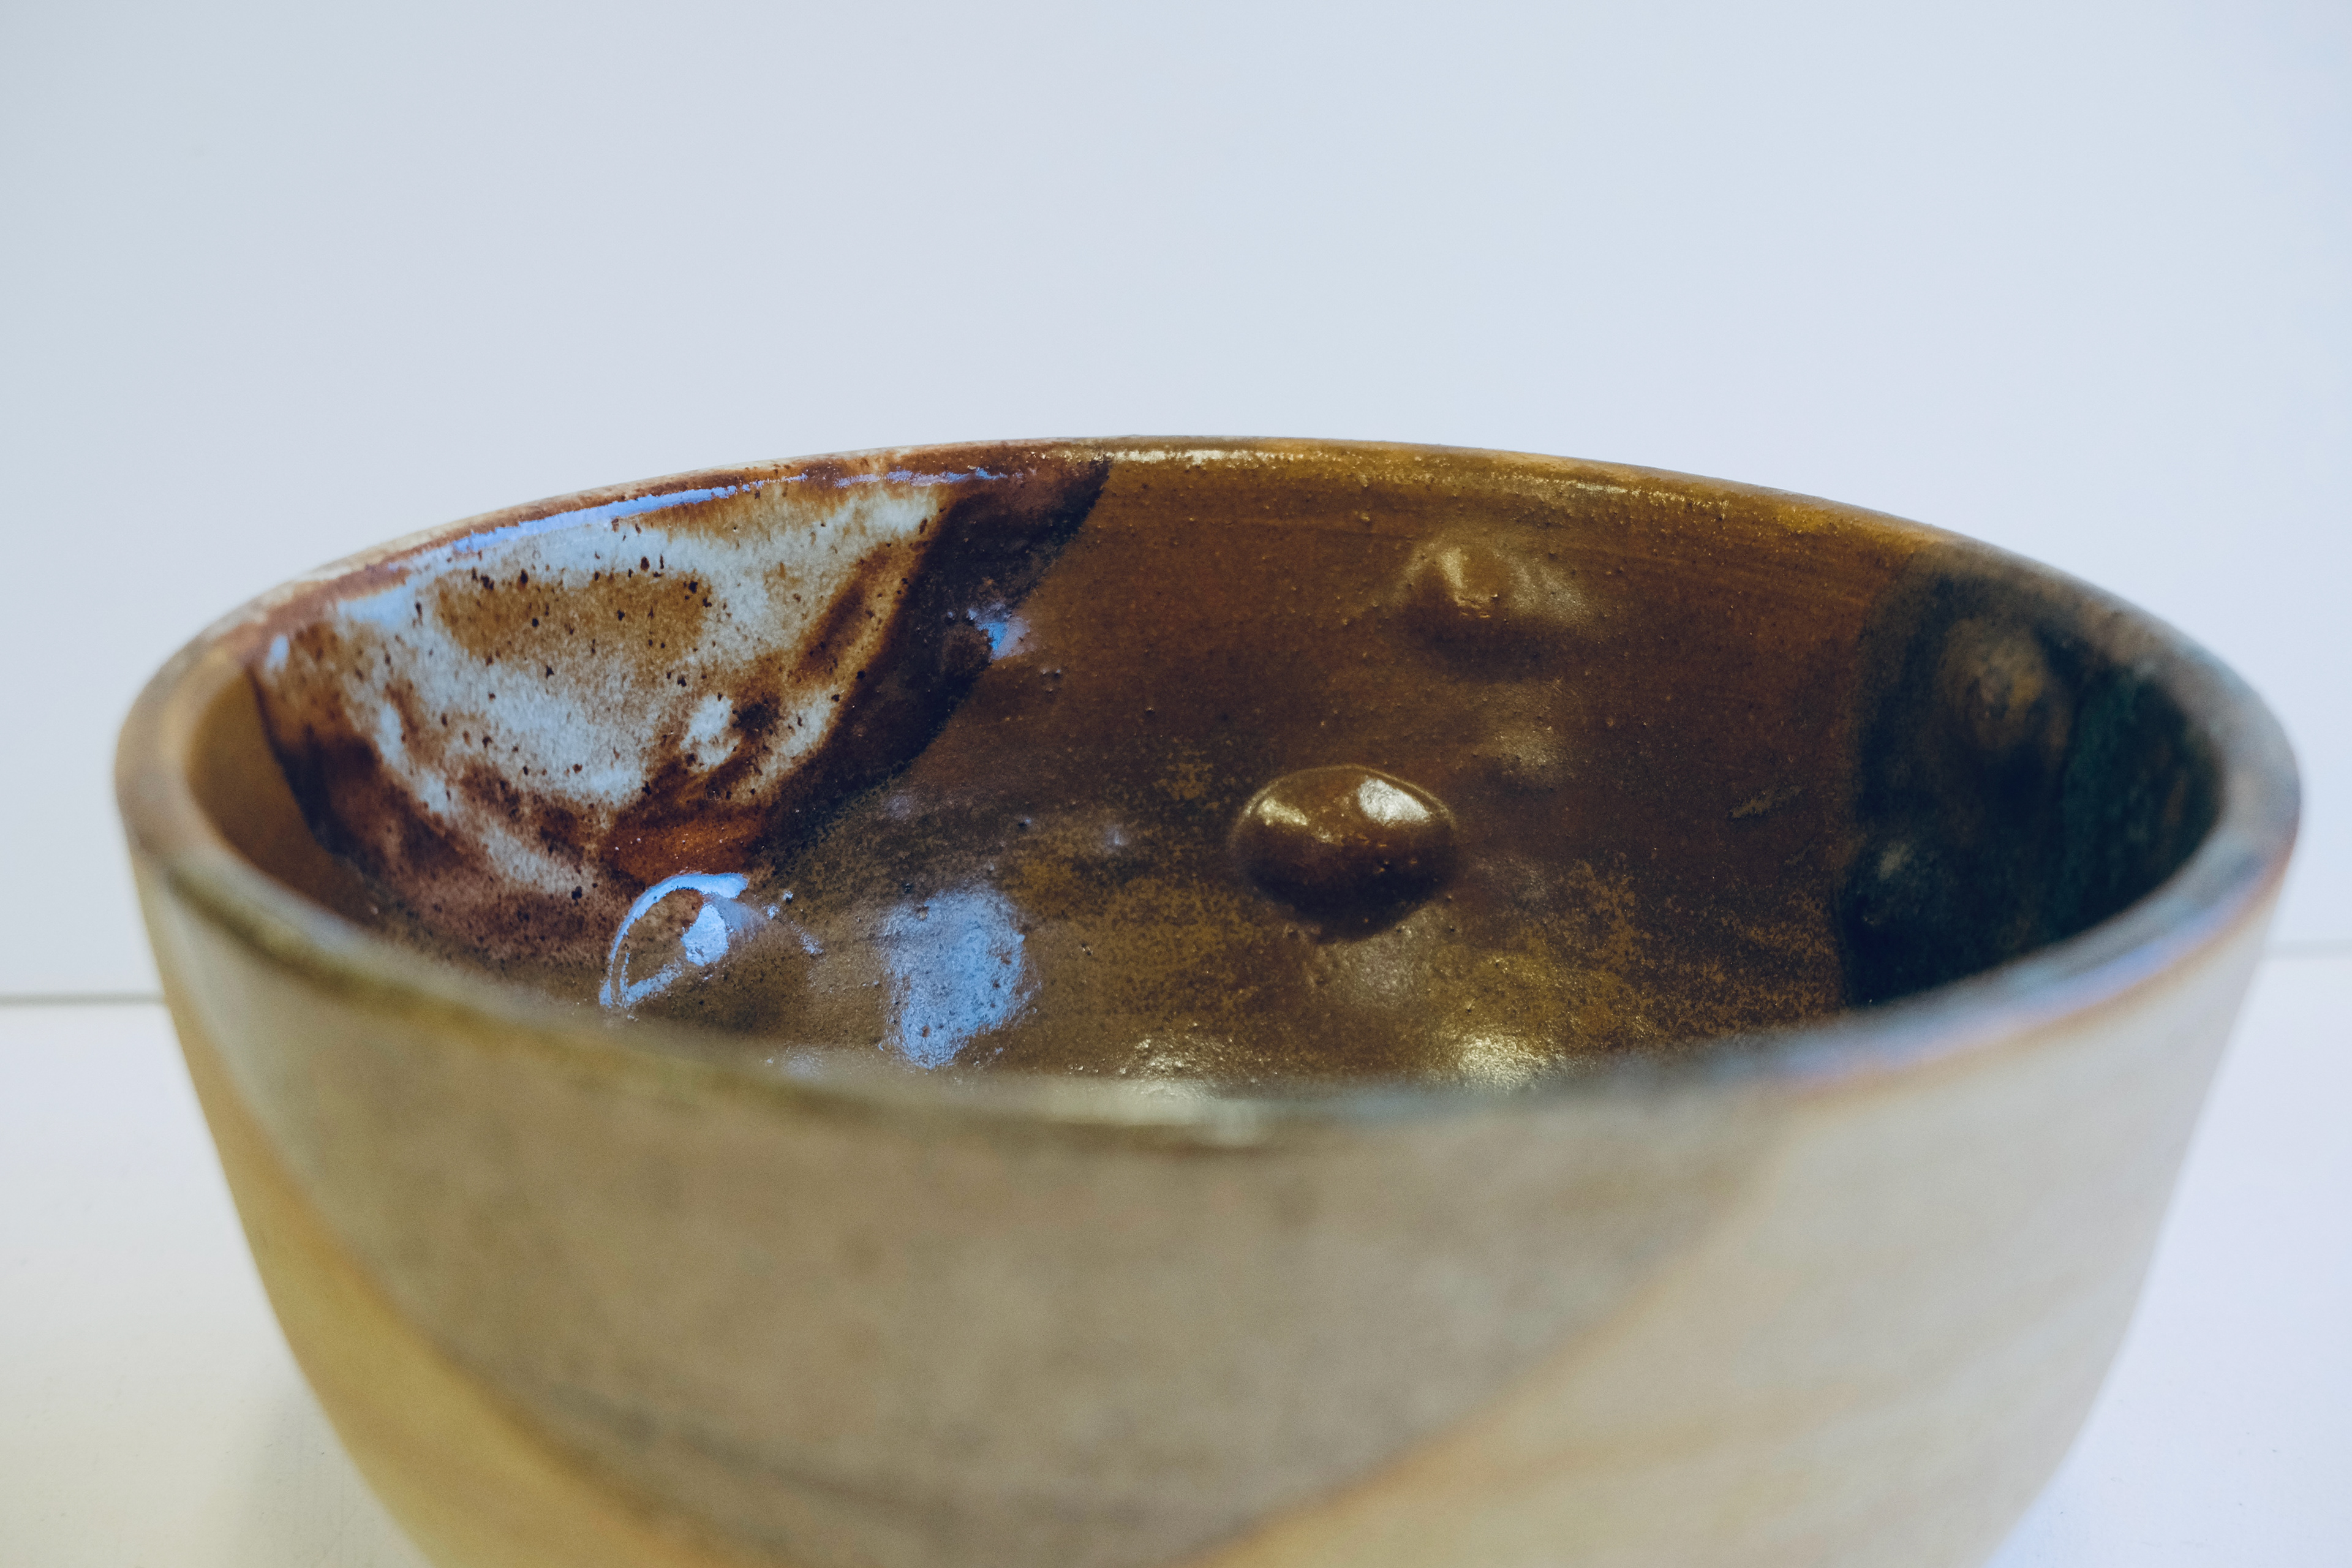
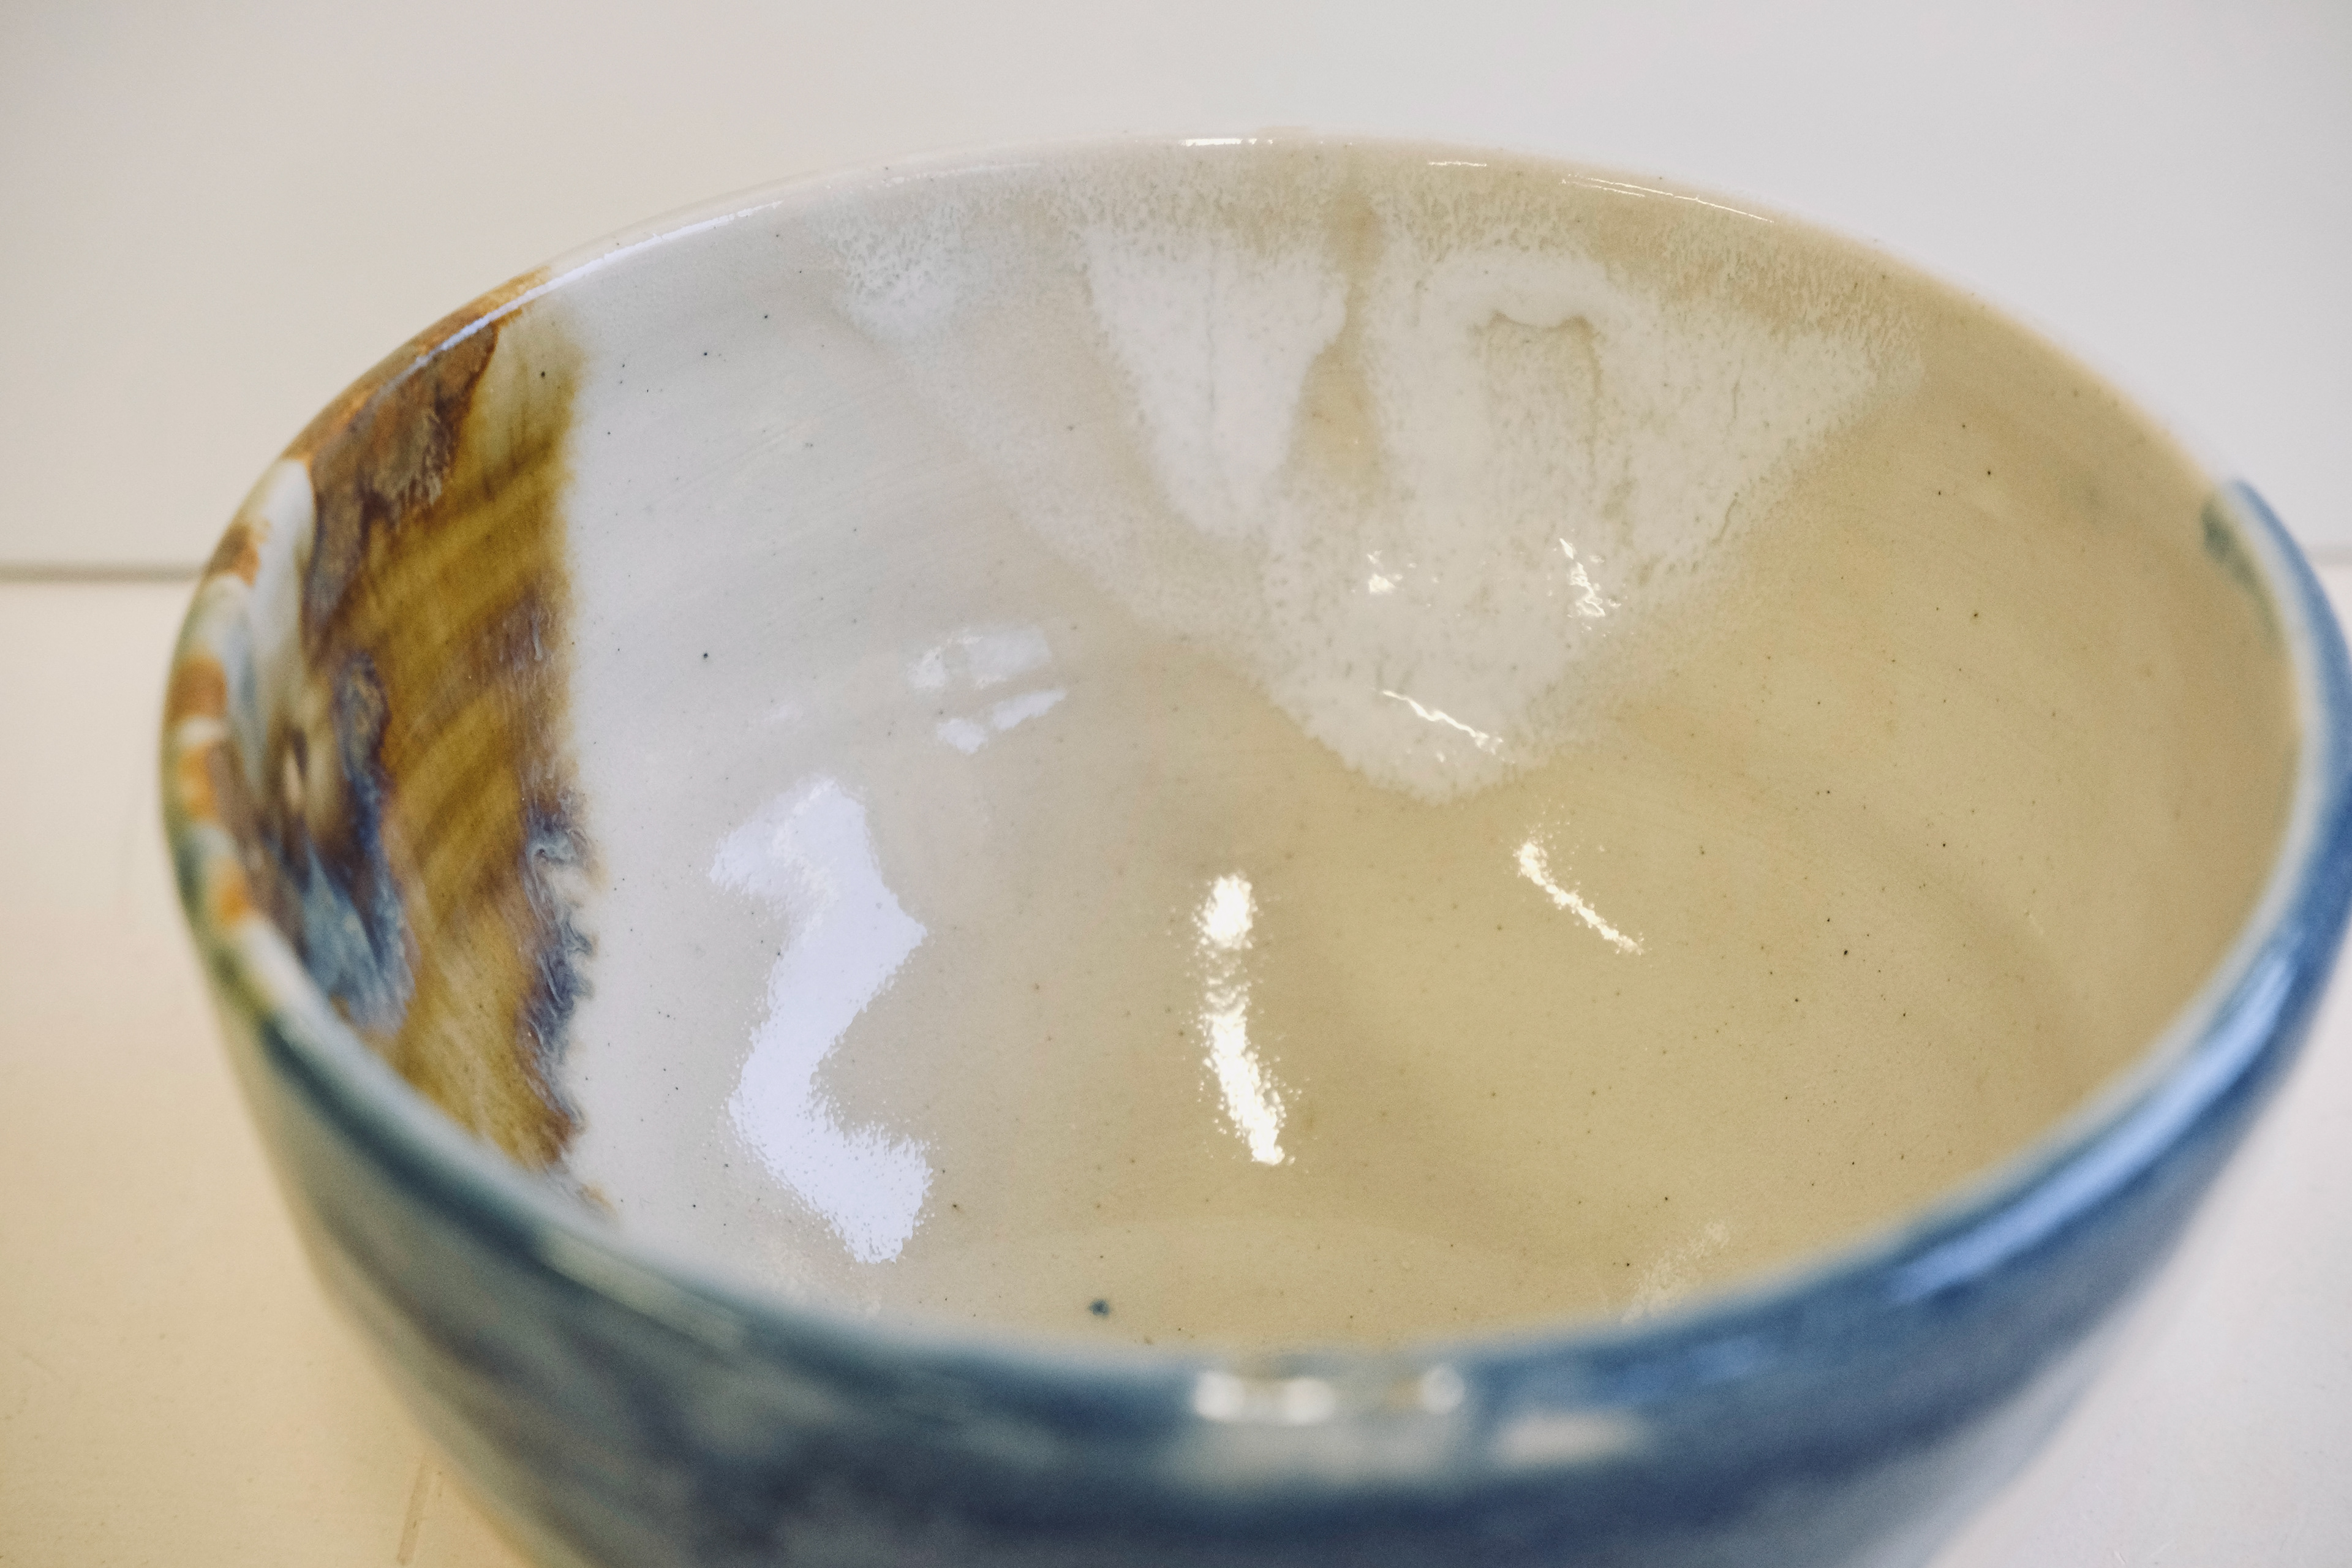
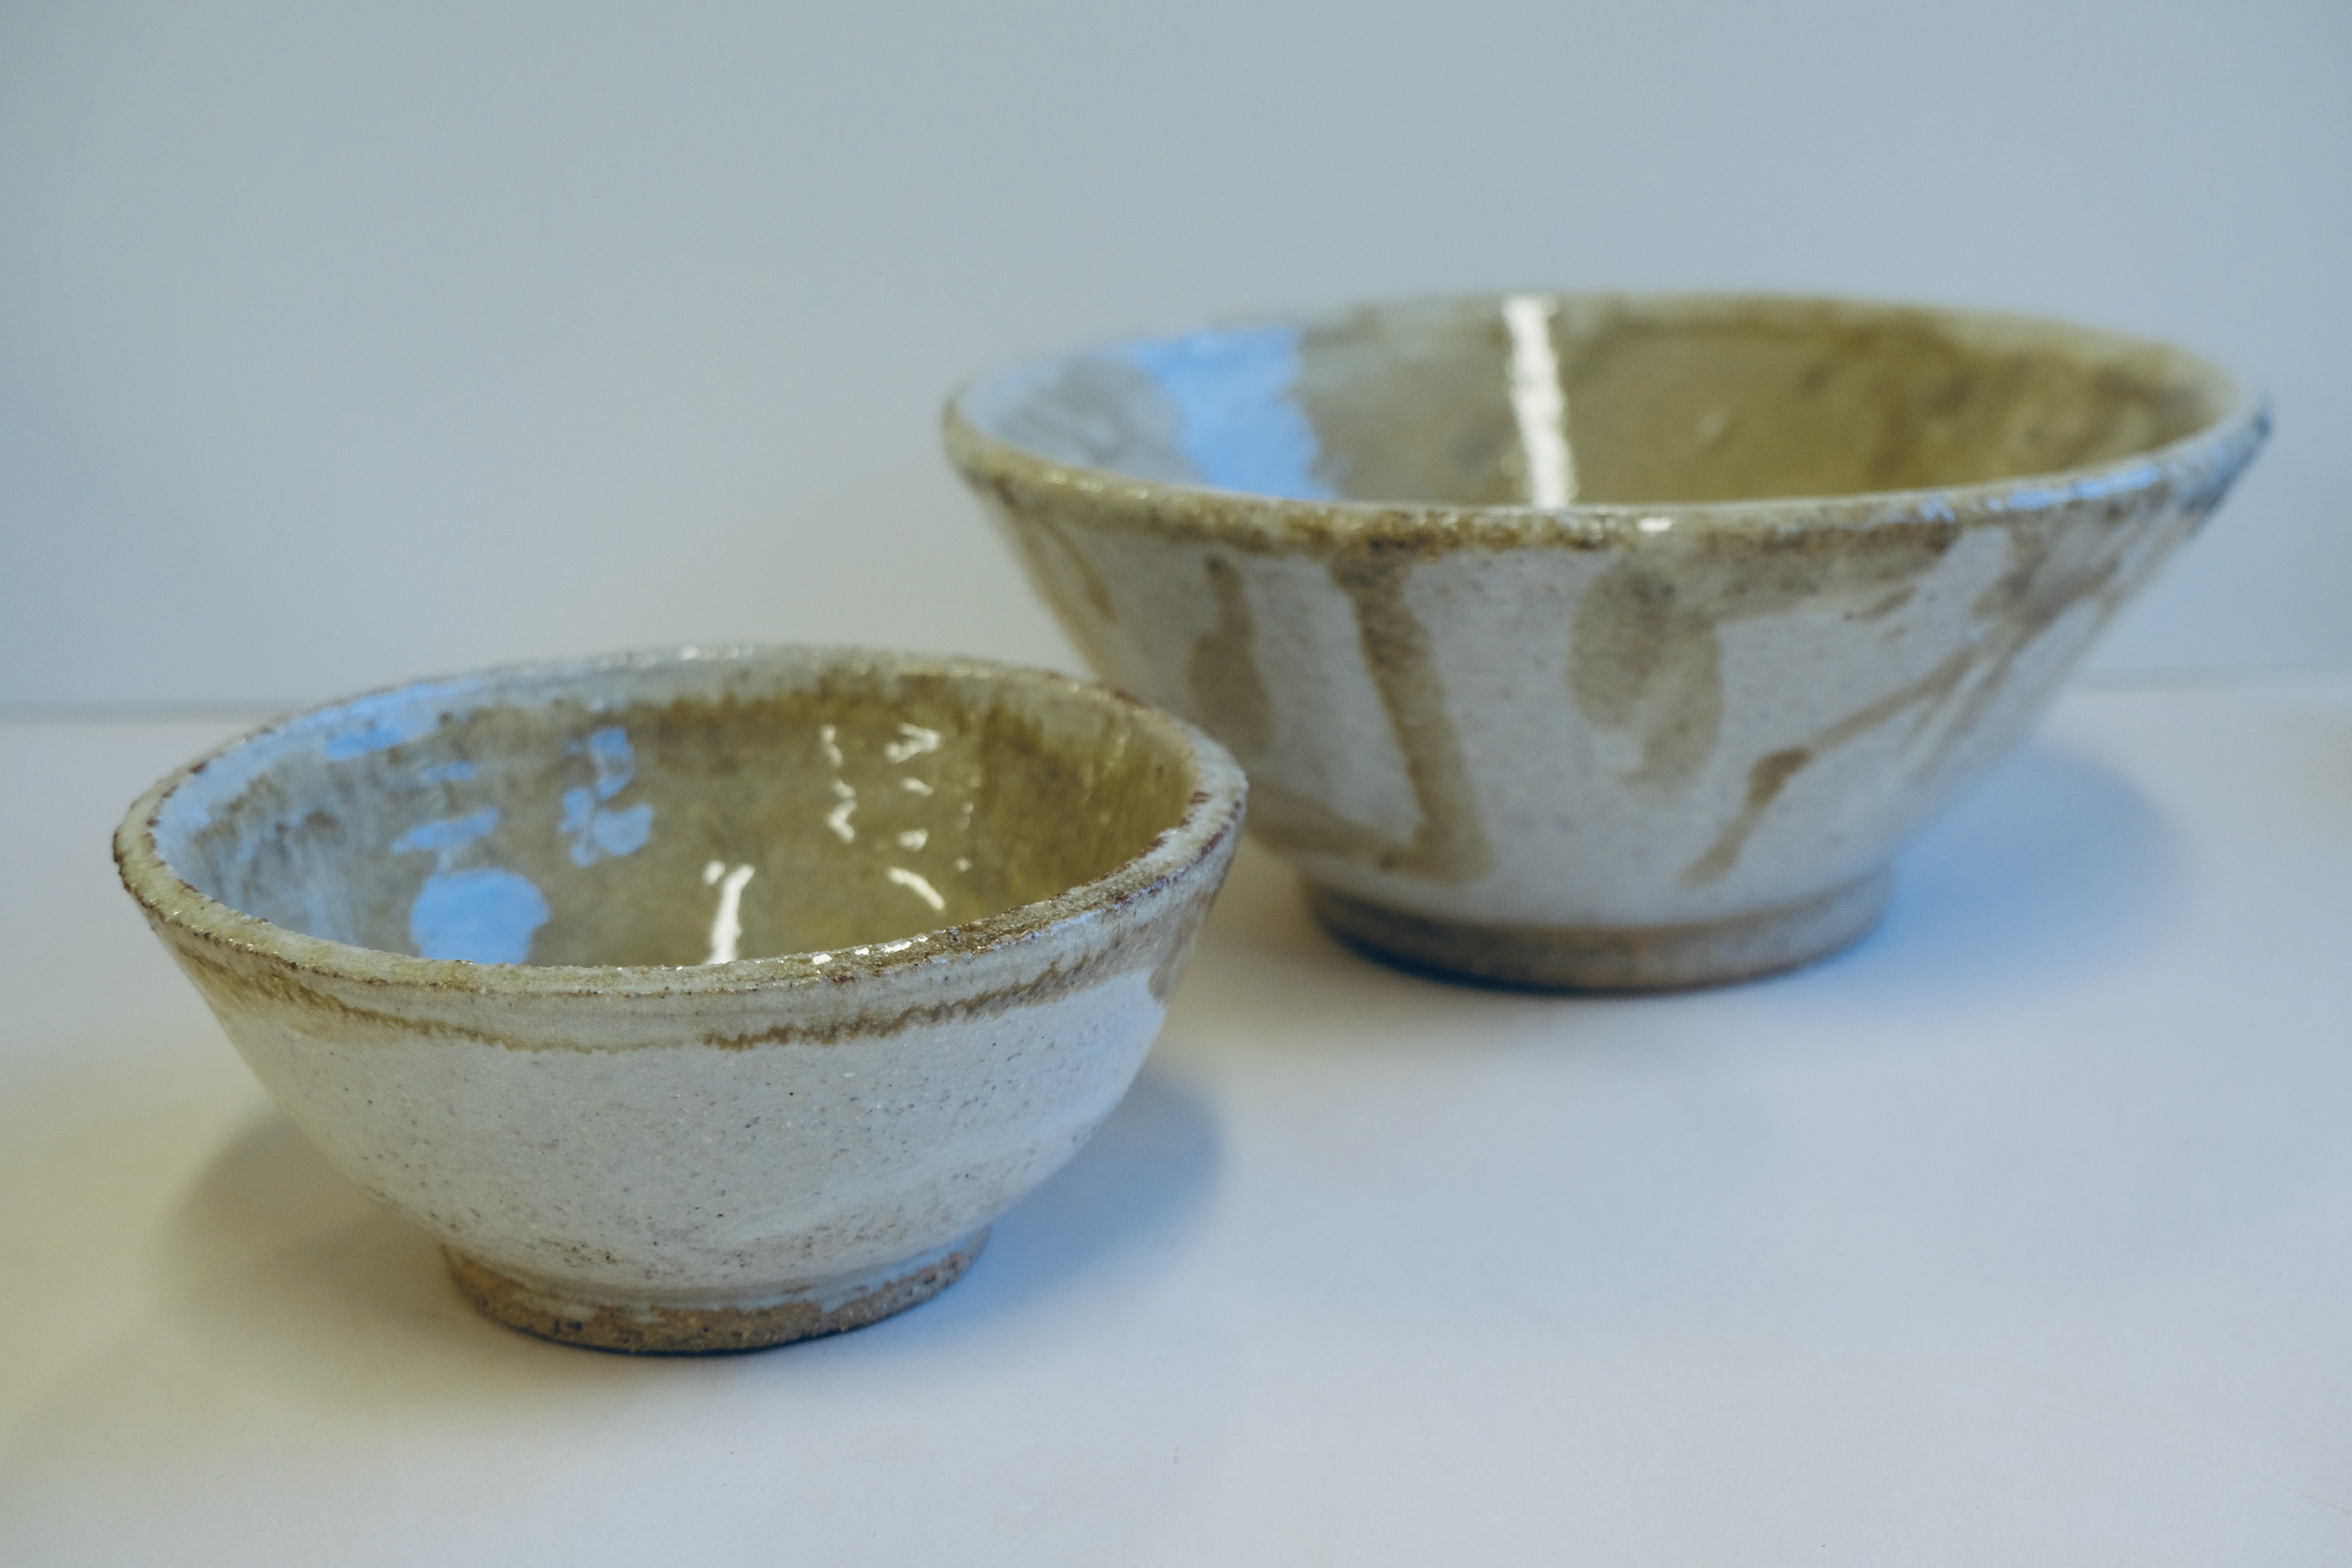
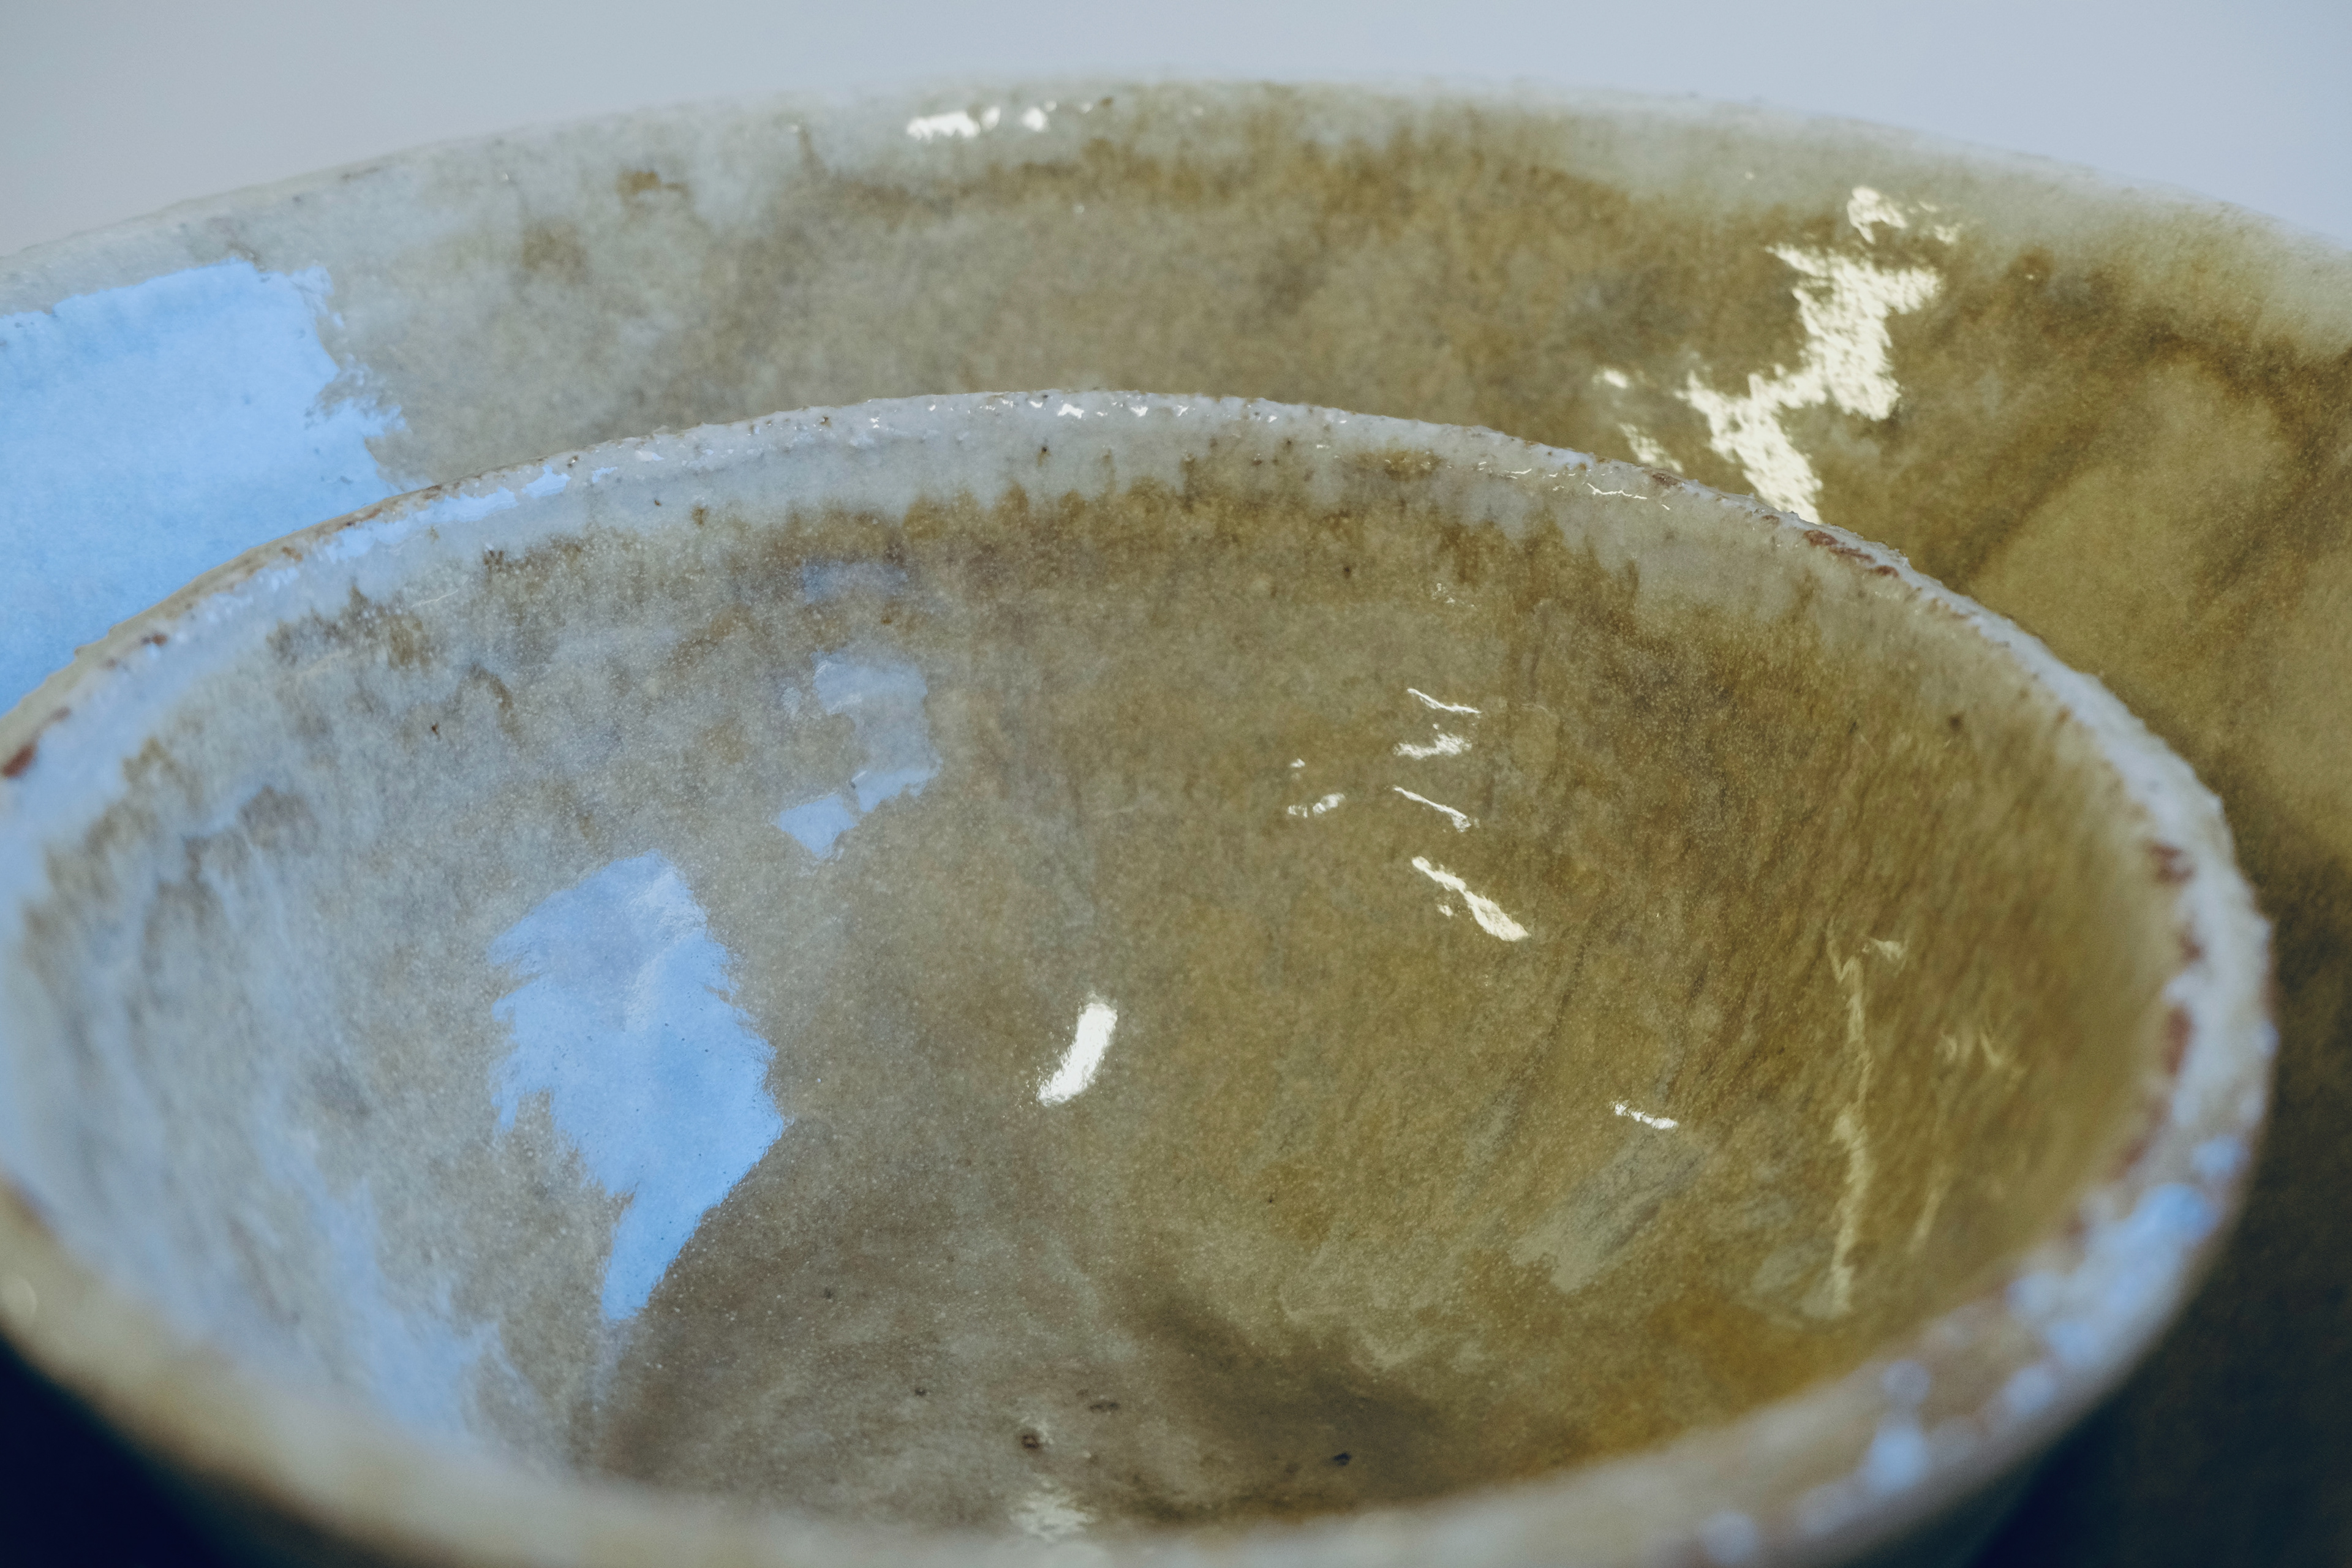
Brushed application=patchy/ uneven glaze.

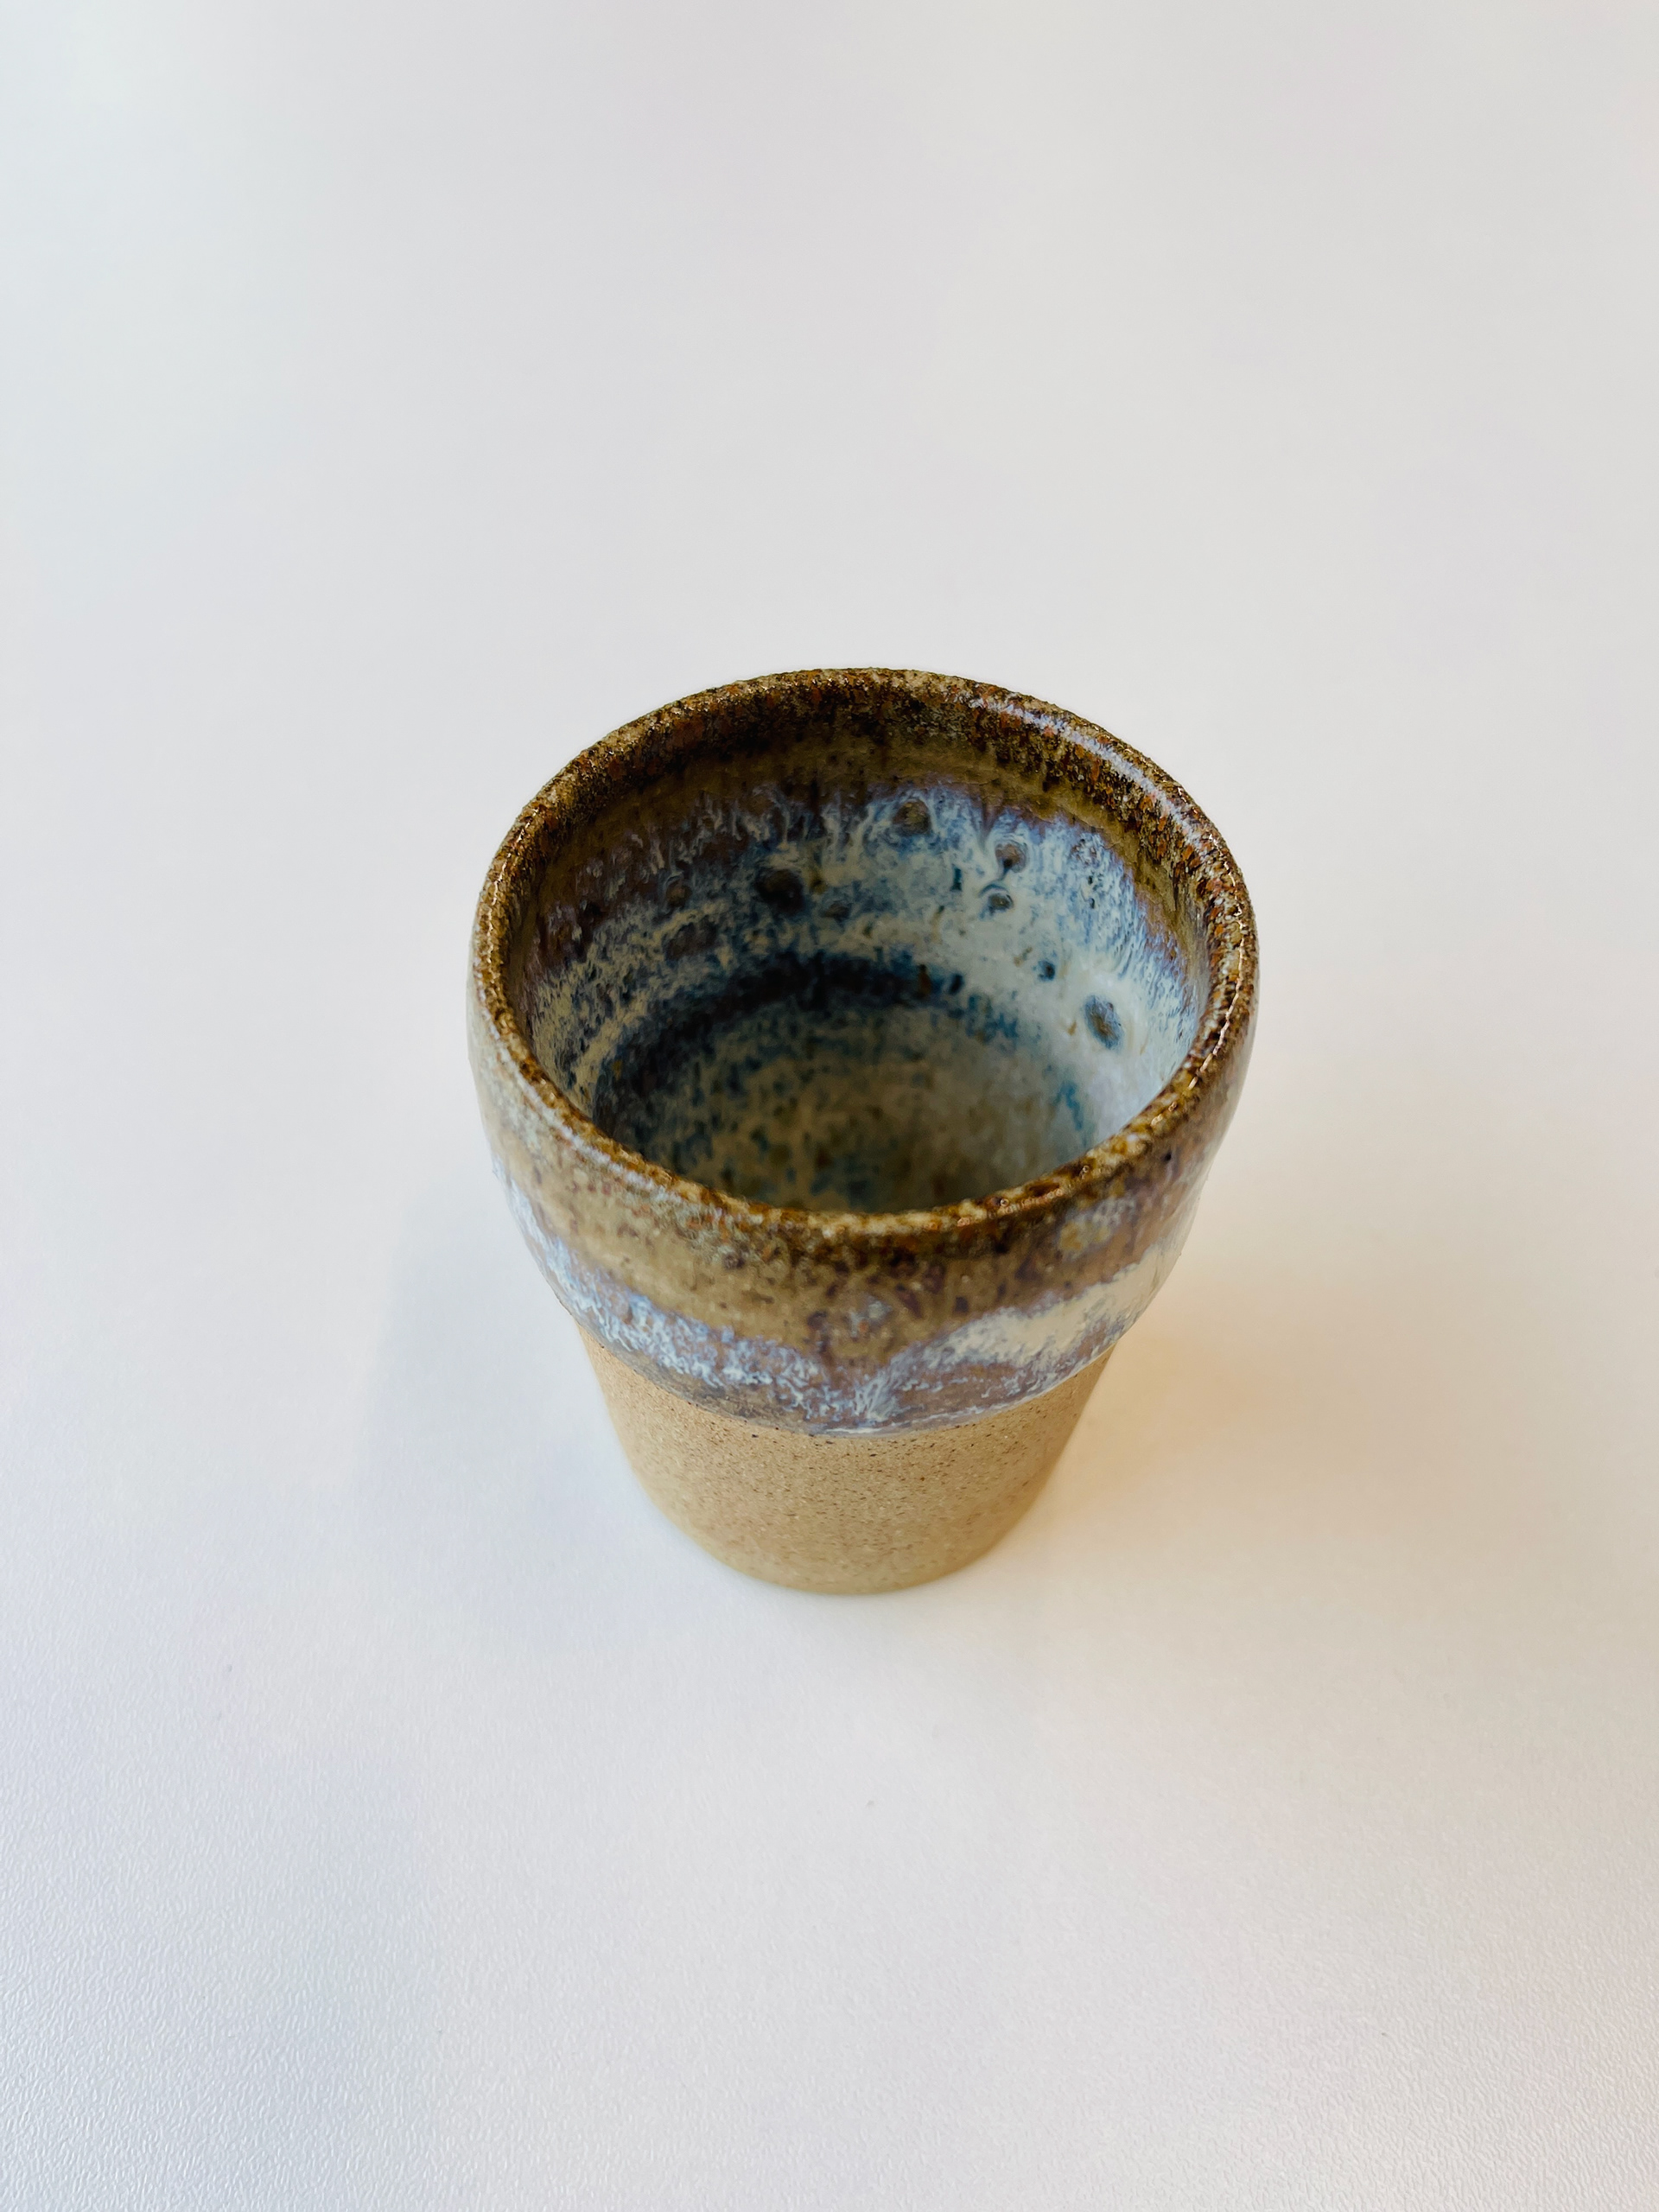
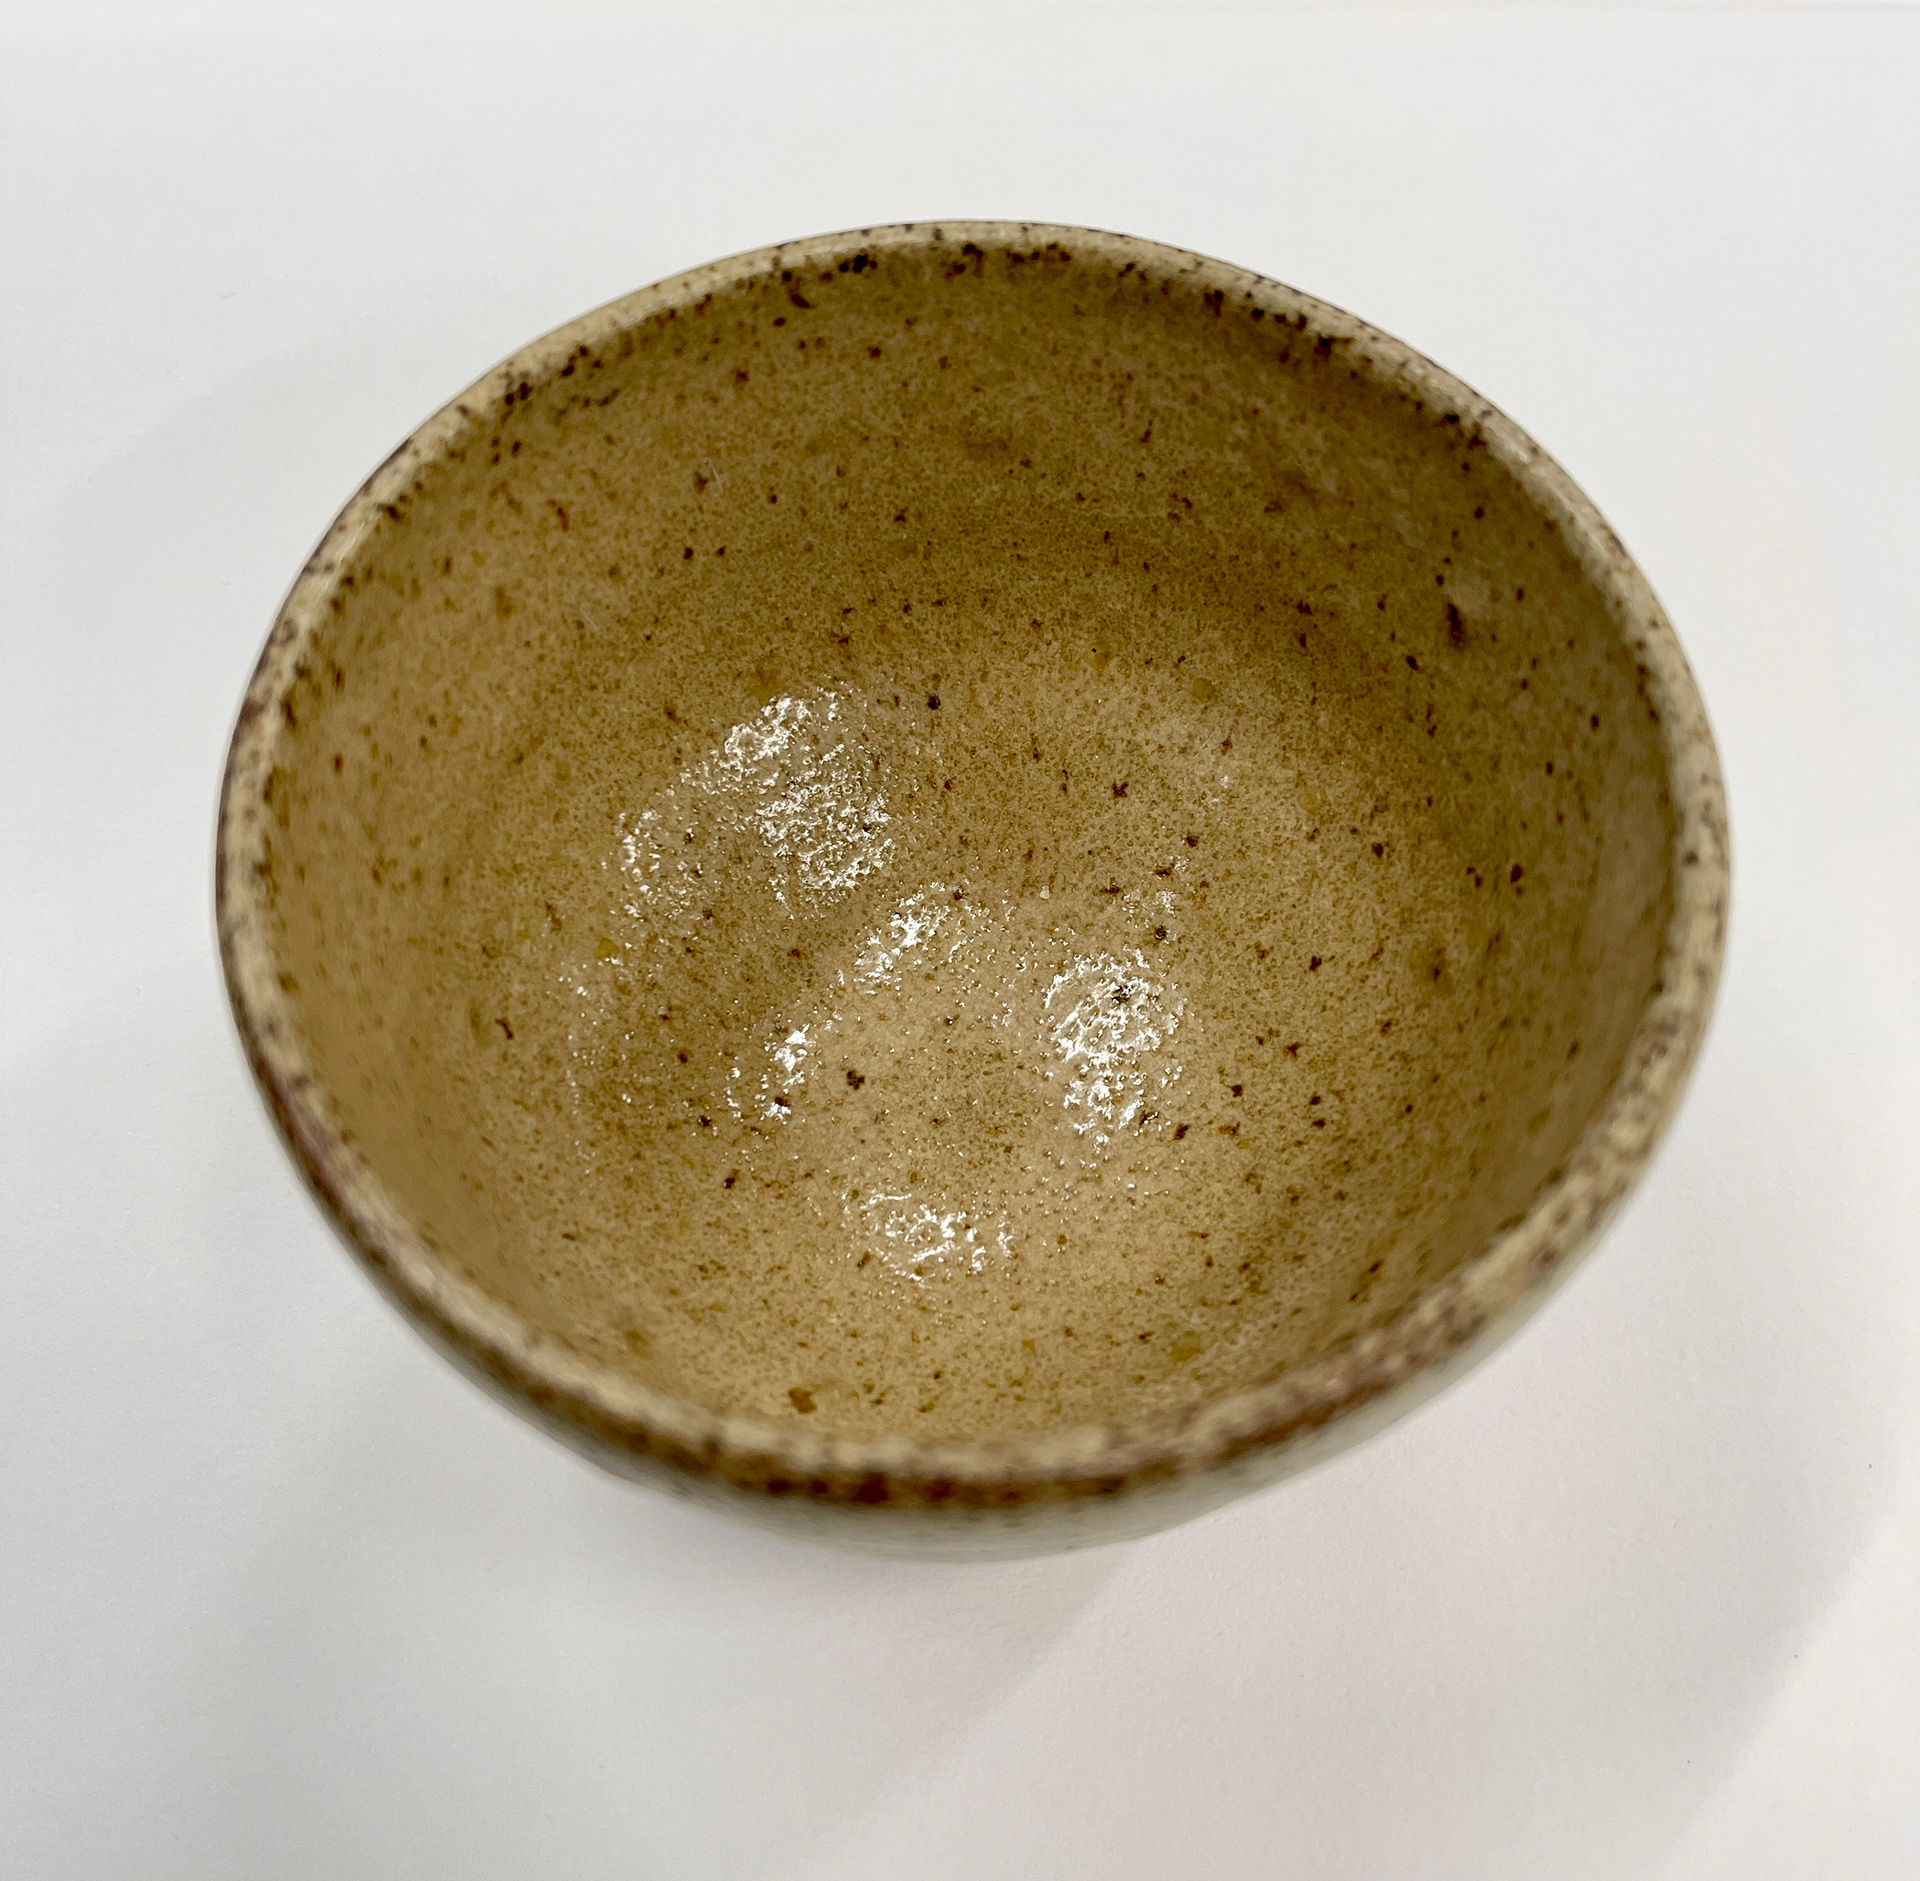
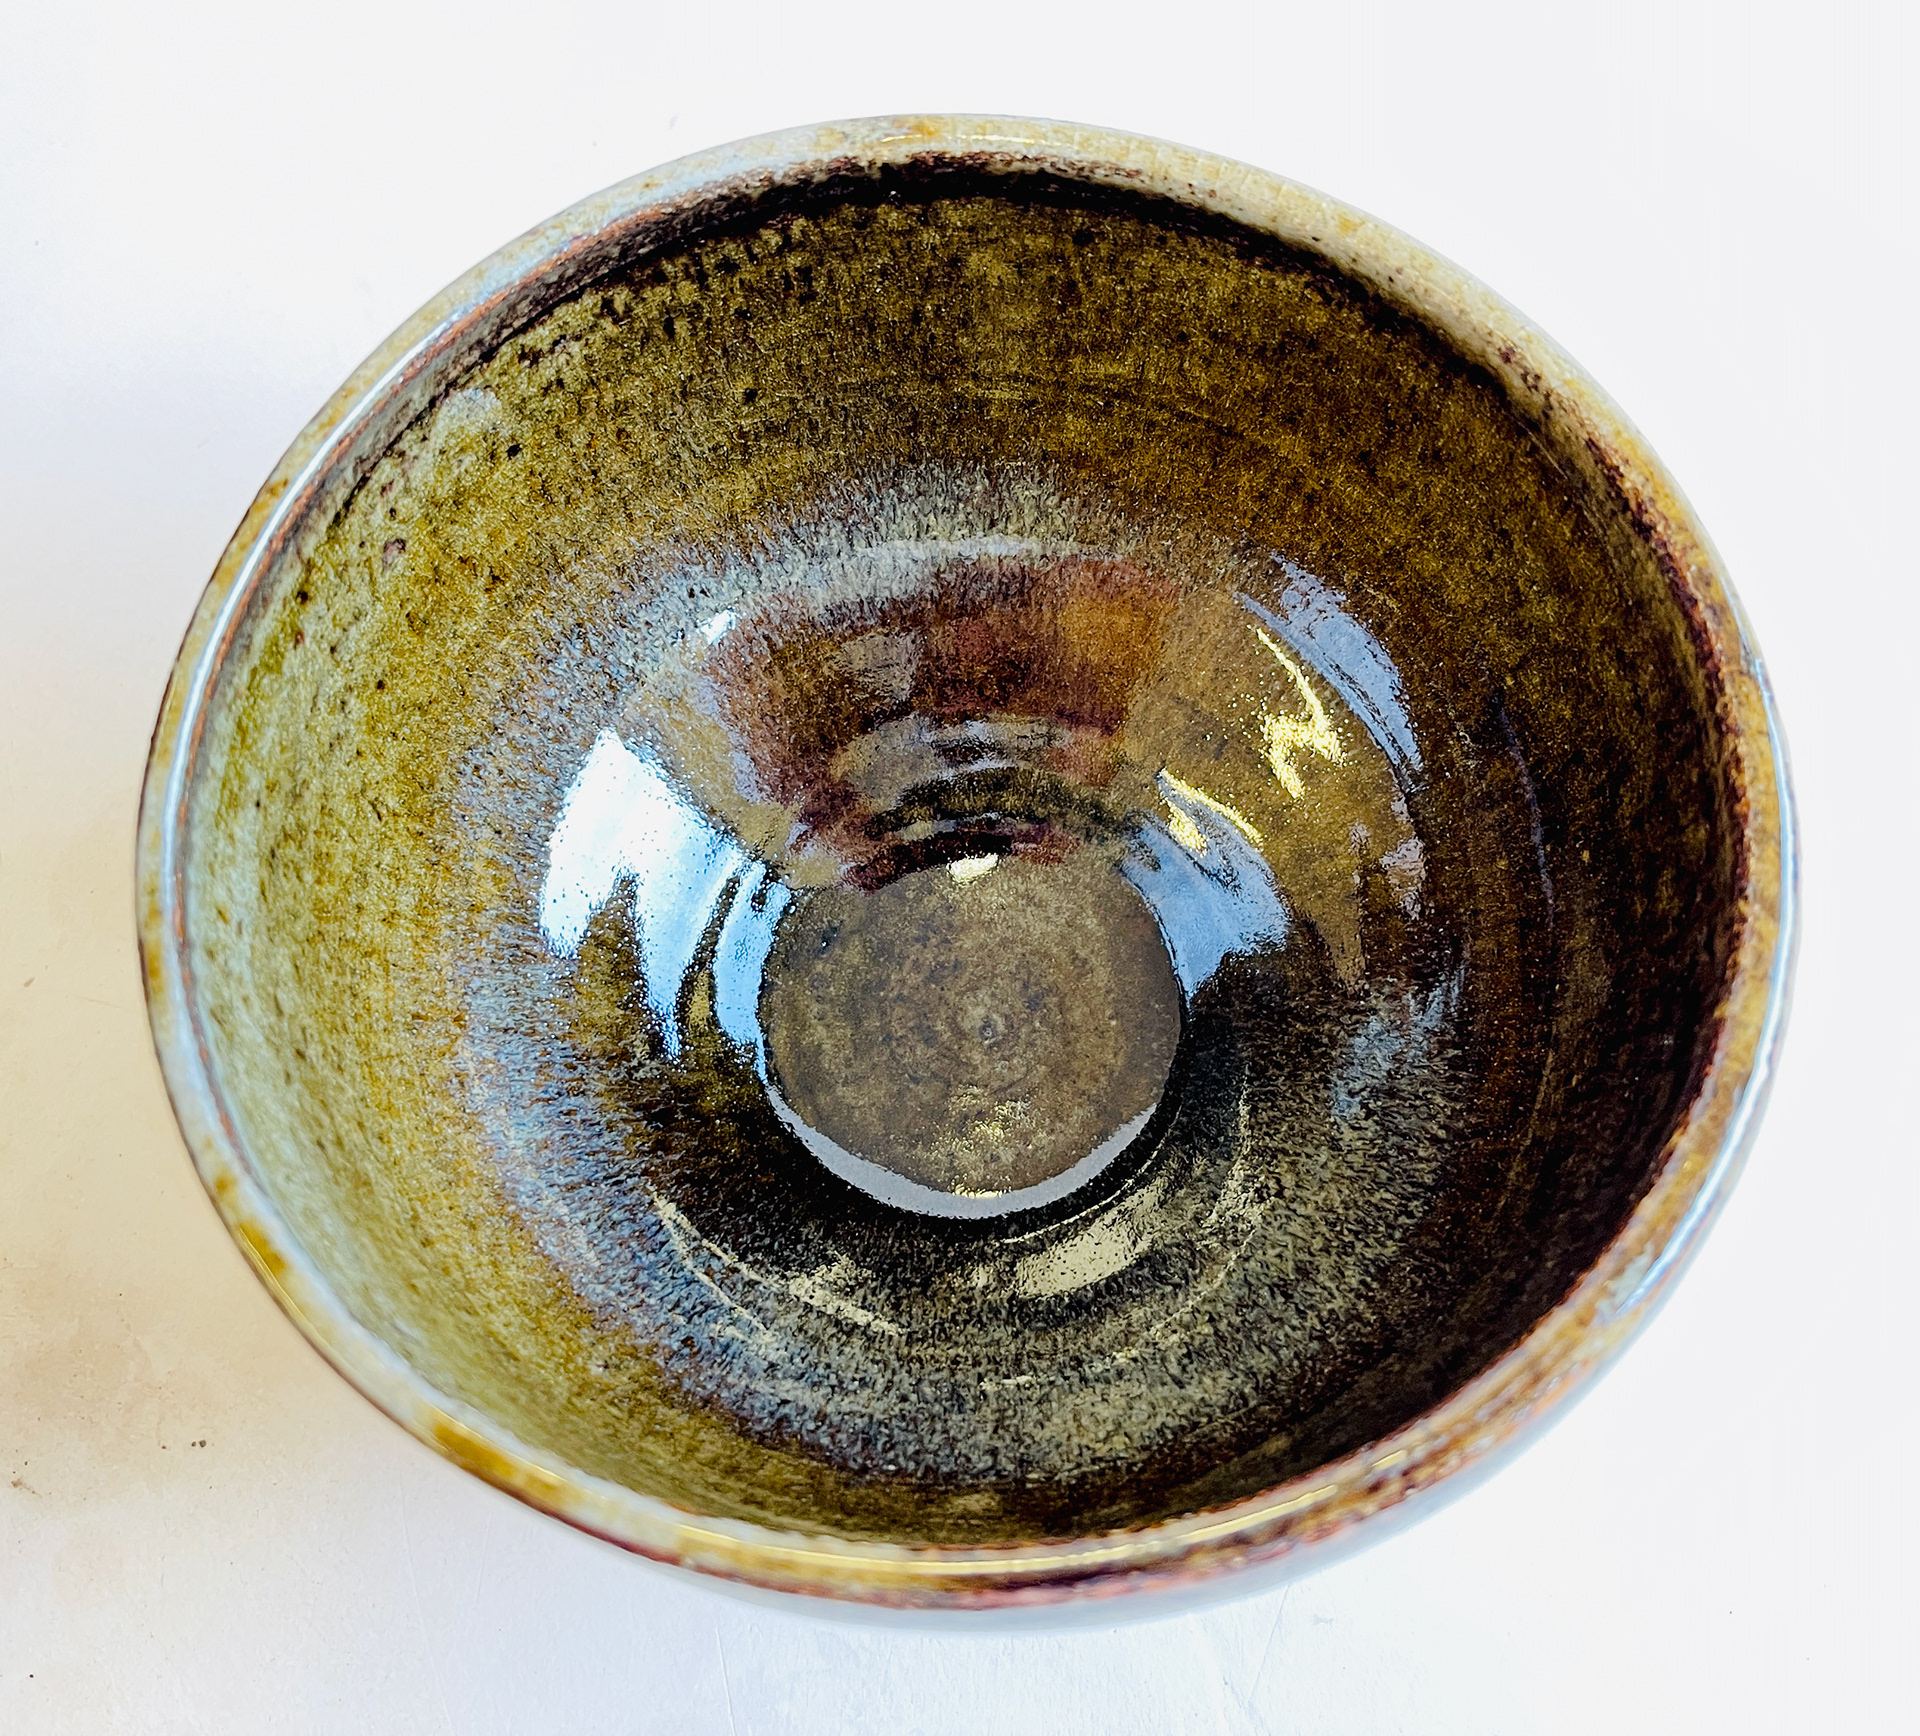
Poured inside= even and uniform surface.


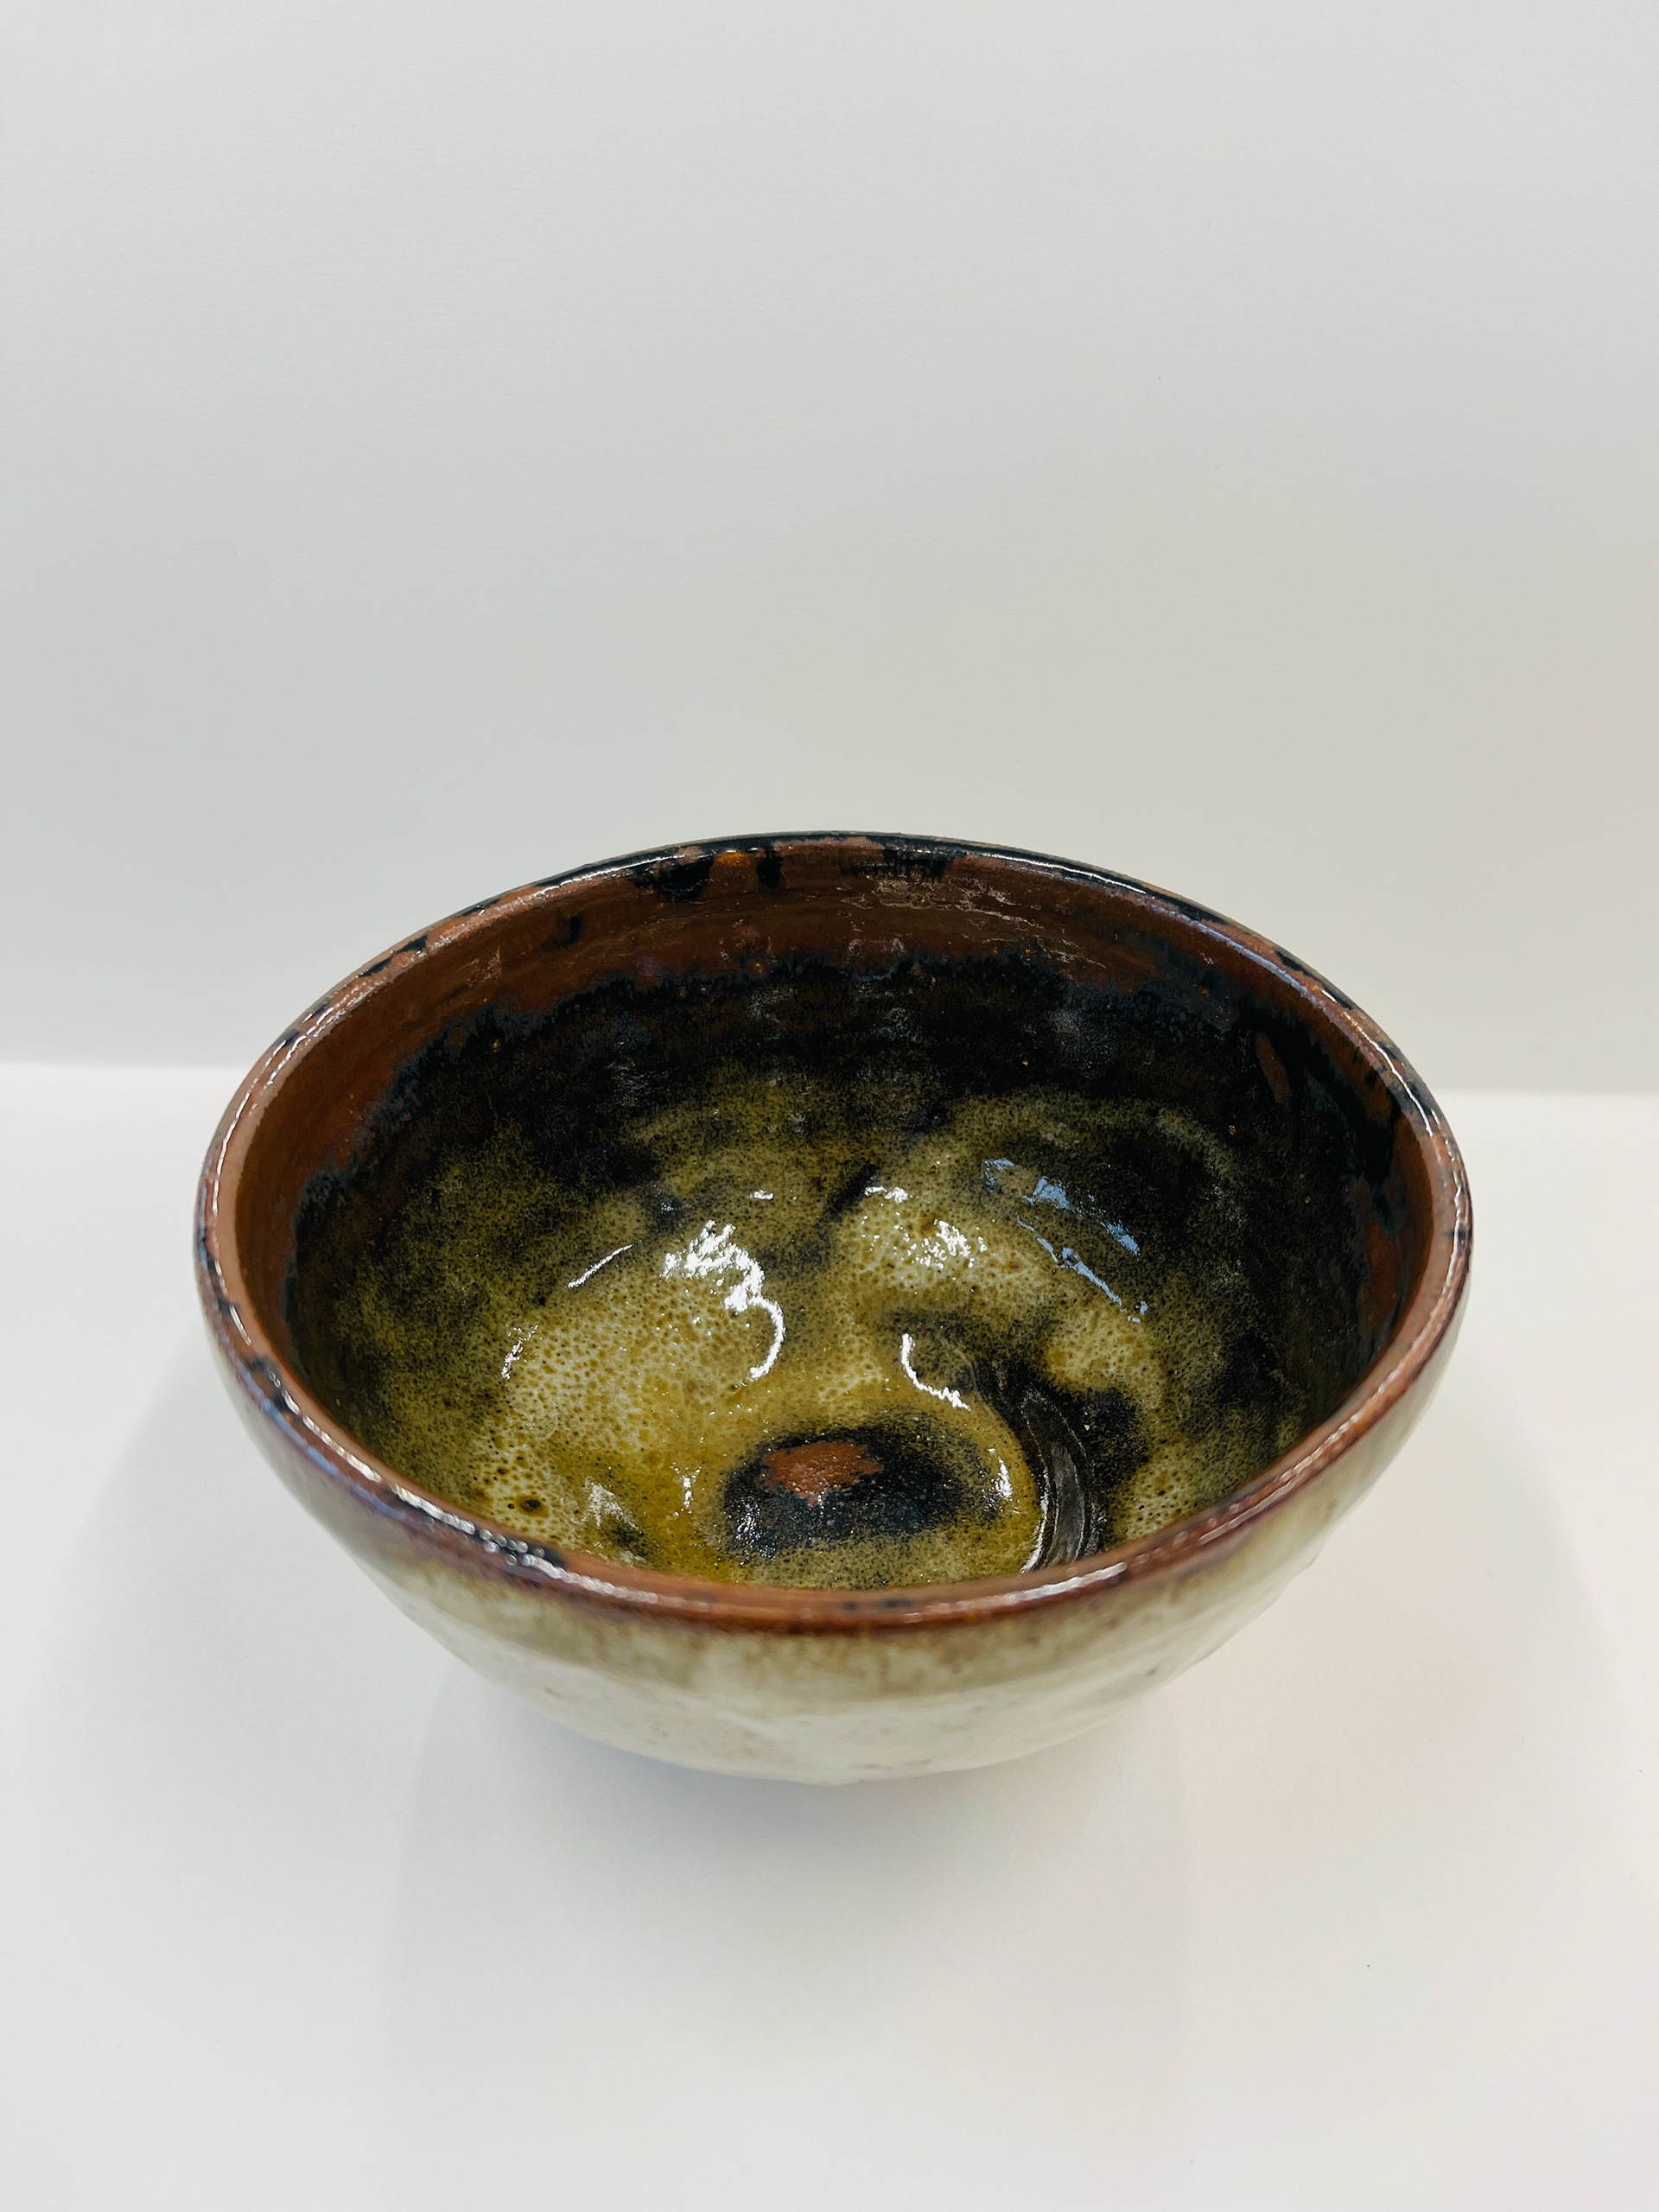
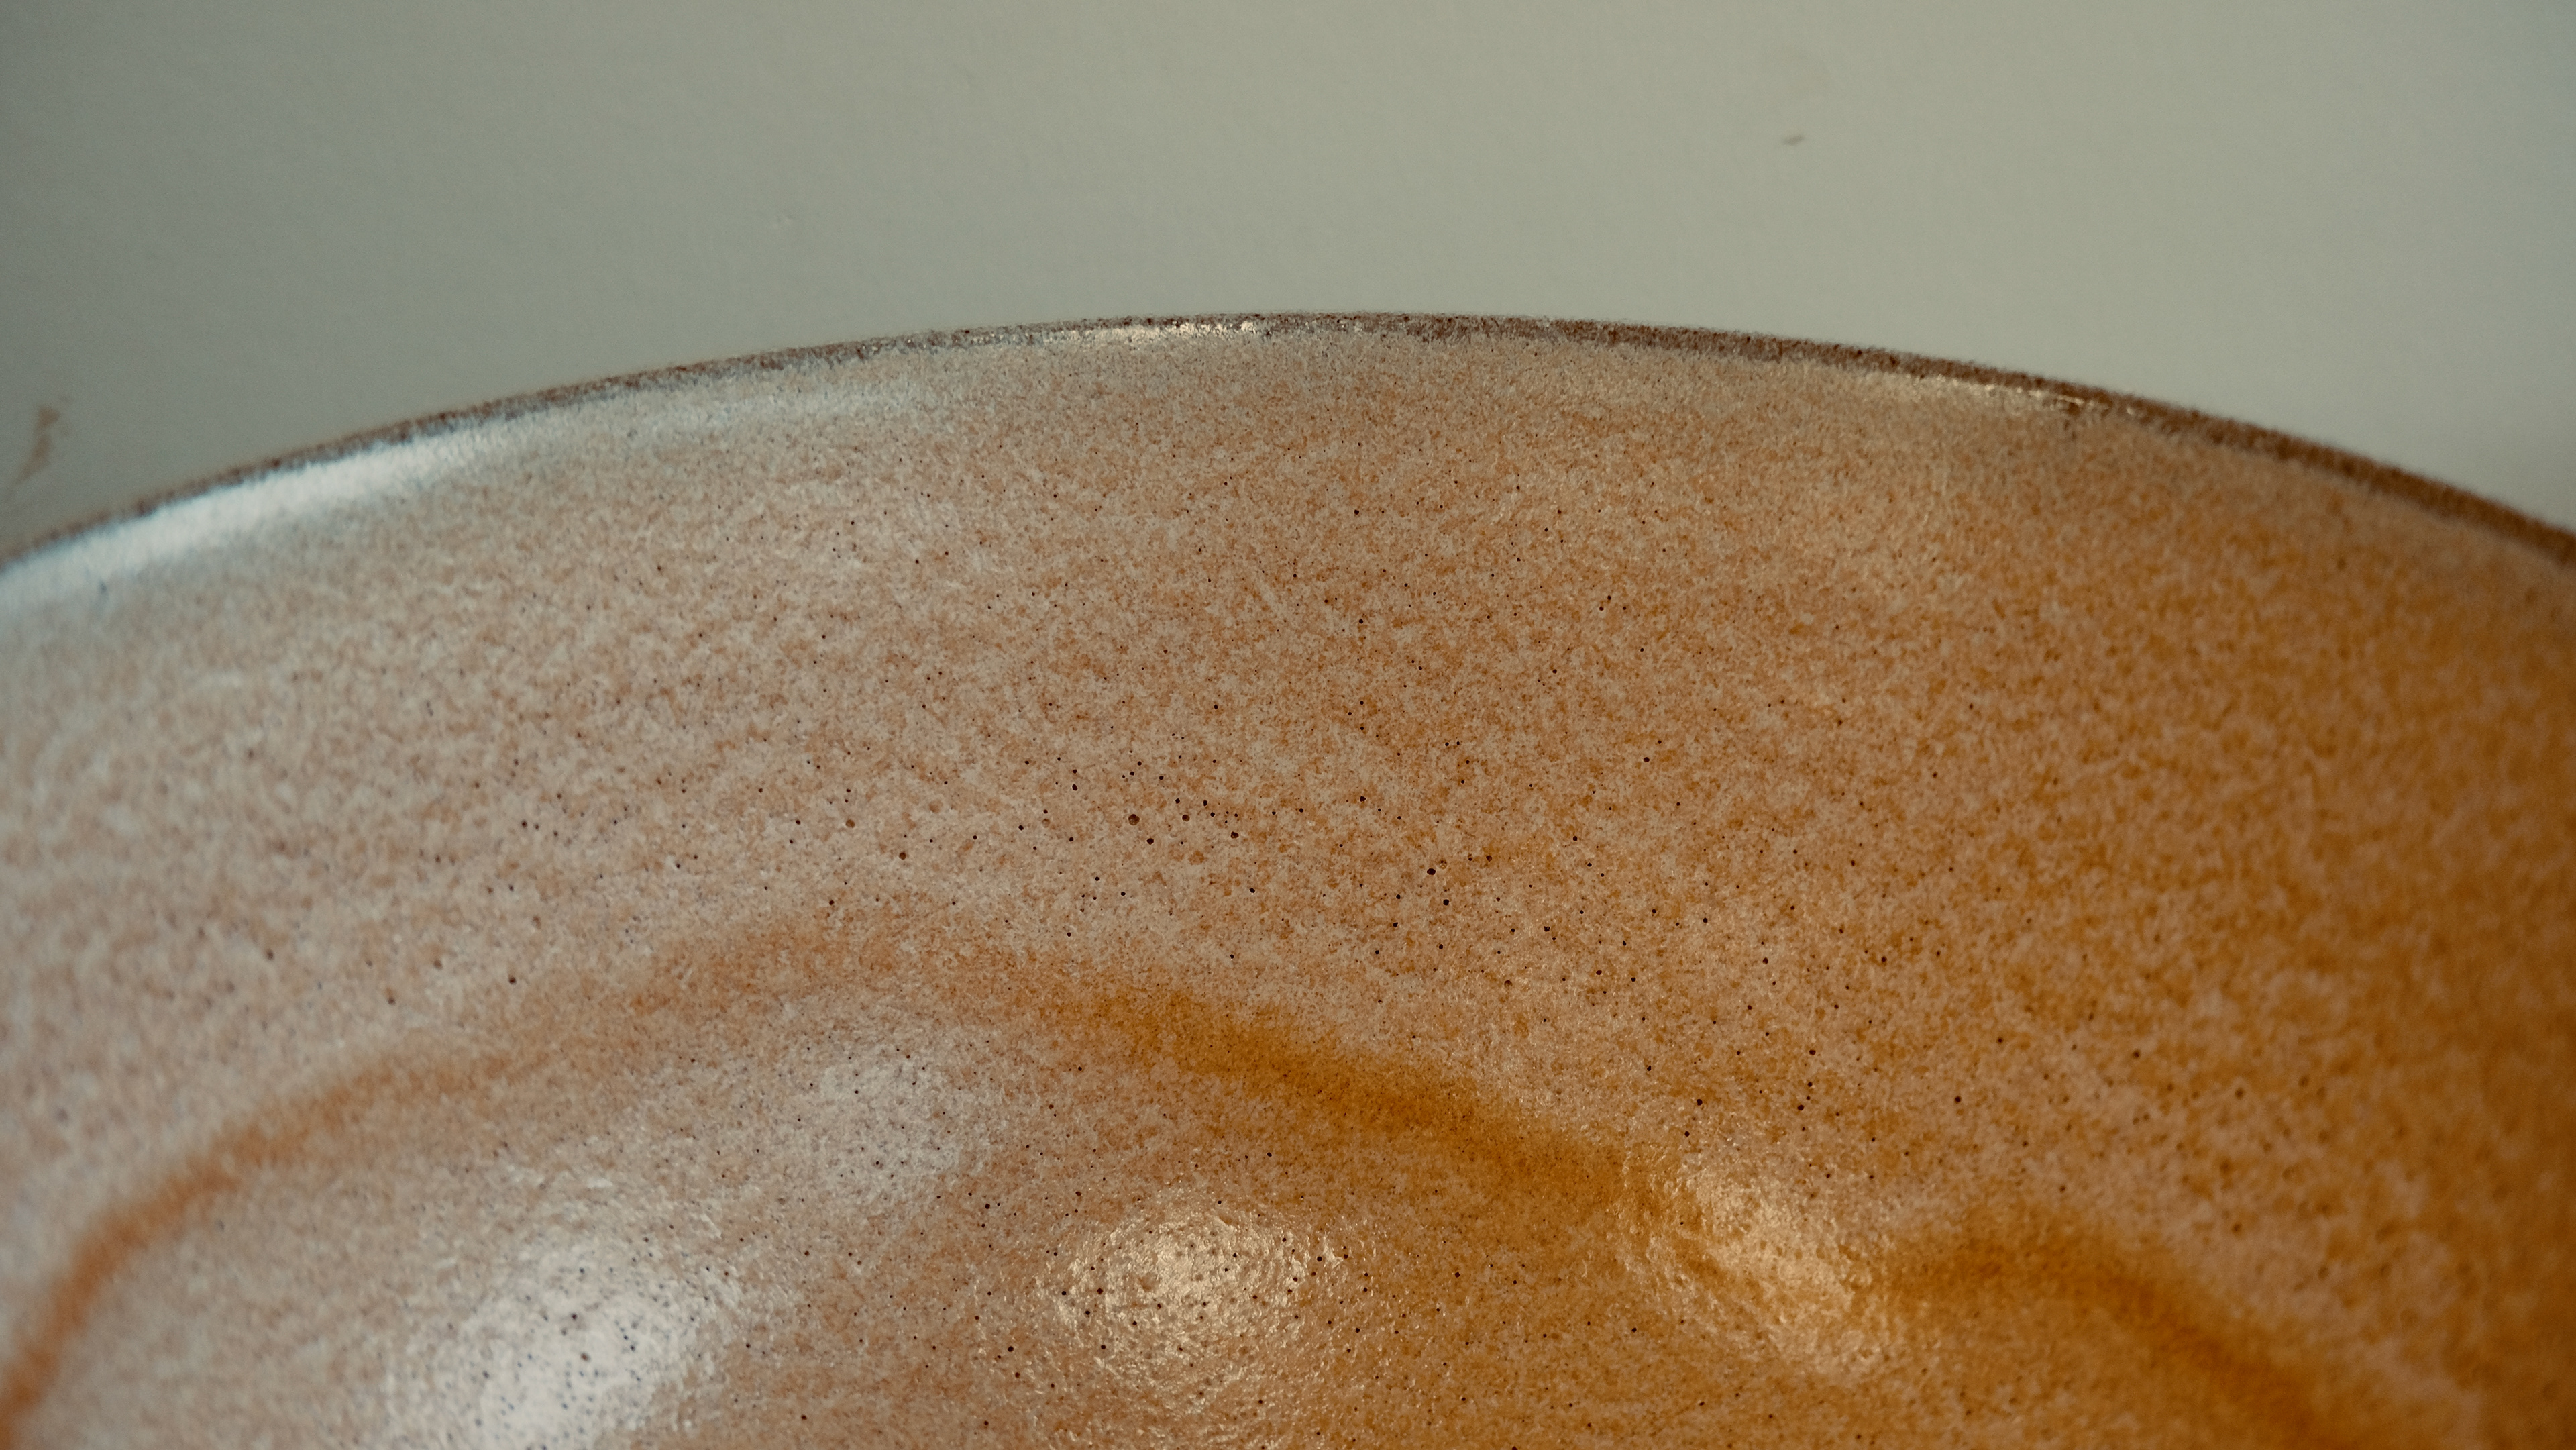
Not a shiny but matt/satin surface. Gaze definitely captures movement and colours but not a ideal surface for food eaten from.
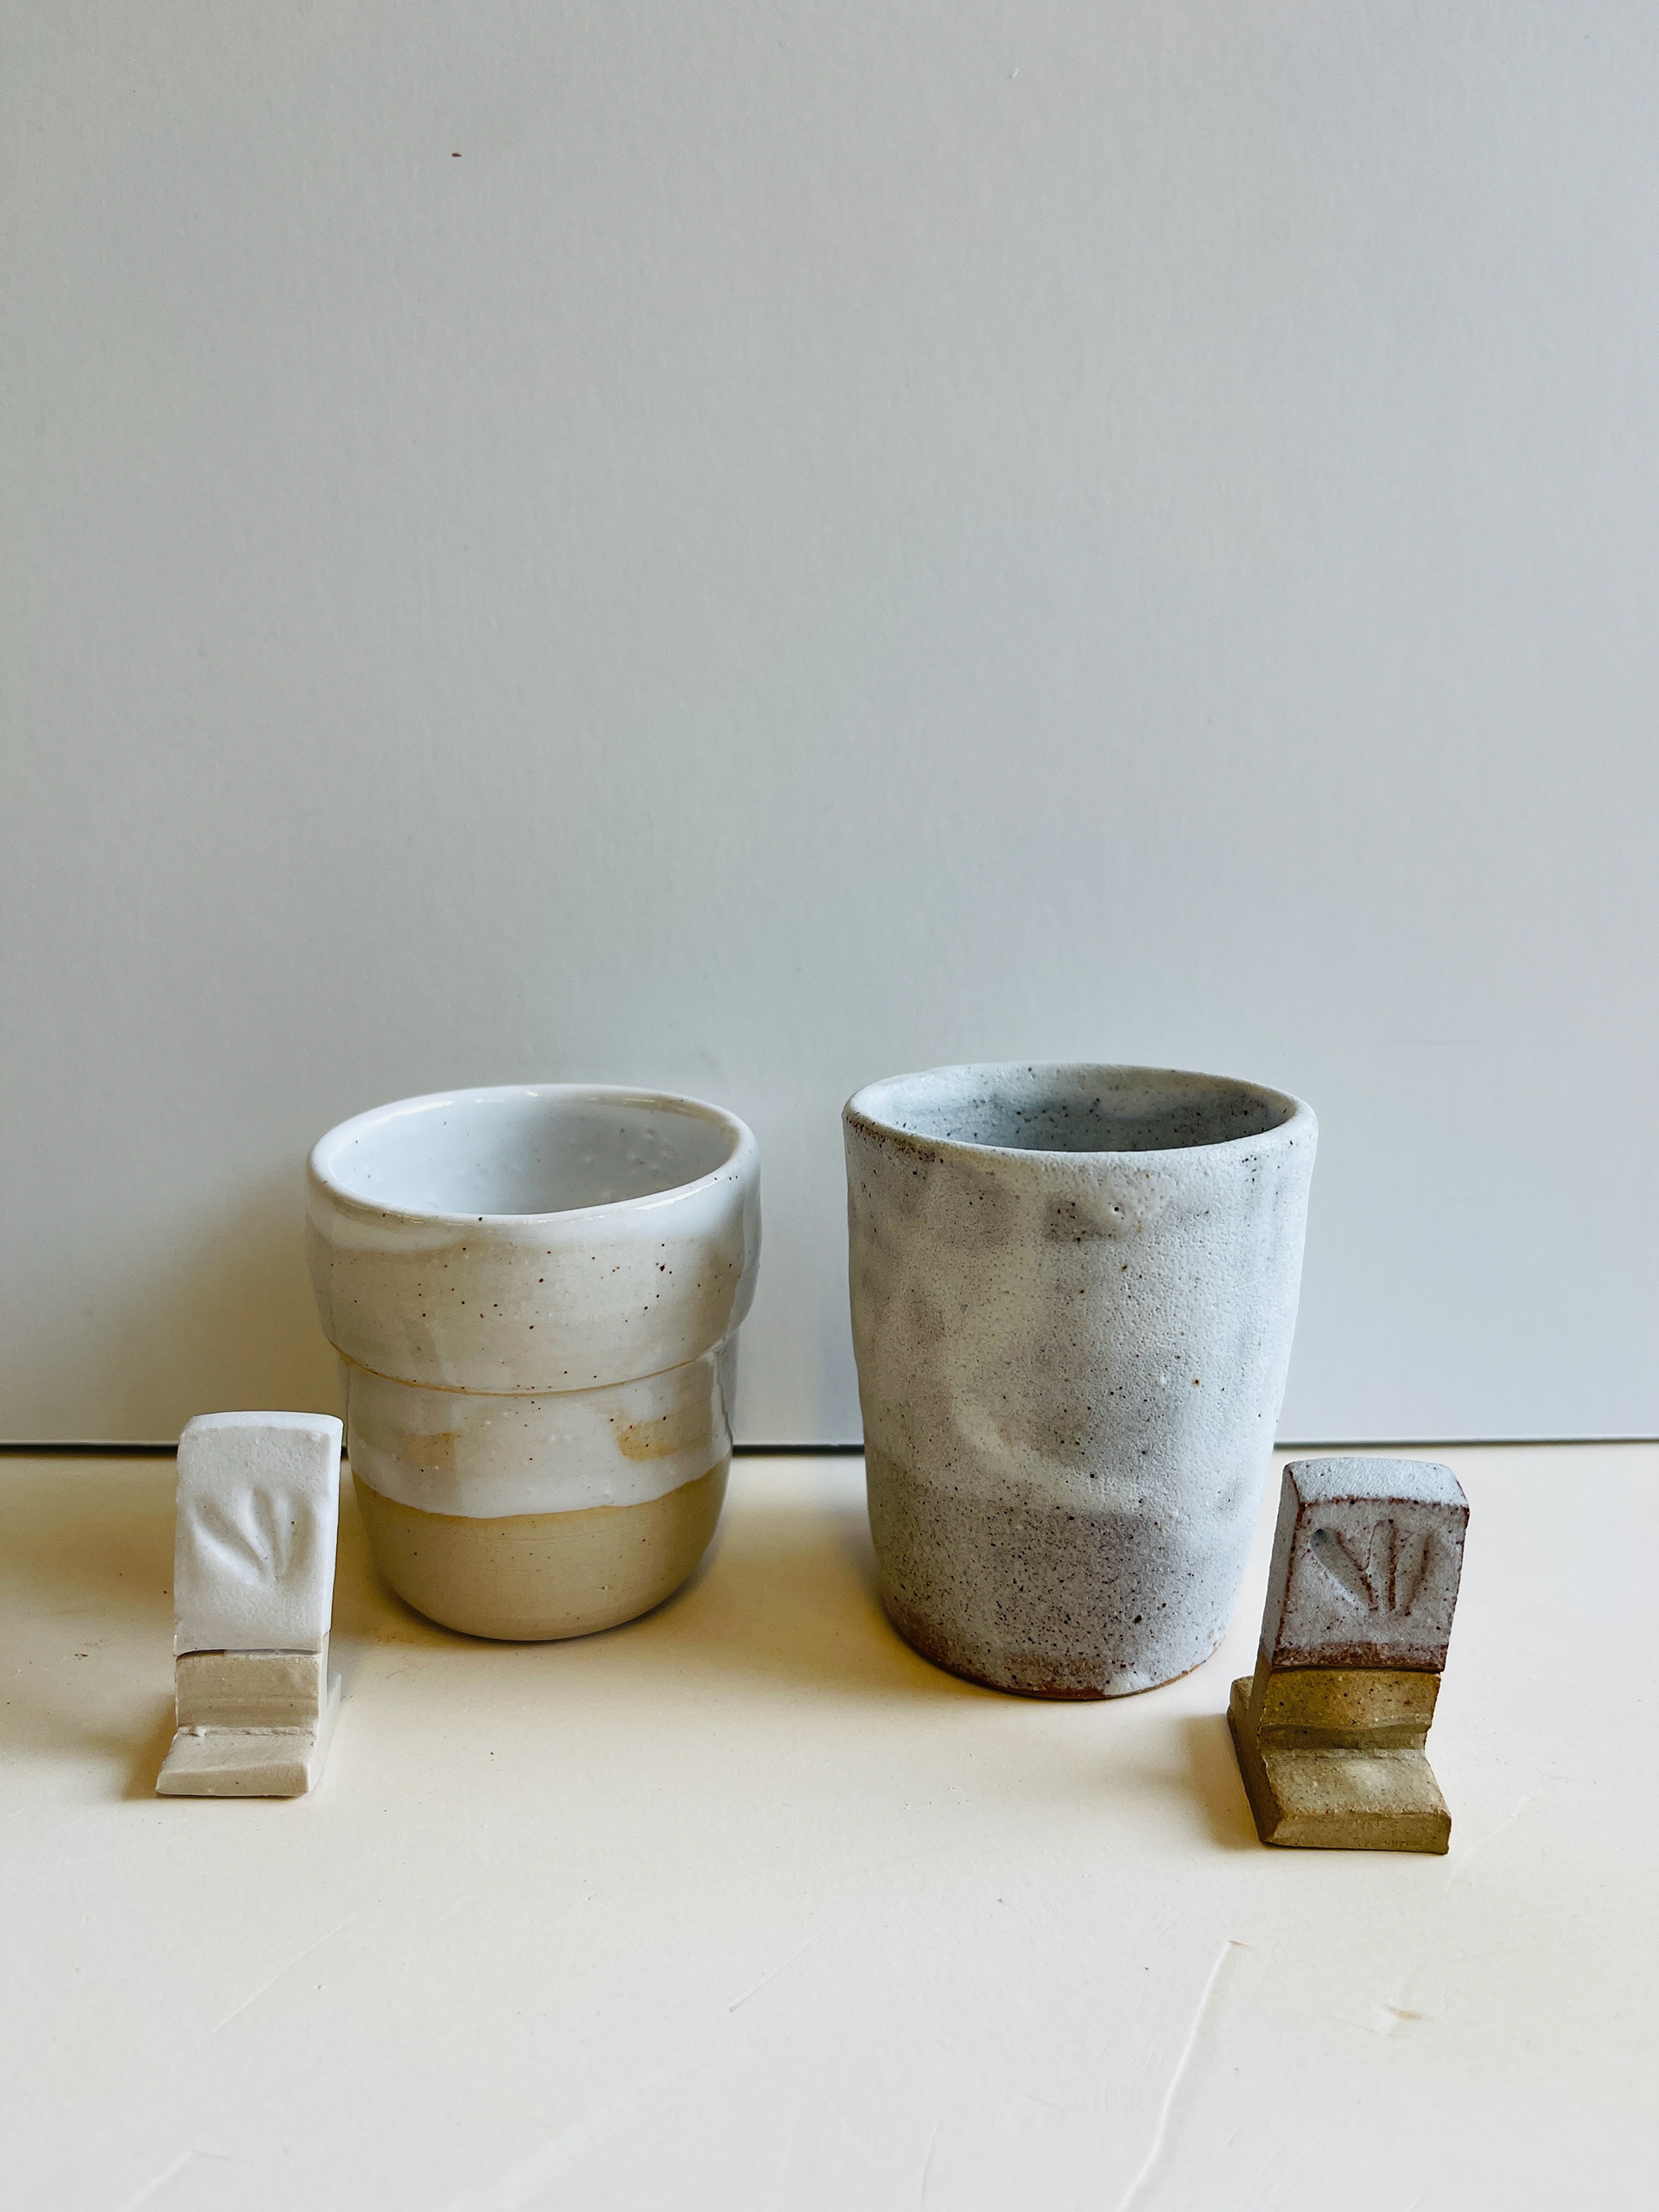
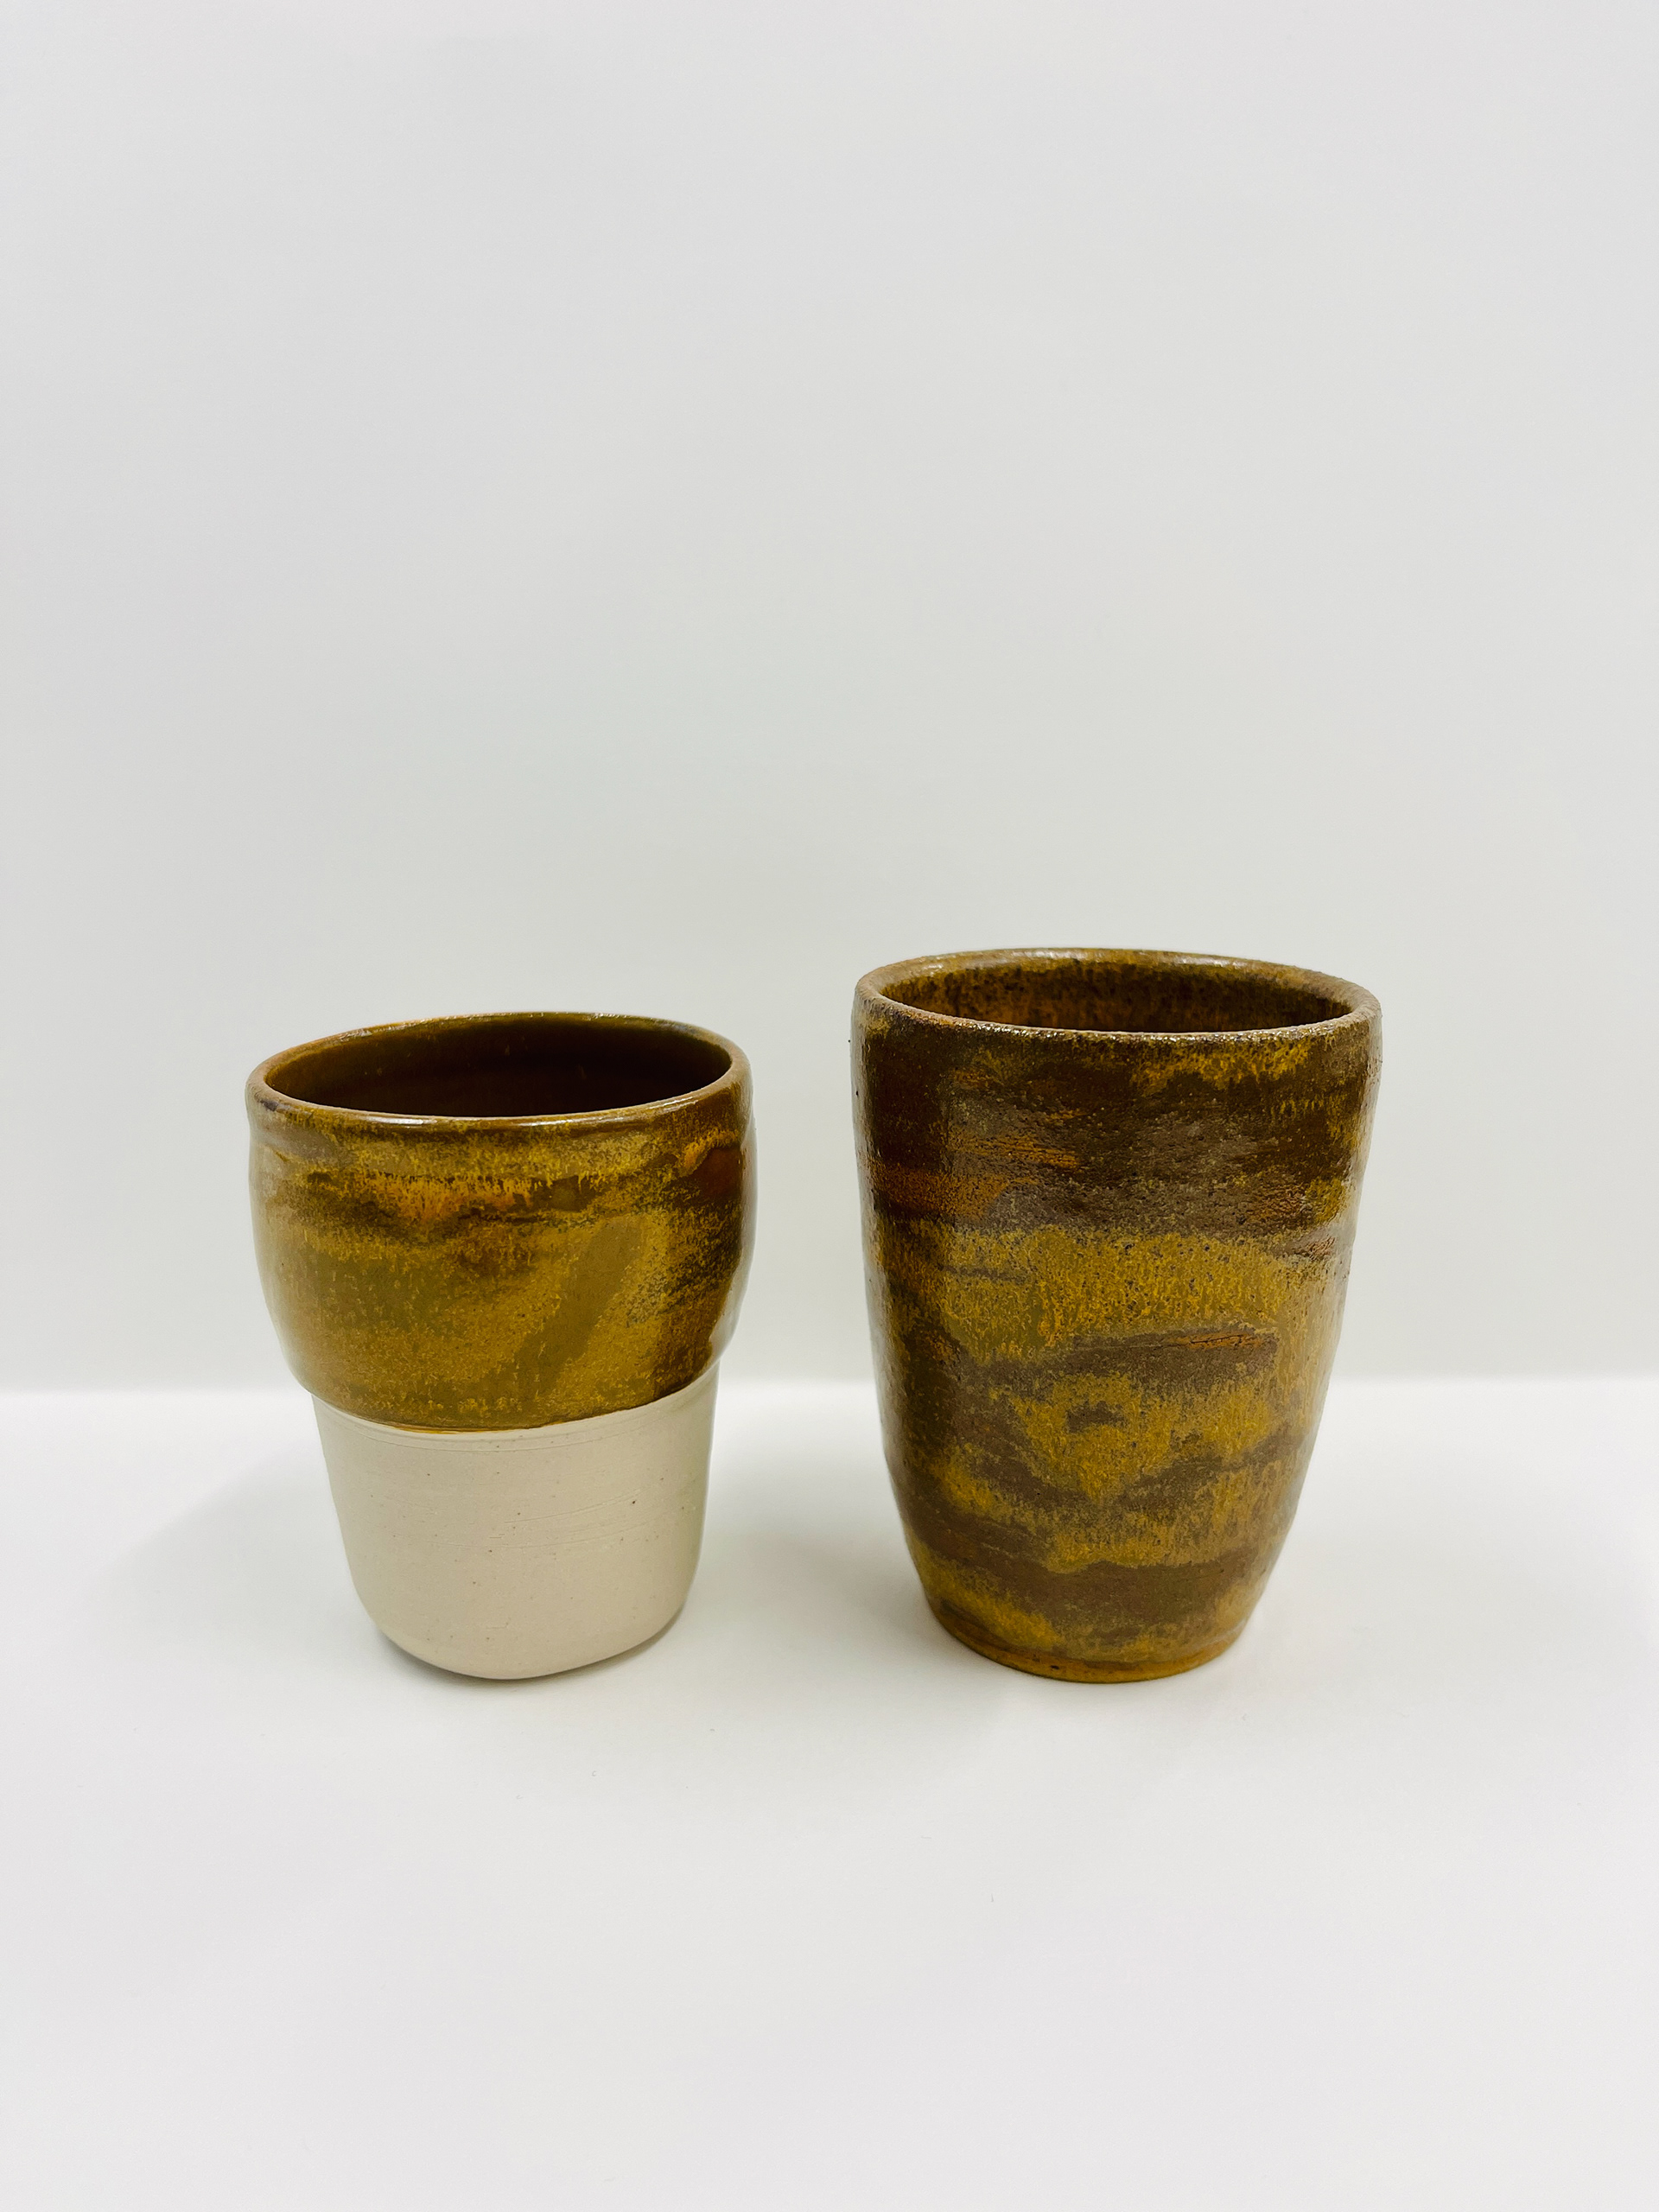
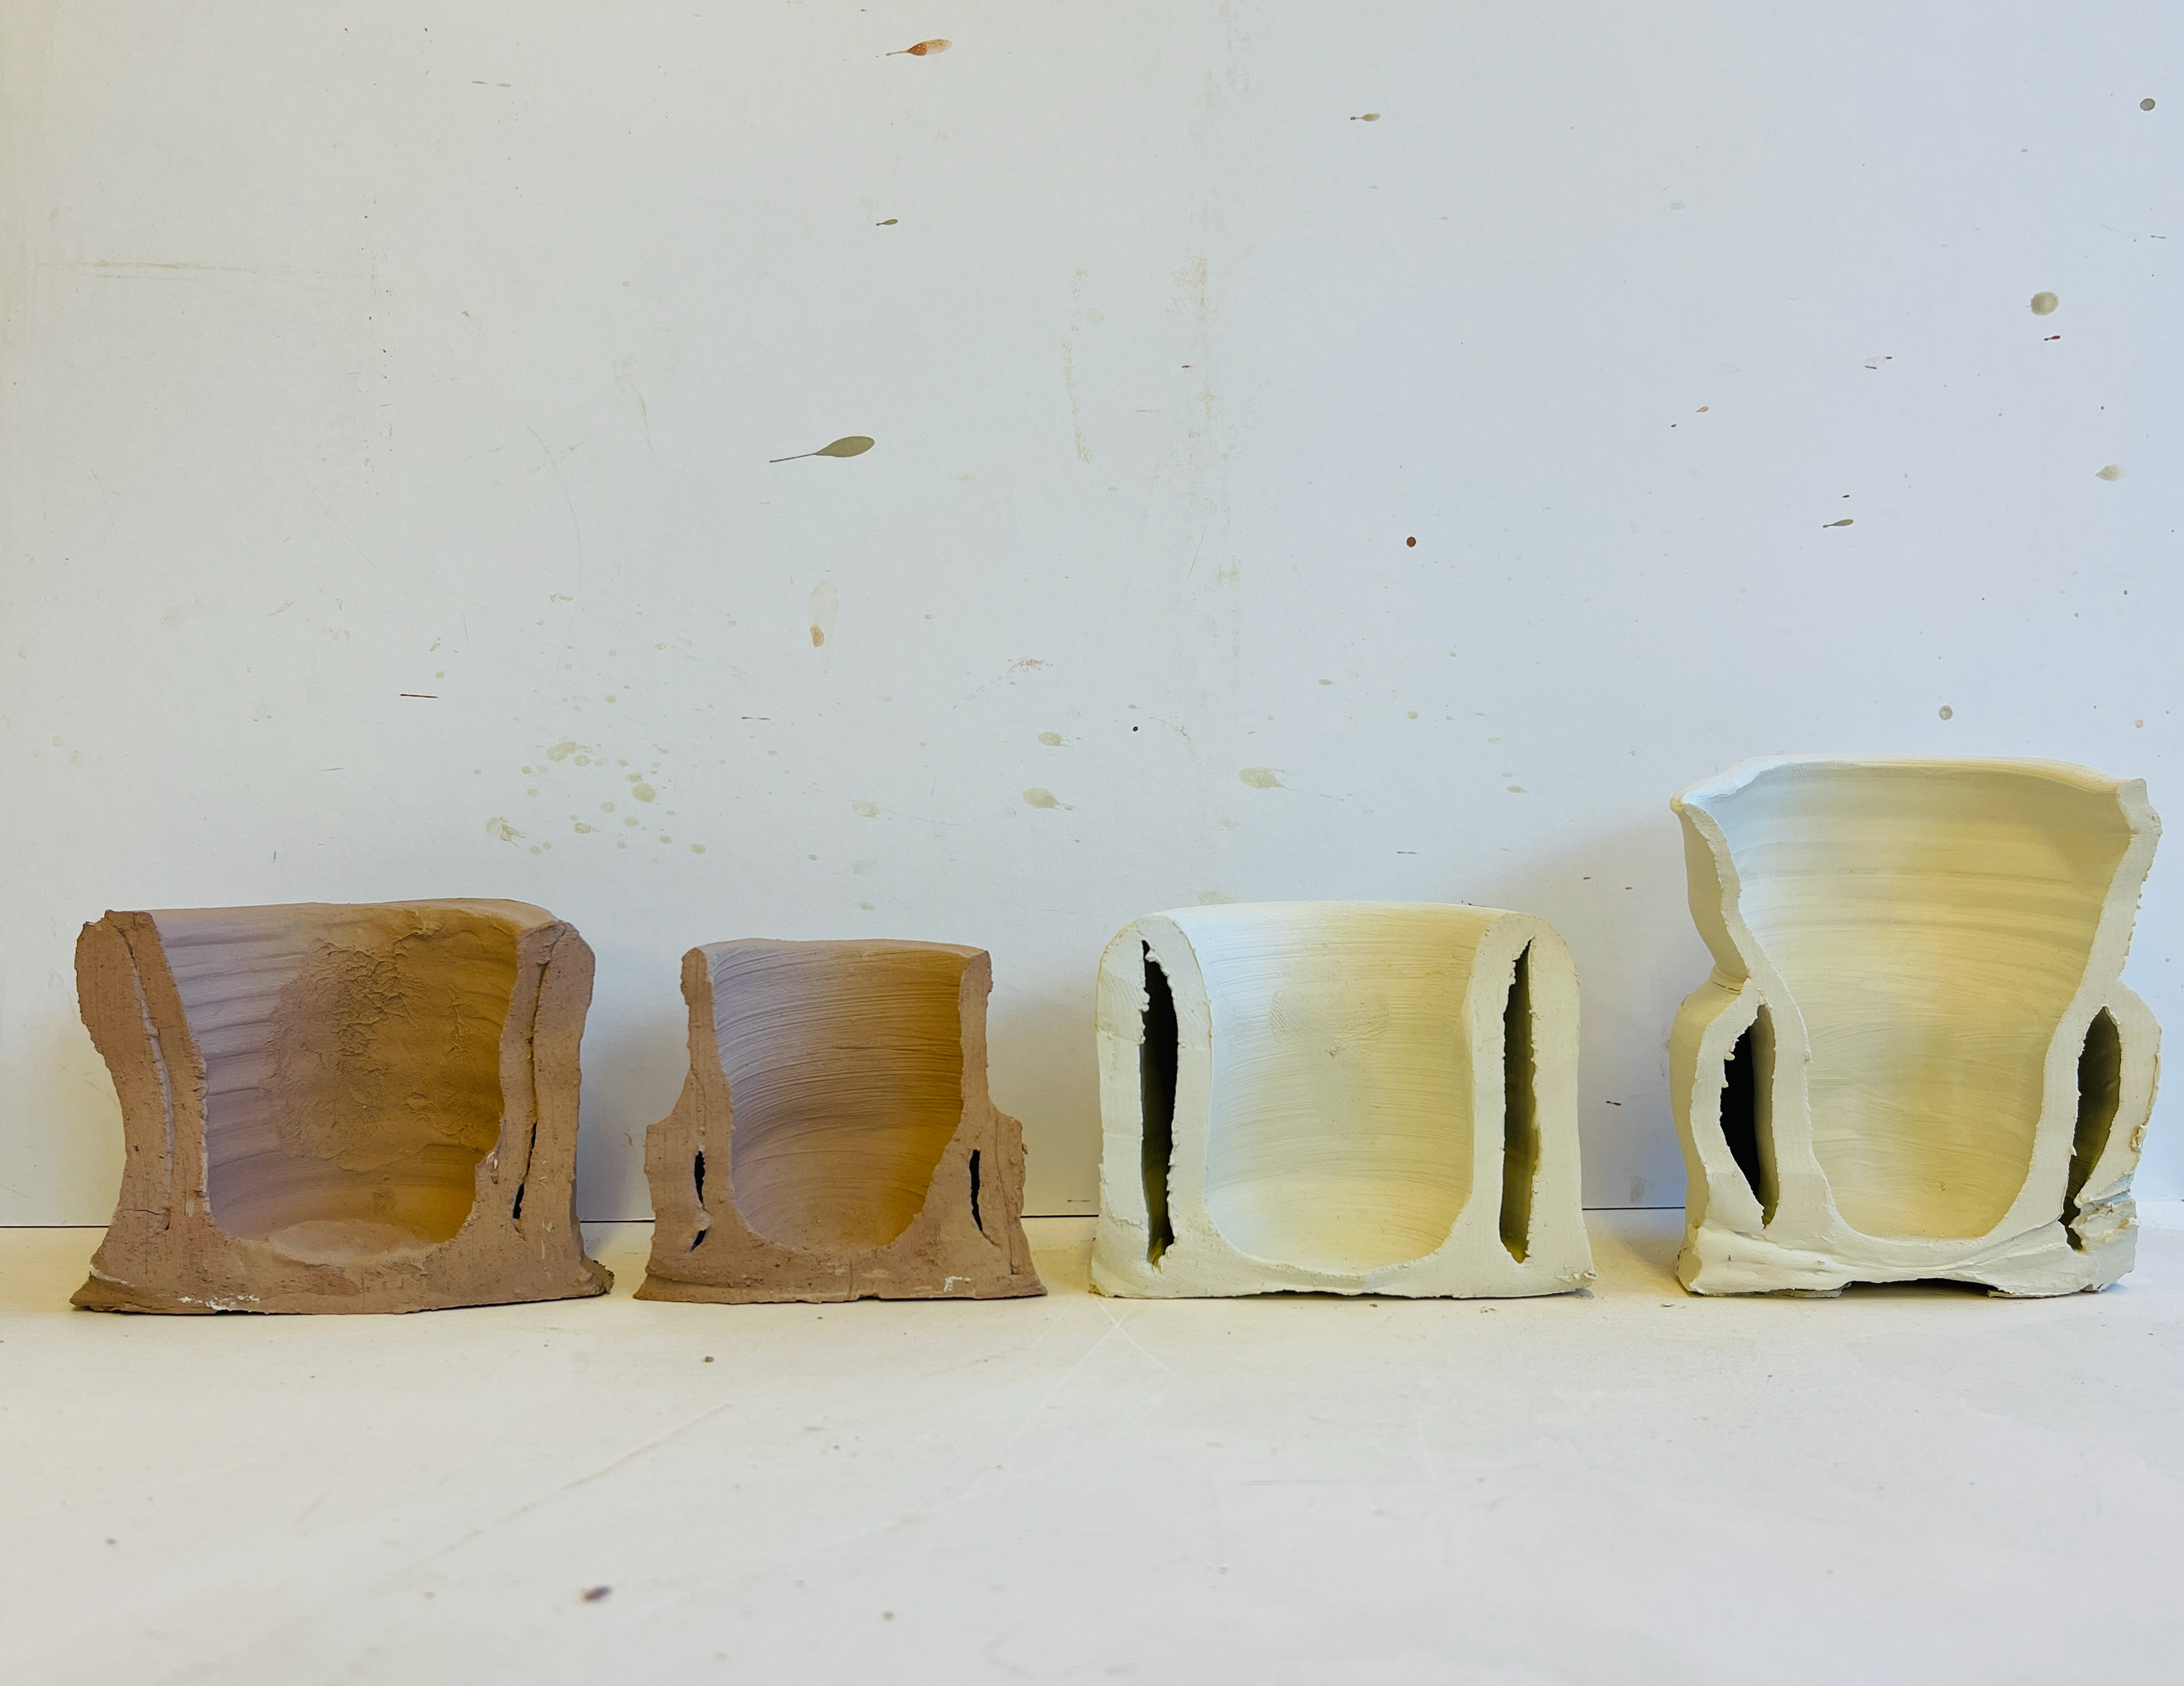
Unpredictable ALM clay, seem to be bloating even after throughly wedging it. The gas pockets spoil the entire look of the form.
Bloating from ALM clay.
overlapping glazes- yellow glaze+ grey-glue over the top.
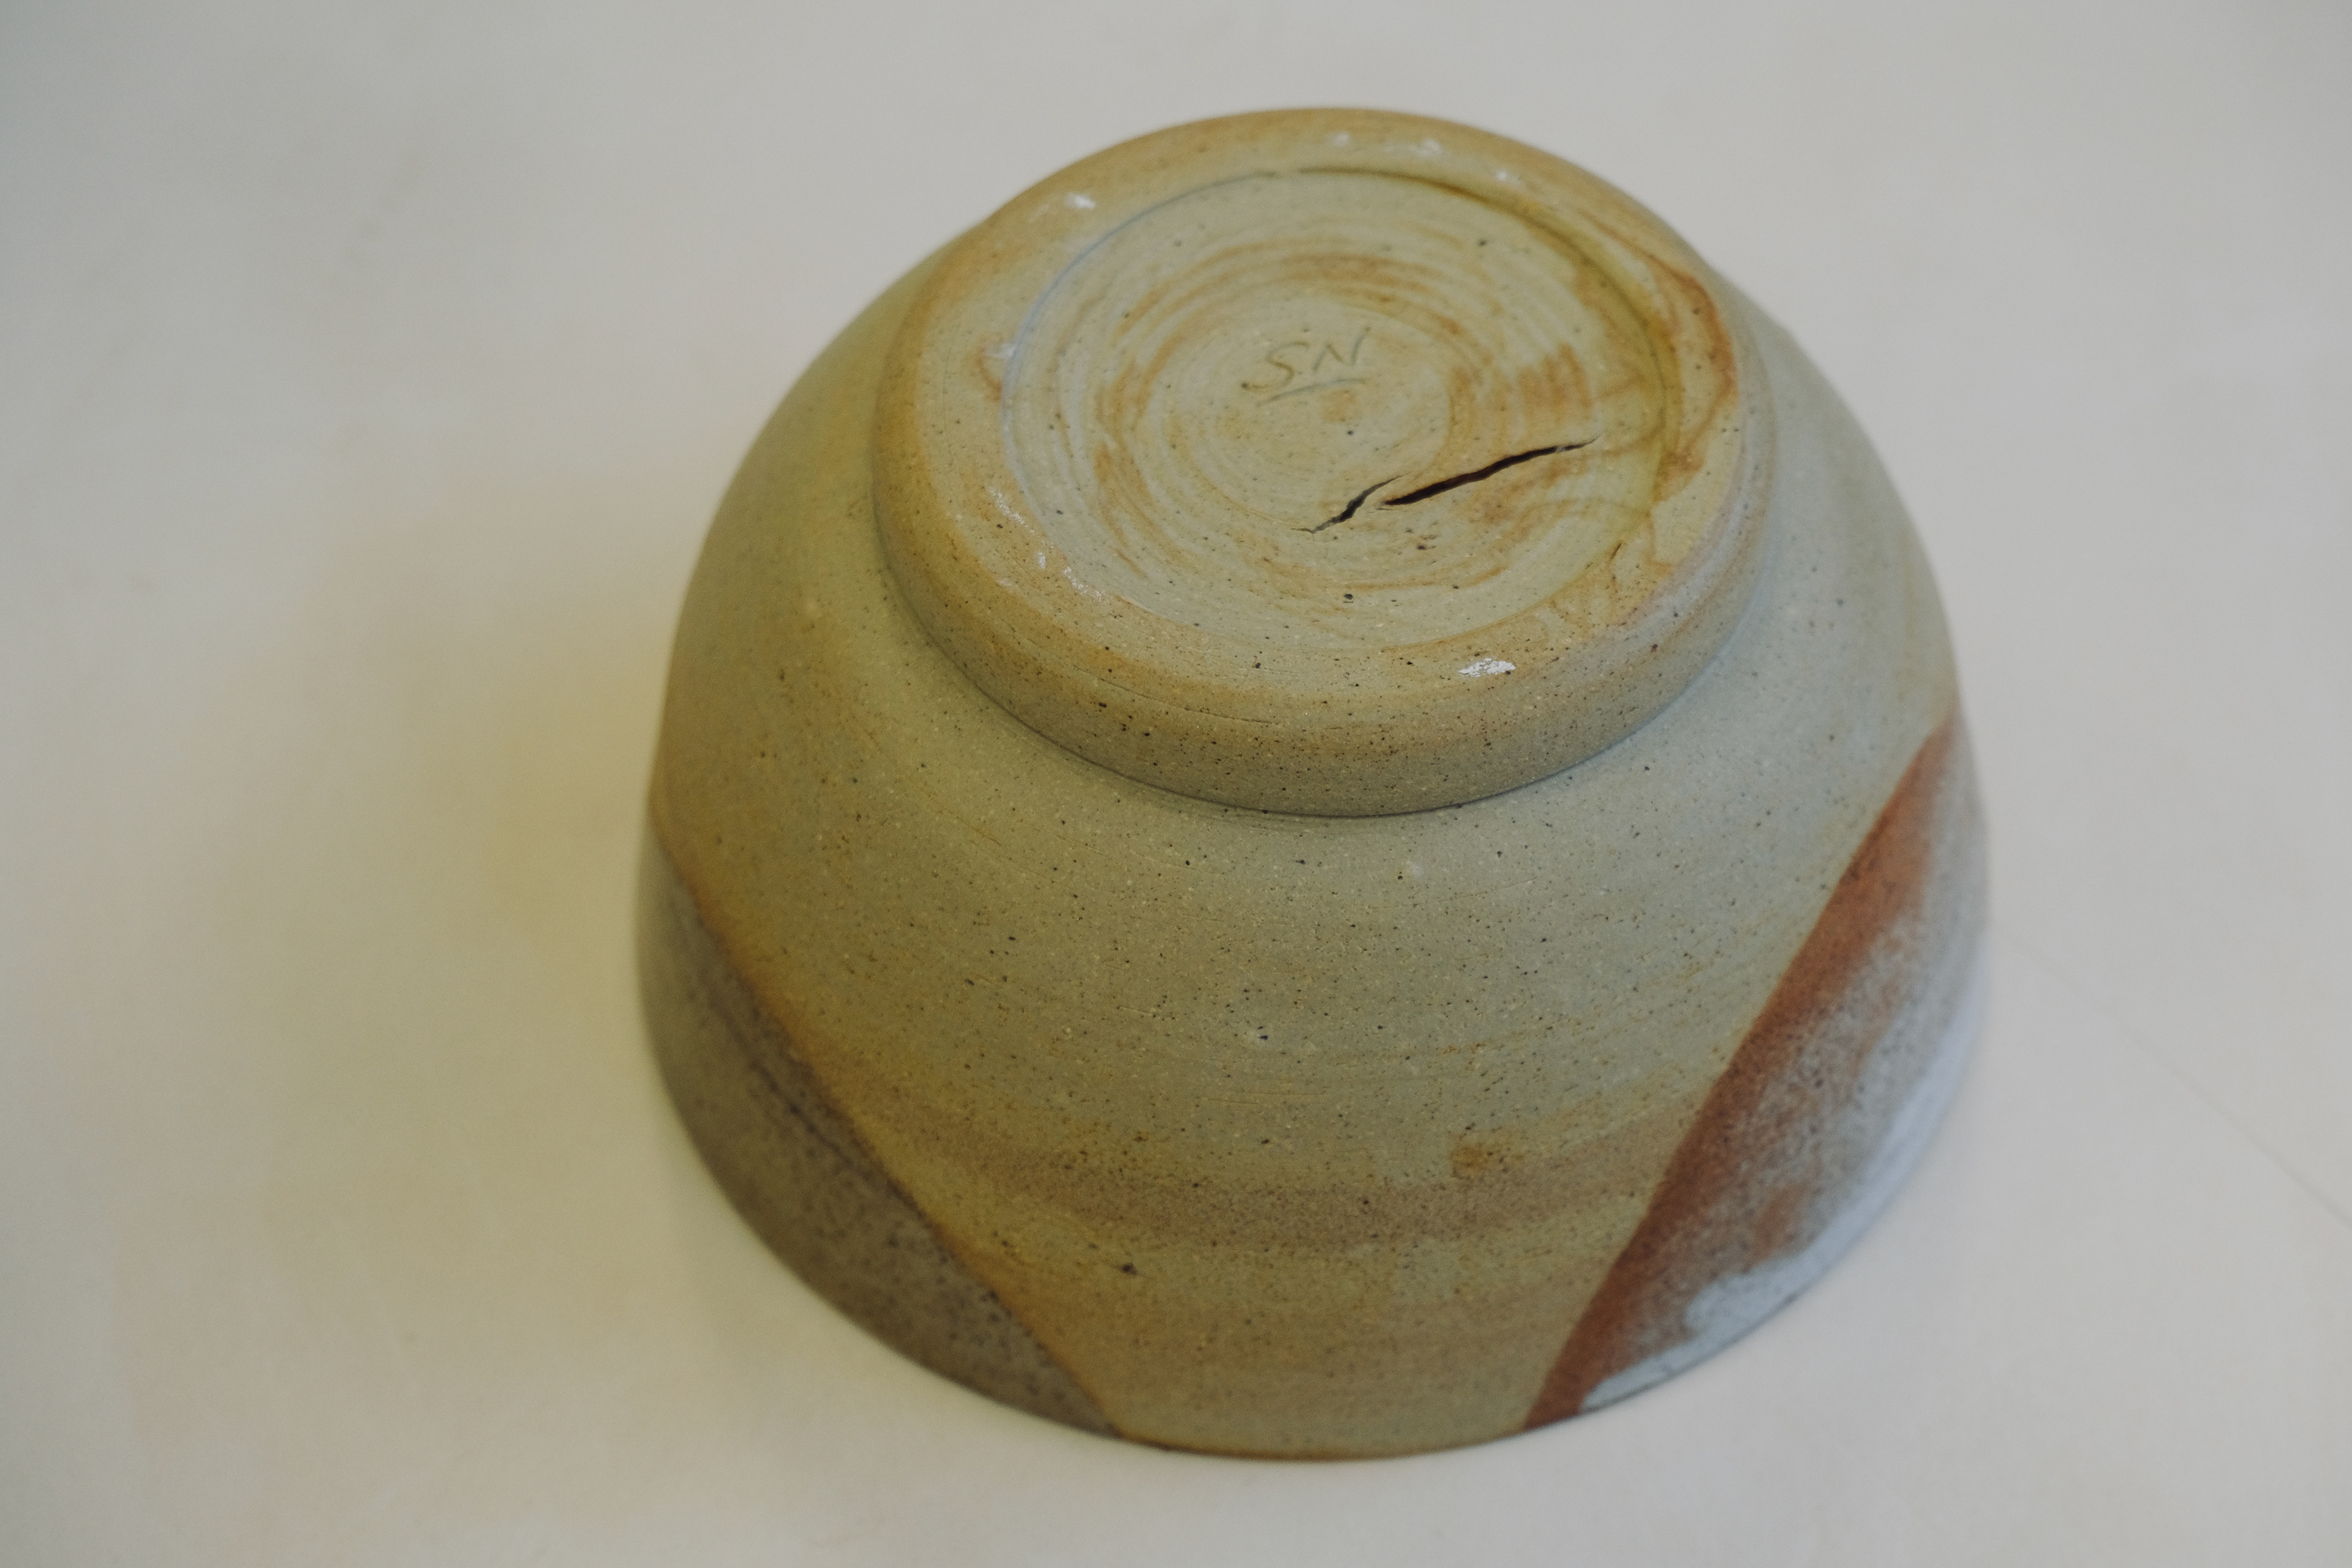
's' cracks being formed if object not dried evenly.
Illmenite 10%+ grey blue glaze overlapped.
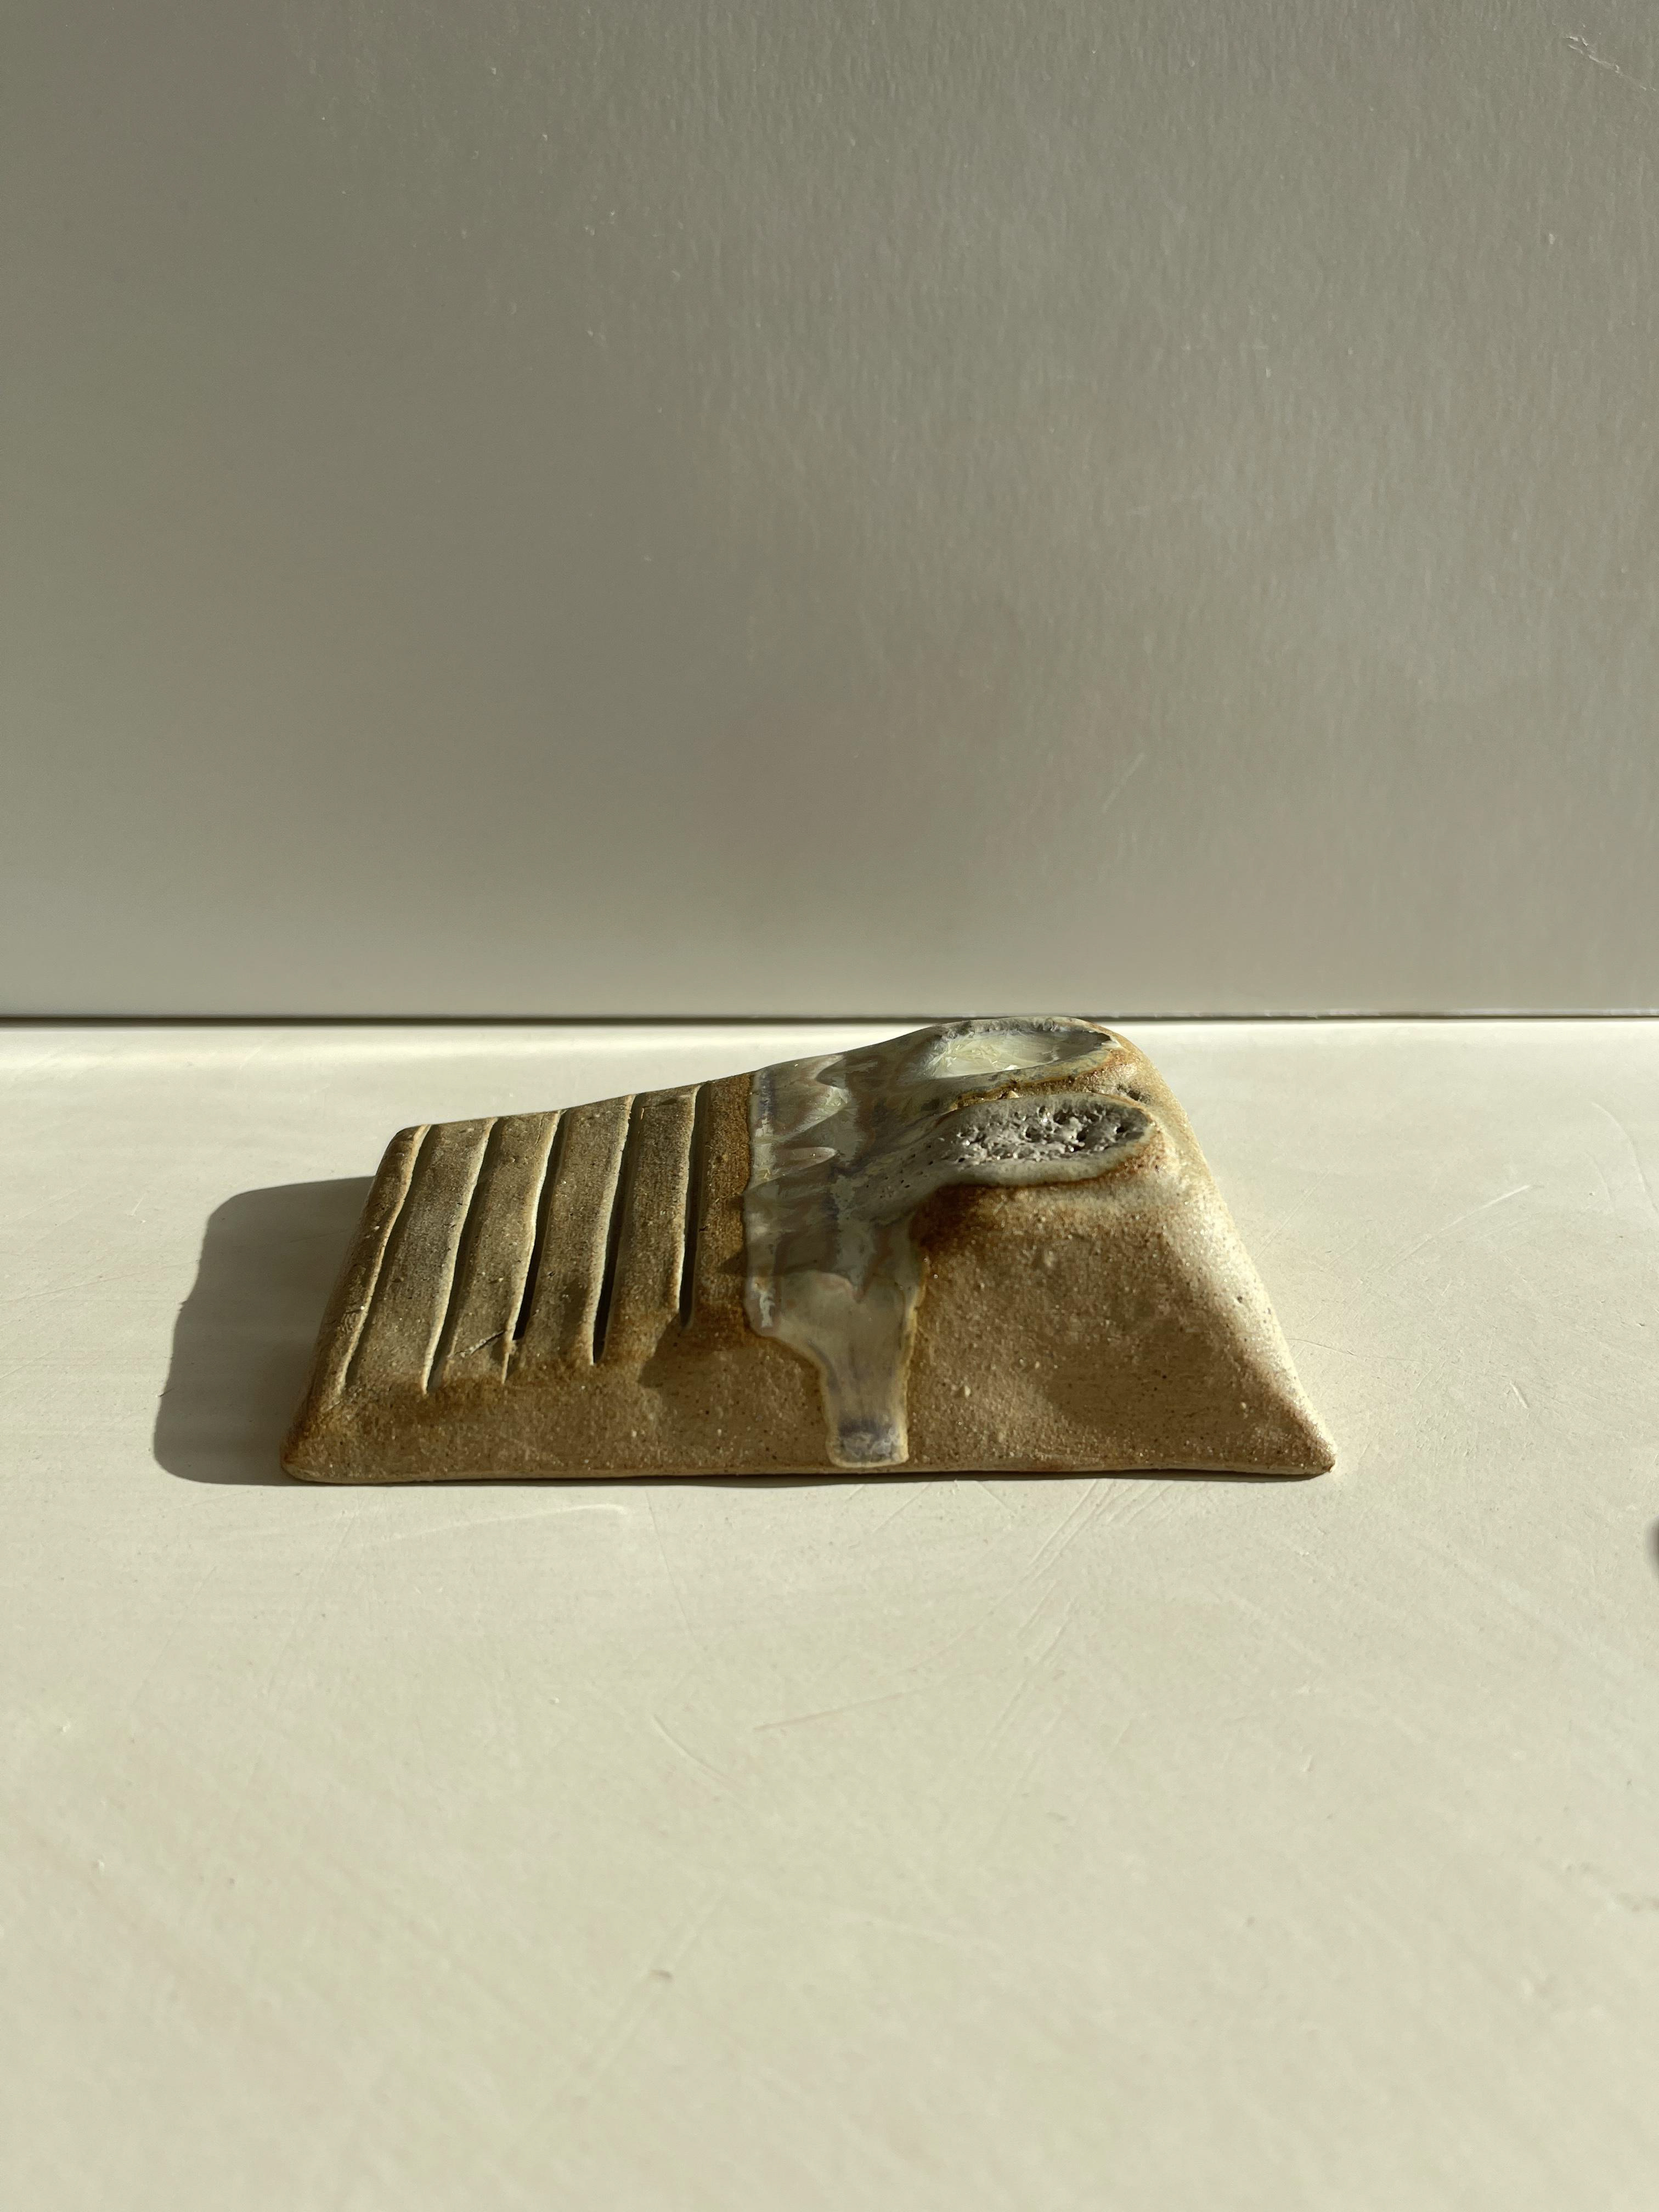
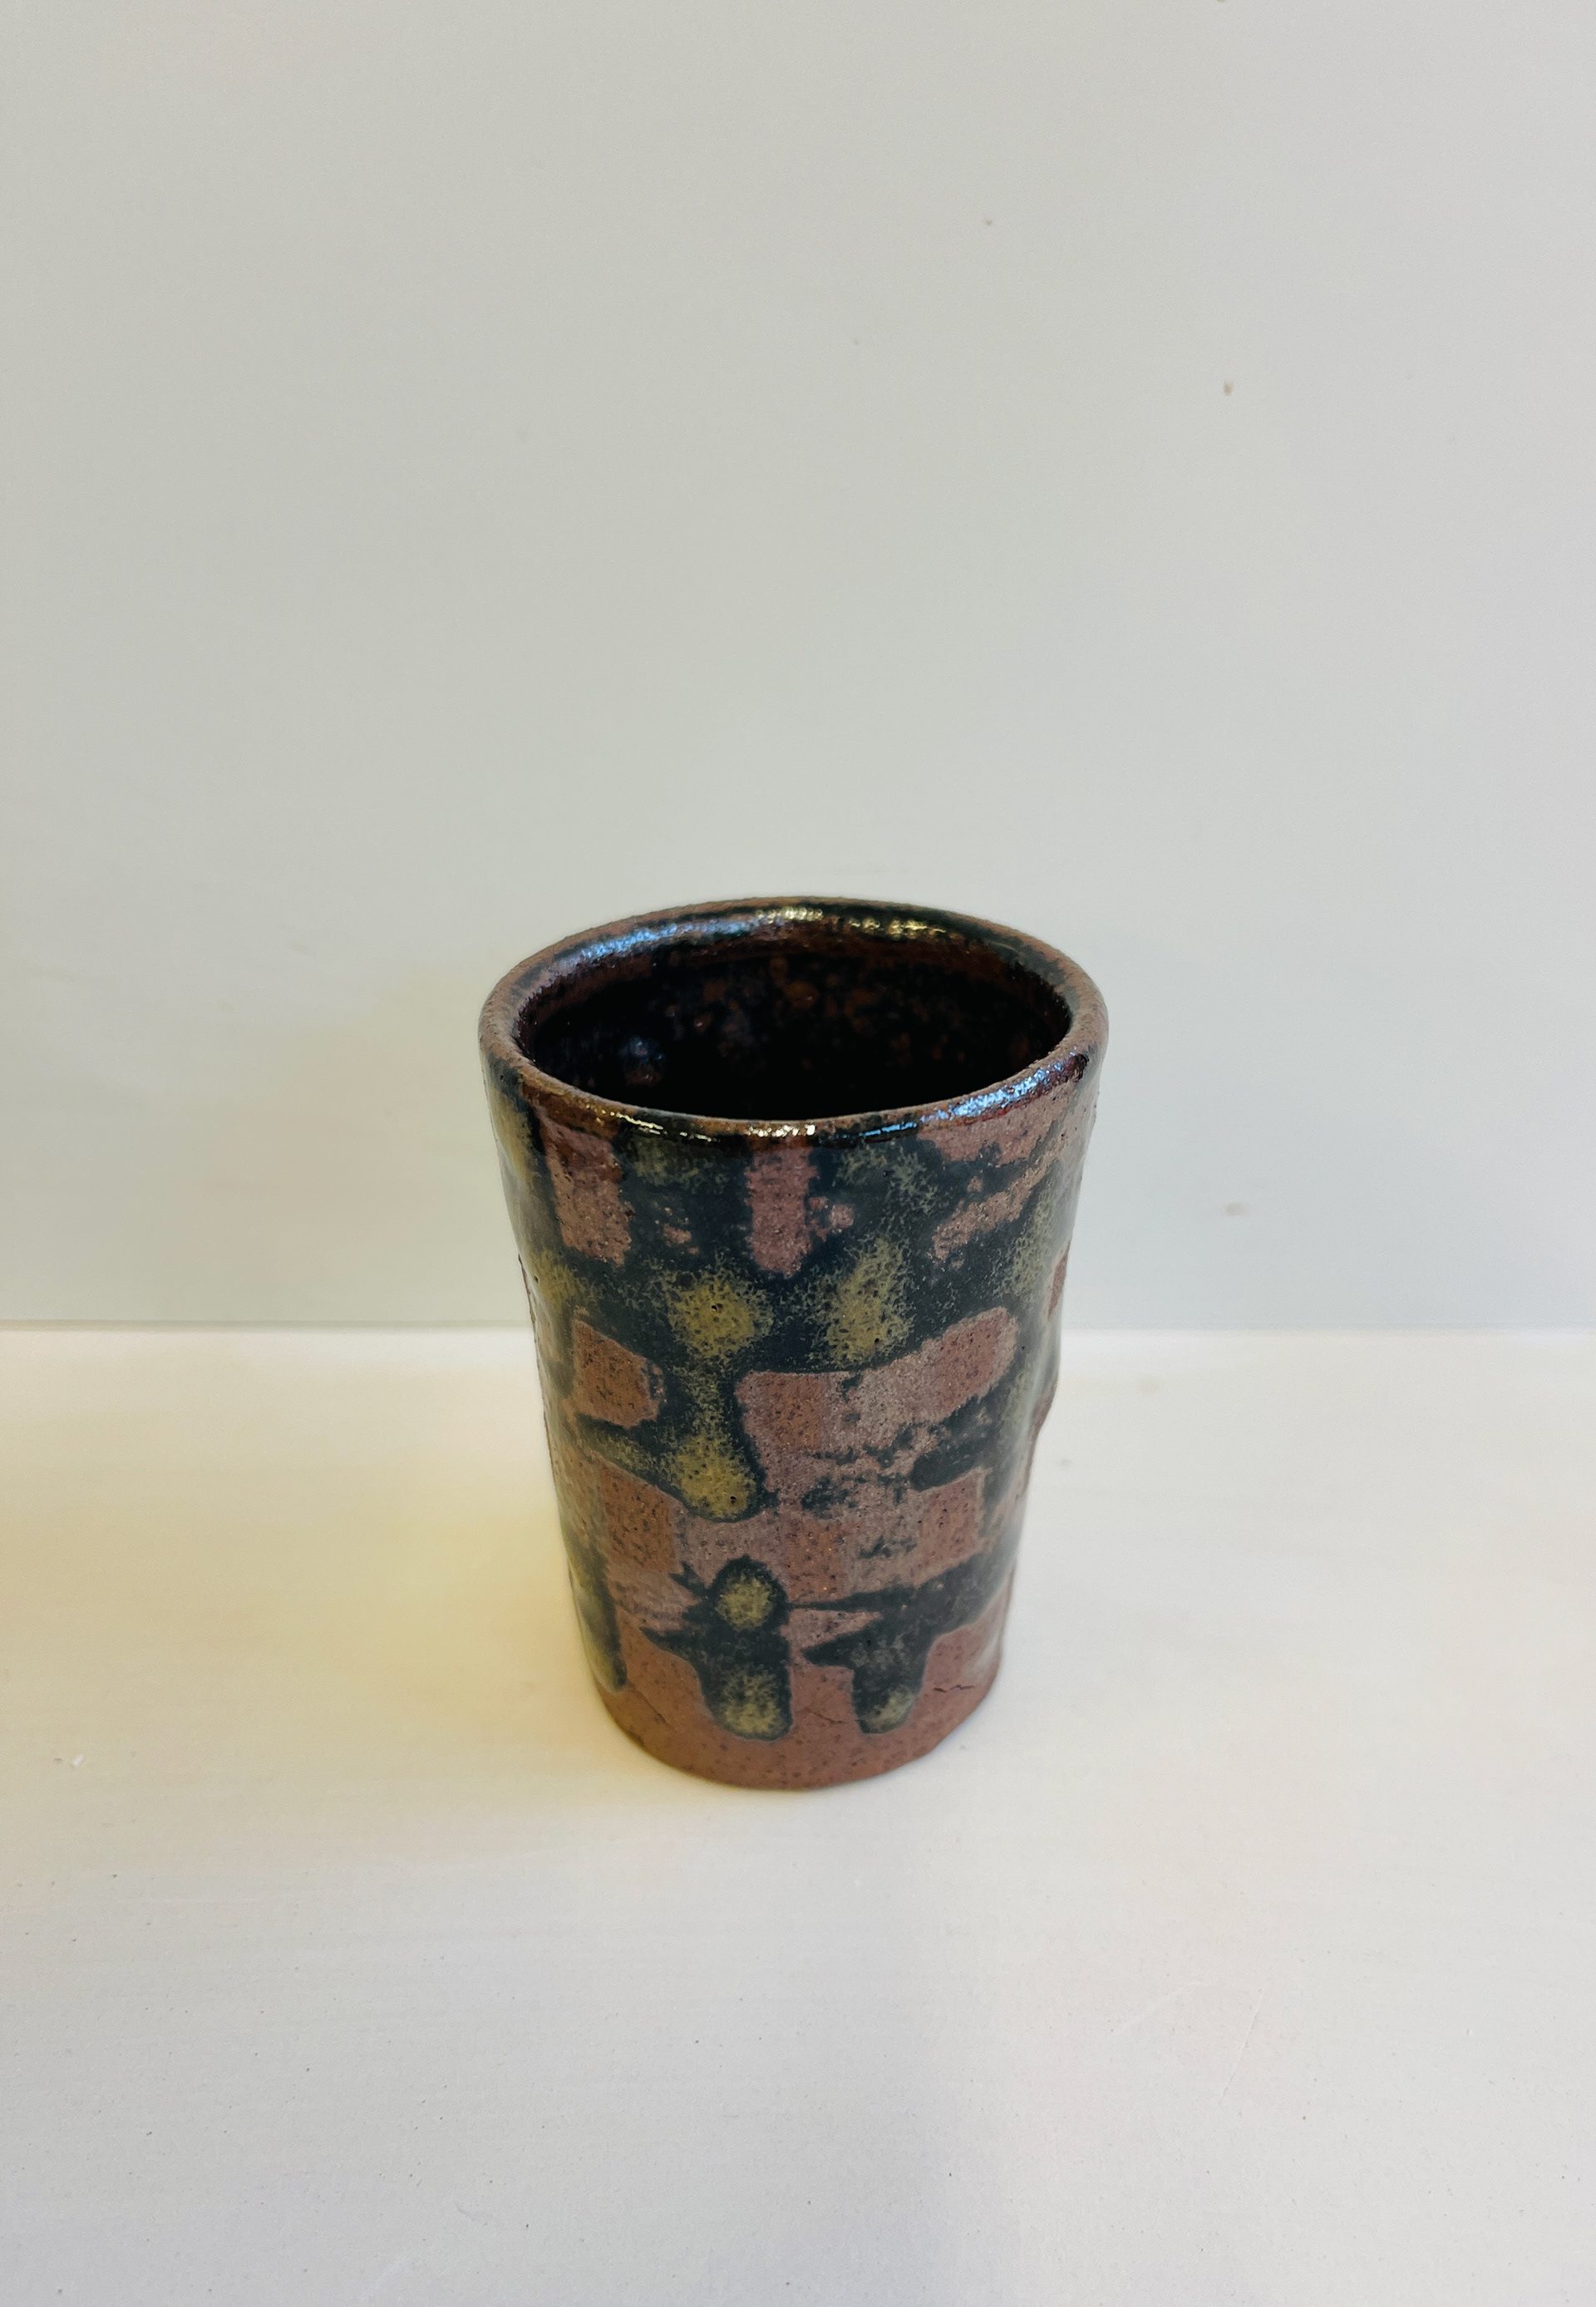
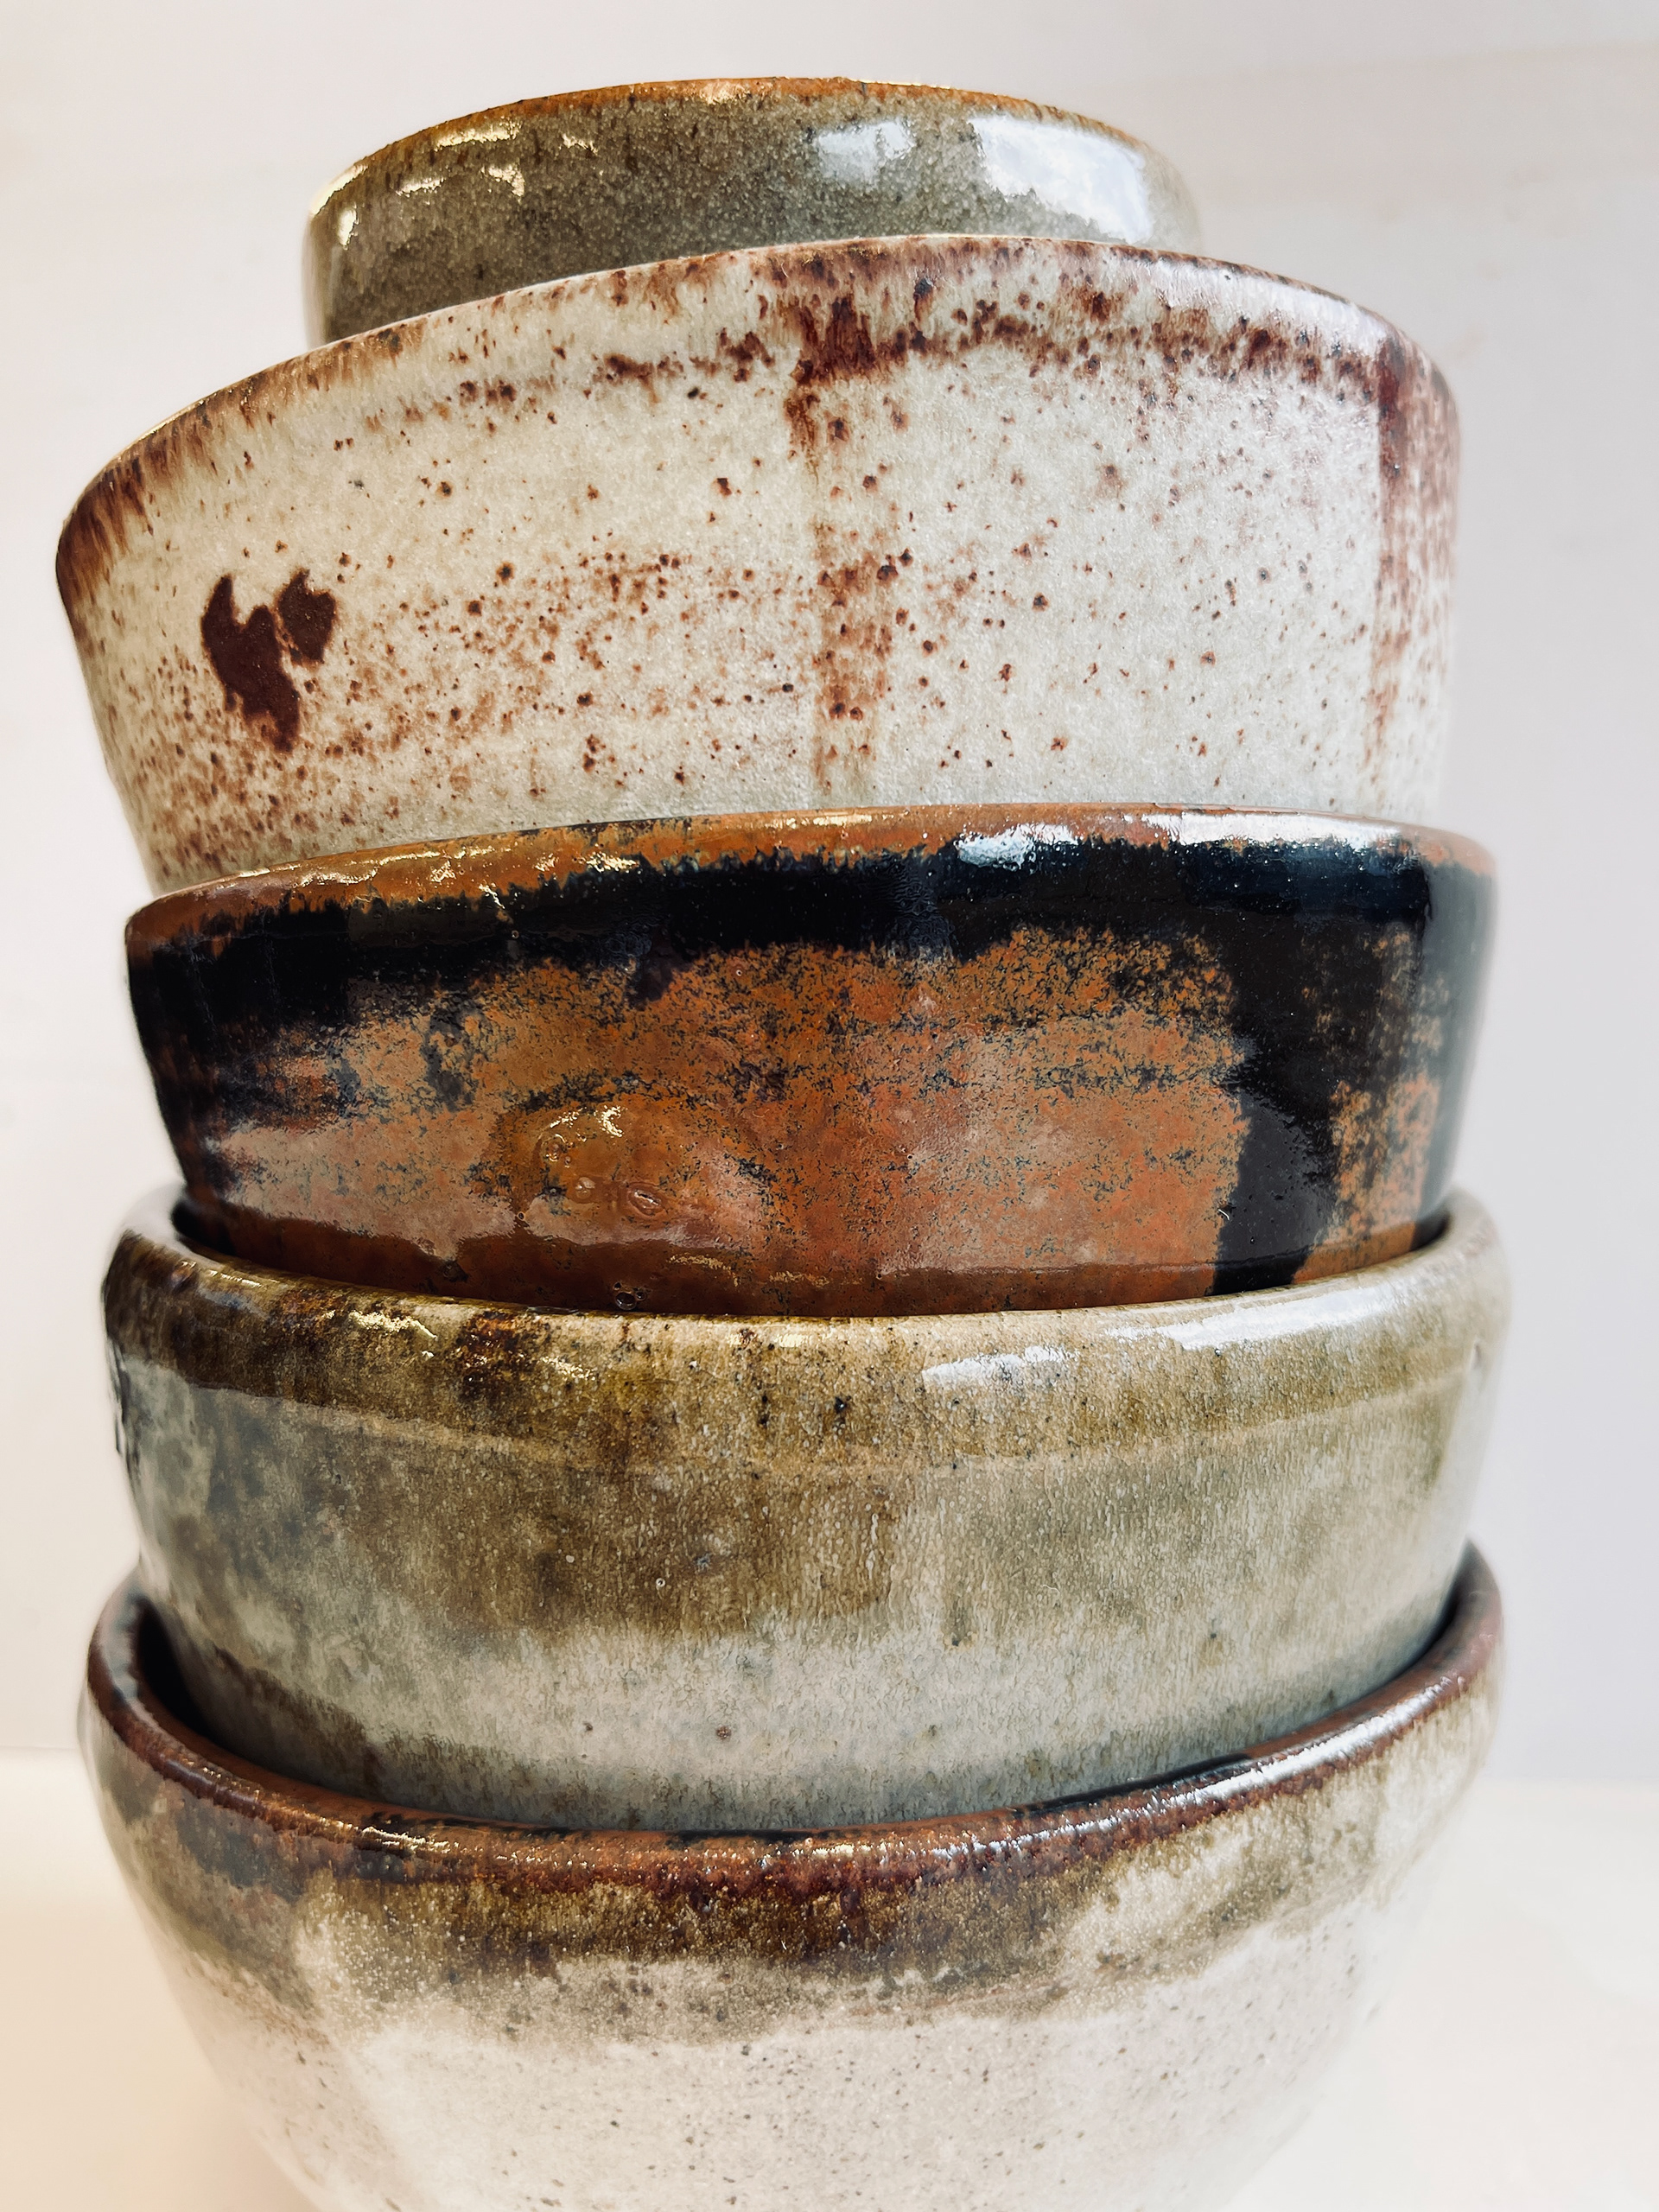
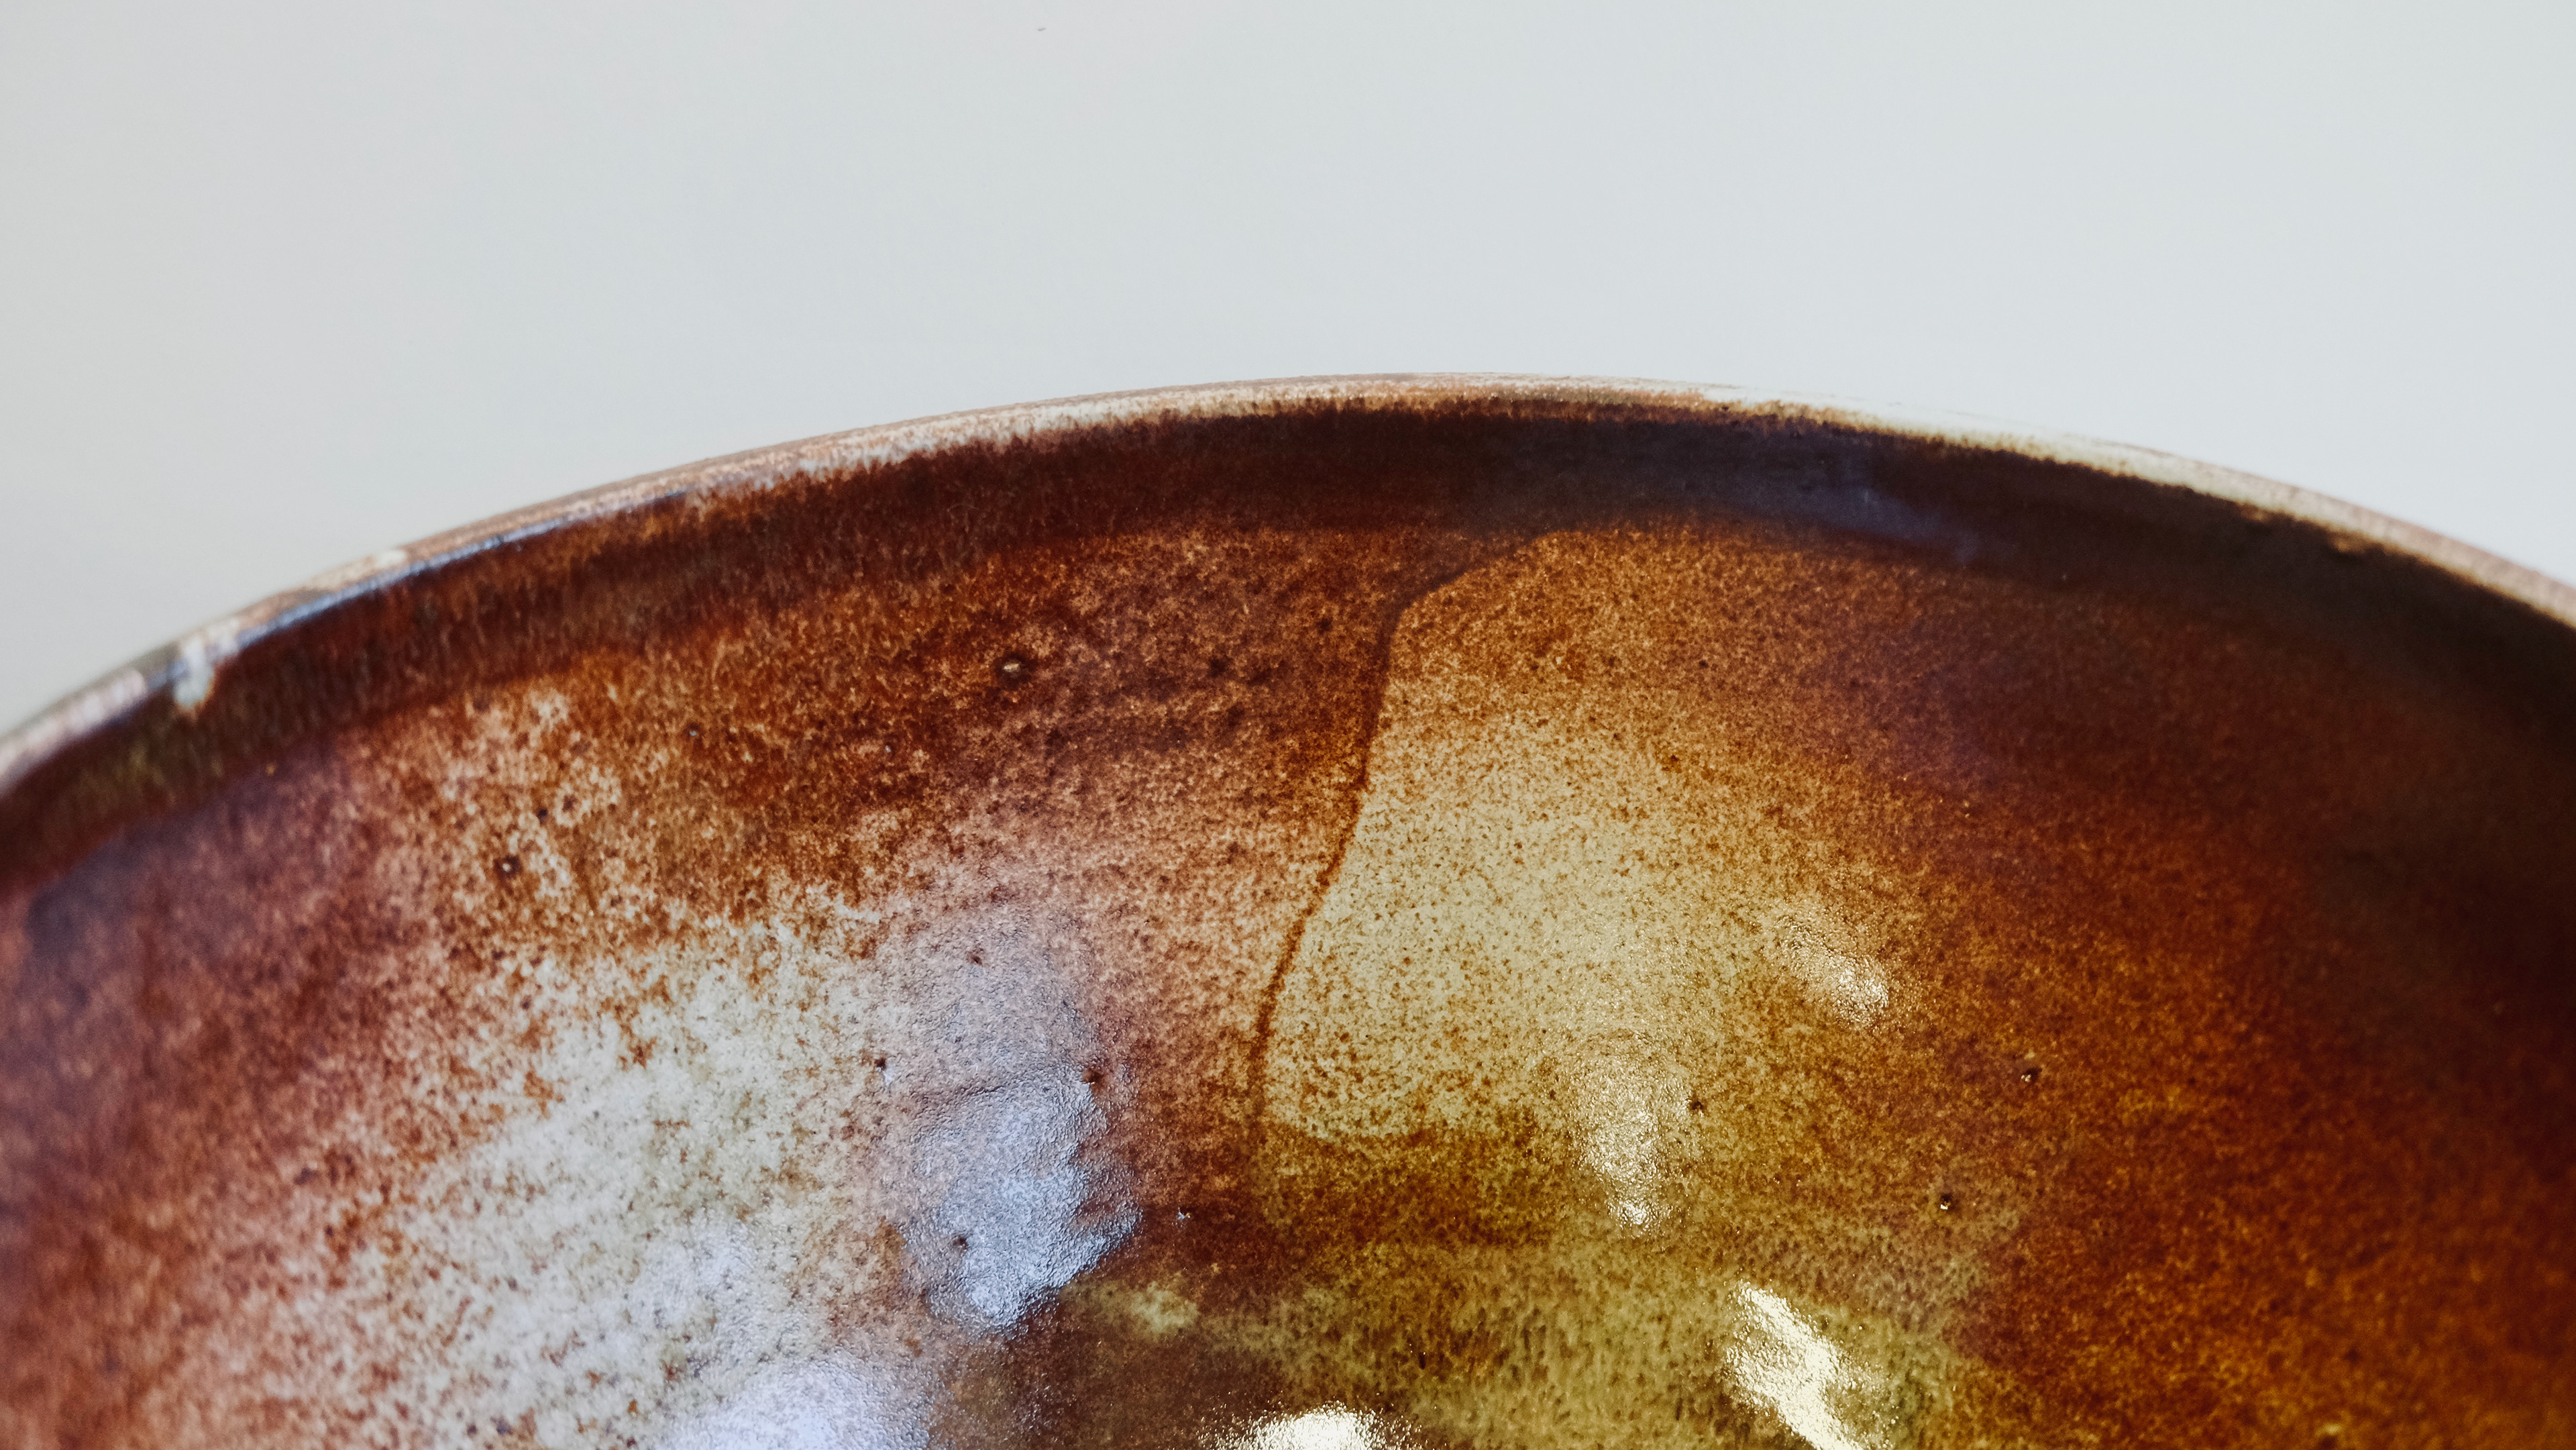
mix of glaze creating interesting combination textures


Crank clay body.


rutile
red iron
Ilmenite